A friend recently contacted me about creating a couple of trading card portraits as a gift for his daughter. After a little discussion and finding out who he wanted me to draw, I accepted the challenge. The real challenge for this commission was to have a realistic image that still retained my style. Keeping my style was the hard part. I tend to shy away from photo-realism because I can't put my mark on the image and it falls flat for me.
It was also important to get a good idea of where the light and shadow fell on the faces and the general shape of the face itself. I started off with a few simple sketches done with the sharpie brush markers.
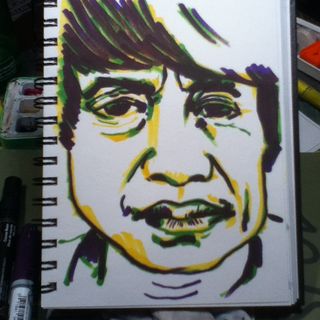
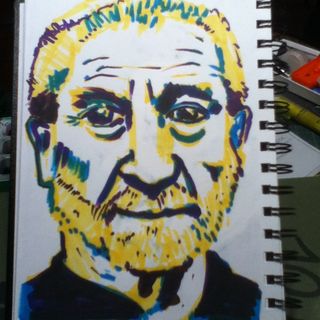
With realistic faces the important part is to get the eyes right. So I studied them. I did detailed sketches of the eyes, making notes of where I was off. Being self critical was very important in this stage. One I started to work on the card sizes errors would lead to doing the job over again.
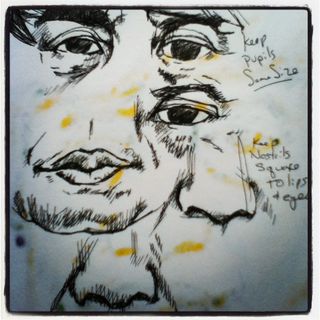
I started the cards with a light HB pencil sketch made with a mechanical pencil. This gives me a guide of where I want my ink to go. This lets me move an eye to the right or left if needed and move the nose closer to the eyes and to shrink the mouth.
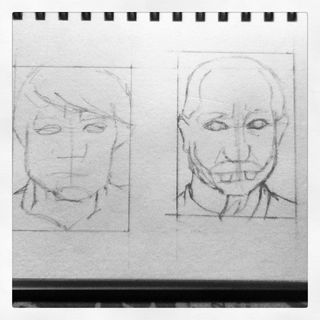
I then blocked in my first layer of ink with a 0.18 Uniball Signo Bit. it's light-fast and waterproof ink is a perfect first layer. I allowed this ink to dry for a full 3 hours before I used a kneaded eraser to remove in the pencil line. While I find the Signo ink to dry quickly I was taking no chance of ruining the pieces.
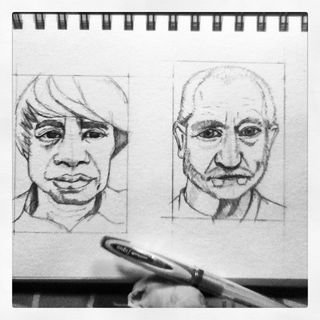
After the pencil was removed I went into the image with a 0.28 Uniball Signo DX black ink pen. Again, it's light-fast and waterproof ink is a nice deep black shade that let me build up my layers of ink precisely and easily.
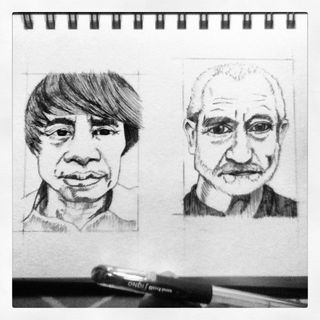
At this point the image is almost completely finished. I used the 0.38 Uniball Signo DX to add the darkest areas.
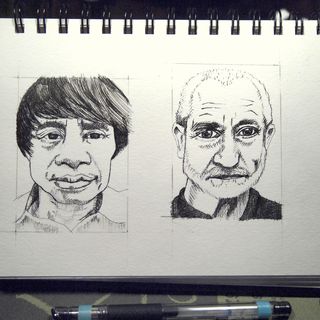
Before adding the watercolor I sat on the finished image for 24 hours. I wanted to be happy with every aspect of the image before I finished it with watercolor. Since these are a pair if images to be gifted to the same person I wanted to be sure they matched. Doing a little research into my subjects showed they were both architects who used a lot of steel and concrete in their work. I mixed a large puddle of Holbein watercolors, far more than I'd ever need to finish these images, in a shade of blue grey midway between slate and concrete. The color complements the images well. After allowing the images to dry completely I cut them from the parent sheet.
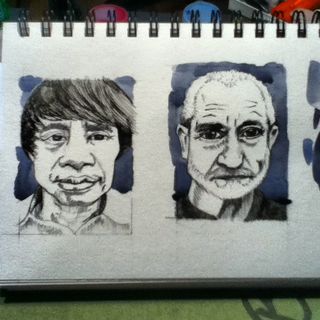
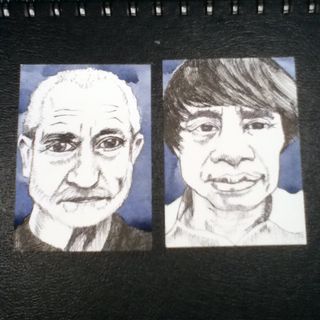
The final step will be to place each card into a trading card sleeve and carefully construct a presentation sleeve out of cardboard.
If you are interested in having me create a custom trading card sized portrait for you, please see this page or consider buying into my chipin campaign here. I'd be happy to work with you to create a treasured momento.