Welp, all good things come to an end, and I managed to overwhelm the mini press and 2 teeth on one of the gears sheered off, one pretty cleanly, the other… is half there. If I can find a gear it’s a pretty straight forward repair. I have an email out to the company to see if I can get a new gear or get the thing repaired but the company has changed names and the support email bounced back. There have been numerous reports online of the company not responding to customer service requests. So not good. If I can’t get help from them, I’ll see if I can get a new gear made for me. Also, lesson learned, check and adjust roller/bead height before attempting to print ANYTHING. While a full sized etching press would have powered through, these little presses can’t do the same, something had to give.
I have owned a Speedball relief press for close to 20 years. I had dismal results with it back when I first tried it and set it aside. Recently I saw it being used on a relief print video and had a “well, duh!” moment. I was using it wrong. The little press needs a pusher felt! Or to be used face side down. Another video led me to using pieces of yoga mat or fun foam as the pusher felt.
And here’s my little mind BLOWN! 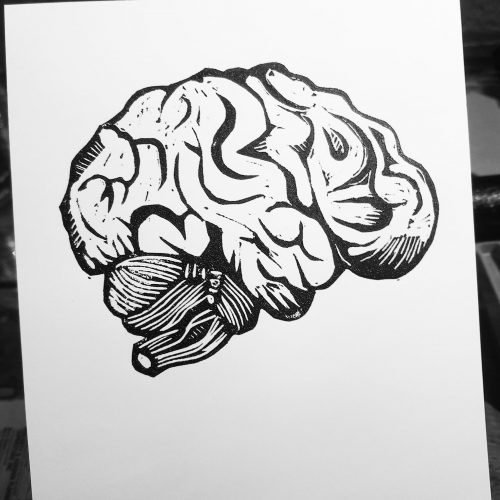
Hot damn this thing does great stuff with my little brain print.
So the brain print is part of a series I’m working on, to be revealed soon. But it is also part of my deep dive into recycled stuff as a substrate for my carving.
One of the many things I’ve been wanting to explore is recycled things for printmaking. I’ve tested out a bunch of other stuff from frozen pizza boxes to tetra packs to soda cans. They all work, but this stuff might be the holy grail. Big words I know. It’s a number 5 plastic, which doesn’t recycled well in curbside recycling* so my use of it as a printing substrate is a good second use.
It’s plentiful in my area and I can get enough of it to possibly last a lifetime.
Better yet, it cuts like buttah with my cheapo linocut tools. Oddly my nicer set isn’t fond of it. That said I was able to cut through the block and get this printed pretty quickly. I do need to figure out how to stain the material so I can see what I have cut and haven’t cut, because the white on white is hard to see, even with a bright light. Sharpie slide off the surface and eventually became a fuzzy mess.
I’ve got more to explore in terms of how this went from a quick little scribble in my sketchbook to being applied to the block and how it transformed through the use of the tools and my understanding of them. Really stoked and I’ll share more pics of the process and material.
*Let’s not talk about plastics and the myth of recycling. I’ve seen the video and I’m pretty cranky about it.