I’ve been creatively reusing packaging for a long long time. Every so many years companies will go through marketing and packaging overhauls. Sometimes packaging will look the same but some manufacturing process is changed somewhere and for reuse this can be a disaster.
One might think that all drink stick packaging is the same or really similar. It isn’t. My wife enjoys a variety of ways of flavoring her water. I’m not a fan of most of these drink sticks, they are too sweet. I digress. The outer carton is great for trash printmaking.
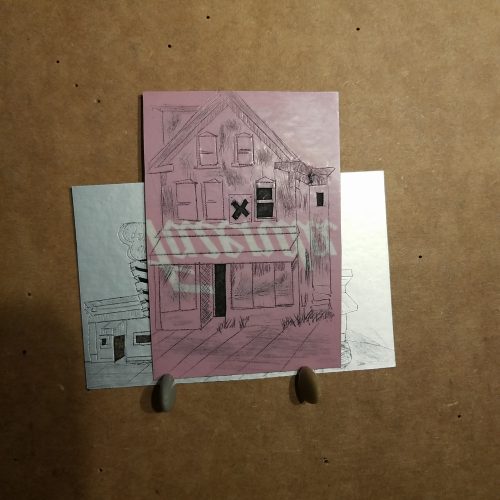
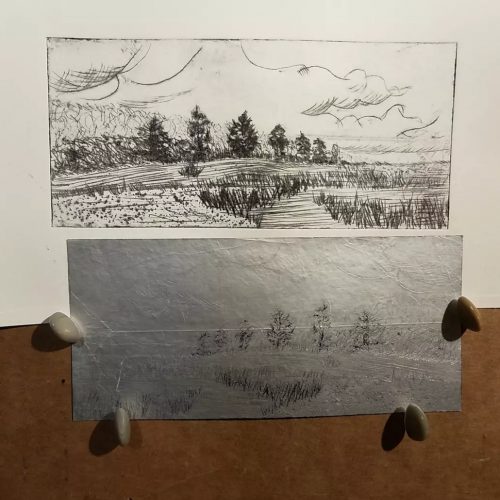
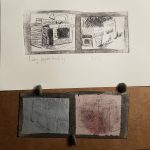
The carton is thin and made of pulpy single wall cardboard and should be mounted to either a piece of heavier carton or some manilla folder with wood glue or even white PVA (Elmer’s.) After that the carton can be carved/etched. 
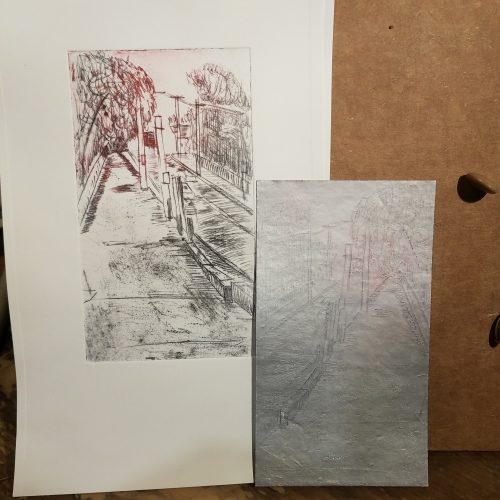
The printing on these cartons varies a lot from company to company. Not surprisingly what you can accomplish with each type of carton is wildly different. Some inks flake while others will accept a super fine line from sandpaper. For some the surface of the ink erodes when the plate is cleaned and made ready for printing.
I used a baby wipe on an Ocean Spray cran something carton and it almost wiped off all the ink! The carton for Arizona tea didn’t budge but the fibers in the carton lifted and became very coarse. Meanwhile a carton for a mini mic I ordered went from shiny to matte.
This makes me wonder about pre-treating these cartons with something like polycrylic finish. The point is to reuse but is there a way to increase viability of these cartons? Part of my goal/philosophy is that I’m pulling things out of the garbage and reducing my waste, while also making great art. I do wonder if applying a coat of polycrylic before carving/etching* the surface. I will have to experiment with this as a process too.
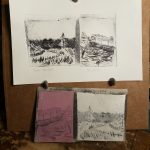
As a side note, I was thinking to myself, “You know I should compile a lot of this info that I’m writing up for the blog in zine format.” I had a vague memory of thinking the same thing a few years back. And I had a nearly complete if utterly boringly composed first draft. There are things to add to it and I really do hope to create a zine to offer on here all about the several different forms of trash printmaking I’ve been exploring this last year.
*I’m struggling with what to call this process, I’m using an etching needle and I’m incising lines but I’m also using a knife to cut and peel away. I’m etching and carving. ARGH