One of the many things that has made this Unofficial Artist in Residence work has been that I do not go every day. I don’t pressure myself to do the art thing every single day. I know that for myself, daily challenges that put pressure on me to do a thing EVERY single day lead to failure. I don’t know what it is about the DAILY Challenge mindset that I just can’t do, but I can’t.
Today I am taking the day off from my Artist in Residency. I have up until today gone to the Willows to work every single weekday and most weekends where it hasn’t been pouring rain out.
Today it isn’t raining right now, but it has been raining for a lot of the night and I also know that I have to put my studio back together after the gallery opening.* So instead of going to make art and set my day up with art, I’m heading straight into work.
As much as this kind of sucks I also know that it will pay off in the long run.
Anyway, this is not a post griping about work, this is a post about shifting things as necessary.
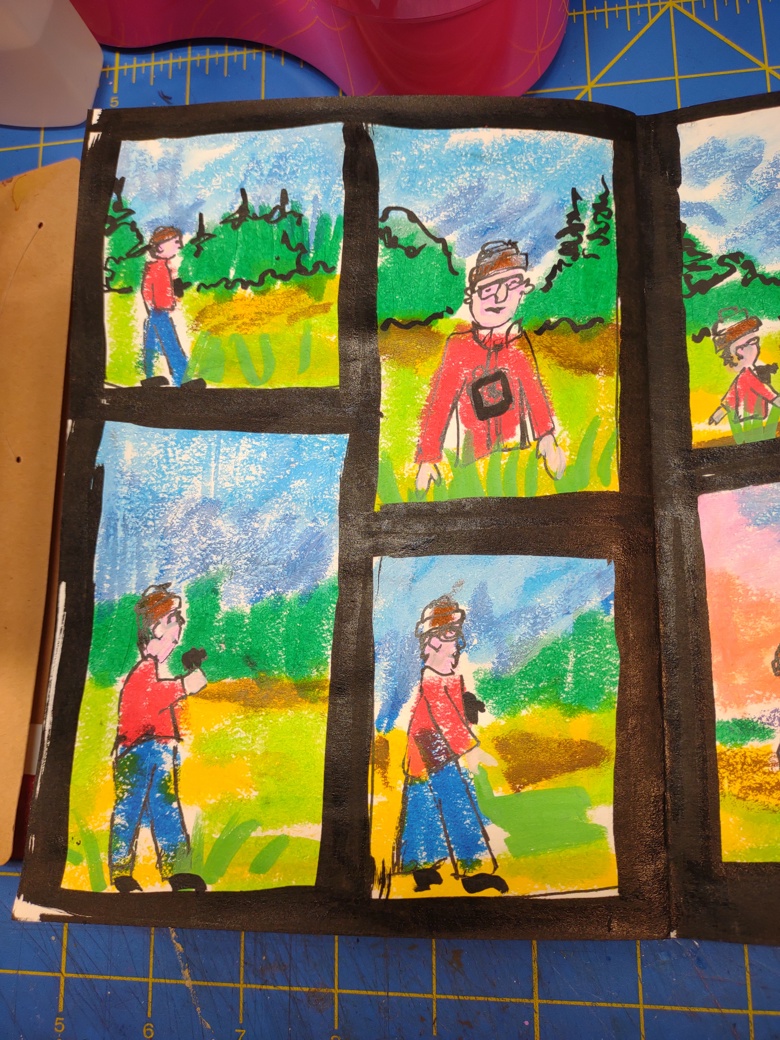
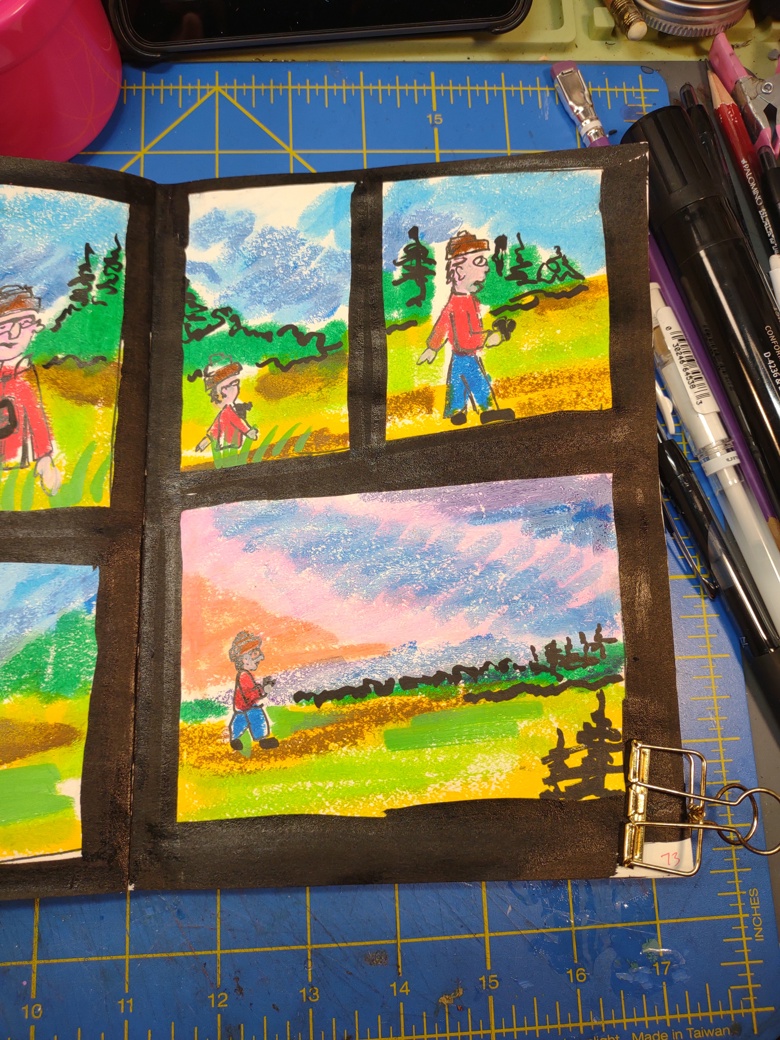
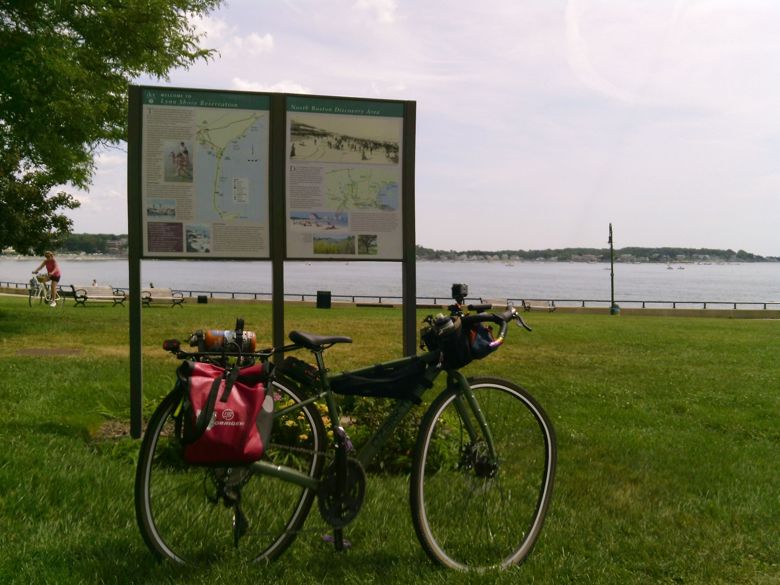
Yesterday I was not going to get out and make art outside. I looked at the weather forecast and the prediction was for storms in the afternoon and an okay morning. At 11 am I realized that I was running out of time so I tossed a bunch of stuff into my tote and headed over to the Willows.
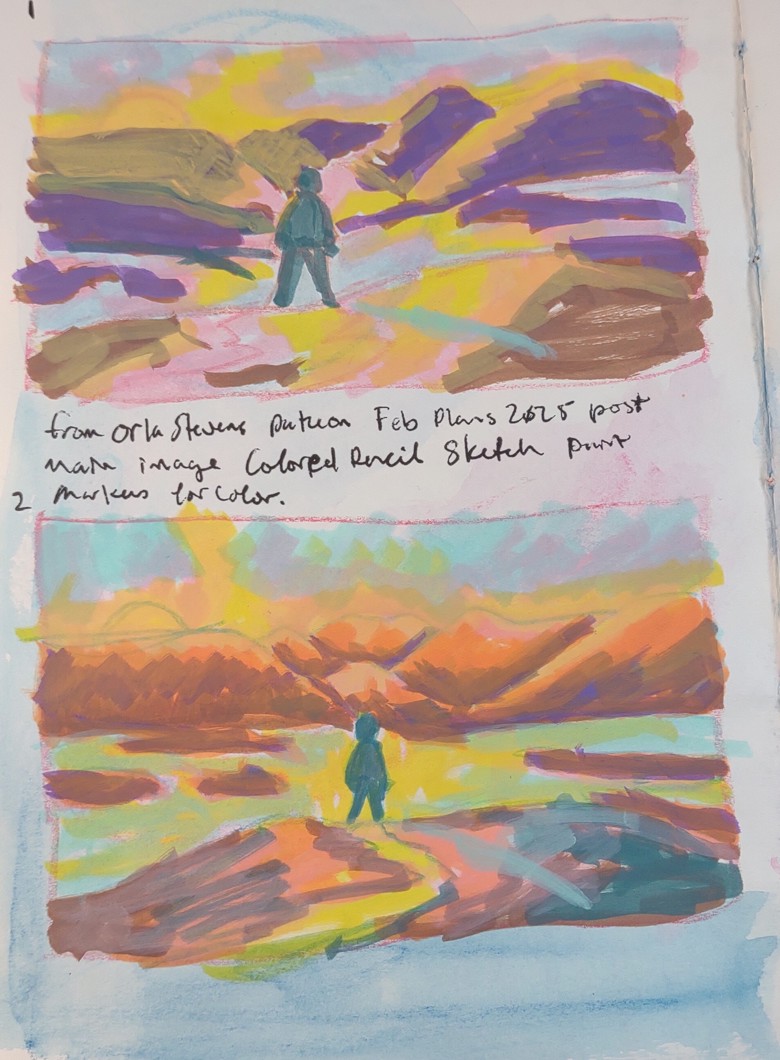
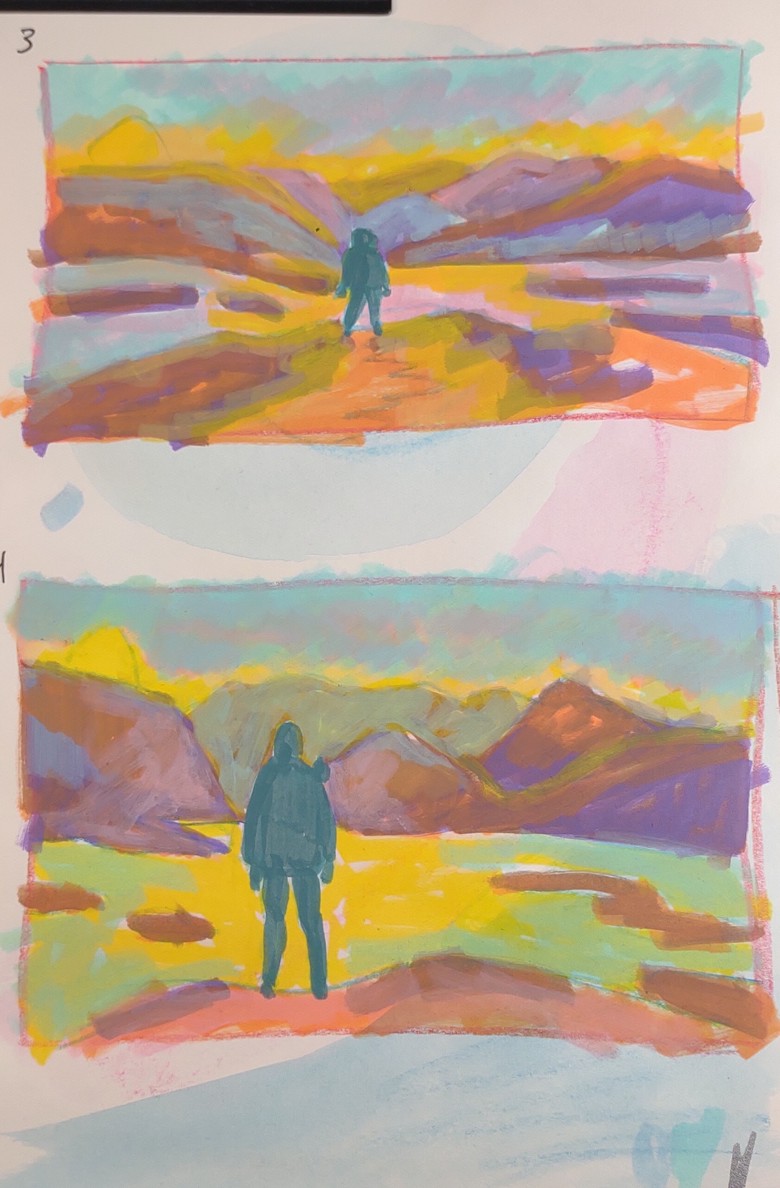
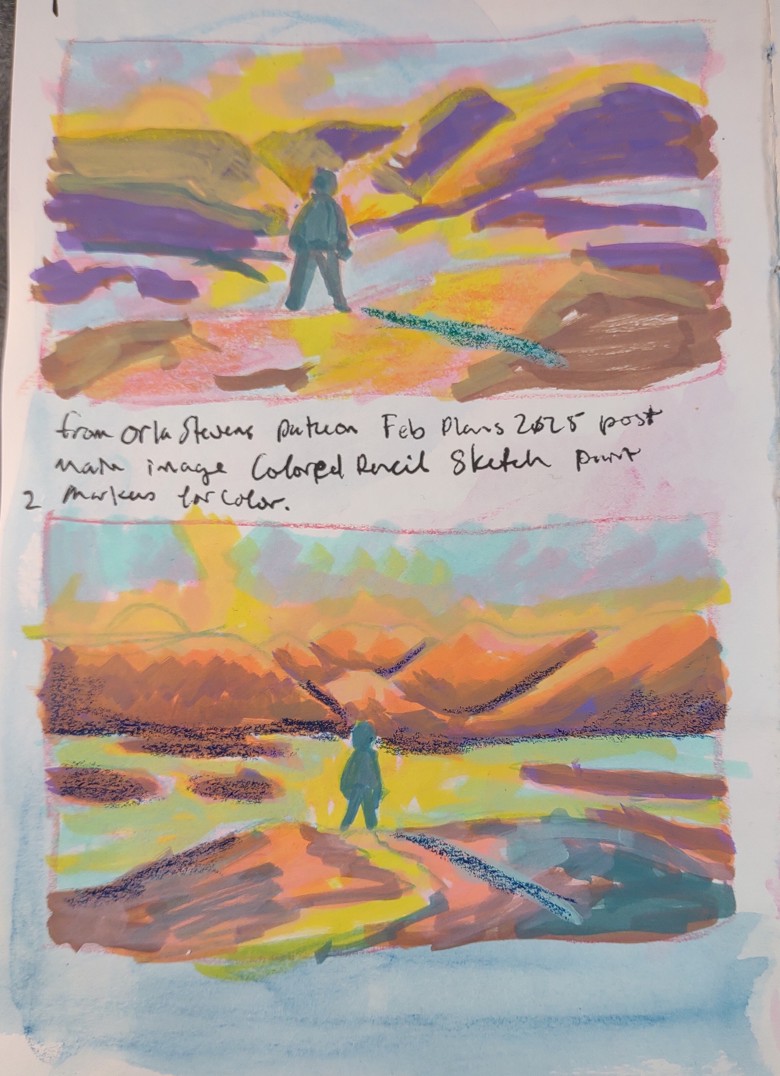
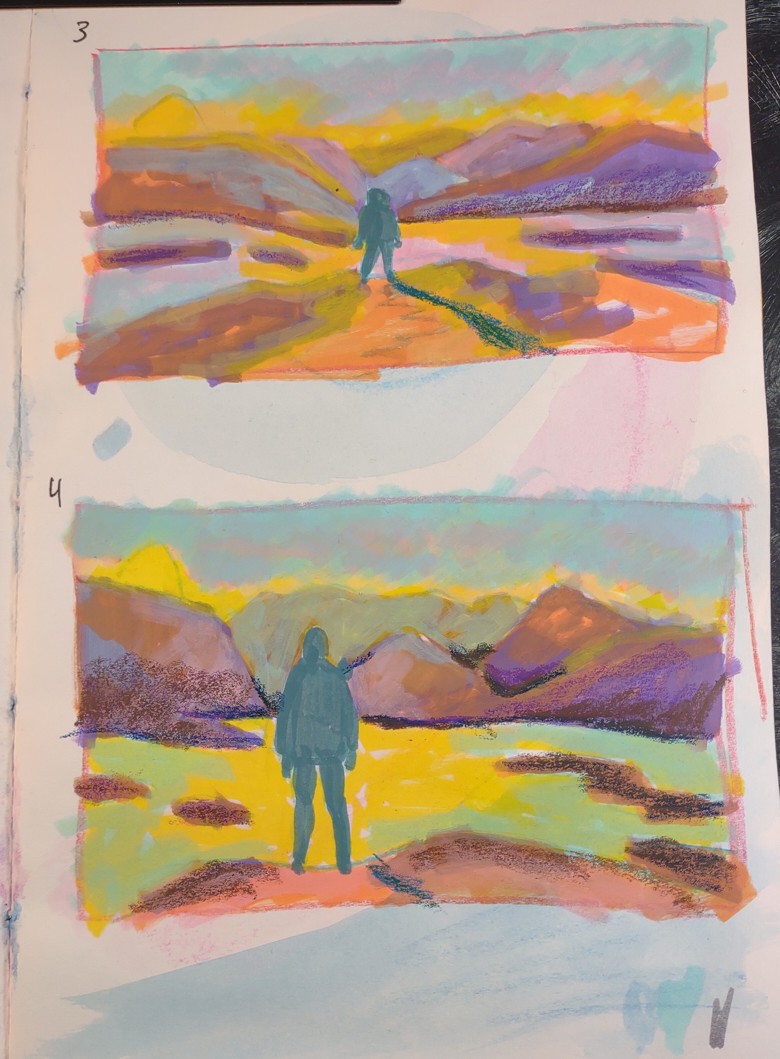
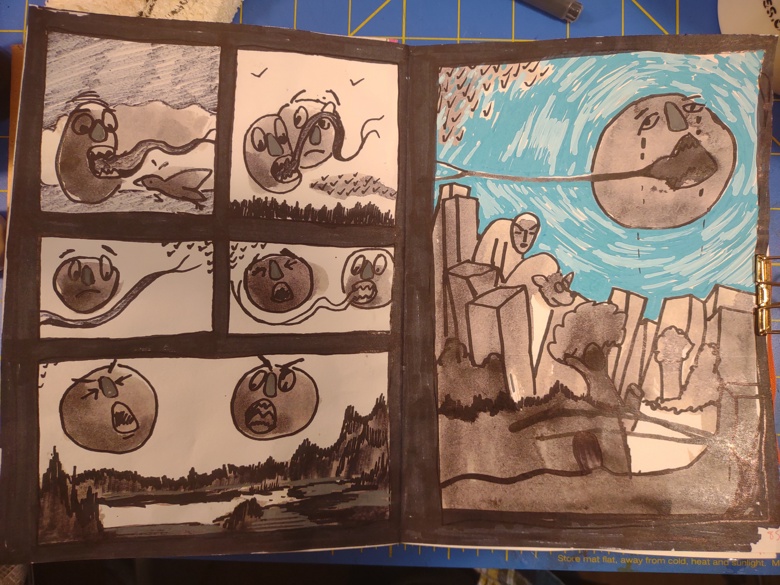
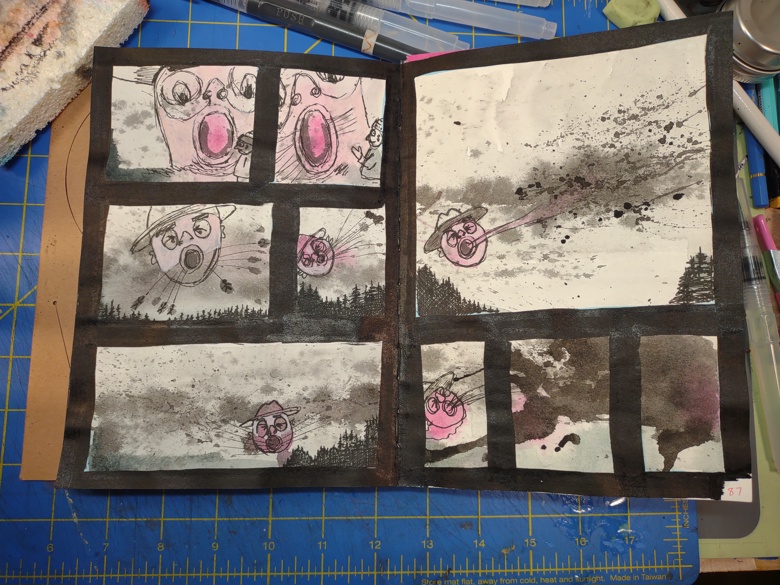
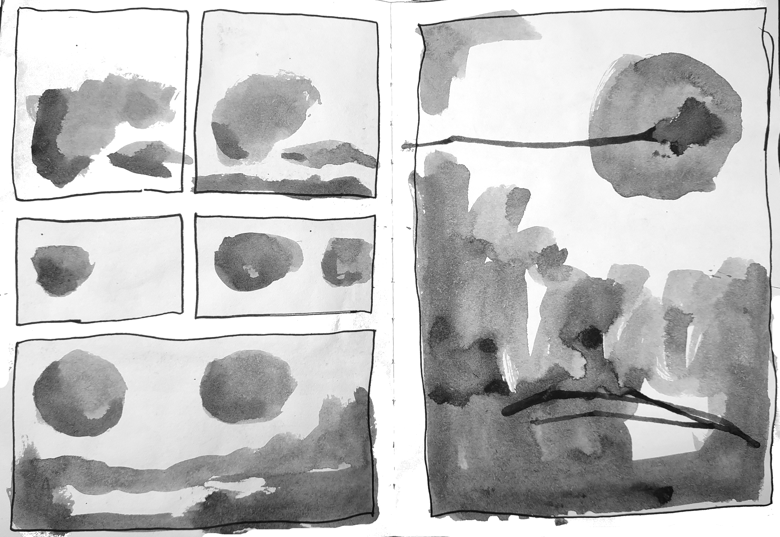
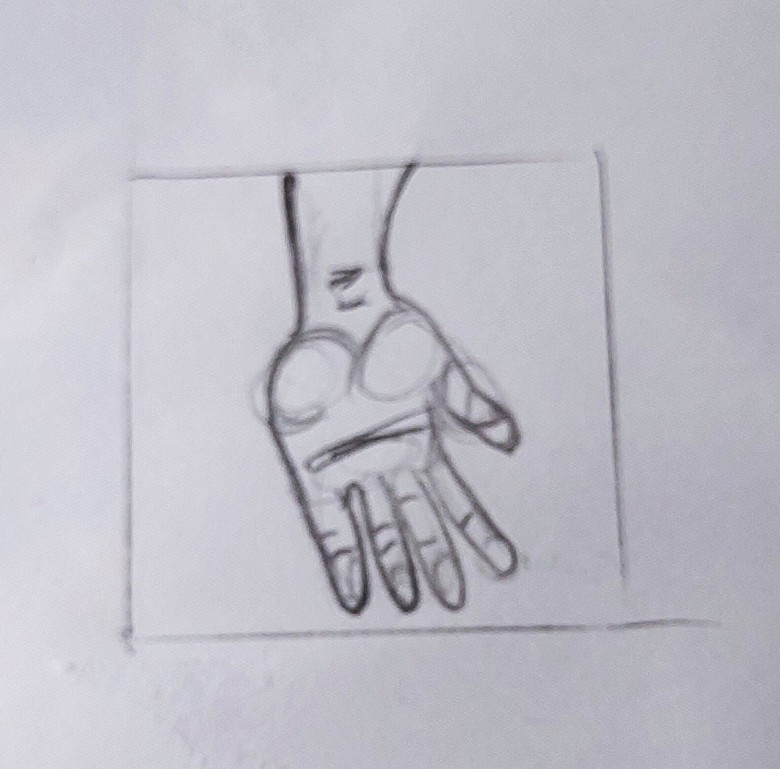
I ended up making 5 small pieces that are still larger than my usual postcards. These pieces are incredibly sketchy and loose. I REALLY like them. I also like how they are serious backgrounds for more finished works. They may end up glued to panels as grounds for more finished works with acrylic or gouache. I’m not sure yet.
4 of the 5 videos I shot are put together in one longer super cut video that will hit YouTube in about a week. I did end up muting the video in spaces because there was a queer color guard practicing for the pride march that is coming up and they were BLASTING their music at certain points. I do not want get a take down notice.
So far, my showing up “rules” have been unwritten. So here they are:
- I go out on weekends if I feel like it.
- I do my best to go out every week day, like it is my job.
- If I need to do something else in the morning, I don’t pressure it, I just don’t go.
- I try my best to make time for art outside every day, but if I can’t, it’s not a big deal.
- On days where I can, I spend more time making art.
- The videos document the process, but aren’t necessary.
- The goal is for one small image as often as possible. The standard size is a small 4×6 inch postcard.
- If I want to work larger, I give into that itch when I can.
There may be more of these as time continues. I feel as though I’m almost into the time when I have to switch into the next step of the residency process- the deepening of my art making, the next steps of transforming those sketches into more final pieces of art.
Of course I’ll take you on that journey.
*It’s a yearly thing and I look forward to it every year, but this year, I’m REALLY thankful that it’s over. Normally my studio is unaffected by the party. This year I had the kids who work for me poach my tables for vendors that showed up without tables. It’s a disaster.