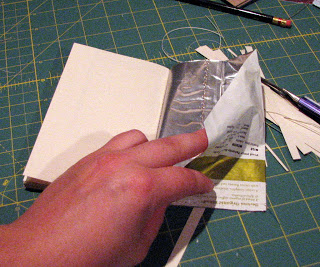
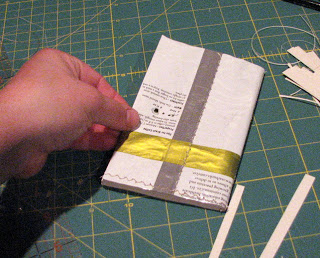
To make your coffee bag jotter can be finished easily now that you’ve prepared and cleaned your bag. Start by lightly ironing the mylar, use a very light setting on you iron and cover the mylar with paper to protect your iron.
 Too hot and you mylar bag will curl. Be careful.
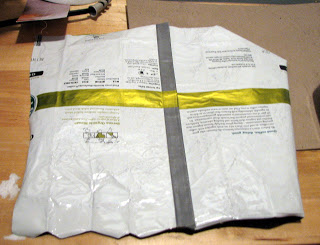 I like to stitch down the flap with a zig zag stitch but you could use any decorative or straight stitch- or not stitch it at all.
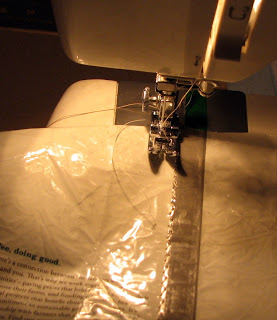
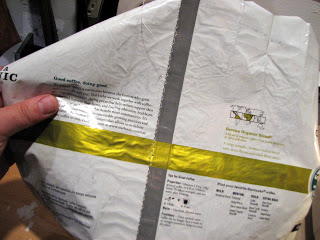 Here you can see where I’ve stitched down the flap. Now you want to trim all the edges and make your piece of mylar square- it’s easier to work with this way.
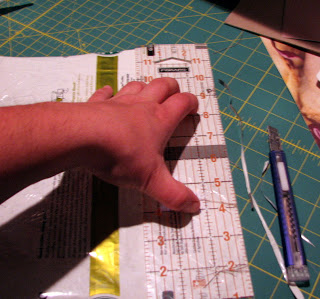
Flip the bag over and measure out the size of your notebook with a sharpie. I’m making a small pocket sized notebook here, so I’ve measured 5.5 inches down from the top. Trim the mylar to the right size.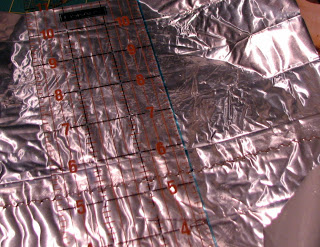
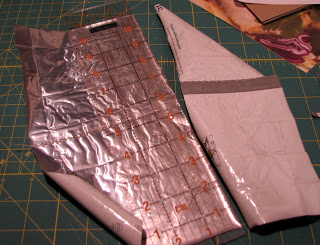
Measure the size of your front cover plus 1/4 of an inch- so for my notebook I’ve measure 3.75 inches in and ‘scored” a line with a pencil. Measure the same for your back cover and score again with you r pencil. Fold along the back cover score and fold any remaining mylar to create a flap.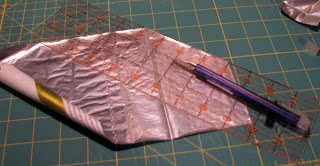
After you’ve created your flap cut an angle to allow for creating a pocket.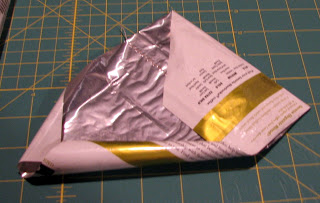
After you’ve folded and cut your flap stitch the flap down again.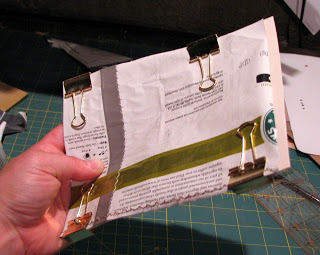
Stack the cover with 15 sheets of paper and use binder clips to hold it in place. You should just be able to see the score mark you made originally.
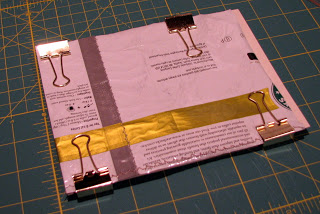
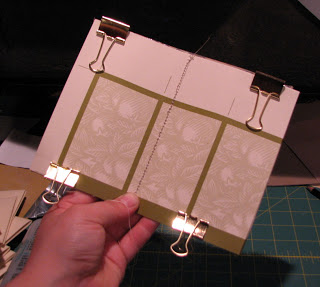
If you use a sewing machine stitch down that score mark using a wide straight stitch. If you don’t have a sewing machine you can punch 15 holes and stitch through them to make your notebook.
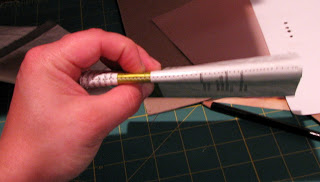
Fold along the stitches press hard, use a bone folder to really crease the fold.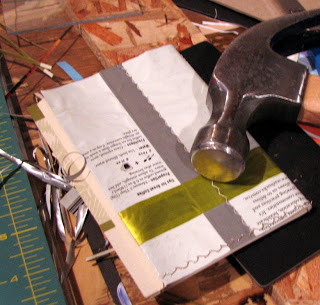
Hold the covers tight to the paper and gently hit the spine with a hammer, sharp hits but not pounding hits.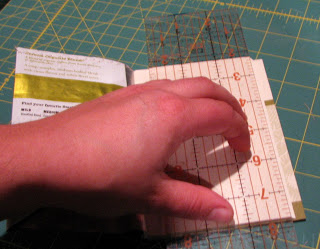
Line a ruler up witht eh back cover and trim away the excess uneven paper.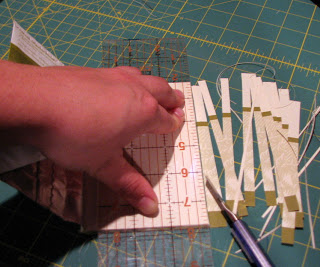

Here’s the finished book. If you don’t like how the cover sits, run your iron over it. If the mylar is too flimsy feeling you can raise the temp of the iron and laminate the cover to the first page.