I've been using heavy cardstock for my stencils for the last few years. Previous to that I would cut my stencils from thick pulpy paper that reminded me of super thick construction paper. The cricut does great work with cardstock, I've not looked into plastic, I like the way cardstock stencils handle.
I start out with a clip art image. I pull that into GIMP remove a lot of the detail and adjust the light and dark. I then print the image and thicken lines with a marker. I also add bridges, so that every area that needs to be connected to another is. The last thing I want is an island that shoudl have been connected not connected. This process takes quite a bit of time. After I'm done with the manipulation of the image it looks nothing like the original I shoot a pic and adjust the light and darks so that it's a crisp black and white line art image.
That image gets cropped to size and then pulled into MtC's pixel trace setting. I manipulate it in pixel trace a little bit and then import the image.
Here are a few process shots:
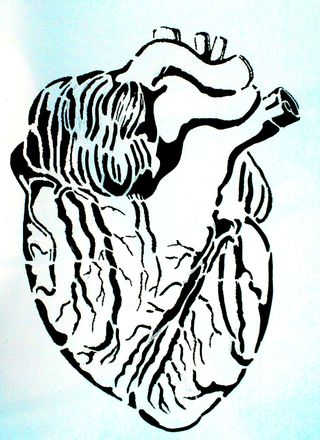
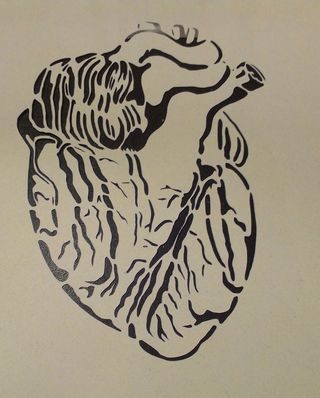
 Above you see the scanned in image, below the actual stencil. This stencil needs a little work, some of the areas are too small to be effective and will quickly clog with the thick paint I'm using. I'll probably import the image again and see if I can thicken those.
