I’ve been fermenting things for most of my life. When I was growing up my parents made yogurt, sauerkraut, wine, and fermented sodas. When I moved out and went to college I fermented my own wine. Since then I’ve fermented on and off most of my life. Mostly I’ve stuck to beer and wine, but rencetly my wife and I sat down and did the math on the cost of yogurt and kombucha and we realized that wwe could make our own easily and more cheaply than buying. So here we are
Consider this a living document. As I read and learn more about kombucha, I’ll update the post.

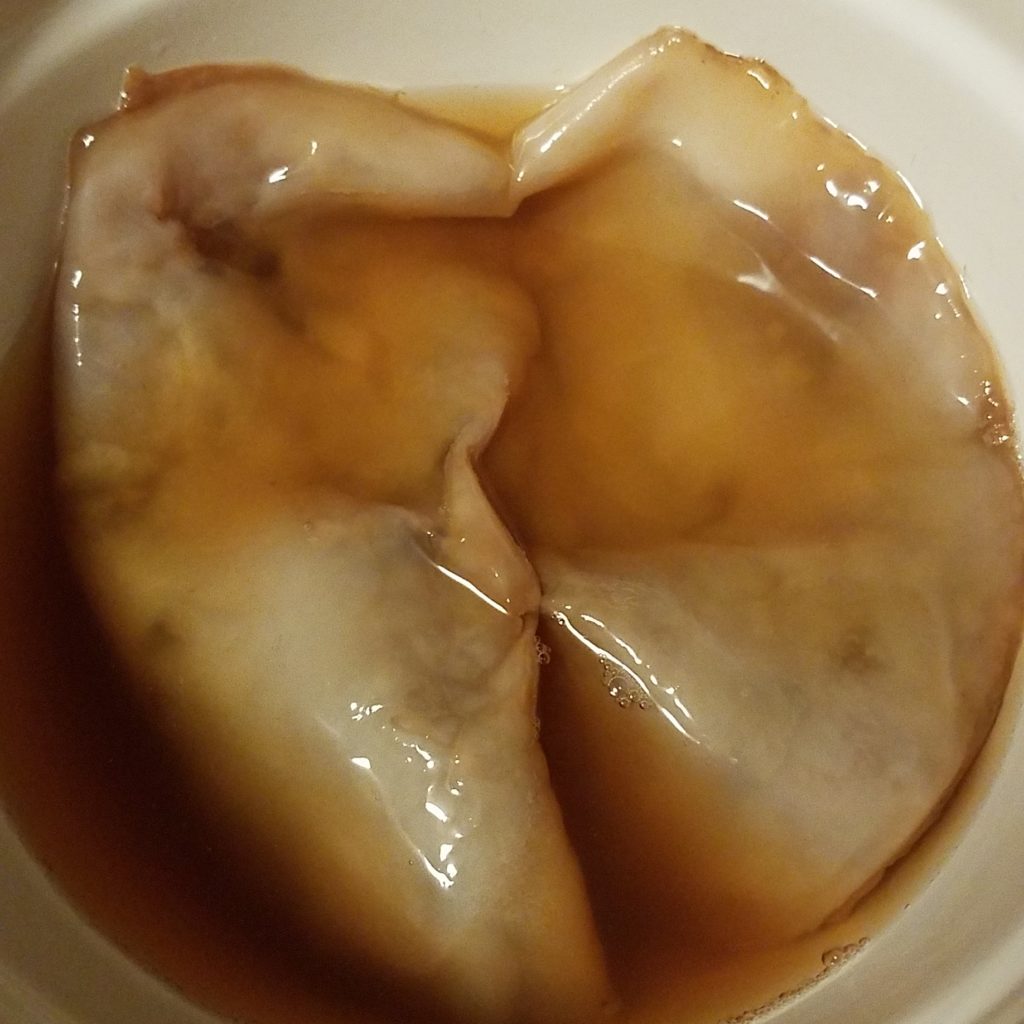
Lately I’ve been posting pictures of my kombucha scoby and getting a lot of questions, so I thought I’d gather together some tips and thoughts on fermenting and culturing kombucha.
- Garbage in, garbage out. The quality of the tea you use absolutely affects the final brew. I was never so aware of this as when I used a green oolong that someone gave me as a gift, not realizing that it was outrageously expensive full leaf oolong. The resulting kombucha was a thing of divine beauty. The taste of the floral oolong balanced out with the mellow black tea was amazing. With mango or my favorite ginger and pear, it was excellent.
- Be patient. Kombucha takes less time than beer or wine, but it still takes about a week plus 2 or 3 days for the fermenting to take place. Poking your scoby doesn’t help it grow faster. (She says as she pokes at her scoby.) Also, wait for the tea to cool to less than 80 degrees before you add your scoby and starter tea. Be prepared for your first brew to take 2 weeks to get going.
- Kombucha likes it warm, but not too warm. I got the best results (in the winter) when my brew jugs were sitting near my pellet stove and between 70 and 80 degrees F. In spring when we aren’t running the pellet stove, I have a foam cooler that I’ve adapted to hold my kombucha, it has a thermometer stuck into it and a heating pad. It keeps the kombucha between 75 &80 degrees.
- You don’t need a fancy starter kit to get brewing and fermenting. Start with a half gallon of tea, 1/2 cup of sugar, and a bottle of plain kombucha from the cooler section of your local grocery store. Look for kombucha that isn’t shelf stable- but refrigerated. I bought a scoby from Amazon, but it had a mere cup of liquid with it. I added half a bottle of GT’s unflavored original kombucha to my first batch and it took off. Tea is acidic but the SCOBY needs some help, a bottle of kombucha is just the help mine needed.
- Keep a journal or log in your bullet journal about temperatures, times, flavor, etc… It will help determine what is and is not successful. If there is one thing I’ve learned it is that I should not trust my memory when it comes to ferments and culturing.
- If it molds toss it. I know that hurts and it sucks, but if you like living toss it and invest in another scoby and bottle of commercial booch.
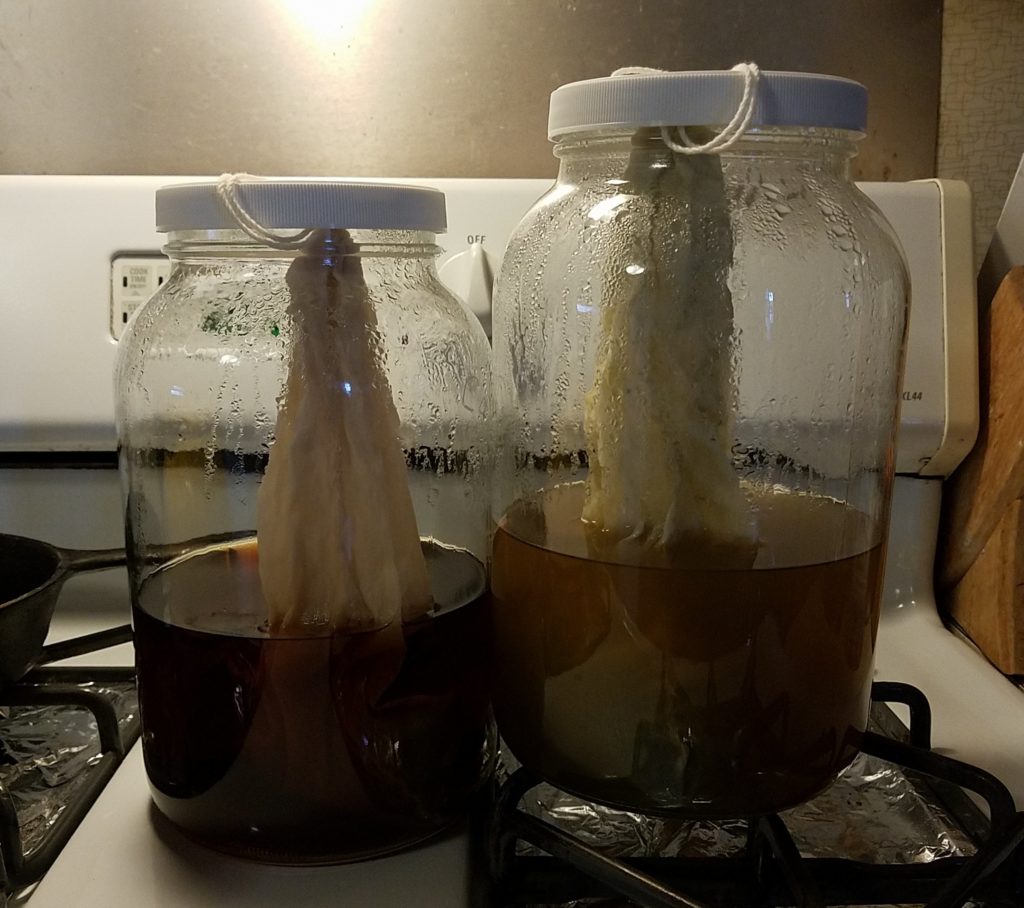
I use a couple of different vessels for my first ferment. My favorite is an old sun tea or water dispenser with a spigot. I can’t find a link to it, but buy a good one with a stainless steel spigot or replace the spigot with a stainless version. I do all my other brews in 1-gallon wide mouth jars from Glass Bottle Outlet or the sun tea dispenser. They come packaged pretty securely via Amazon prime and have lids that seal well, allowing me to brew my tea at night and letting it cool overnight sealed. Also, they have the cheapest price on Amazon.

When my brew is done I use the spigoted container to dispense it into bottles. The spigot makes it super easy to do. You can strain your brews, but I haven’t bothered to do so. Keep the spigot clean by rinsing it off with water and keeping it covered with a plastic bag.
I do my second ferment into used Kevita and other bottles. I try to avoid GT’s newer bottle version because they don’t seal well. You can find my spreadsheet with sizes and brands here. I’ve read that you can put a piece of plastic wrap/cling film over the mouth of the brew to get a good seal on used bottles and lids. I’ve not yet tried that, but when I do, I’ll update this list with my findings.
Burping your bottles seems like a waste of perfectly good carbonation to me. I don’t burp my second ferment. Instead, I crack open a bottle each day and drink it. Generally, I find day 1 and 2 to be too sweet and not bubbly enough. Day 3 is just about right, and day 4 is perfect for my taste. I like mine bubbly and a bit tart, If you add chunks of fruit or ginger you will get geysers of booch. Use fruit juice or strained mash instead. Small bits of fruit won’t bother much, but whole fruit and chunks will make a mess. When I use fresh fruit I puree it with my immersion blender and then strain through a muslin bag. (You can also use them for making cold brew coffee and lebneh.)
For flavoring I add 1/4 cup (60ml) of juice, organic and single flavor if at all possible. Favorite flavors in our house:
- ginger- from fresh ginger. For every 8 bottles, I grate a 3-inch finger of ginger and add 8 ounces of boiling water. I let this steep overnight and then strain.
- Ginger Pear I add the grated ginger to Knudsen’s pear juice. Strain after at least 24 hours.
- Mango- Naked brand
- Mango Ginger see above.
- Apple- We juice a few apples, messing around with blends and varieties.
- Mango blends via Bolthouse juice
When you bottle, you set aside the mother/scoby/pellicle along with 1 cup of 1st ferment for each half gallon of tea you’ll be fermenting next. I always brew a gallon, so I set aside my scoby and 2 cups of 1st ferment. I try to pull the liquid for my next batch from the top of my ferment. Yeasts seem to settle at the bottom. After setting aside my scoby and starter liquid I give the tea a good mix before decanting.
There are a number of good resources concerning kombucha. I found youtube to be helpful but full of a great deal of pseudoscience. The same with most forums on culturing. The best forum for kombucha that has minimal pseudoscience and is mostly good discussion about making kombucha is Kombucha Home Brewing on facebook. Yes, it is on facebook, sigh. The admin of the group has created a number of helpful charts and files for brew ratios of tea to water to sugar. Many brewers in this forum use chopped fruit in their second ferment, which I don’t suggest, but hey, if they want geysers of kombucha that is their problem.