I recently found a journal I’d forgotten about. It’s from the time when I’d moved home and was going through a painful break up. It was a tough time in my life but filled with lots of friends and family. It’s probably one of my more raw journals. I worked in ink, colored pencil, crayon, watercolor, glue, tape and ephemera. The drawings and doodles are not anything like the art I was doing at the time, which was mainly landscape done in watercolor, gouache and ink.
When I worked in that journal I had no notion of what my art journal SHOULD look like I simply worked in it. I wrote more than I drew and painted. I never took that journal with me places, unlike some of my other journals that I did during the same period.
Back then Flickr, Facebook, and Twitter did not exist. Loading an image from my dial up line took forever and was mostly reserved for my eBay sales. Sharing art was a commitment. Blogging was just starting out with services like LiveJournal and DiaryX.
It wasn’t until many years later that I’d make the commitment to sharing my art via the various photo sharing sites like PhotoBucket. It wasn’t until LiveJournal took off that I found many images of art journals being shared.
By that time my art journals had a look of my own, but still I felt I needed to add more stuff to make them more artsy.
Then I got over it and worked in my own style and used the materials that I liked, not what others dictated that I should like.
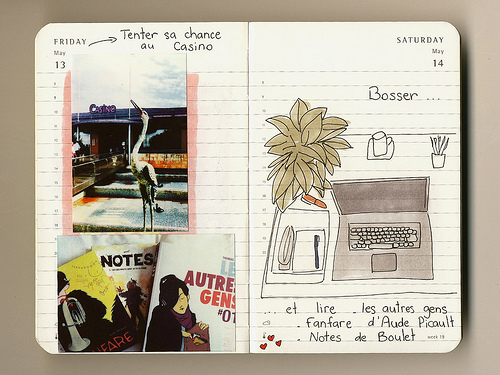
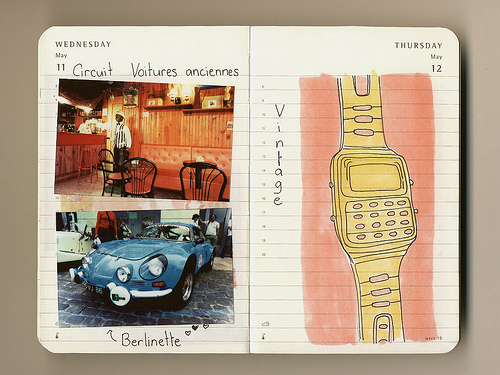
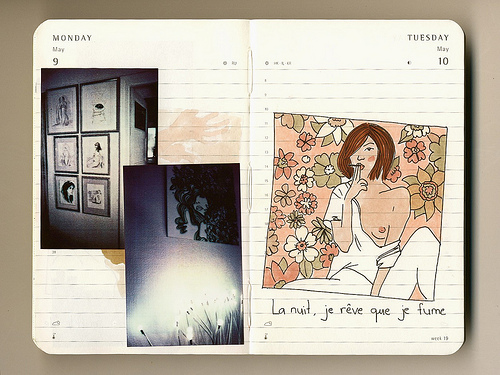
I like to use photos in my art journals. A few people might say that takes my art to the realm of scrapbook but I don’t think that is the case. I’ve been using polaroids, film prints and mini polaroids in my work for years. The only difference is that now I’ve got software that lets me adjust the images to what I want them to look like.
What I’m trying to say is that an art journal can have anything I want in it (or you.) It’s all based on how I best feel I can express myself. Let go of what you think your art journal should look like and what you feel others tell you it should look like.