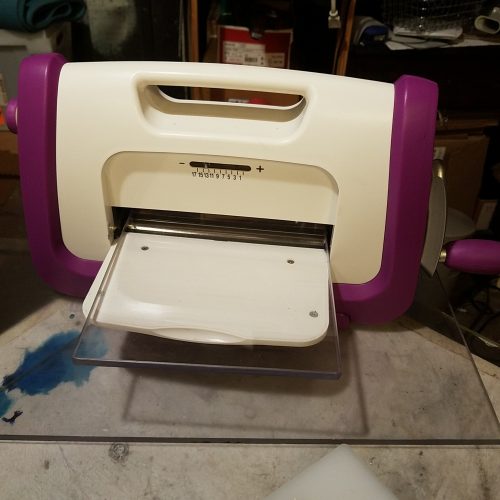
Yesterday marks the Return of the Mini Press! As much as getting the press was a pain in the rear, the customer service person who I dealt with was lovely.
Now that I know more about the press, and I’m checking pressure with EVERY plate change, it’s working great. I spent a few hours and inked up a few plates and it was really nice to work on the prints.
I wanted to focus on one print and plate. 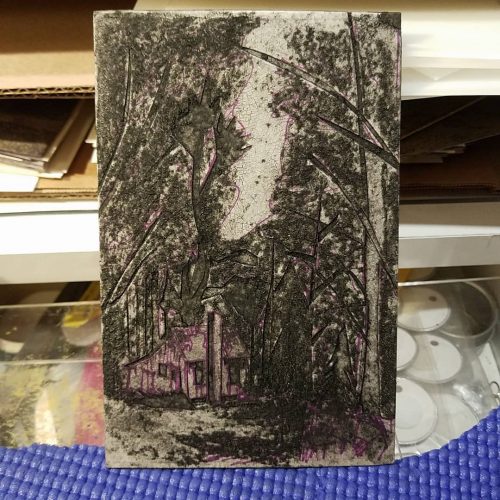
The plate is made up of 3 sheets of cardstock cut from a pizza box. I laminated this together with regular old white glue (PVA if ya fancy) and put the whole stack in my book press for a few hours. I then let this dry in my drying rack.
I sketched directly onto the plate with pencils. I went over that with an extra fine Sharpie. This was okay because I knew I’d be sealing the plate. I have found that under pressure and with the use of the Speedball Supergraphic ink, unsealed sharpie lifts onto the print. It makes a halo the color of the Sharpie. Annoying.
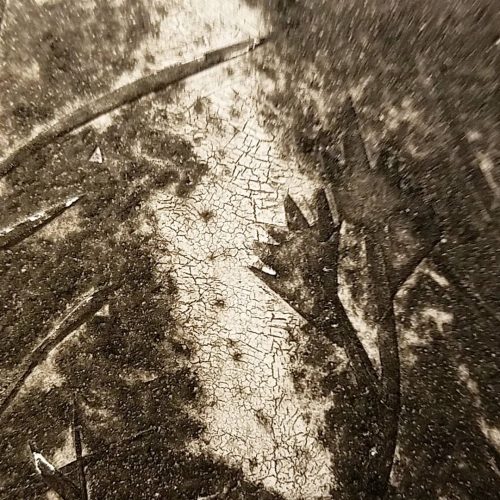
After that I cut shapes and peeled the paper back. I etched into the plate with a needle and craft knife. When I was happy with my base image, I went back into the image with a liquid matte medium and sand mix*. I brushed this onto areas I wanted to be deeply dark. I used a q-tip (cotton bud) to move the sandy mix around a bit. Then I wanted to try something fancy, I coated the light area in the sky with that white glue. I knew that with the amount of moisture in the air (it’s been humid AF here) that when I coated the sky area with the acrylic based varnish I use, it would crackle, but be mostly white. I was right. Even if I hadn’t been I had known in advance I wanted that area light. The crackles were purposeful and look, to me, much like thin branches you see in the sky when you look up through a tree canopy.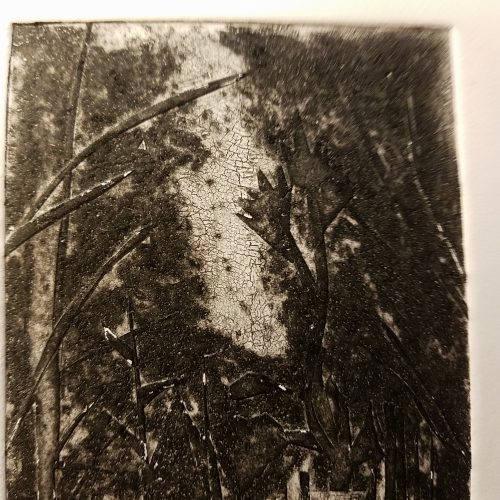
A thing that I noticed is that the rough areas of the plate- in the trees and large swatches of dark, it starts to break down. That card from the recycling bin is very absorbent. I’ll start adding a thicker layer in those areas from now on, but I’m going to reapply more varnish over those areas. 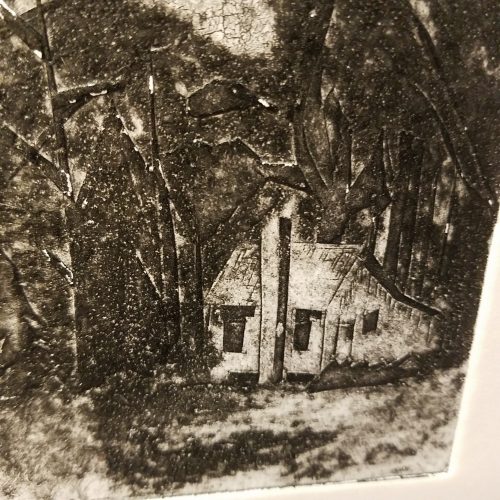
I also need to “wet-pack” my paper. Basically, Spritz down the paper I’ll use for my printing session with clean water, stack them together in a plastic bag, and then print with the resulting soft damp paper. I’ve been printing with dry paper or paper that has been lightly misted just before rolling it through the press. Since I’m cutting quite deeply into my card the paper has to be soft enough to make it into every nook and cranny. 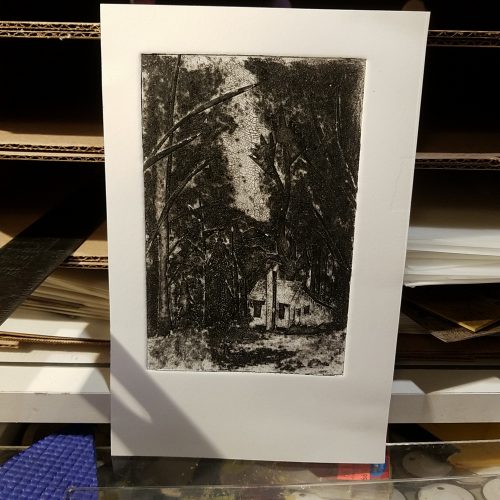
*I’ll explore this in a full post at some point, but I’m currently using 1 part sand to 8 parts liquid matte medium. It was suggested by the Youtube Channel Carborundum Collagraph Printmaking and It is a good proportion for painting on moderately dark areas. I like this blend because it allows me to build up dark areas through repeated layers.
This post is supported by my ko-fi page. If you find that you like my art, or want to get your hands on some of these prints. You have options. If you support my ko-fi page with a regular monthly subscription, you’ll get art mailed to you on the regular. Check this post for more details. I’ll also have prints for sale on Ko-Fi.