One of the things I really love about sketchbooks (and art journals) is that they can really encompass anything and everything. It’s also a point of contention.
Part of me wants to take all the sketchbook videos and categorize them into neat little containers that explain exactly what they are:
a finished art sketchbook- an art book
an art journal- an emotional sketchbook
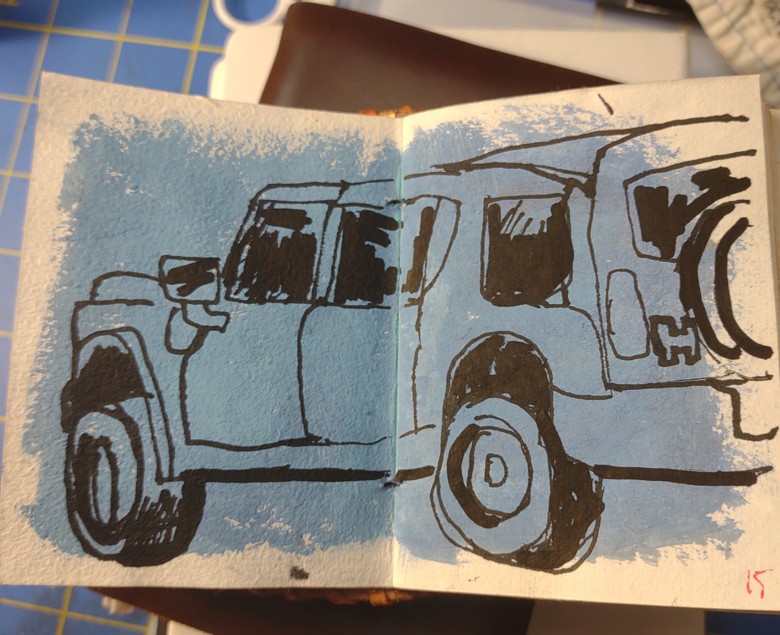
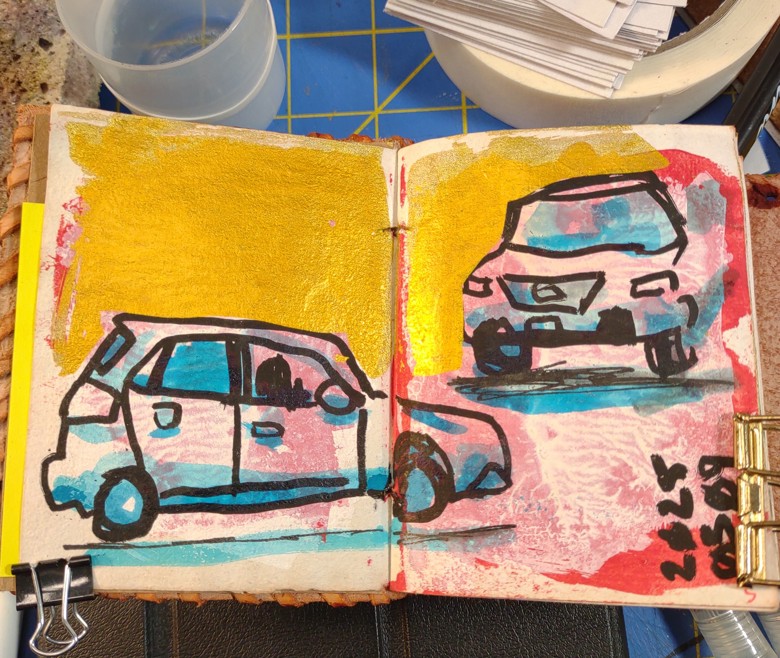
an UGLY* or WORKING sketchbook- a sketchbook with rough ideas
and so on.
Part of my response of “WE NEED TO PUT THESE IN NEAT CATEGORIES.” Is due to the fact that I see all these things are really different, and they are. There are vast differences between an art book, an art journal, and a working sketchbook. The art in each one can be vastly different. But also have similar qualities.
I also think that because we lump finished art books in with the greater label of SKETCHBOOK that it’s confusing for people who want to start a sketchbook. It also sets a bar that is perhaps a bit too high.
As humans we compare ourselves to one another and I know I compare my art to that of other people.
When I look at my sketches and doodles that are in preparation for other pieces of work and then compare it to a sketchbook with finished art pieces, well I feel like I can never match up.
“If that’s their sketch, how amazing is their finished piece?”
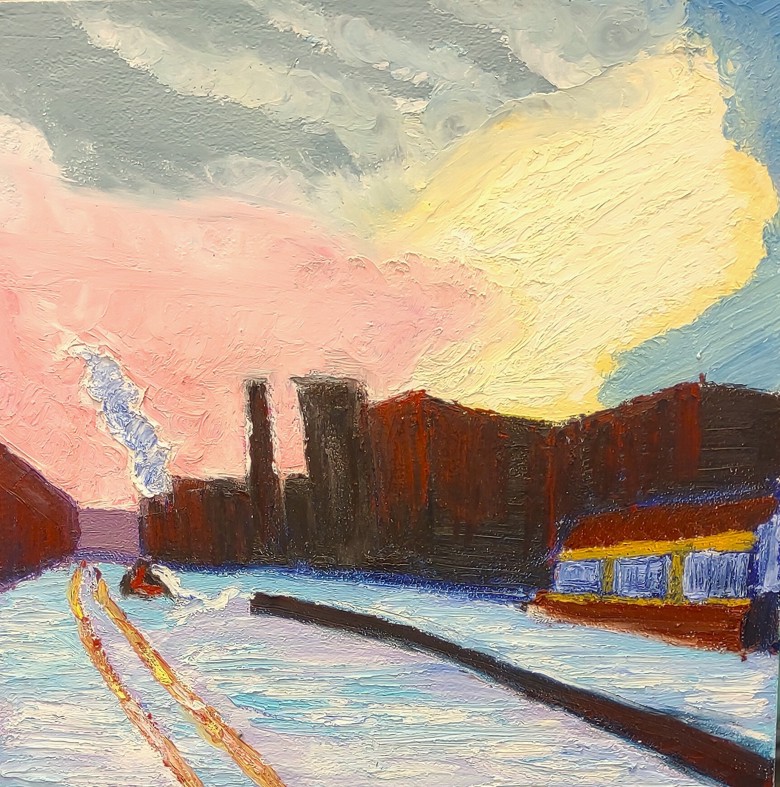
A finished art piece in a sketchbook isn’t a sketch, it’s a finished art piece done in book format. It’s sequential art. And that’s okay but it’s important to note that it is a FINISHED art piece and not a sketch.
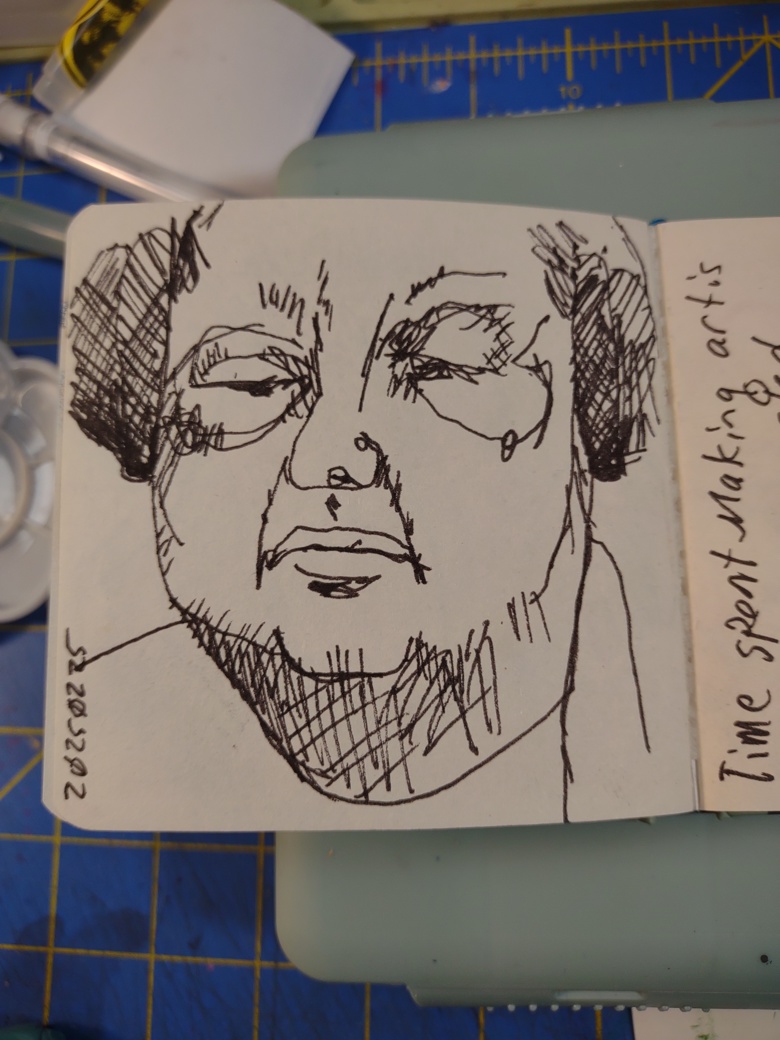
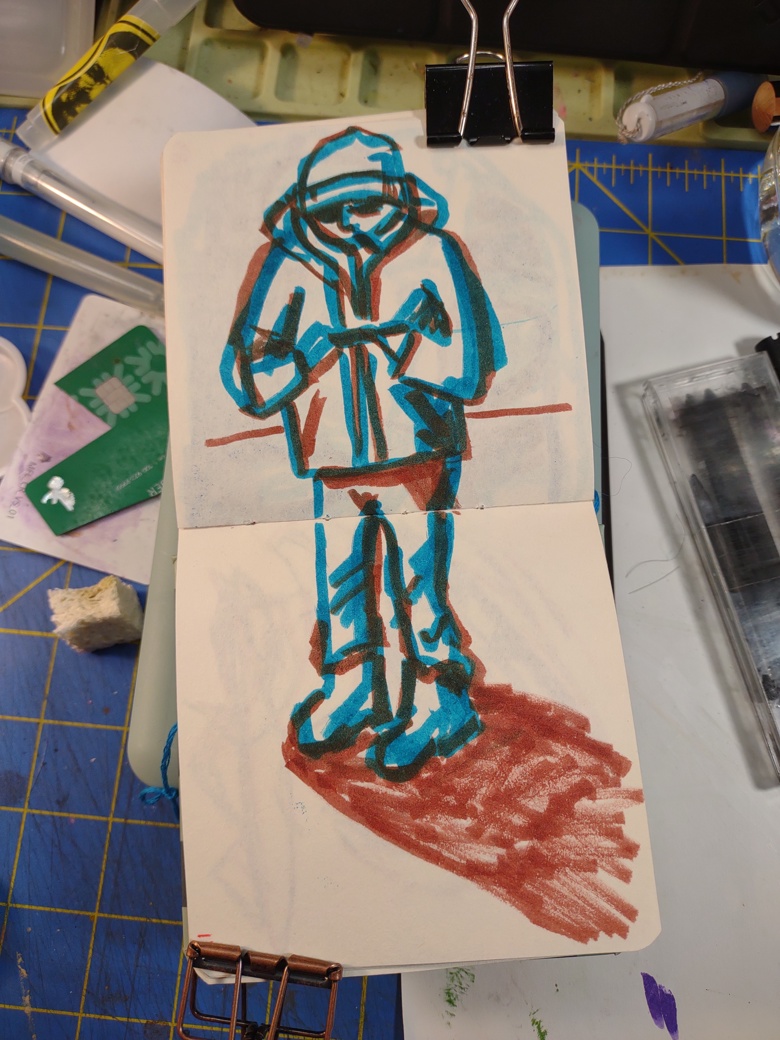
Sketches are meant to be rough. They are meant to be thoughts on paper. Thoughts made physical as we work our way to a more finished art piece.
I am not suggesting that sketches don’t have vibrancy, or that they aren’t beautiful in their own right.
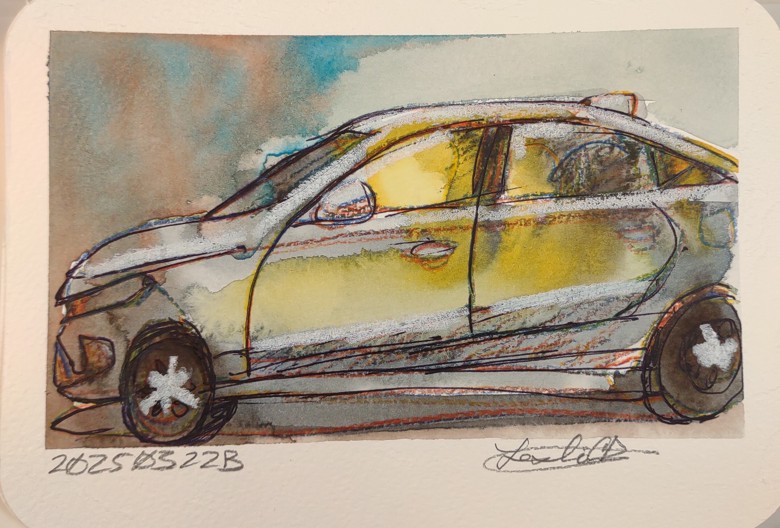
I write this as someone who sells their sketches. I know the power of that immediacy and that vibrant capture of a moment. We respond to the artist’s eye and viewpoint of that moment. Sketches are beautiful and art on their own.
But it’s hard to compare a rough working sketch to a finished piece of art in a sketchbook.
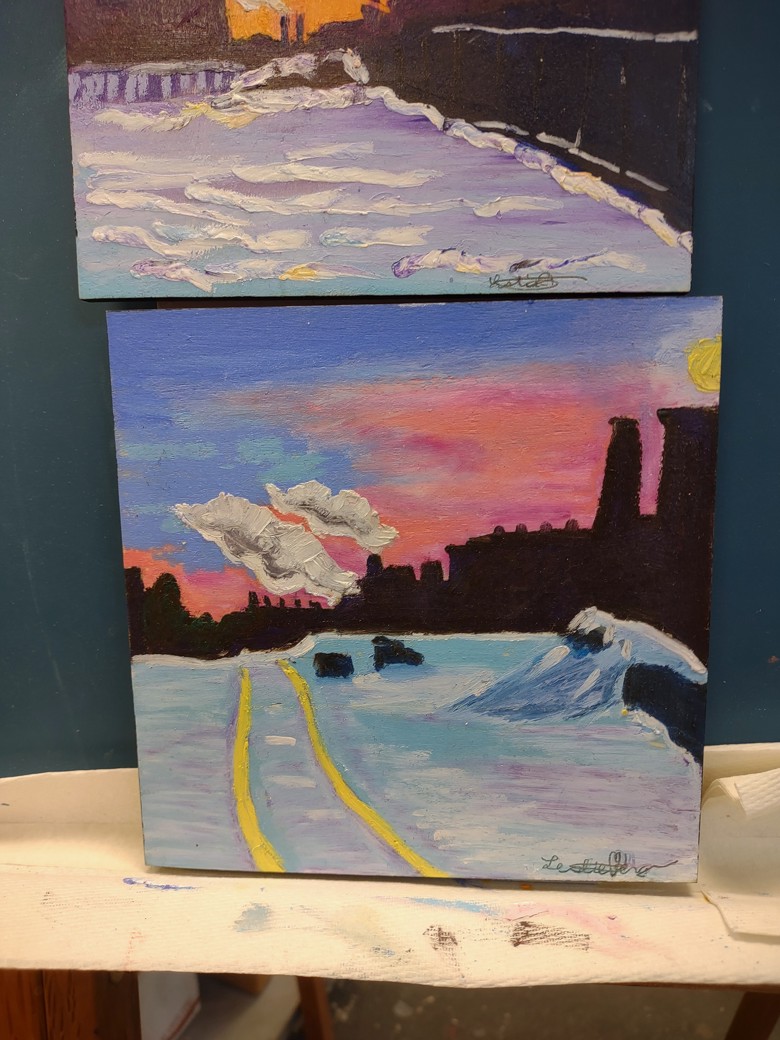
(Going off of this, I think Urban Sketching is really Urban en Plein Air. A great deal of what we do in urban sketching is create finished art works in sketchbook format.)
I don’t know if there is a true resolution to this. Instead when I watch a video or look at an instagram of another sketchbook flip through I note to myself if I think this sketchbook is a finished art book, an art journal, or a working ugly sketchbook. I note this and then think about how my personal classification of these various sketchbooks helps me compare myself less to perfect pictures of art.
(It also helps me when I talk to the kids I work with about their sketchbooks. I talk to them about how we’re creating and using a working sketchbook, and how it’s going to have thumbnail sketches, color studies, and notes about our work.)
*I’m going to note here that I FUCKING hate the term UGLY sketchbook. But it seems to be what is being used here in social media land so I’ll stick with it and SEETHE.