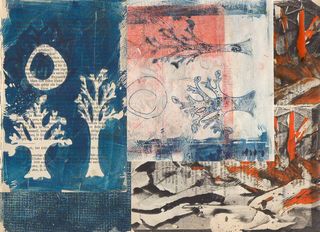
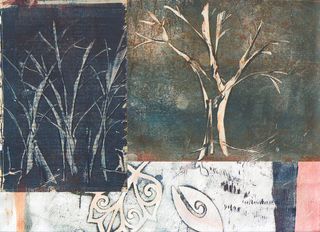
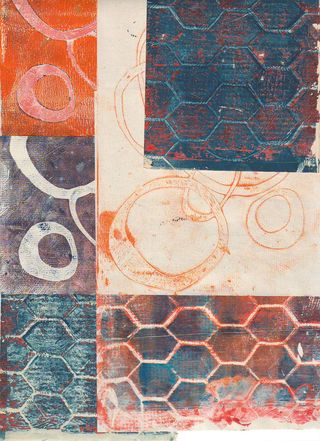
I spent Saturday making gelatin monoprints with my friend Jane. I’ve read a lot about gelatin printing when I took a class in monoprinting in college. It’s a really simple and easy to use technique that lends itself to a variety of looks. Jane took a class with Tamar Etigen at LynnArts a few weeks ago. I found this blog about mixed media by Linda Germaine. Lots of good info on there.
First you need to make your printing plate. You need to make a big tub of unflavored knox gelatin, even sturdier than jigglers. You can buy bulk gelatin online but if you are only going to test this out, buy 3 boxes of Knox brand and mix it with 5 cups of water. This is the most expensive part of this technique. Follow the instructions on the package mixing. Pour it into a tray. we used those heavy paper disposable trays made for heating things up in a toaster oven.
Scrape the bubbles off of the top and let it harden.
We used acrylic paint and waterbased block printing ink. To use acrylic paint as ink you need to mix it with a product called retarder. You can buy Golden’s retarder for acrylic paint or speedball’s for block printing inks, both work. I liked the thickness of the speedball retarder. It allowed me to get heavy thick layers of ink on the block. The thin retarder from golden allowed me to get thin even layers.
You’ll also need a brayer. If you’ve never done any printmaking before you may want to buddy up and test this out with a friend, brayers are expensive and if you aren’t going to use them later for more printing, a pricy investment.* I preferred the soft rubber over the hard rubber.
Mix your paint and retarder well. I used about 1 part retarder to 3 parts paint. Different brands of paint used different amounts of retarder. But the 1:3 ratio seemed to work well. You can also add some gel medium to the paint to get very transparent colors.
Roll it onto the gelatin.
Here’s where things get interesting. What can you do with a solid sheet of ink? Well you can add masks and stencils to block out areas or lay down leaves from your nature walks. OR you can remove ink with q-tips, paper, old credit cards (careful not to cut the gelatin), papertowels, sponges, rags and well, just about anything. The possibilities are really endless.
Then lay a sheet of paper on it. Smooth absorbent paper works best, cardstock does wonderfully. Press down firmly. Peel it off.
Impressive isn’t it?
Spend a few hours playing with the technique. Don’t TRY to make anything. Just lay ink down, move it around, lift it up, put down multiple colors and finally print it. Don’t strive to make anything, just experiment. Make notes in your journal. What colors do you like? What colors lay over one another the best? What tool do you like?
This is one of those techniques that you can use to break up a creative rut, make background papers for collage or for you to allow happy accidents to occur. When you get an ink build up on the gelatin you can wash the ink off with tepid water and a sponge.


After you've made a few hours worth of prints you can wash the surface and toss it in the fridge for another day's printmaking. Or you can package it up and freeze it to use again. You can always melt it down in a double boiler and reform the plates. Don't ever put gelatin down your drains, it'll clog them.
*Though a lot of people will use a brayer in their art journals.