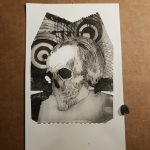
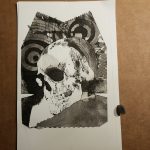
The great thing about trash printmaking is that you become hyper aware of plastic coatings on everything. I mean, okay, that’s not great. So many things in our world are coated in a thin film of plastic and that means they can be used for making prints.
At least I can reuse many of the plastic film coated things.
I picked up a meal at a fast food chain. (Don’t judge, we all have our weak moments.) The cups were made out of paper card and the ice cream pie I added on had a plastic coated card container. I decided to test them out to see if I could print with them.
Results were varied.
They had a super thin film of plastic, soft and pliable it feels more like a membrane than anything else. I washed and dried them then cut them into flats. Any glue layers were removed as was the cup rim and bottom seal for the cup. I should have taken pictures of this process but, alas, I wasn’t thinking of documenting the process.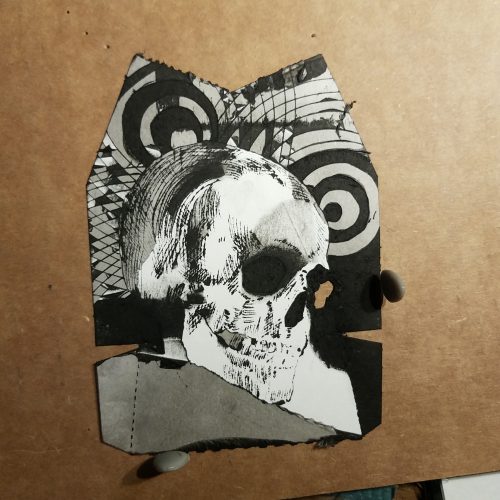
I used a variety of tools- needle, needle scribe, and an Exacto knife to scrape and score into the surface. It was clear that all the tools were raising a burr and breaking through the surface of the plastic film. I could feel the paper fibers raising up through the scores. The plastic film began to peel a bit as I cross hatched lines. Peeling back the plastic film was surprisingly easy it revealed super smooth cardstock, peeling that back left a fiber-y ink soaking surface. 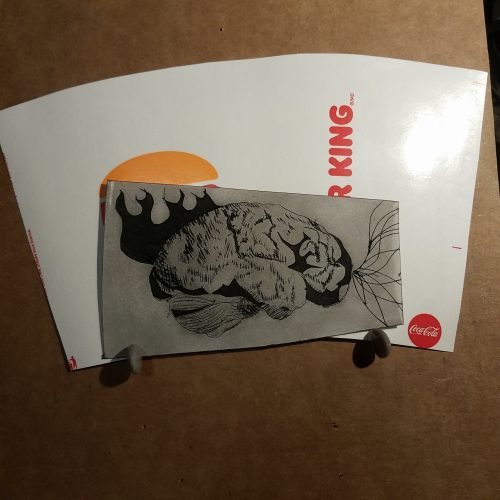
Both stocks felt similar but the ice cream pie box felt softer and thicker.
I used Speedball Supergraphic black ink. A water soluble but oil based ink. It’s a favorite but relatively stiff and sticky. Even with the first print of each small thin slivers of the plastic from cross hatched areas peeled up during the wipe. The sticky ink pulled it up despite the warmth of the day and my studio. 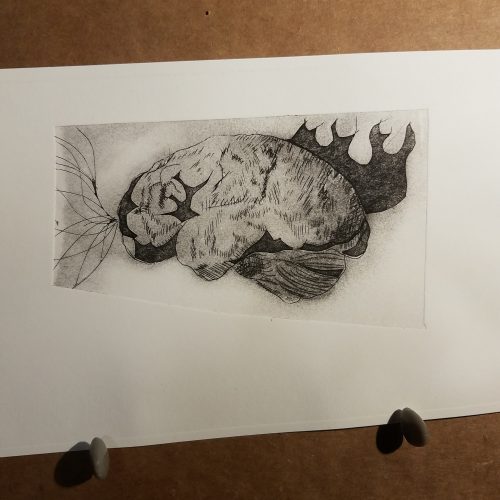
The printing went well and the plate released from the paper well.
The second printing is where things got… rough. The soda cup survived the second print, loose slivers of plastic stopped peeling up* and the second print was as good as the first. The pie box, well not so much. The membrane started to peel even during the adding of ink. I used a soft piece of waste cardboard and scraped the ink over, only to have the membrane peel of in some areas. When I began wiping, well larger areas peeled away. This lent an interesting effect to the print. Some areas that had had ink on them duding the previous print, printed deeply dark while newly revealed areas showed a paler area of dark- charcoal gray. And areas that peeled away entirely were fresh and white showing the etched in areas in great contrast.
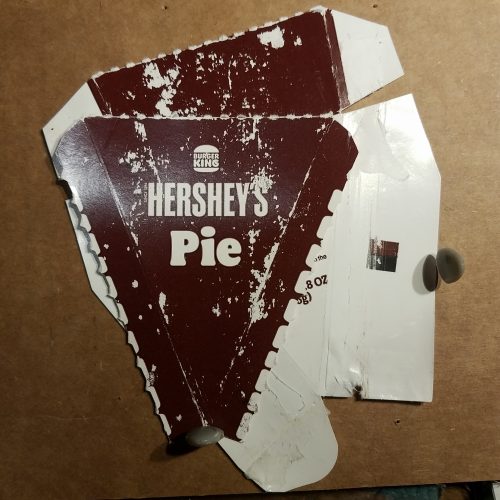
You can see how the box started to break down in just warm water when I washed it.
This means that the box and the cup create monotypes with etched in details. Which is fun, but, I greatly prefer that if I’m going to go to the effort of etching in details that I get more than 2 prints were piece of trash. 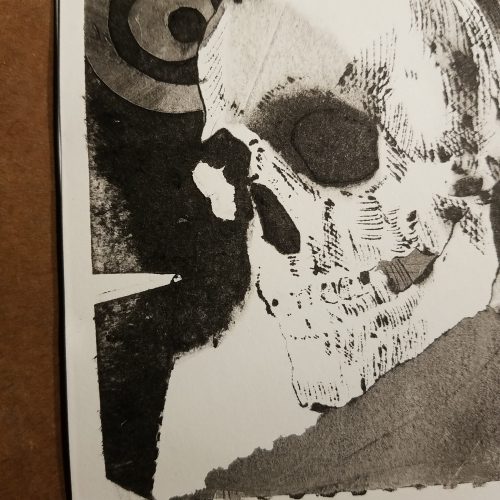
I do wonder if the oils in the ink broke down the plastic and if a loosened up waterbased ink would work better. I have some Speedball waterbased inks so I might try some of those with them. It is also tempting to mix up some paste and black watercolor to test these pieces of trash.
Anyway, even if it is a single print it’s better than just tossing the stuff in the trash. (This sort of packaging is not recyclable in my area.) The plate is also a work of art and can be mounted and framed. Some won’t be as successful.
With regards to using Akua inks. I know that a lot of blogs and sites call them “water-based.” They are not they are made of a modified soy oil that is water miscible, which means they are oil based and water soluble. If it is the oil that started the break down of the plastic film the same would happen with Akua inks.
*Well, after the second print I could see more areas where the plastic had loosened during the printing.
This post is brought to you by my Ko-Fi supporters and sales. If you found this post helpful or interesting, feel free to hit that Ko-Fi button on the right side of the page and send me a coffee. No affiliate links today. NO I didn’t buy the fast food with Ko-Fi cash, I used DayJob funds for that.
