An aspect of learning any new art process it learning about your new tools and the marks they make. Each tool in a new material makes a different mark, add in something new and it alters the mark made. Learning these marks is a whole new visual language.
Enter in my exploration of drypoint via the use of recycled materials. each material responds to the tools of dry point- etching needles, needles, sand, grit, and other tools in a slightly different manner.
This plate is a good example of how the substrate changes how the coffee bag responds to my tools.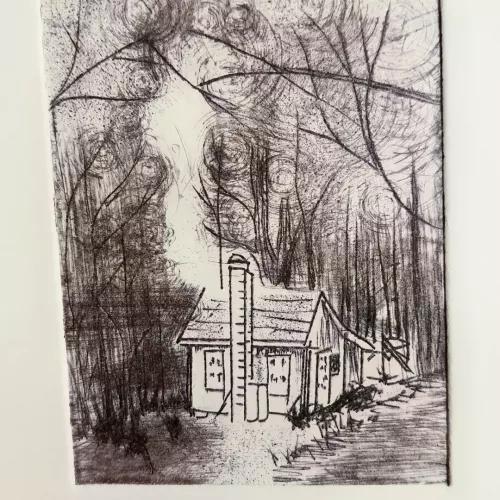
I glued the coffee bag to a piece of old binder board, one I never liked for books because it has what I can only describe as a “soft fluffy” texture. It indents wit a finger nail and though it cuts with ease, I’ve used it as a base for collagraphs in the past and hated it. But here, it works great. I did run it through the press a few times, each on successively increased pressure to compact the soft fluffy fibers. It is still soft, but less fluffy.
This soft texture allowed me to press into the board with some decent pressure, giving nice bold lines. Light pressure allowed me to get the finest of fine line. I used some sandpaper with varying amounts of cross hatching to create some very fine lines that created a nice depth of texture and darkness. It really evokes the depth of the woods in that area. 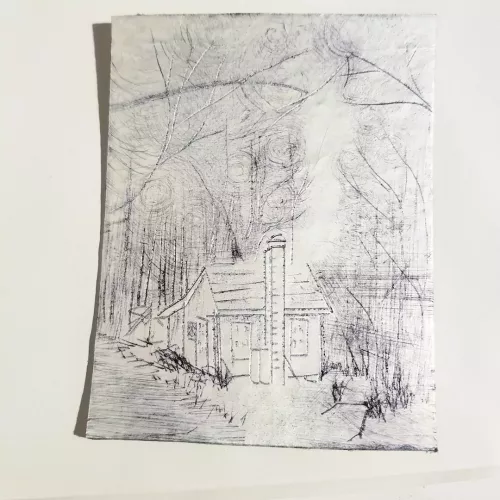
The sandpaper wrapped around a finger and then with the plate spun under it gave the swirls of lines in the branches. I really like the look and hope to make a few texture tools with sandpaper to give more control.
Anyway, now that I I know I like the coffee bag on a substrate as a method of printmaking I’ve been able to experiment with the look that each tool makes as I use it in different manners. I’m having fun with it and developing a visual language of marks. I’m learning each and every tool.