Category Archives: Reflection

State of the Art: Printmaking Play

I’ve been deep in art play mode lately. I apologize for the lack of pen posts and overwhelm of printmaking play posts. I do have a review partially completed for a great pen that I should be posting soon.

Printmaking has been a passion of mine for a long time but lack of a press and interest in other art making has taken up much of my time over the last few years.  I think that the last time I posted here about printmaking was when my friend Jane and I made gelatin plates over ten years ago! (Just writing about them makes me want to make more gelatin plates!)

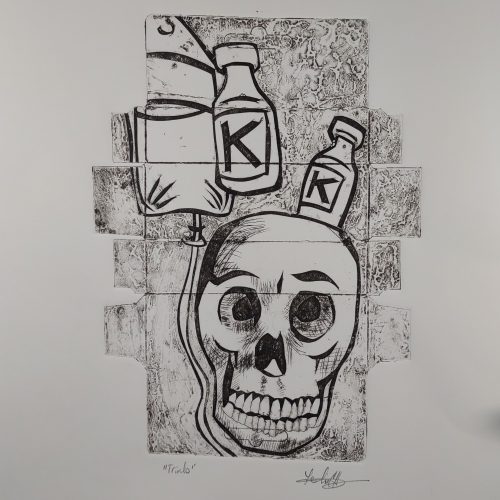
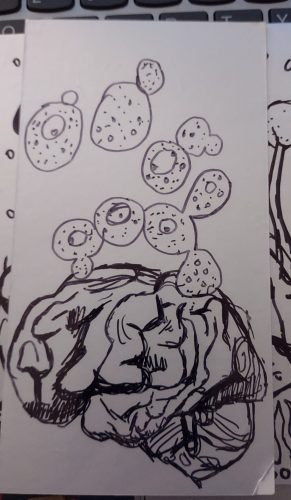
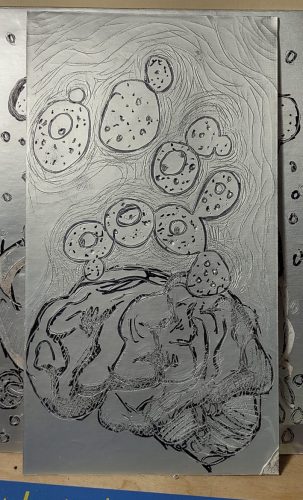
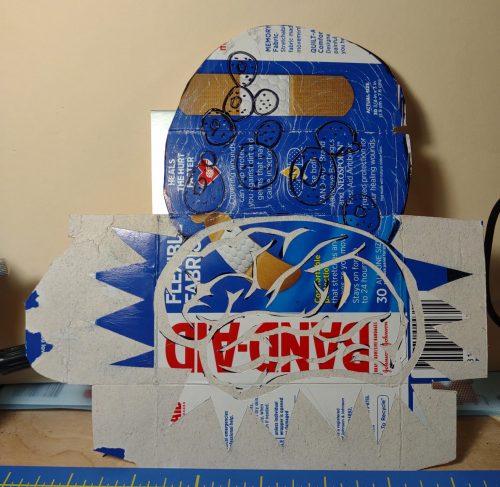
I’ve been testing out how different materials collagraph- what they look like and how they stand up. I also purchased a pot of Speedball SuperGraphic Black and a tube of their fabric ink in brown.  The SG Black is taking forever to dry, but it’s also been incredibly humid and cold here. The fabric ink started to set up as I rolled it out. But both inks look great- on paper and fabric!

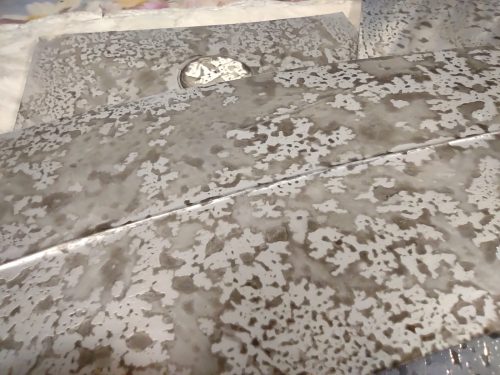
With collagraphs building the plate is just one part of making the image, inking is the second part, but the most important is wiping. In this final last part of the process, like etching, the printmaker controls how much of the ink is left on un etched areas of the plate and how much wiping will occur, also, if any texture is left in that ink. Changing one aspect of the wipe can almost completely change the image!

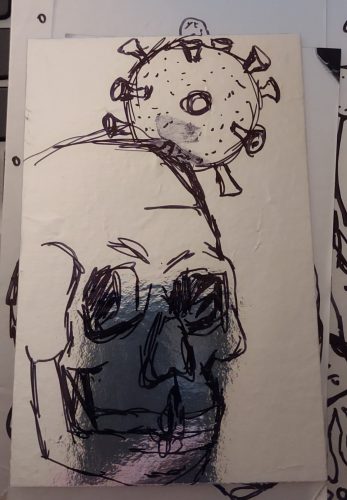
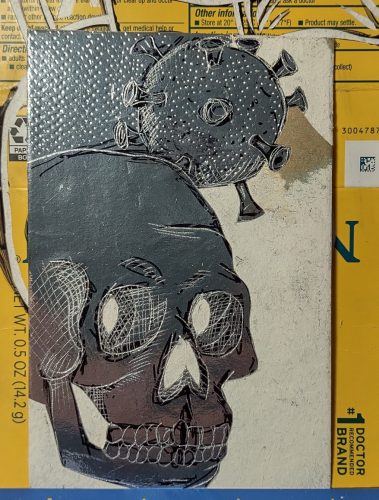
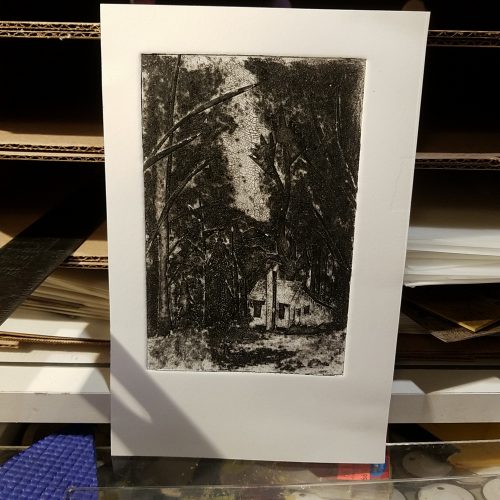
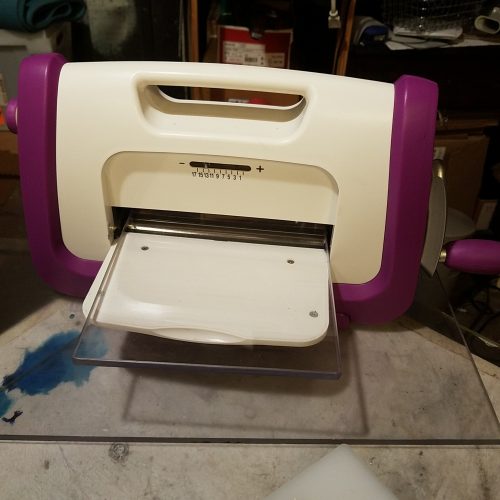
The fun little mini press aka embossing tool that I purchased allows me to play around not only with lino, wood, and collagraphic prints but etchings too! ‘

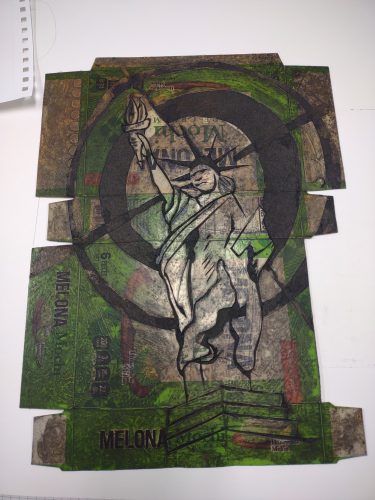
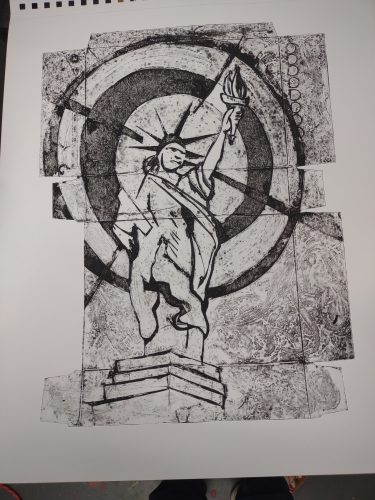
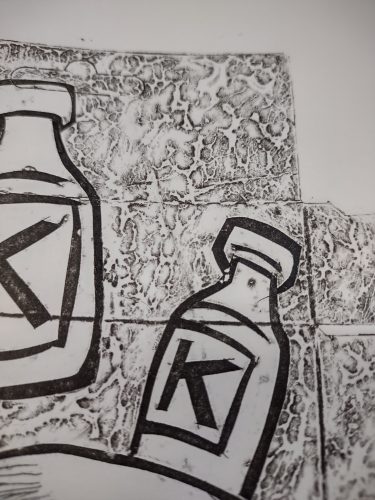
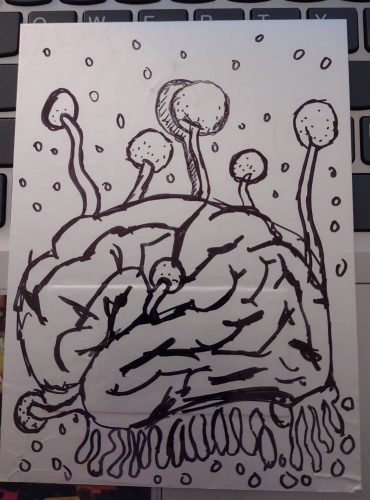
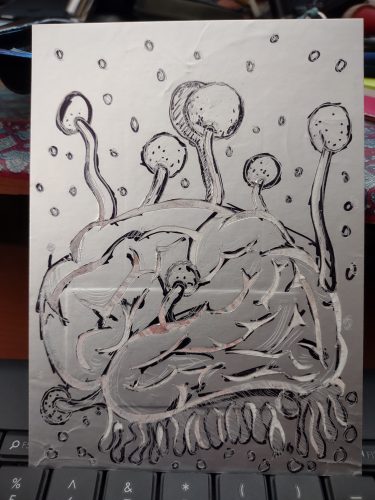
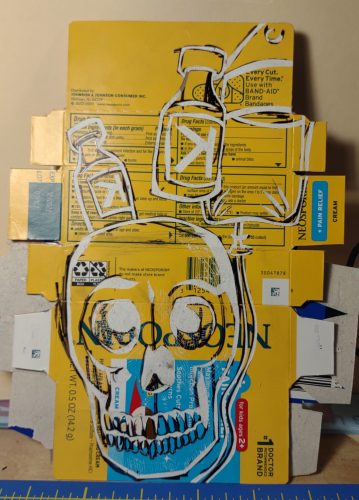
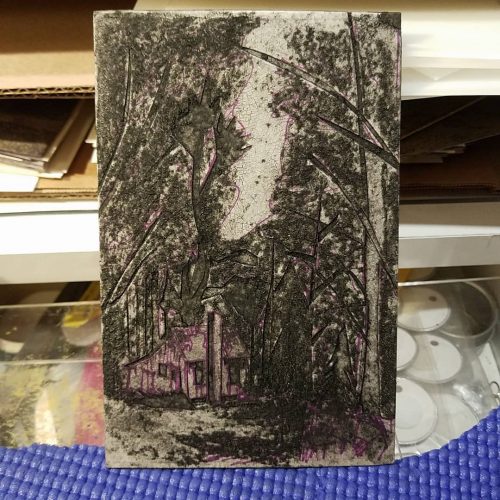
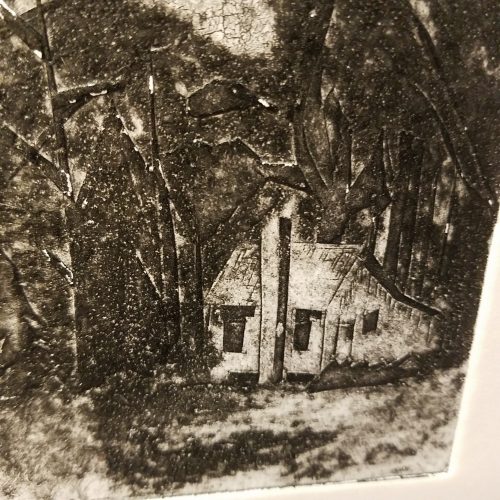
Many people make etchings into aseptic packaging- soy milk packages and the like. Any plastic lined multi-layered item will work. I managed to get my hands on an assortment of old advertising items- mini white boards with old calendars, decks with missing cards, and old advertising posters. All of these things have a plastic layer over cardstock and work great for mini etchings.

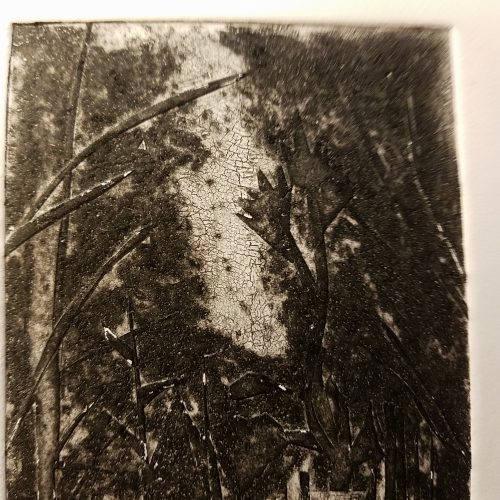
I did a few tests of prints and use of different materials for etchings and I’m really pleased with how they came out. This of course leads me to more ideas for the process.

State of the Art: Updates

I have made slow but steady progress on my studio space. Each night I peck away at it a bit more. This is of course complicated by the fact that this is also planting season. I only have so much time and I have to split that between all of my things.

I have removed almost all the paper scraps. For years I’ve saved all my bookbinding and other paper scraps in boxes to recycle. I would get a box full, seal it up, and put it into the recycle bin. It turns out that this is a big no no in curbside recycling for a number of reasons- no sealed boxes or bags in recycling and no shredded paper. It turns out that shredded paper and scraps get blown around the facility and make a mess. They don’t want them.

I have a couple of options for my paper scraps- make paper or compost.

For now I’m choosing compost. It’s not the most ideal but I also need a great deal of brown/carbon for my compost bin anyway. I also do not have the time to make paper right now. I might at some point also try making some papier-mâché clay out of my scraps but for now compost it is.

I have added to my organizational tools. As part of the office clean out at my job, a lot of things have been designated as trash that have plenty of life in them. One such thing was an old taboret. The wheels were a bit loose and it is one of those stick together versions you get from Michael’s, that said, they were a lot of money new, and I can repair this one. I also snagged a pen and pencil rack and a few other organizers.

State of the Art: Printmaking and Cleaning

I’m not going to lie, the state of the art is a mess of printmaking and cleaning my studio. Also my workplace office and a lot of the facility. I’ve had to sort through the art studio at work and decide what was trash, what could be sent off, and what would be sent to another program.

Let me tell you, that was not fun.

Of course I spent a fair amount of time staring at my work computer waiting for the system to save and load things. Our computers are old and internet slow. Go figure. While I sat there I decided to try some collagraph prints with left over office supplies- old folders and glue sticks, and beaten up craft knives.

I love collagraphs. They are very versatile and there are options for relief work but also intaglio style incised lines. Another fun aspect is that you can really get the plates to be quite painterly. The resulting prints have a wide range of tones. I’m still figuring out the right mix of ink and additives for a good wipe but also a good range of tones. I’ve ruined a few plates already, but if you want to get your hands on some of my prints, check out my Ko-Fi page, I’ll be listing them there soon. I also plan on putting together a package for Ko-Fi subscribers, after 3 months of subs of $5 or more, I’ll send a little package of prints. It’ll be a fun little surprise.

As an aside, I really want to get into using some of the waterproof when dry inks like Akua, but I really don’t trust myself to use those inks in my kitchen… Our old kitchen table had some pretty intense teal streaks. Because I want to work my little press out a lot, I’m cleaning my at home studio out. It’s a mess. When I headed off to grad school I had the school studios to work in, so more often than not, I’d grab materials, go to school, then dump them when I was done with the class. When I worked at the place after graduation, I was mostly focused on writing, so I didn’t do as much art that required a studio… So it sat. Then I started to work where I have been for the last two and a half years, where I had an office and an art studio. Why work at home when I have year round access to a well set up art studio and can leave my supplies in the office?

So yeah, my studio looks like an art store threw up in there, and it isn’t at all good. It’s awful. I’m moving supplies around, deep cleaning, and I’m eventually going to store everything in organized manners. I got down to the rug (that’s going!) in a 4x4ft corner. I’m working my way out. I took out a bag of trash and another of paper recycling.

With my possible free time next week, I hope to make more progress, I’d like to clear out one end, so I then have a spot to sort out supplies and decide what is trash, what I need to pass on, and what I need to store. And most importantly, HOW I’m going to store this stuff.

When I’m done with this massive chore, I’m going to treat myself with a range of nontoxic oil based water-soluble inks.

State of the Art: When Shit Falls Apart

I started a pogo-print-a-day project back in October 2020, and looking back that was not the world’s greatest time to start a project. But I was hopeful.

I can’t write about much of the falling apart here, but things got stressful. I will not go into the impact of covid and the, then impending holiday season. But many of my projects fell apart in late November. I did win Nanowrimo, but that was followed by December.

December was intolerably stressful. I reached my original goal of 50 photos, then… stopped taking them. Writing got more difficult and tapered off to nothing. I maintained the blog until about January, which many of you remember that in past years I’ve taken off. This year I took most of February off too.

Behind the scenes I was gathering more materials for reviews and testing them, but not writing reviews. I’m now writing up those reviews and getting them posted.

I finally finished Useful Journaling 1.3 (The Every Thing, Every Where issue.) I’m now working on 1.4 and what I’m calling series 2. Series 2 is going to be different, more in depth and longer than series 1. I’m excited.

Slowly but surely, I’m getting back to my usual posting and art based activities.

Continue reading

Maker: Worn in Tools

pencil with imprint worn off

Doms Fusion with imprint partially worn off.

I posted a review of the Doms Fusion pencil. It’s a nifty little pencil with a grippy matte finish printed with loads of little foil starbursts and silver words. I love everything about its weird little design choices. Why red, blue and green foil with a silver imprint? Why not have all the printing be one color for each pencil? The end dip is spectacular.
I know a lot of folx want their imprints to be pristine from the start to finish of their pencils. The last few weeks I’ve been using the Fusion pencils as I write up notes, outlines, and jot down research. I’ve carried one with me to and from work. I’ve been shoving it over my ear and under the folded brim of my beanie.

As I’ve used it, the foil has worn here and there. As I sharpen it, it gets a little more worn. I love the look of a tool that shows I’ve used it, I’ve worn it into my use. To my eyes, it looks better every day.

Maker: Zine Friends Edition

I’m sitting here toasty warm after a weekend long warm snap wherein I began building raised beds that will take up the entire back half of my city sized backyard. The rough part of this is that I am now in allergy hell. Leaking nose, watery eyes, and sinuses so stuffed I’m surprised my nose can leak. I finally had a chance to sit  down with a few zine friends that I’ve been meaning to dig into.

I’ve mentioned a few times that I’m pretty lucky to have my zine friends, not only do they make some killer content online but their creativity is stellar.

404 (Dunno where my picture for this went) Is Andy’s little ditty to error codes and poetry and UX writing. KIller. I can’t wait to get the next issue.

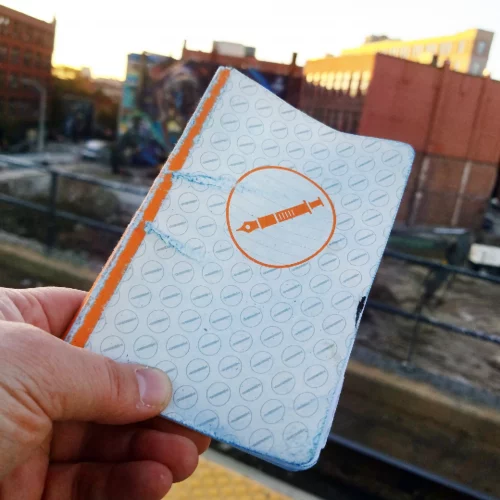
Pencil of the Week– This last issue was awesome. The folded library card like envelope was awesome, not to mention the collab with Ernest Theodore. Included in the package is a color post card by Ali Serra aka Ernest Theodore. I love it when zinesters go artsy, and this was great.

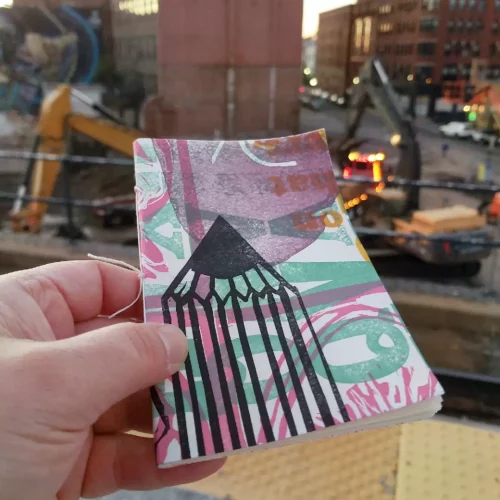
Just when I thought Pencil Revolution couldn’t  get cooler, Johnny moved up to a half sized zine* and moved production to once a month. This means we get a thicker, longer themed issues. And the last 3 in this series are all great. I particularly enjoy this last issue that explores walking with writing. I’ve got to agree with Johnny that nothing gets those grey cells pumping out journal pages better than a good walk.

Johnny also does a series of zines about mental health issues. They are really wonderful snapshots of life with mental health issues.

Plumbago is coming back and they are looking for contributors.

Continue reading

State of the Art: Photo a Day

Waaaayyyyyy back in 2009 Polaroid introduced the Zink Pogo printer. A cute little printer that spits out 2×3 inch prints on sticker paper. Sweet little journaling tool. I of course immediately asked for one for the holidays. And my lovely partner managed to get a good deal on one and I loved it, for 50 prints or so. 

Other folx got hundreds and hundreds of glorious little stickers. Not me. I had a dozen or so prints before mine was a streaky mess.

It ended up in a drawer.

In the great office clean out of the Covidalypse I found the dusty little printer and thought I might dust it off. I did and it was still streaky. I headed to the internet and found loads of info on cleaning it. So I tore it apart, which was really easy and only around 8 screws or so. I was able to clean some little bits of what looked like… glitter in there, as well as some, big surprise here, dog hair. I gave the roller and print head a good swabbing down with rubbing alcohol with a q-tip, then ran several sheets of super thick cardstock through it.

This is not a pogo print but an image I considered for a pogo print.

No more streaks.

Well, mostly no more streaks. The pogo works best on low-res images. So it is helpful to take smaller pictures. I started this project off using Lightroom. Bad idea, it automatically saves in the highest res option on my phone. Also the Pogo prints in 2×3 images, so I used the basic camera on my phone and set it to 3×4 on the lowest res setting available. This particular option also saves it to the cloud so I have the option of editing it down on my laptop. Sadly the polaroid apps that are still available do NOT work with the Pogo. I can’t get any of them to pair with it, or even print to it. BUT I can snap a picture with their app, save it, and print manually, the way the pogo always worked. It takes the picture in the right 2×3 ratio.

Anyway, the goal of this little project is to snap an interesting pic once a day for at least the next 50 days and to journal around a page along with it. If I find that this is a useful journaling practice for me, I’ll continue it with another 50 pack of paper. We’ll see what happens!

An interesting aside to this is that the battery died on the Pogo and no one makes a replacement pack for it. I ripped the old battery apart, picked up a 2 pack of AA battery holders soldered the leads in place, and made my own. It’s not at all pretty but it does the job and is better than being tethered to the hideous and HUGE wall wart plug this thing has. The wall wart on this thing is inexplicably huge. I will also add that Polaroid’s CS when I asked about the battery was prompt and curt. Funny thing, since making the battery pack I have yet to take the Pogo anywhere, so I guess a useful thing is to consider if you will actually use the Pogo on the go.

Anyway, we’ll see how long I can do a photo a day.

https://dronebygg.wordpress.com/2011/05/21/how-to-repair-your-polaroid-pogo-printer/

Week Links

Johnny has again, encapsulated my feelings about the tool being tools. 

This podcast is recordings of things, they call it field recordings. Loosely people stand in a field and record the noise, except it’s not all fields. One of the most recent is a recording of a train going by the recorder. Neat. Field Recordings.

I haven’t mentioned it recently, but MyNoise is a KILLER website where the owner of said site records and makes background noise. Maybe you really want to go to a café and work, but you know Covid. Big sigh. MyNoise can make it sound like you’re in a café, or sitting next to a river, on the beach, in a dungeon (no judgement) or even taking a walk through the woods. It’s a donation based site and everyone who likes it should use it and pass the guy who makes it a few coins. I mention the café noises because I brewed myself a coffee put the café noise on in the background along with some Tangerine Dream and worked on my NaNo novel and it was ALMOST like being in the café.


Show Your Work: Bizness of Zines

Zines are rarely profitable. This is a truth and can be false. Zines are a multitude of truth and fiction.

In disclosure and transparency I decided to explore the (un)profitability of Useful Journaling.

I chose to use the Ko-Fi sales platform, on a year long subscription of Ko-Fi Gold. This way Ko-Fi does not take a cut of the money used to purchase my zines and things*. That said I did pay $4.50 to use the service for the whole month.

I chose $3 with US shipping included as my total price. To get an address via Ko-Fi, I had to break that down to $2.50 with shipping extra. Paypal took 39 cents per sale. I always forget the enormous amount paypal takes. I think I block it out. Postage within the US was 50 cents (1 stamp)**.

Materials breakdown is as follows, per issue:

  • Cardstock: 8 cents
  • Paper: 4 cents 
  • Black toner: 4 cents
  • Color toner: 30 cents
  • Sundry items: staples, envelopes, craft blades etc: 10 cents
  • Total: 60 cents an issue

The largest expense here was the color toner. I was gifted the color laser printer and a box of fresh 4 color toners, but had to replace the drum, and now the transfer roller (could be called something else but it’s the bit of film that rolls the image onto the paper/roller). The cost per issue is the same given the amount I have spent on the cursed machine.***

I also repurposed many of the items from previous projects- I already own a long reach stapler, colored staples, really nice cardstock, plain white paper, and a black and white laser printer. So while I’m not out any of those items and have slowly accumulated all of the things I WISHED I had back in 1999 when making zines.**** It’s taken me 20 or so years, but I finally have all the tools for zines I ever wanted. It is kind of amazing that layout can be done in an app and even online if you really want.

The net profit from each copy of the zine, not even coming close to thinking about time and labor, is $1.51. From the first printing I made $105.***** The second printing will be slightly different and slightly more profitable- I’ll be using colored cardstock at roughly 10 cents a sheet and eliminate the color printing. So the total cost of physical supplies will drop from 60 cents to about 30 or 40 cents.

The $105 I made will go toward replenishing supplies- black toner ($20), more paper (moving toward 100% recycled paper for the insides)($10), yellow toner ($20), colored staples ($5), and more cardstock ($20). Leaving me with about $20 to spend on a bag of coffee. I have my priorities.

A thing to remember is that for much of this- the more copies I make (and sell) the lower my cost becomes. If I can buy a bulk pack of black high yield toner cartridges, that drops the cost of black toner from 2 cents a sheet to 1.5 cents/sheet. I strongly want to keep this zine very affordable to get it into the hands of more people. I do have loose plans to create special editions- so things like the first 3 issues bound into a special cover, notebooks with related content and covers, prompt cards and many other things. For now, I am enjoying the tactile nature of these items, but PDF versions might be a possibility in the future. I suspect that eventually I will need to upgrade to a new computer. The Lenovo I bought… Well it’s one step above a pizza box in terms of functionality, and I can really see where it lags with graphics where my previous computer did not. So that is a thing I need to keep in mind as well.

Continue reading

On Making Things: Tearing Down to Repair

Last Friday I told you about the Printer, in passing. I was gifted a 10 year old Samsung ColorXpressions laser printer. It’s a 4 color printer and on the outside in great shape. I remember my Mom buying it for herself way back when and being super jealous of it. New, it made amazing prints, clean, crisp and clear.

When my mom cleaned out her classroom the printer came home with her and sat in a pile, she had neither the time nor excitement to set it up at home. To be frank she didn’t want to. They had another printer and after 10 years the excitement was gone. 

She knew I’d probably continue  to use it, so she offered it and a box of 4 brand new unopened toner carts to me. I didn’t think before I said yes.

Then I brought it home and let it sit, for another… 6 months at least.

Then we set it up and the printing was a mess. Clearly it needed a new drum. I searched out and found that the printer itself was discontinued as were the parts for it. Then I found rebuild kits for the drum, and finally, a drum itself for not too much. Ordered. And still the printers were a mess and the machine would not pick up cardstock.

Disappointed I looked at color laser printers, and used ones on Craigslist and Marketplace, whoa, expensive. I hadn’t realized what a gift this machine really was.More research, and I found that there’s another part called the image transfer roller- a belt of some kind of plastic that transfers the image to the paper. I could clean it! 

First impressions were that mine disconnected in a different way from the video I watched, so I did a halfway cleaning, and things were better. 

Finally I decided to remove a few screws, and voila! I could see where everything connected and was able to disconnect the roller and remove it from the machine. I then sat down with rubber gloves, rubbing alcohol, and rags and proceeded to clean off the transfer roller. I took it apart and took it outside and let the dust blow away, and then wiped down the whole thing with alcohol. I took the moment to clean out the dust from the machine itself, there were streaks of toner everywhere. The alcohol picked it up and cleaned it out.

Then I put it back together and did a test print. I was hopeful, but worried I’d need to buy a new part. A quick search showed the parts to rebuild the transfer belt range from $80 to $200, depending on the part. Given the cost of a new printer, that is a feasible investment.

The prints that emerged at first were crisp and clean and perfect. I did a few more test prints and a few covers for some possible No Brand Notebook covers, and the results were pretty clear, but it was also apparent that years of use had warped the scraper bar inside the transfer unit. I won’t lie, this was disappointing, but also not horrible. I’ve found that if I print the same image for a few prints (the intended use of this machine anyway) that I get nice clear prints and it takes 3 prints to get clear prints.

But it is also an easy fix, also cheap. A new scraper bar costs around $10, and replacing it is pretty easy. So after the next issue of UJ I’ll be replacing that. Mostly the wait is that I have to wait for the bar to arrive. The best place to find them has been A1Xpress or ebay and I simply have to wait for it to arrive from China.
Another great thing about the printer is that because it is old, the market is flooded with a variety of remanufactured toner cartridges. They range from ridiculously cheap to pretty expensive. This means I’ll be able to keep printing UJ with pops of color and hopefully some color inside, at a relatively cheap price.

I’m optimistic that I can keep this printer running for a good long time with careful repairs.