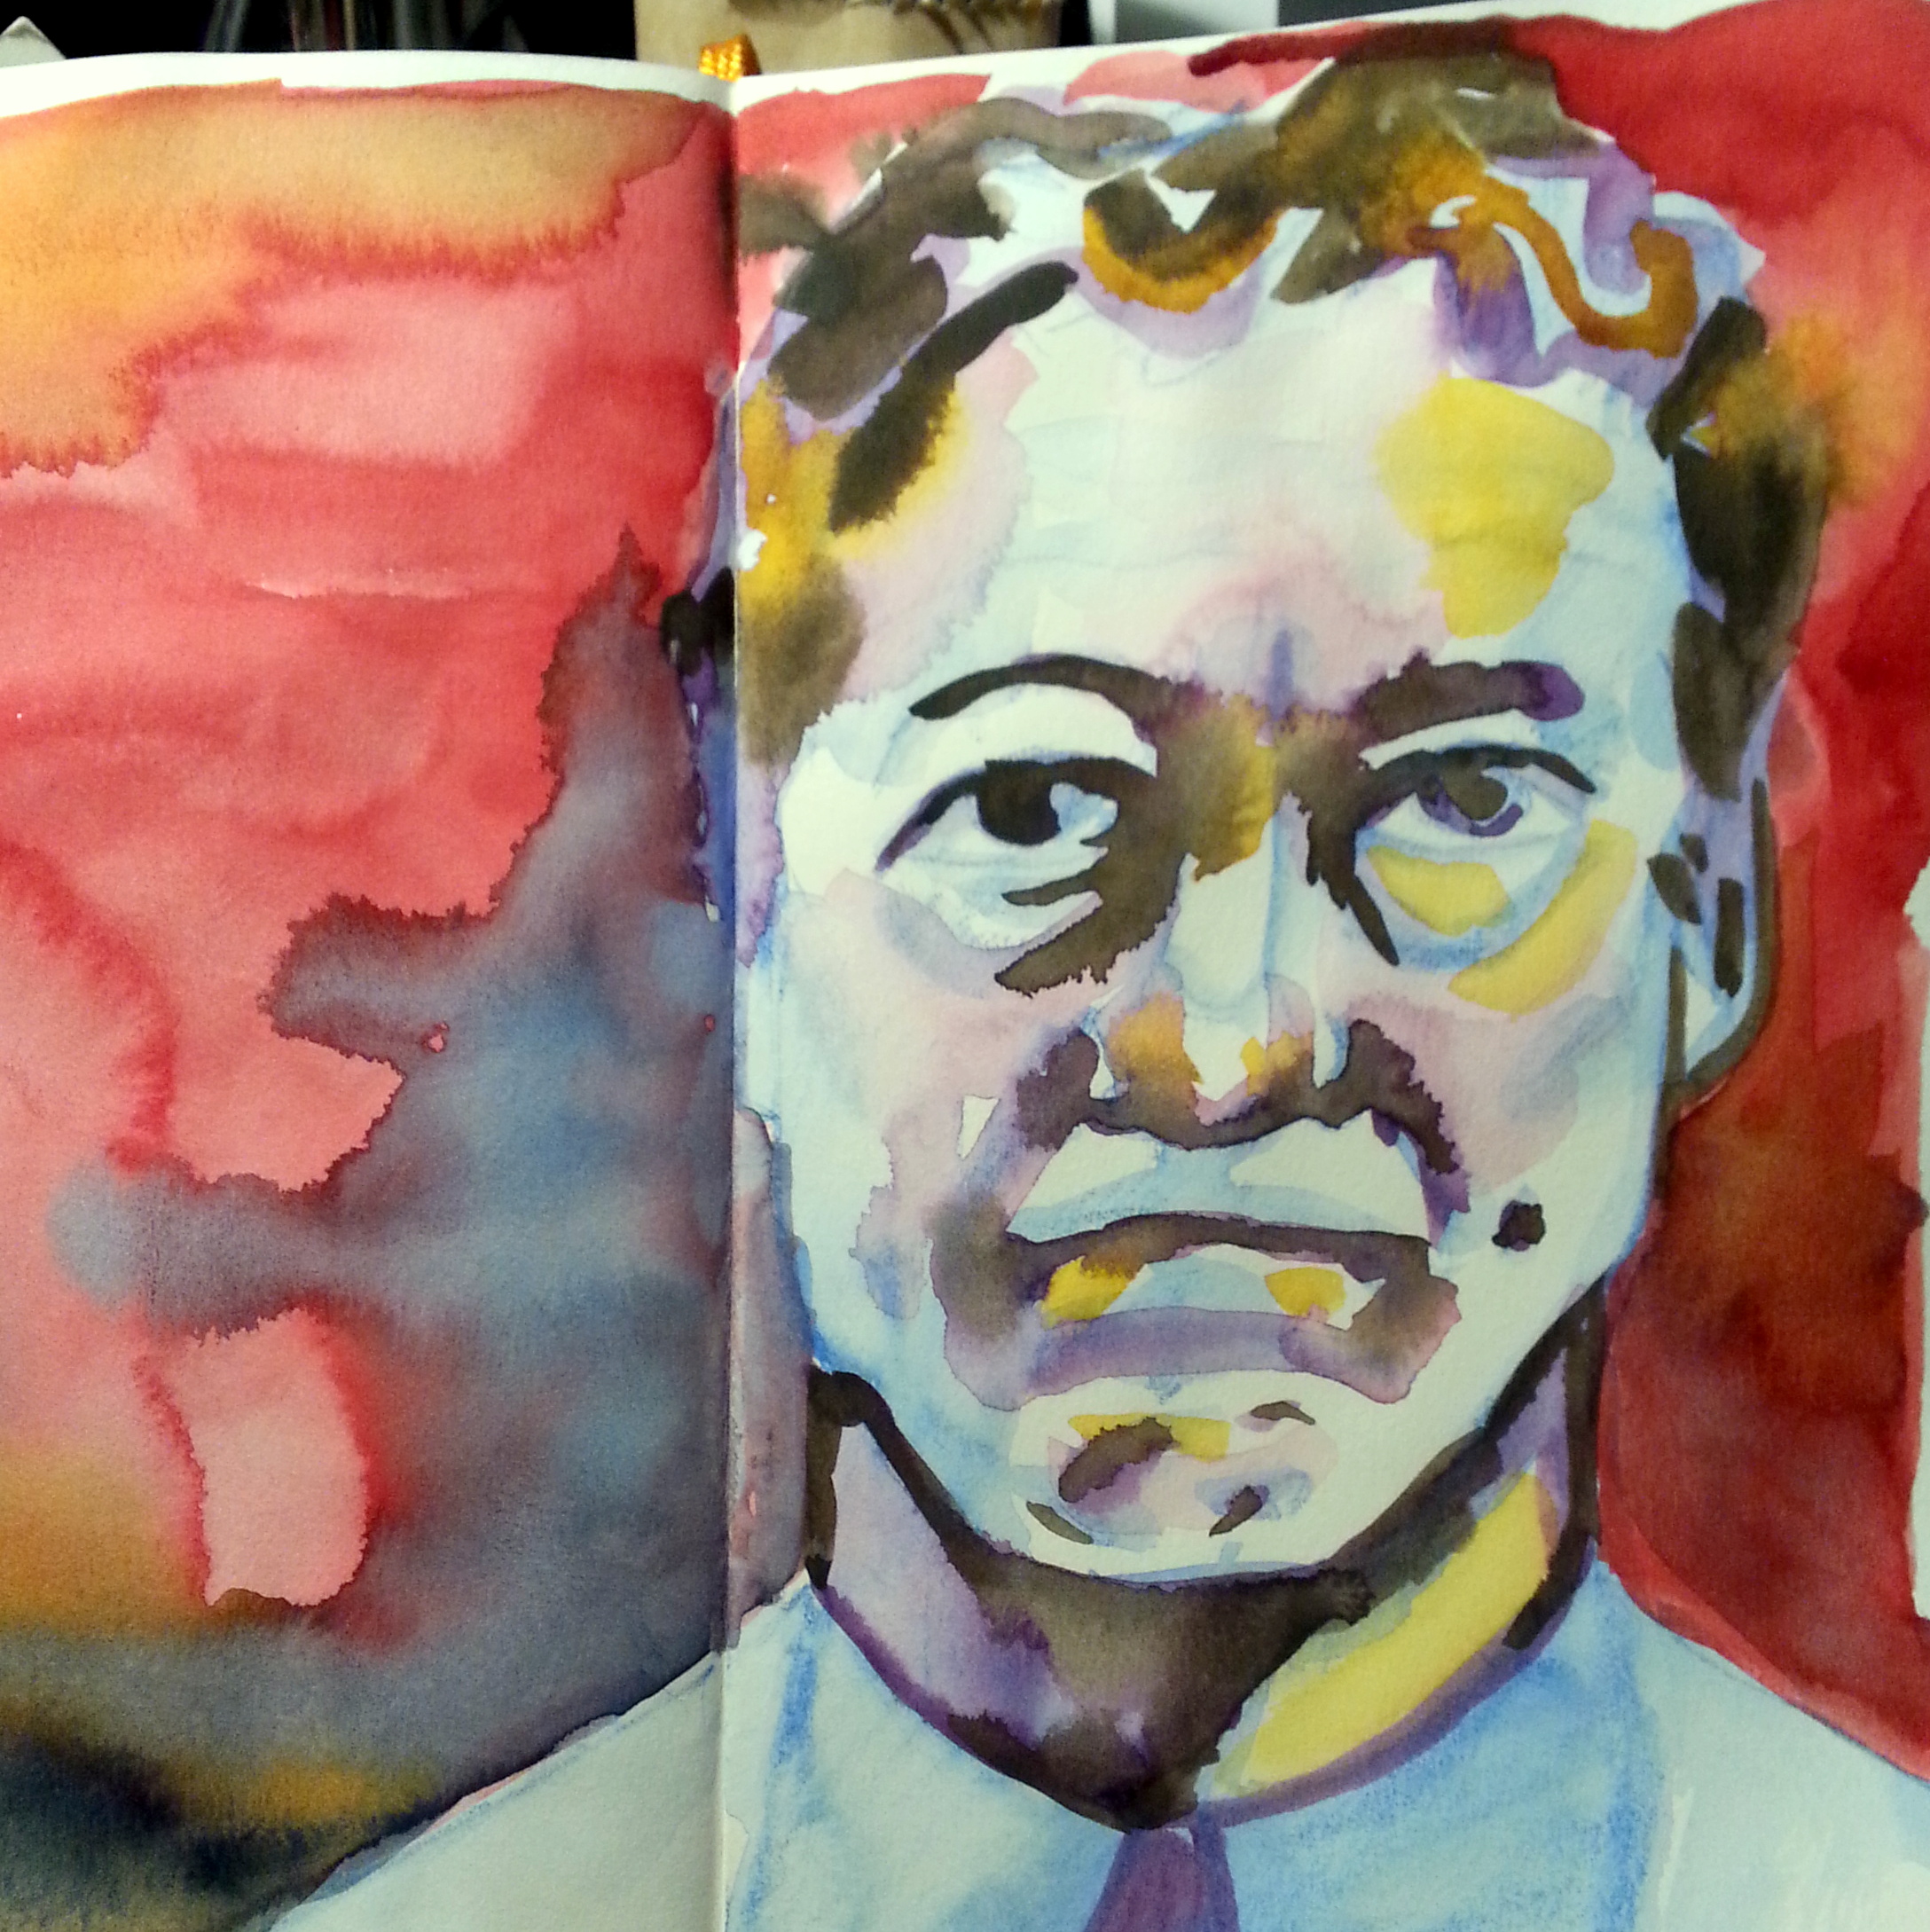
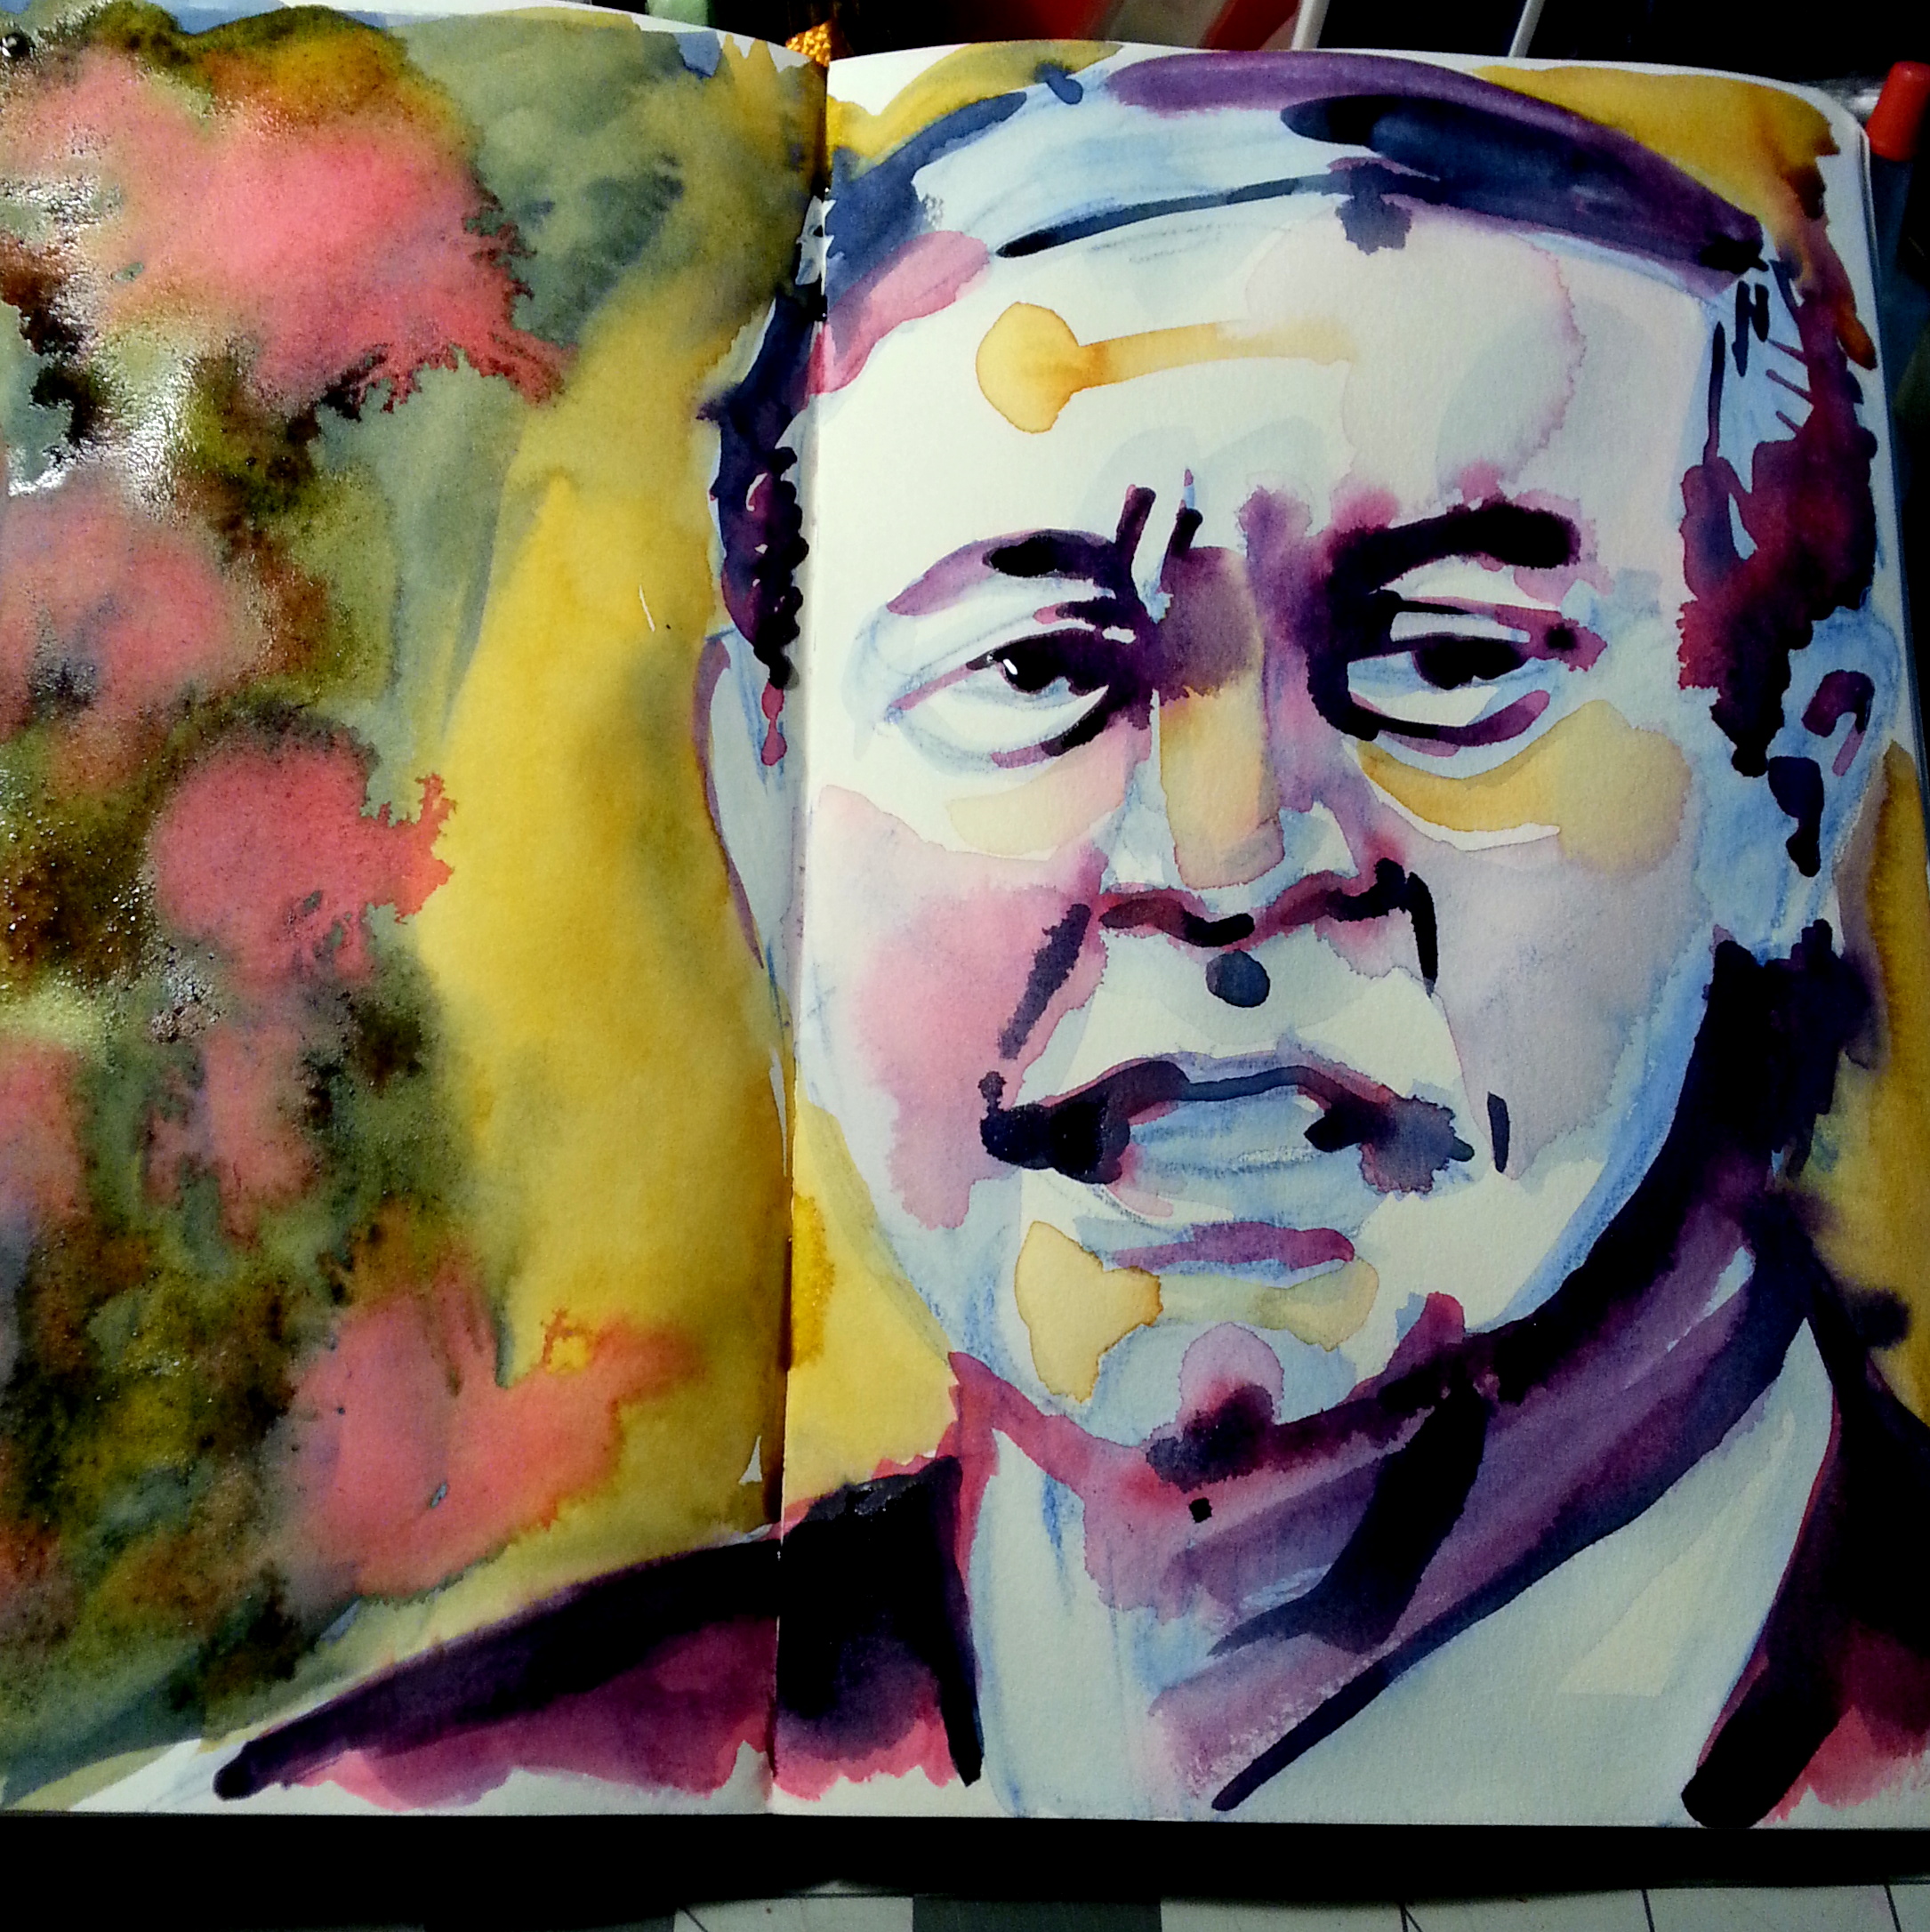
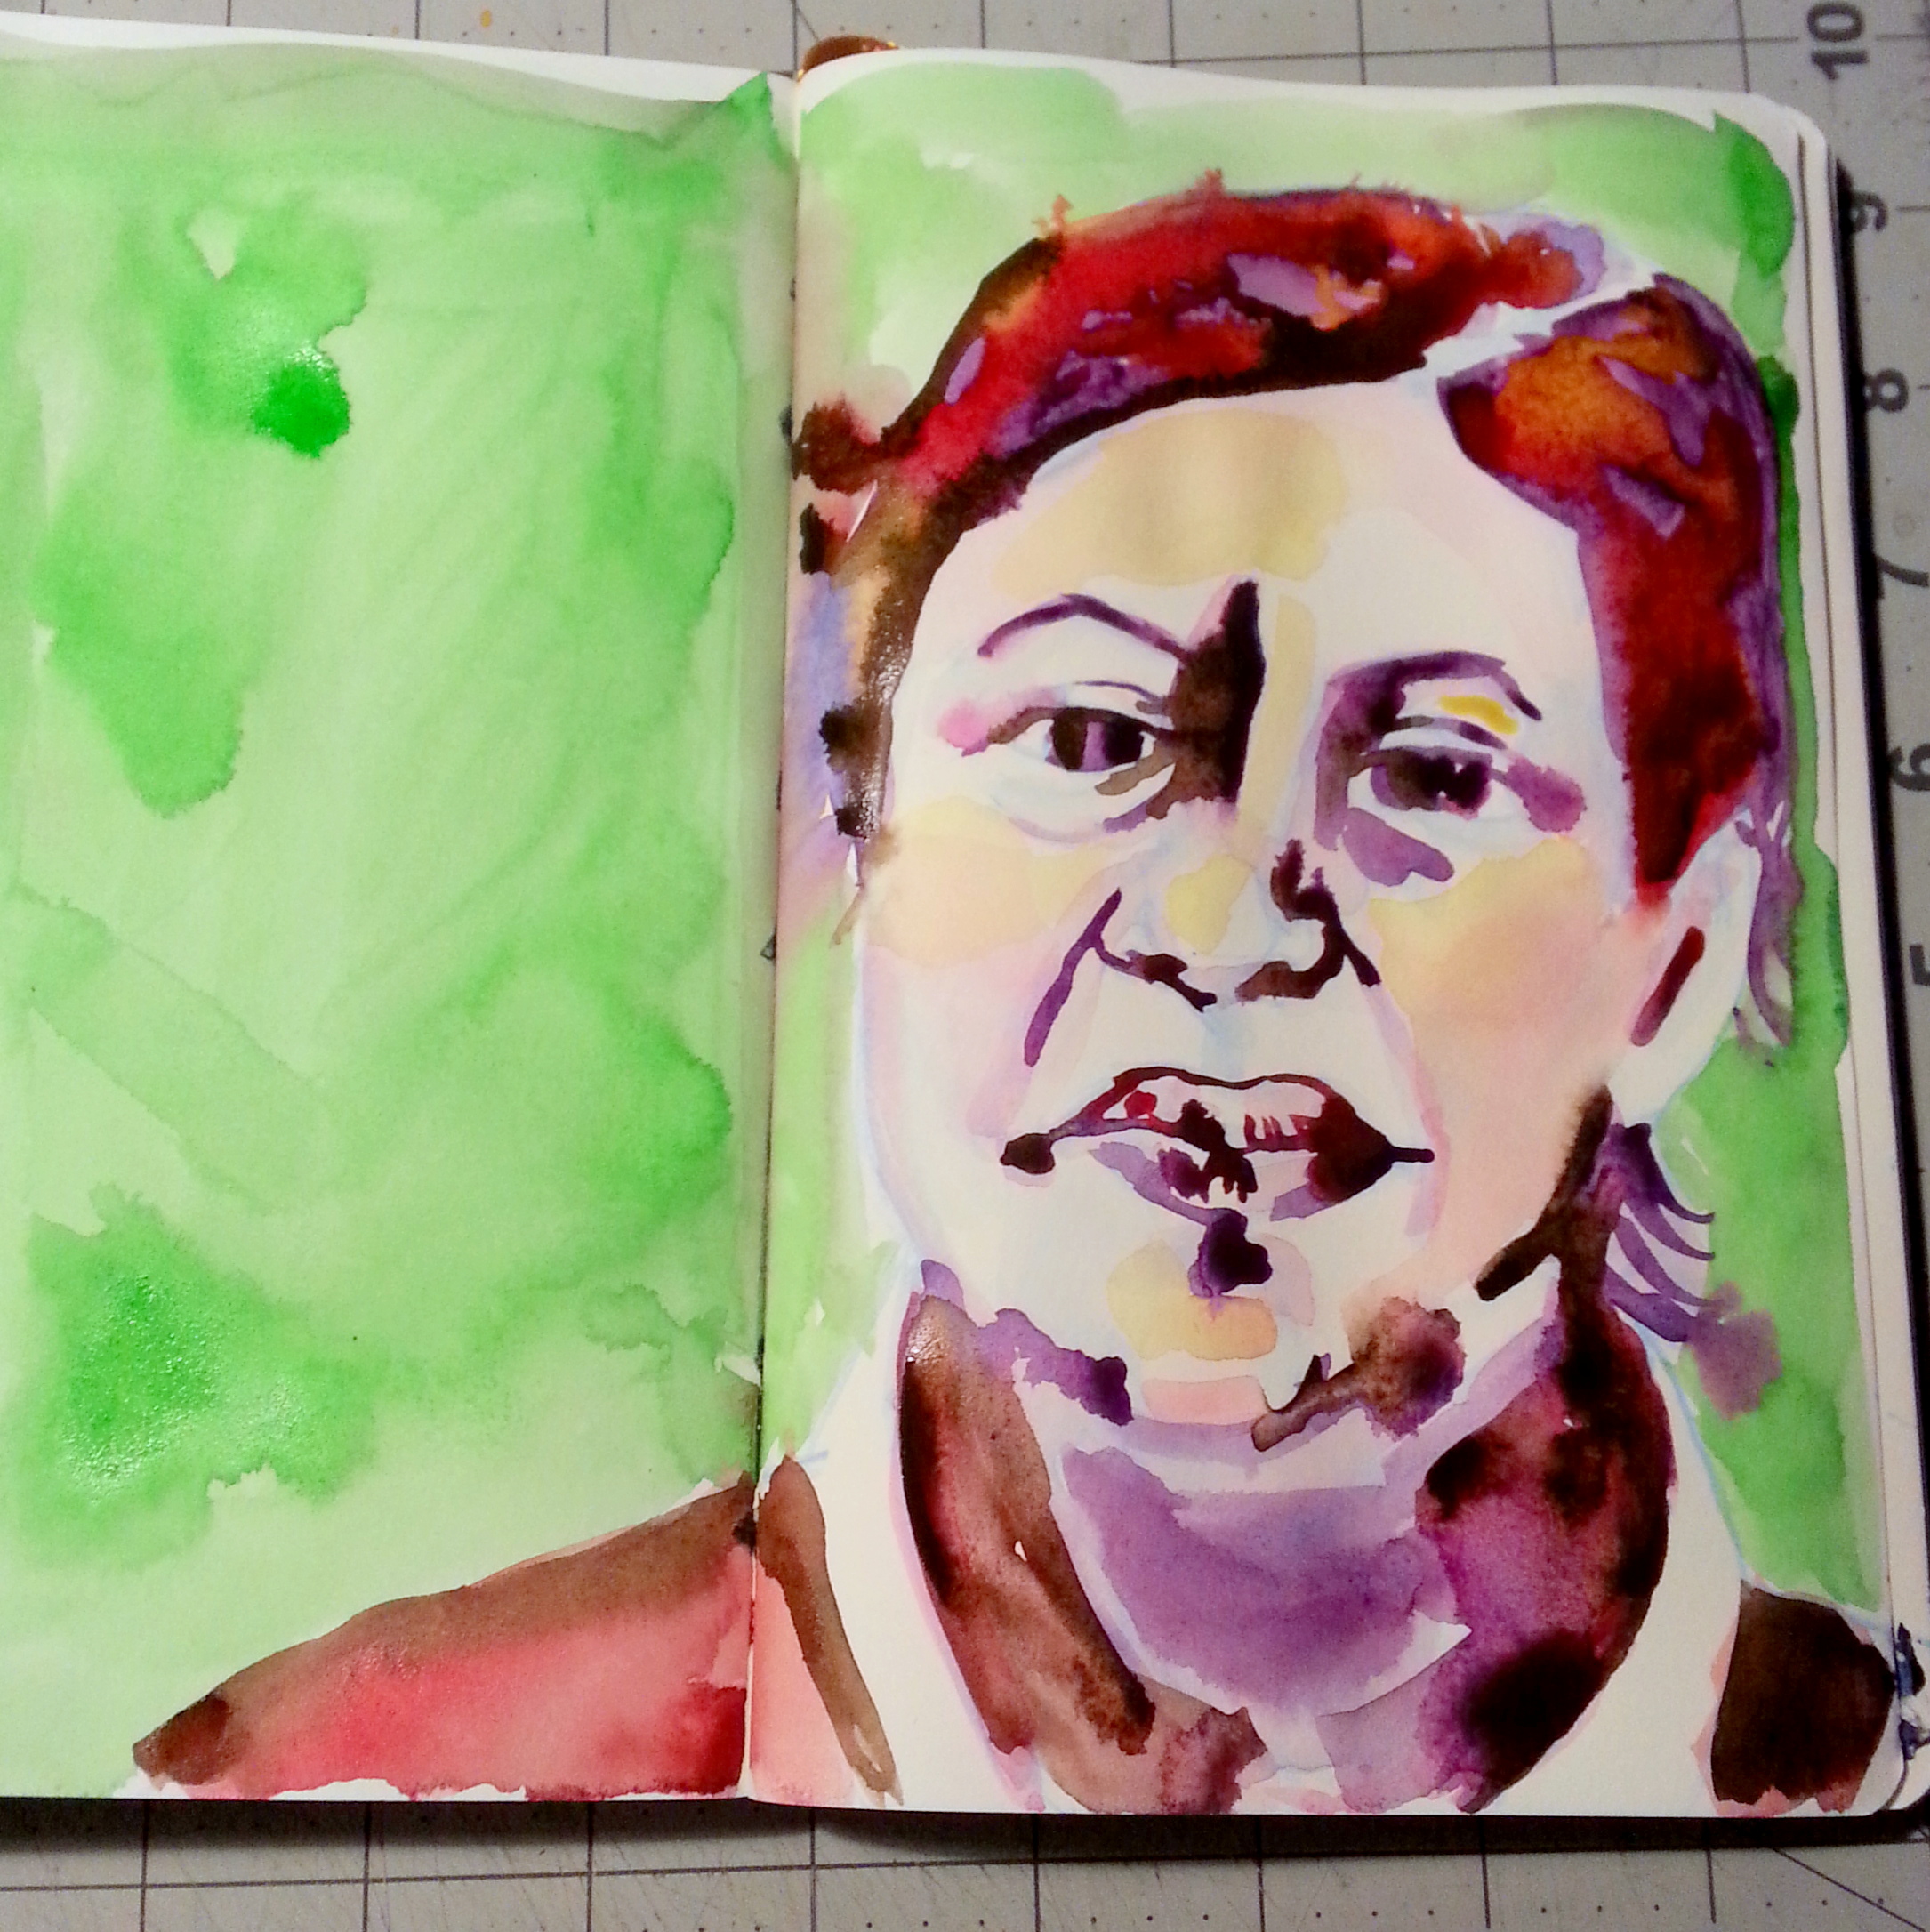
In an effort to learn more about politics and be balanced, I decided to read about each of the declared candidates for president. That wasn’t making things stick, so I decided to make art for each of the declared candidates for US President. It turns out there are many of them. I could end up making little paintings about them all summer if I wanted to. I don’t but I’ve decided to highlight a few of them and fill a journal. Here are a few without my color commentary.
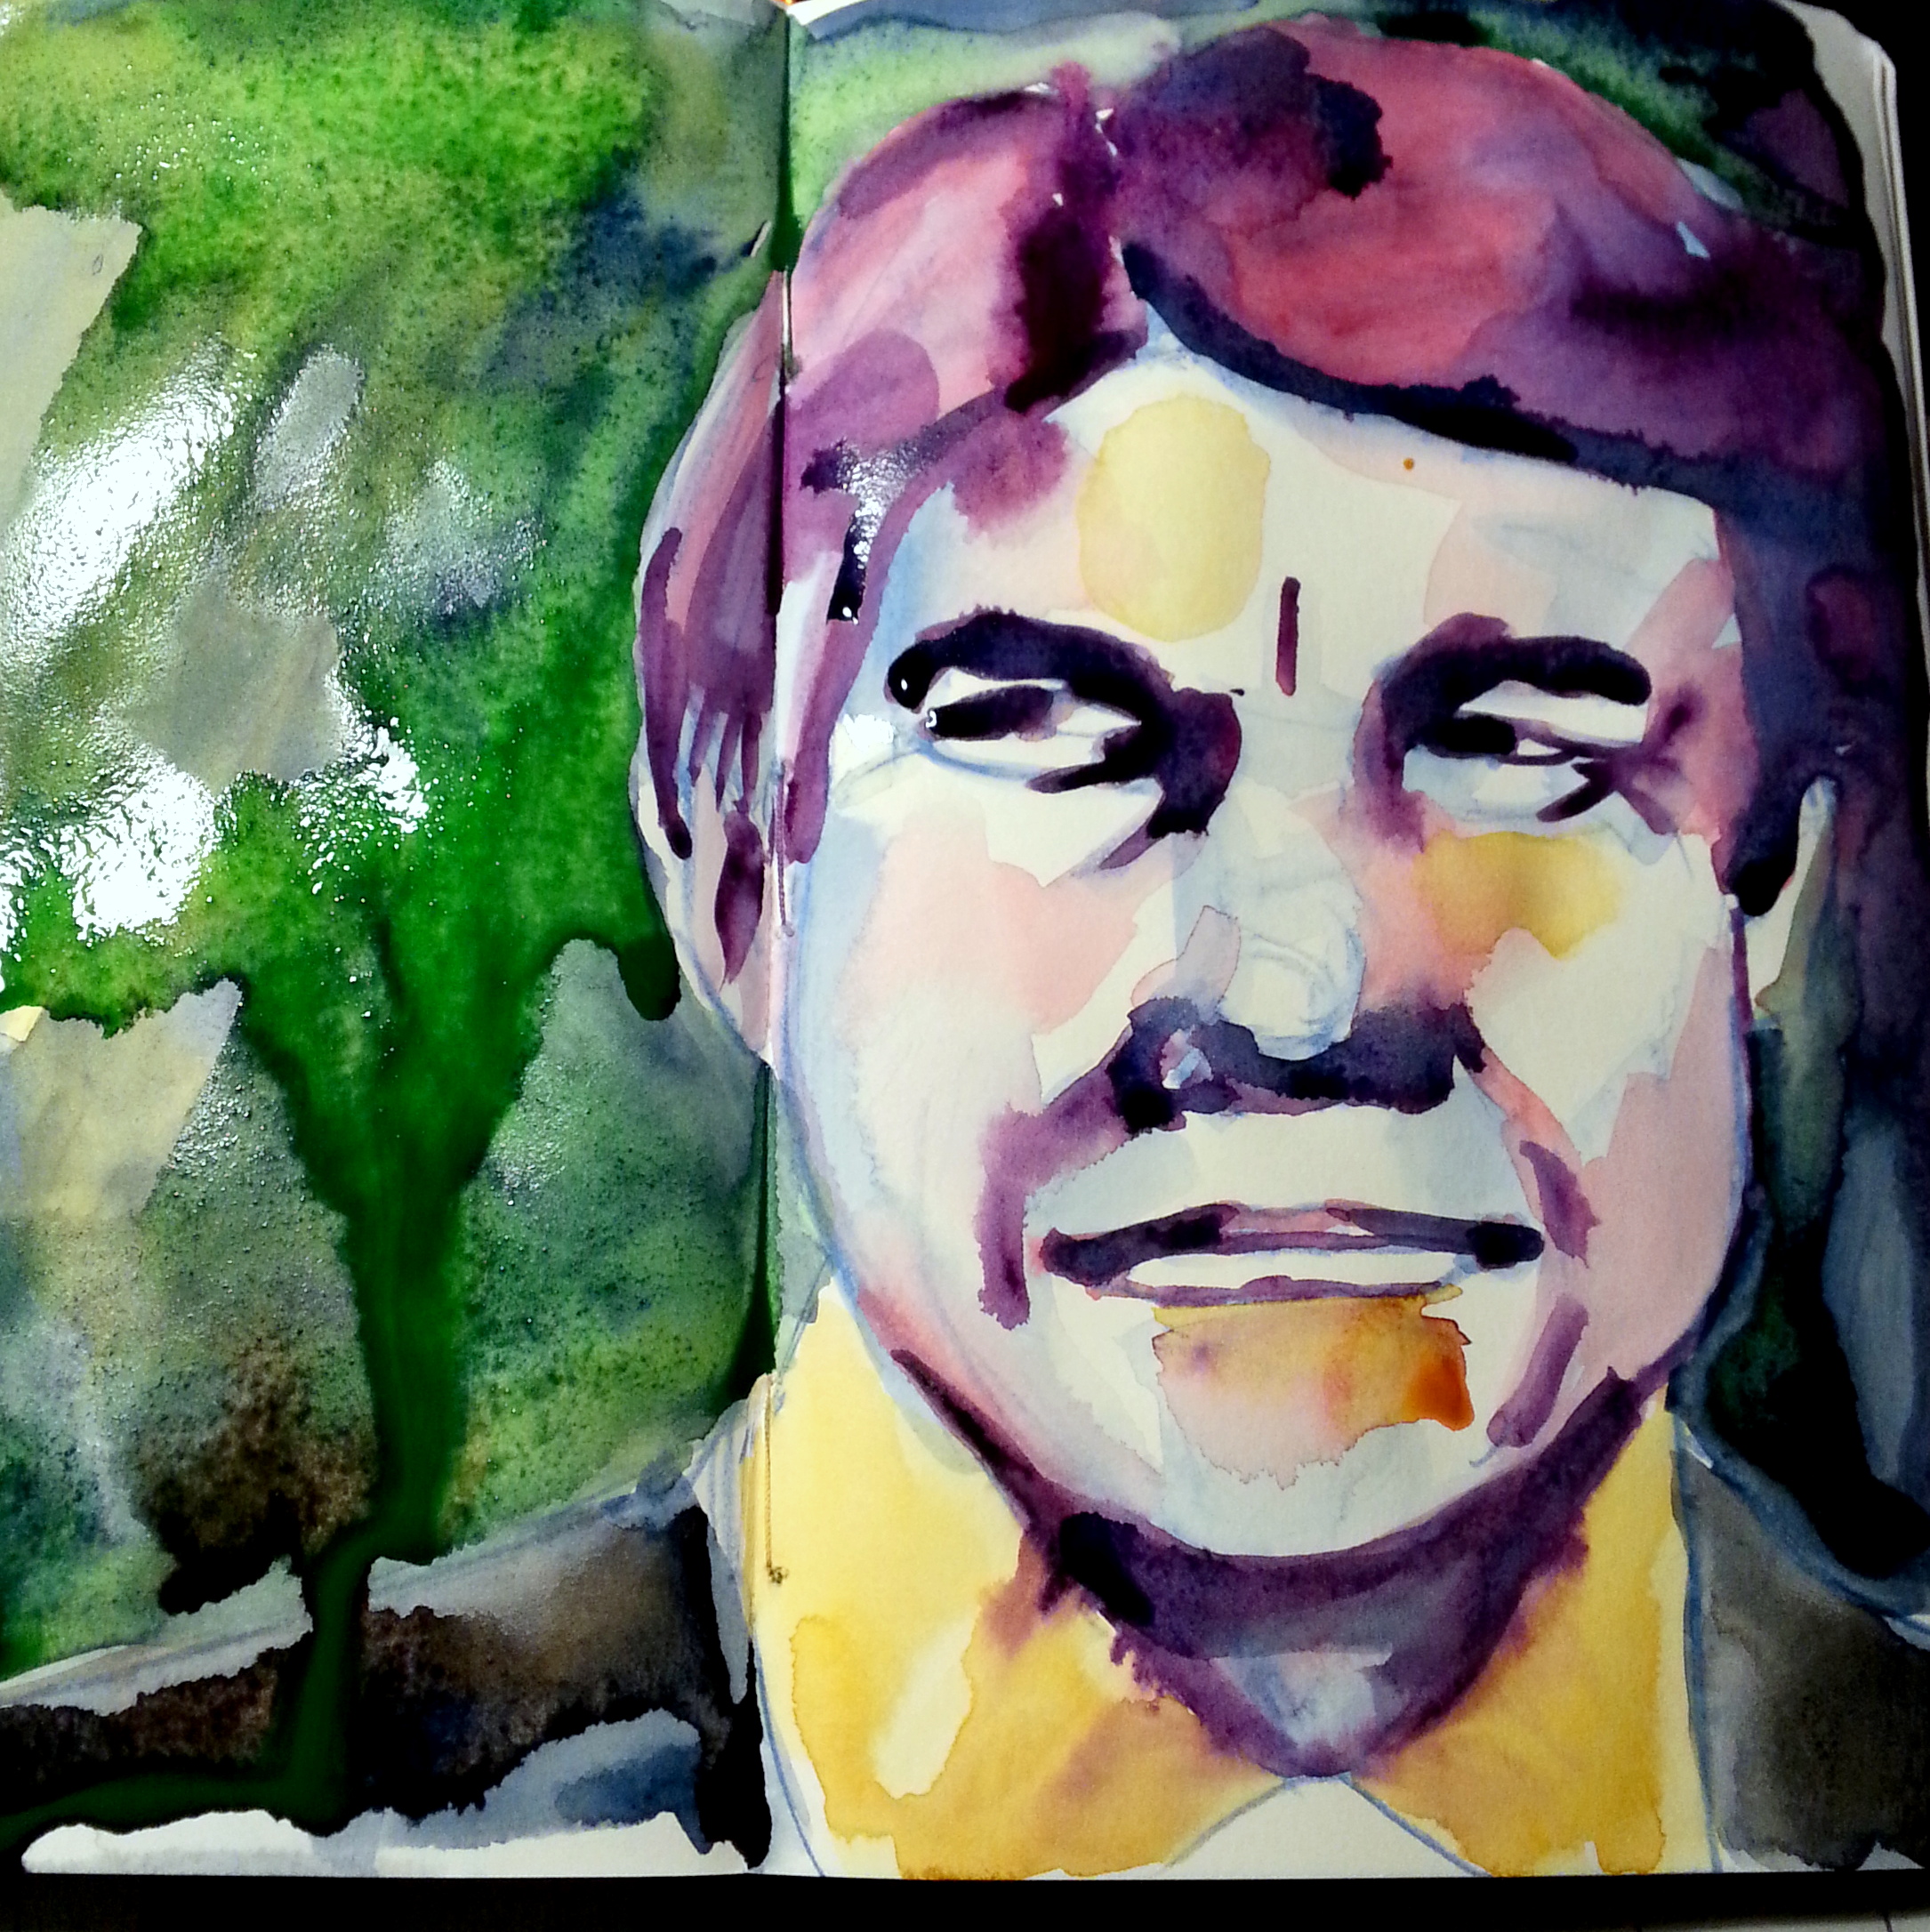

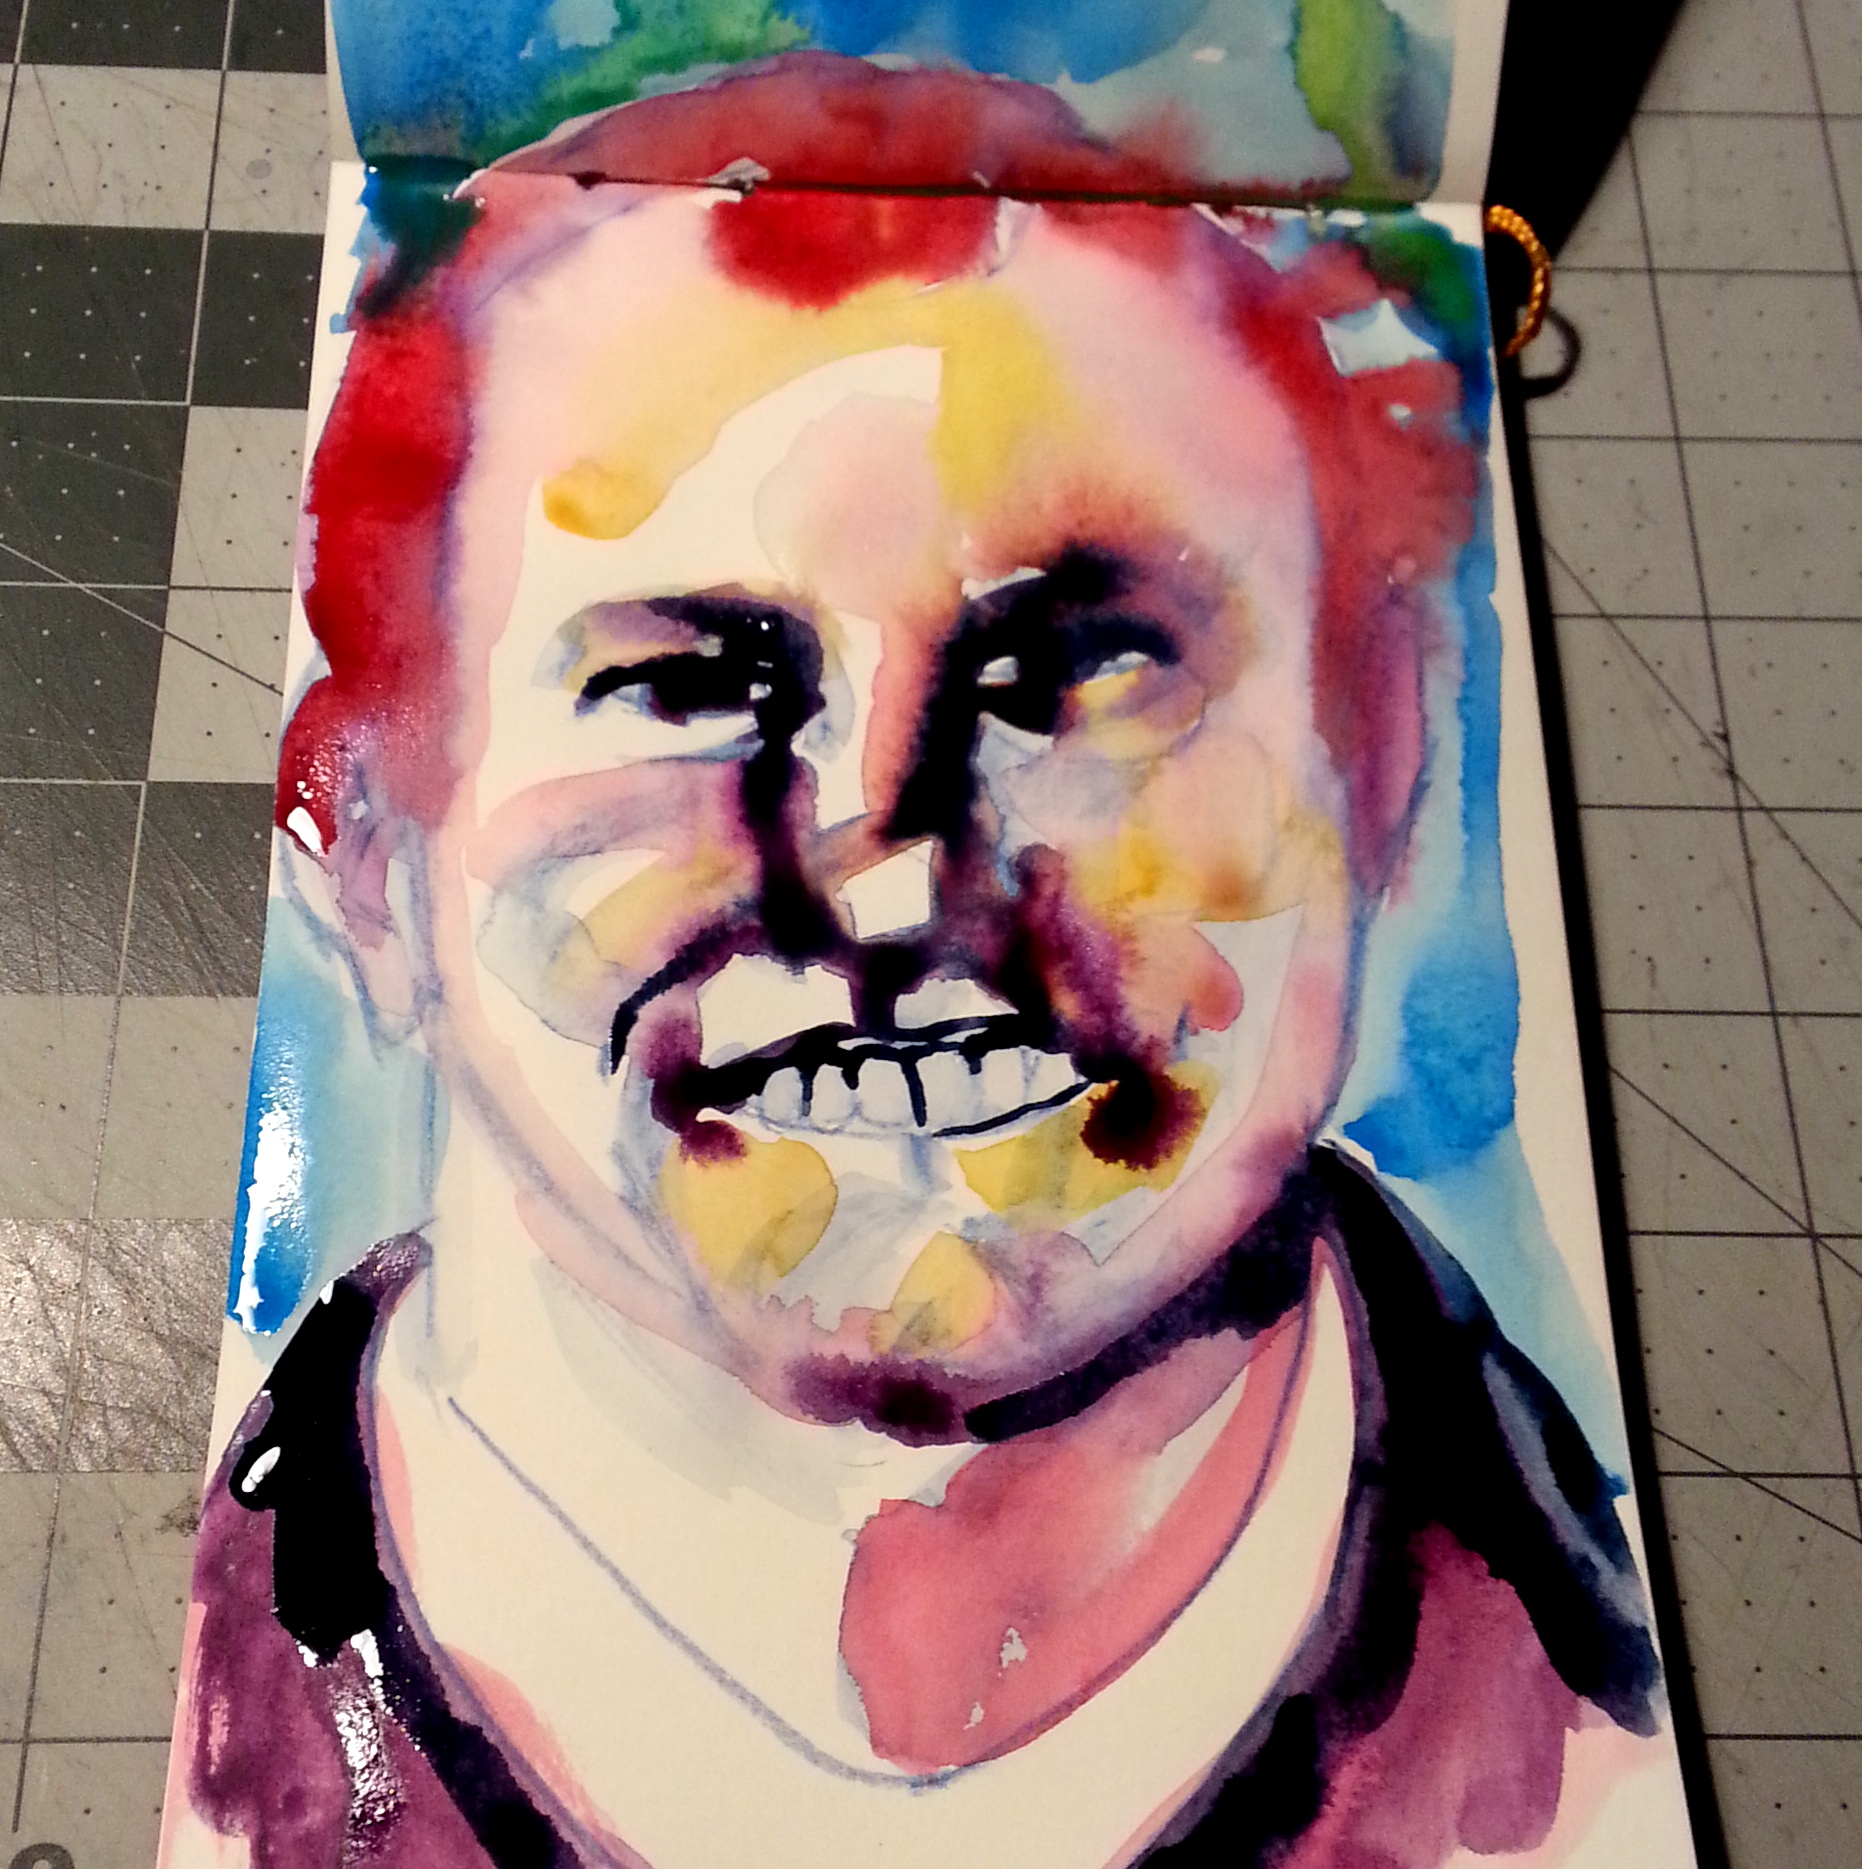


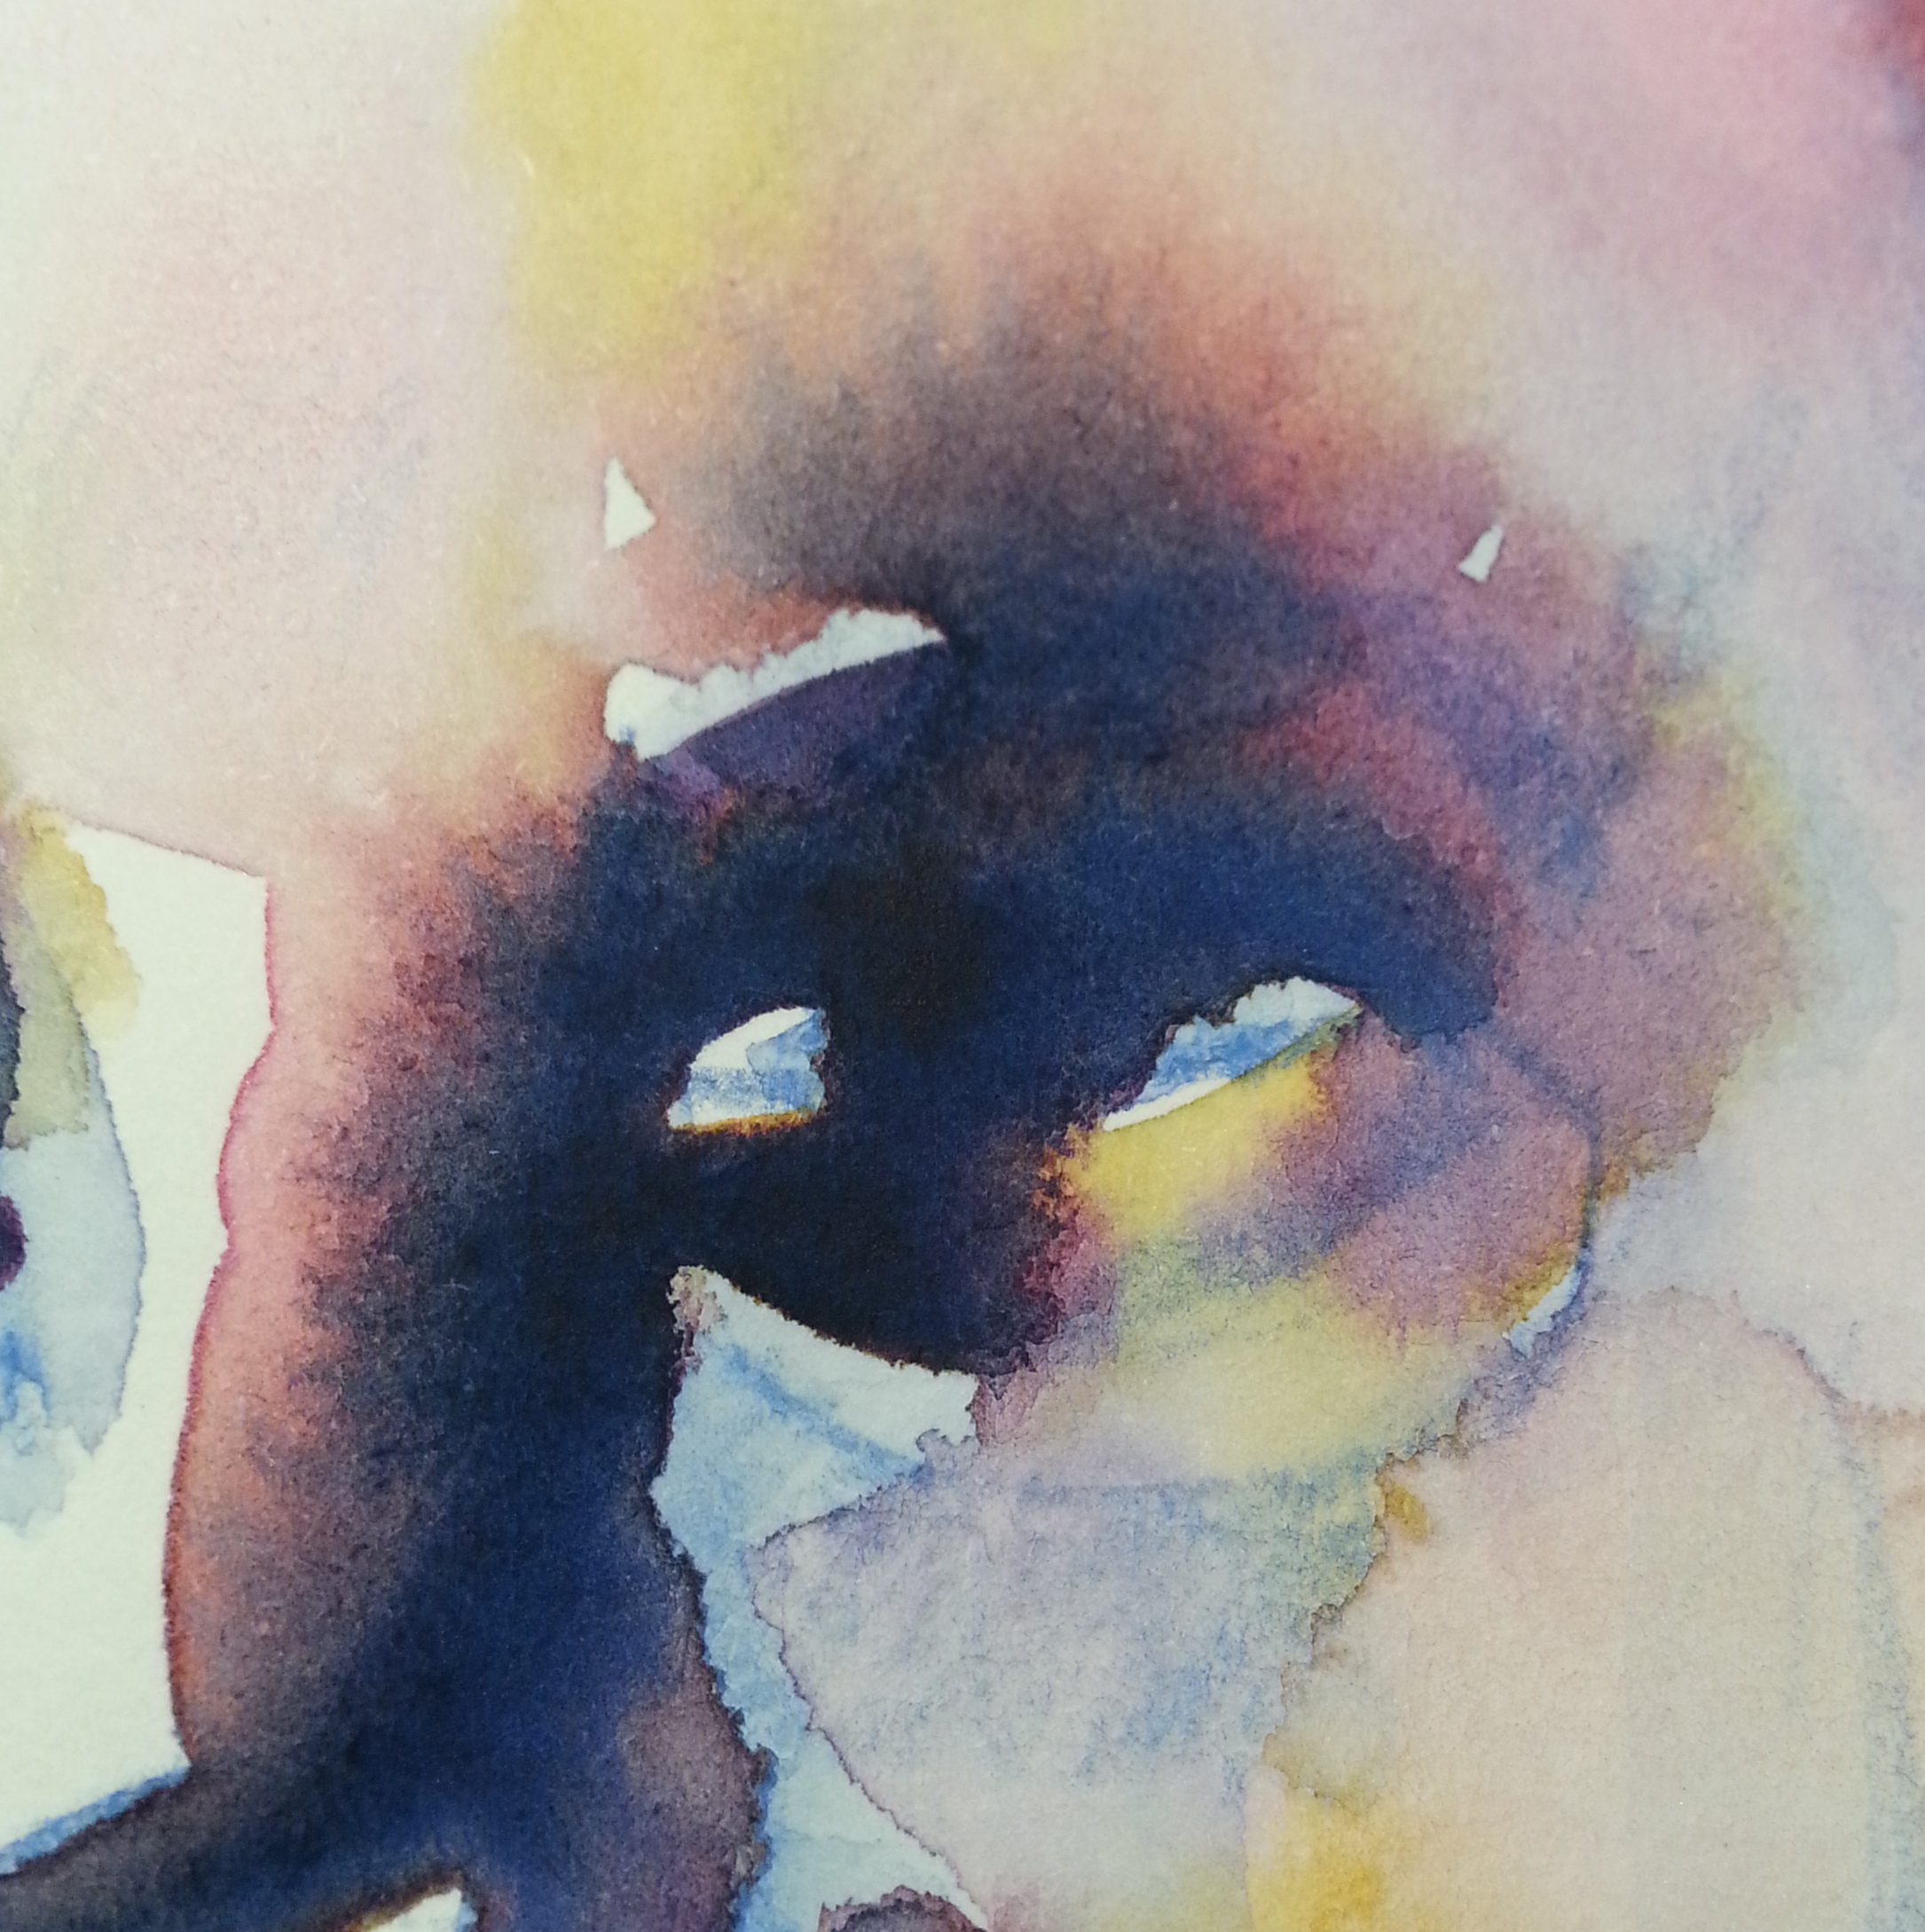
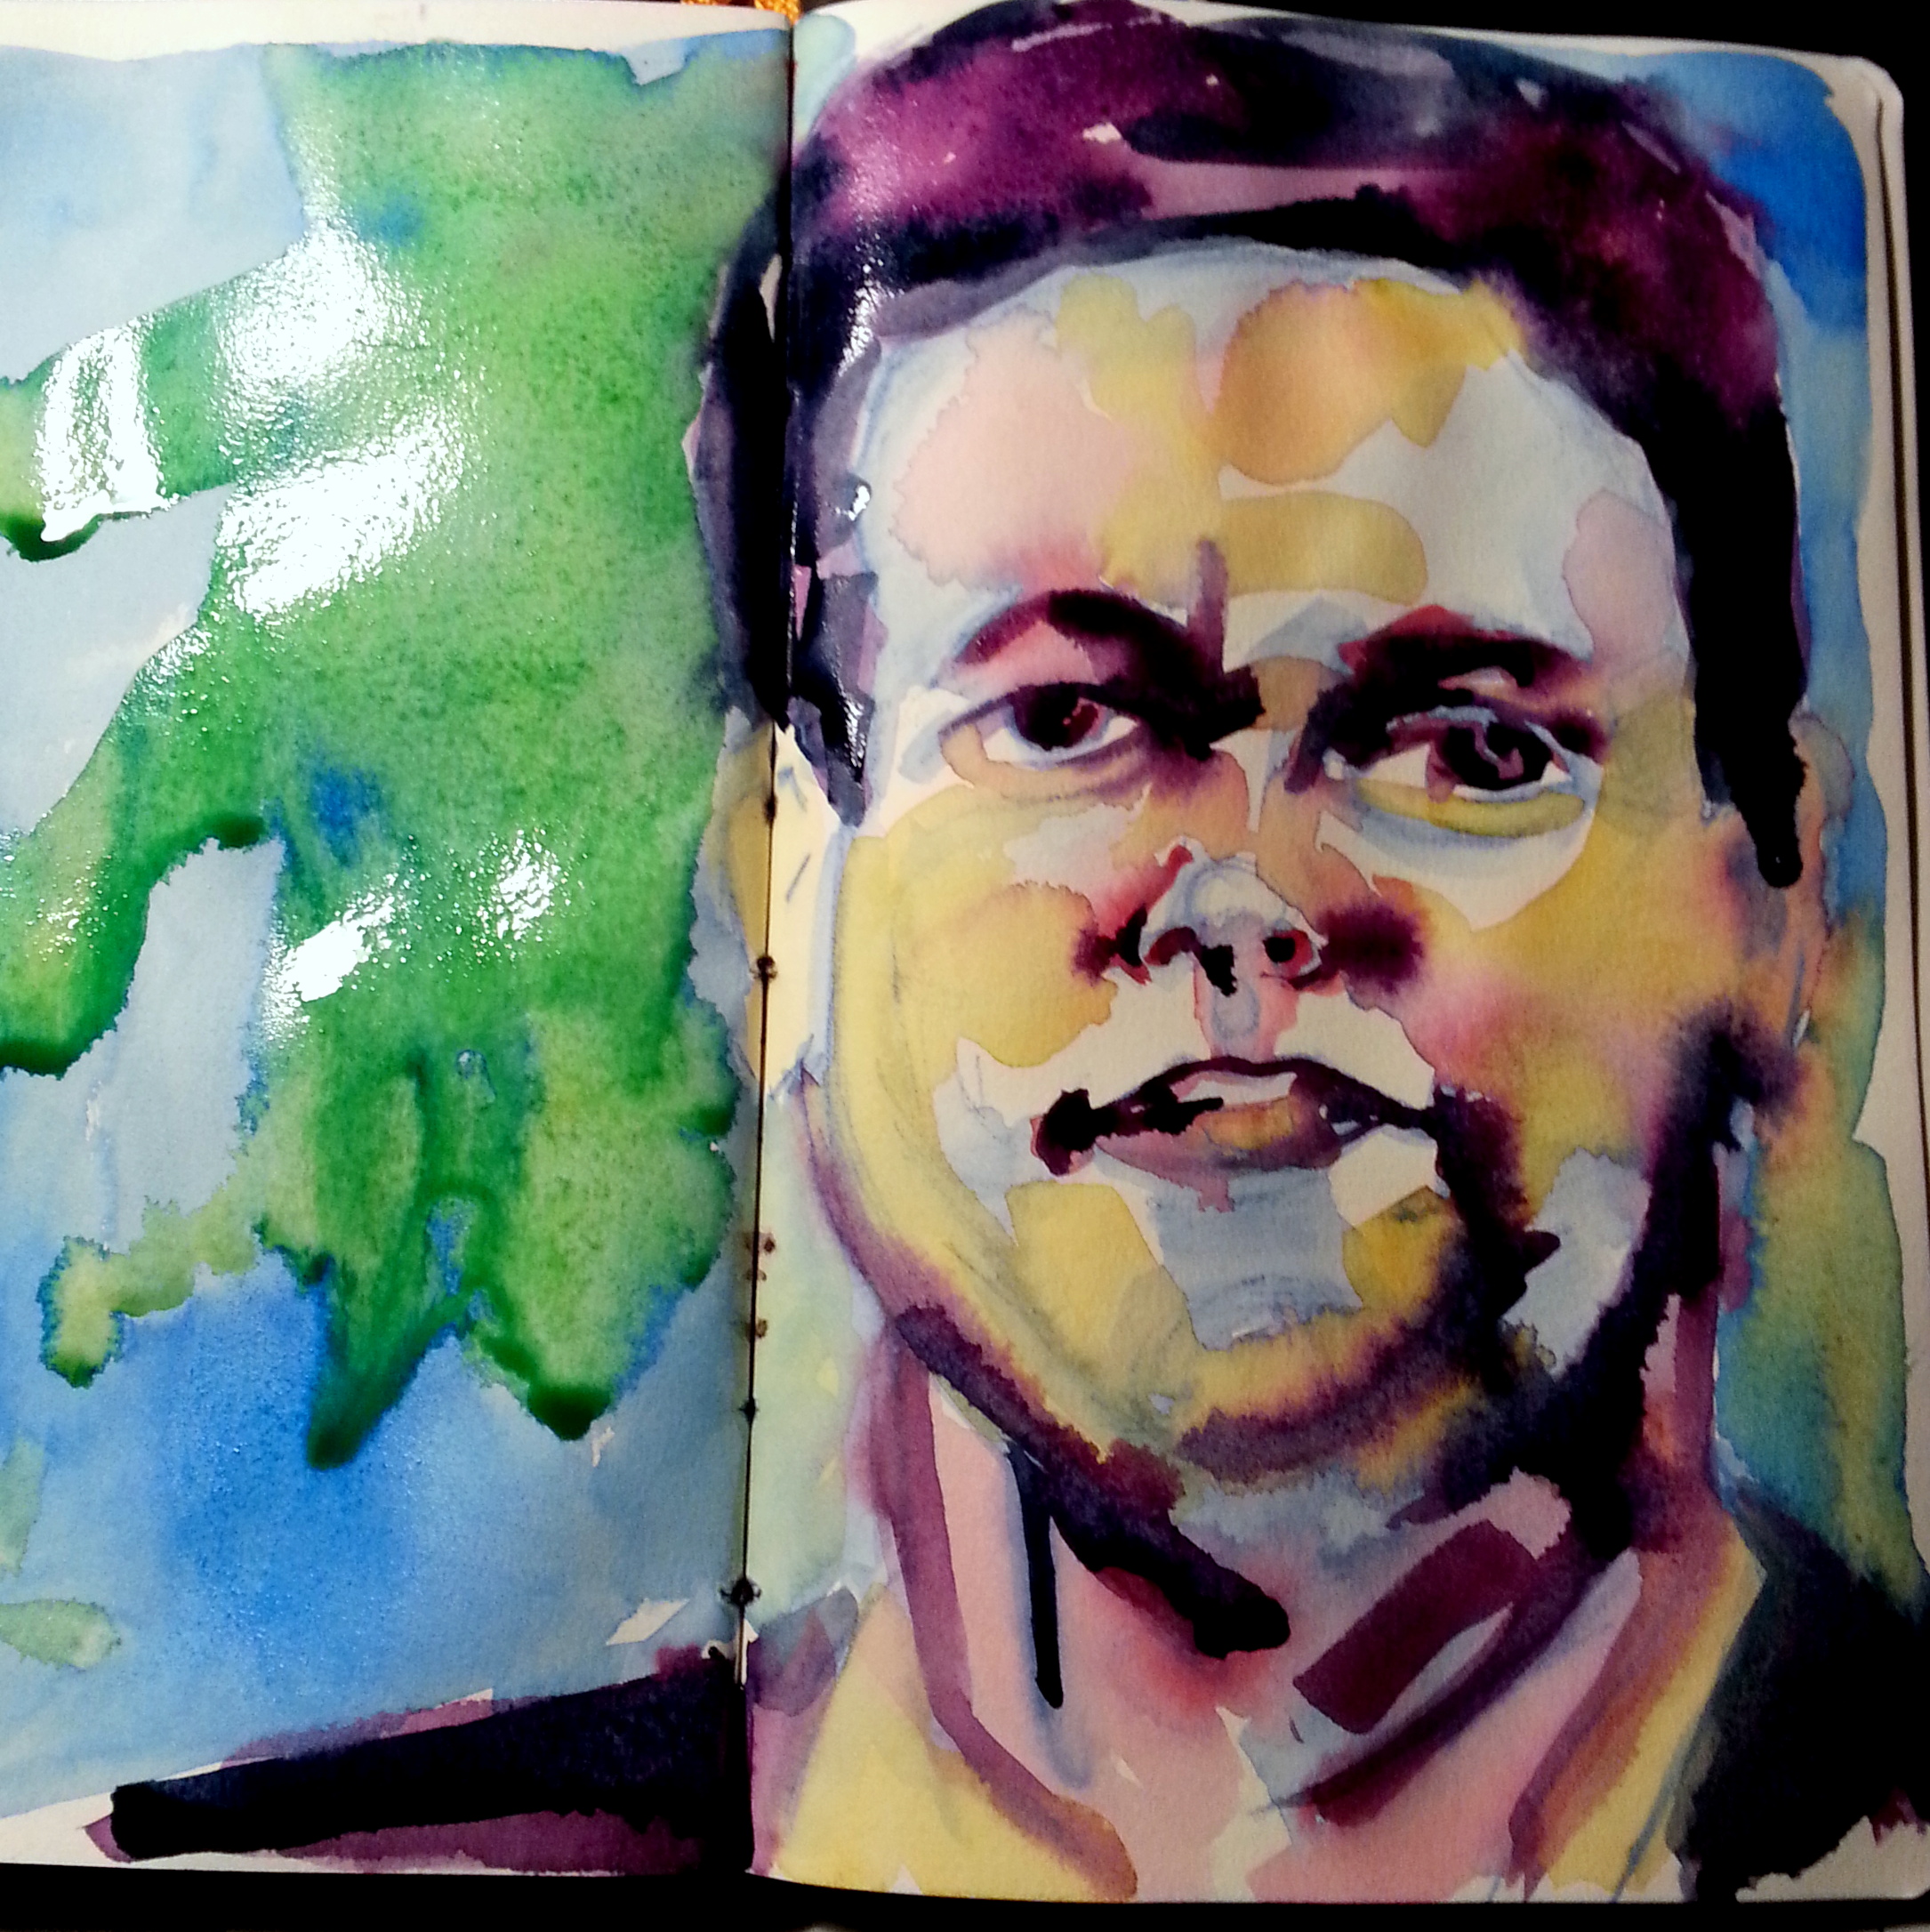 Here are a few close ups of what the paint looks like after it dries. I’m working very wet into wet and in the humidity the paint takes forever to dry. I’m also working with a #10 and #20 brush on a hand-book travelogue series sketchbook. Which I’ll have to do a full review on soon enough.
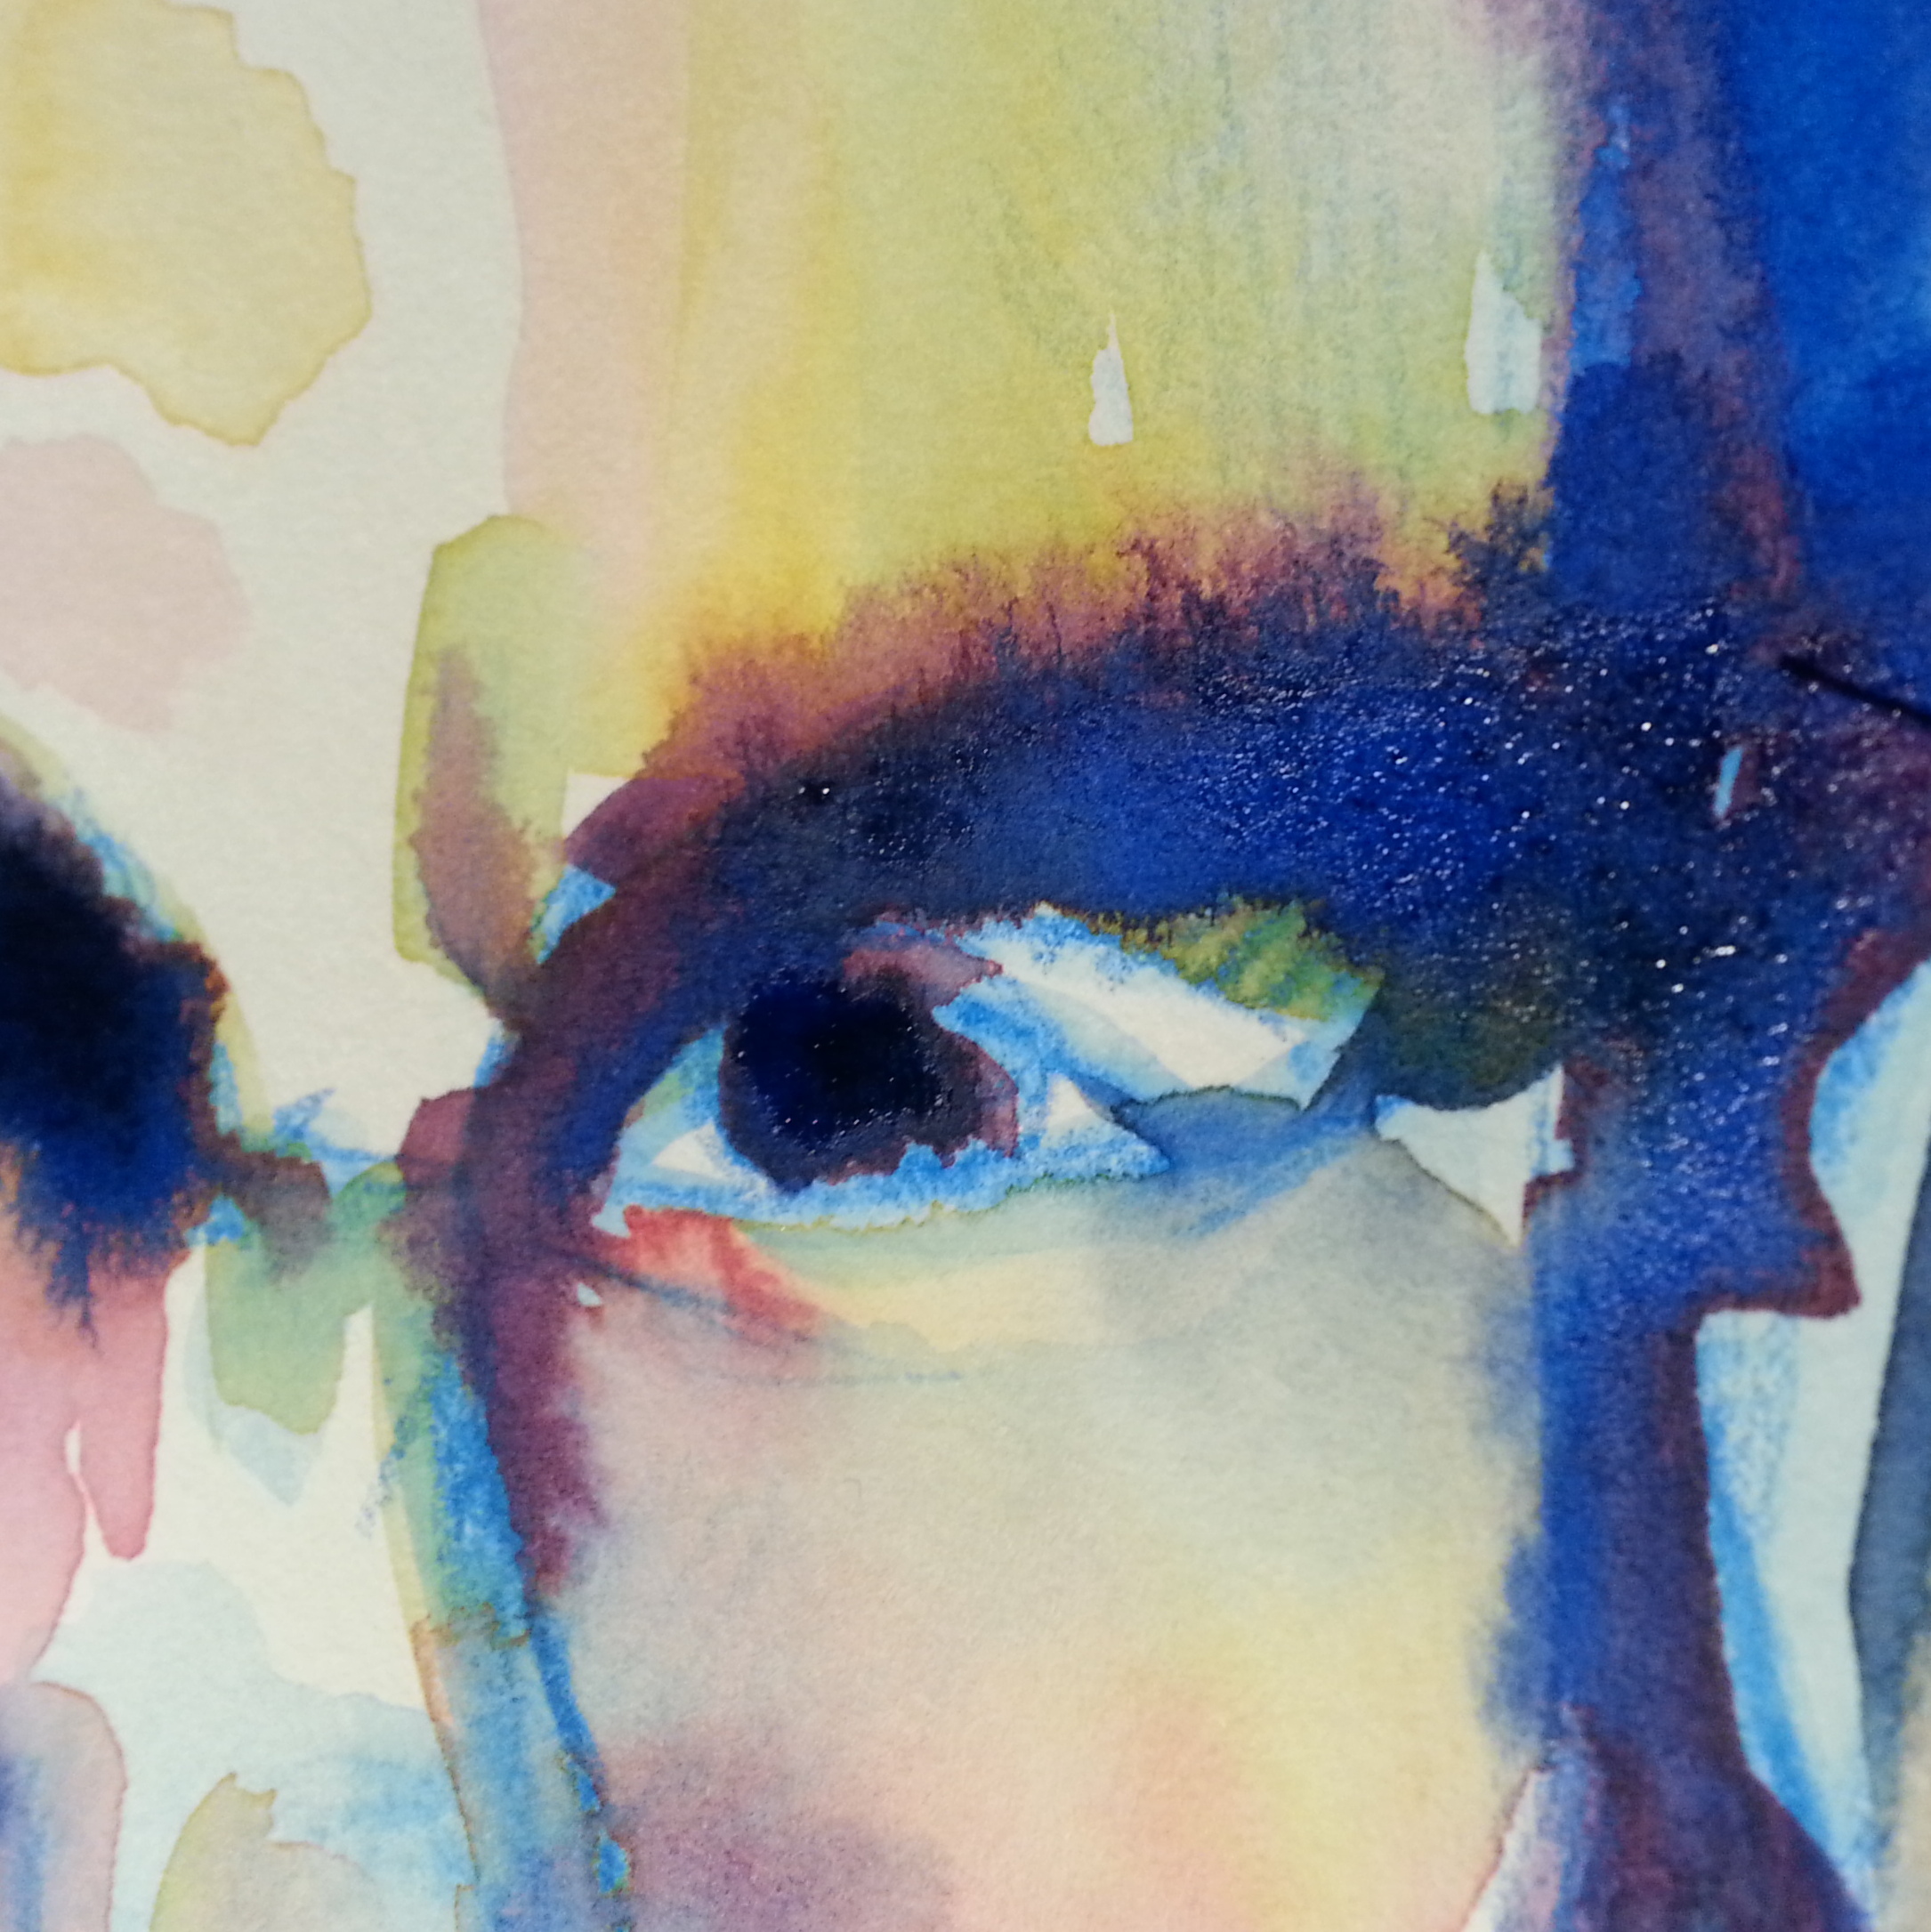