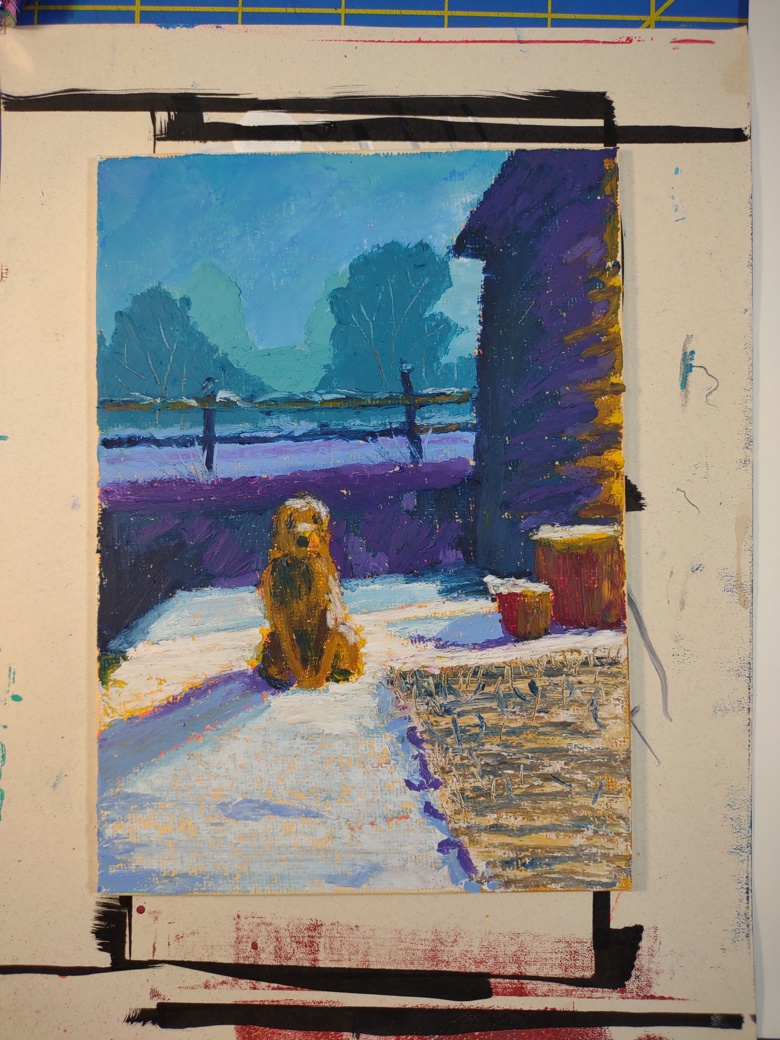
Rolling* gesso onto a panel.
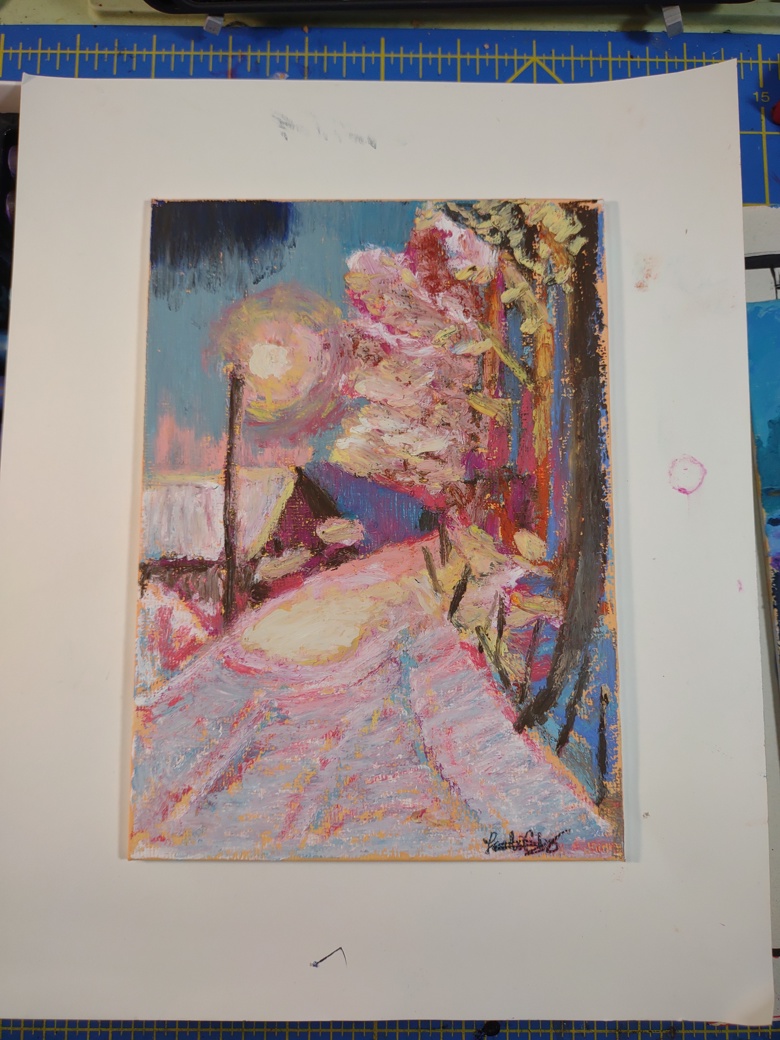
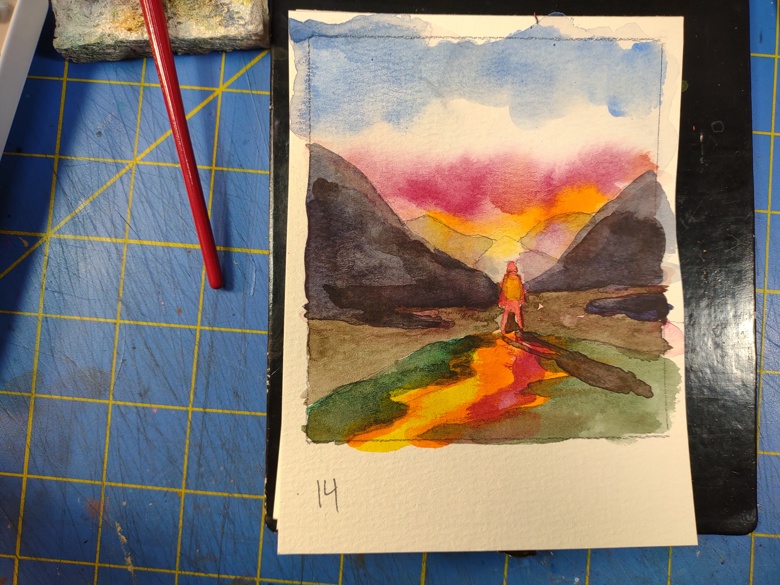
Taping off watercolor paper.
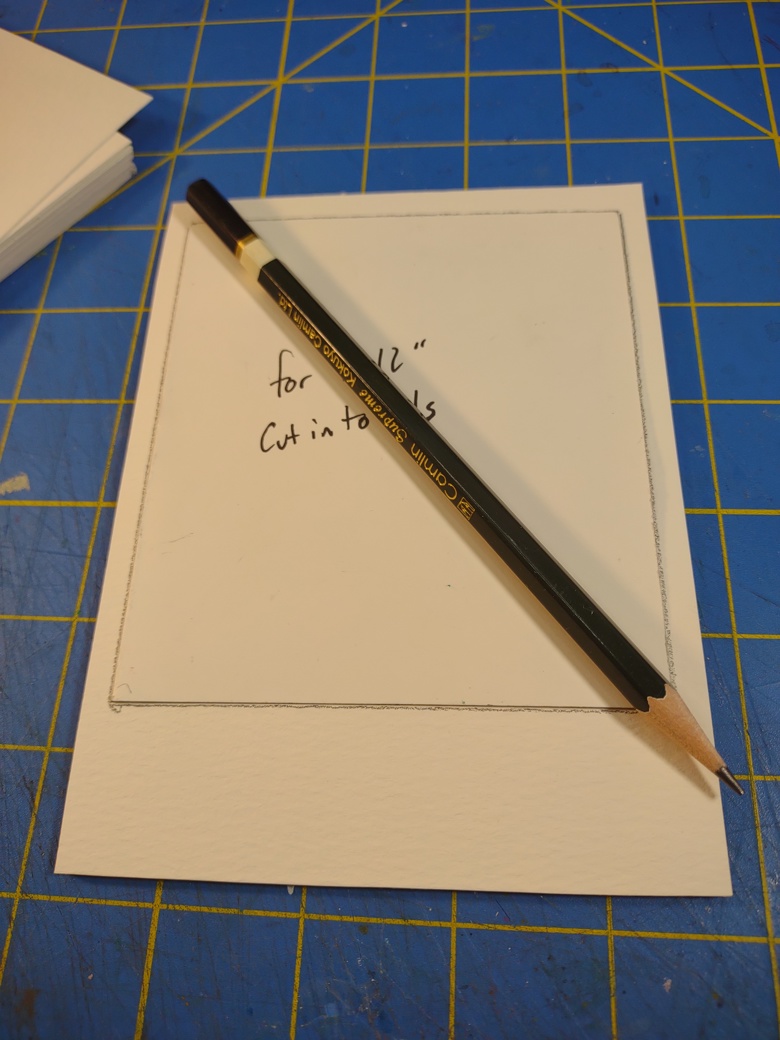
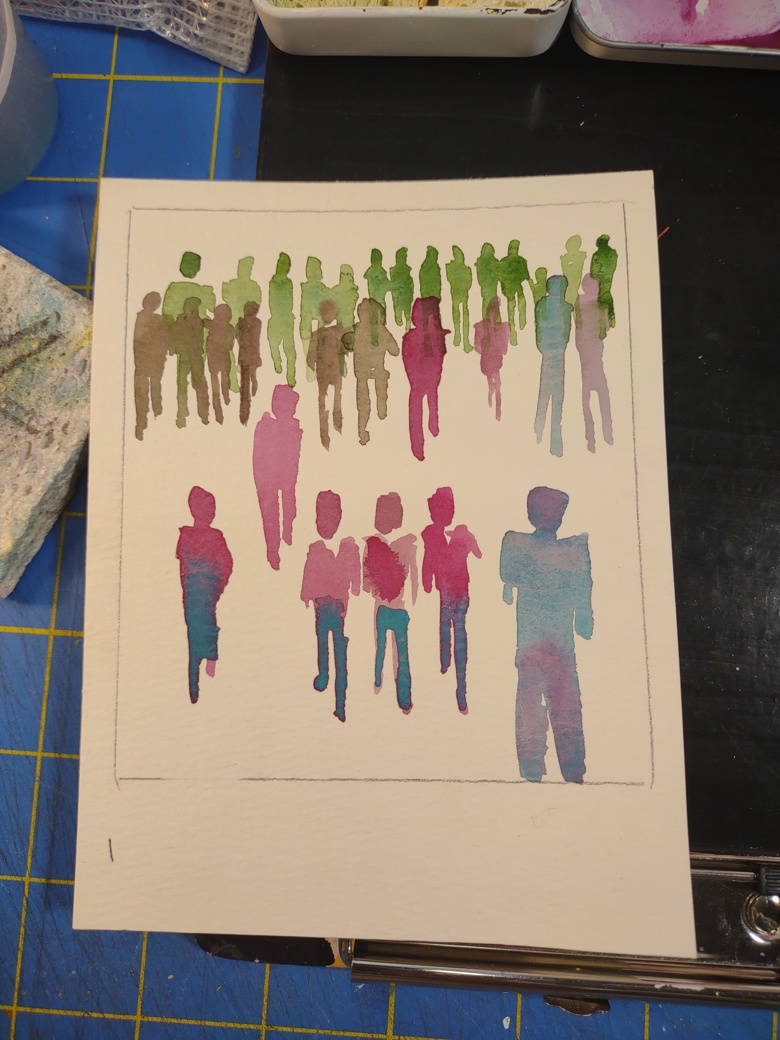
Measuring off working area on paper.
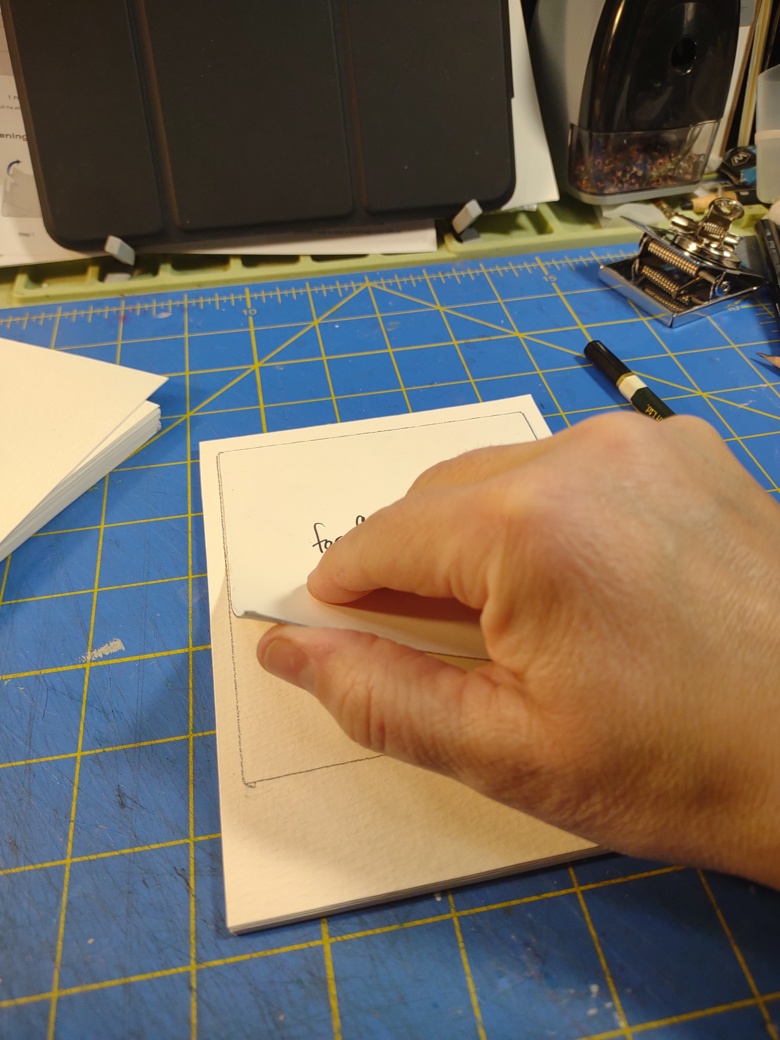
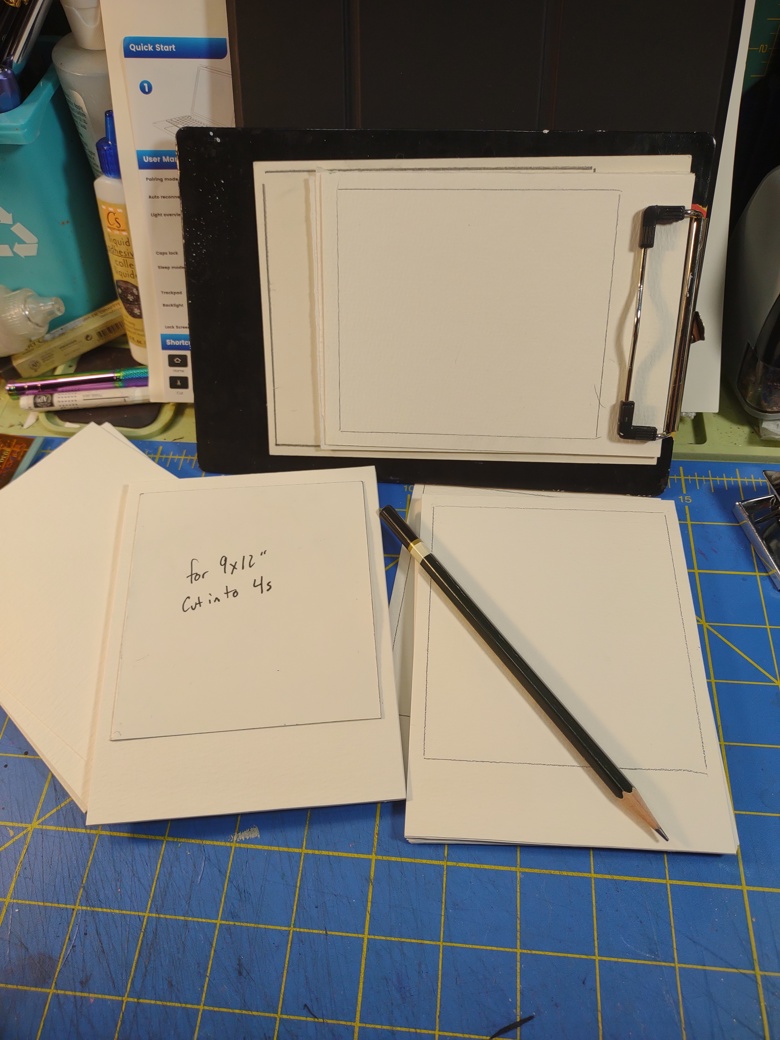
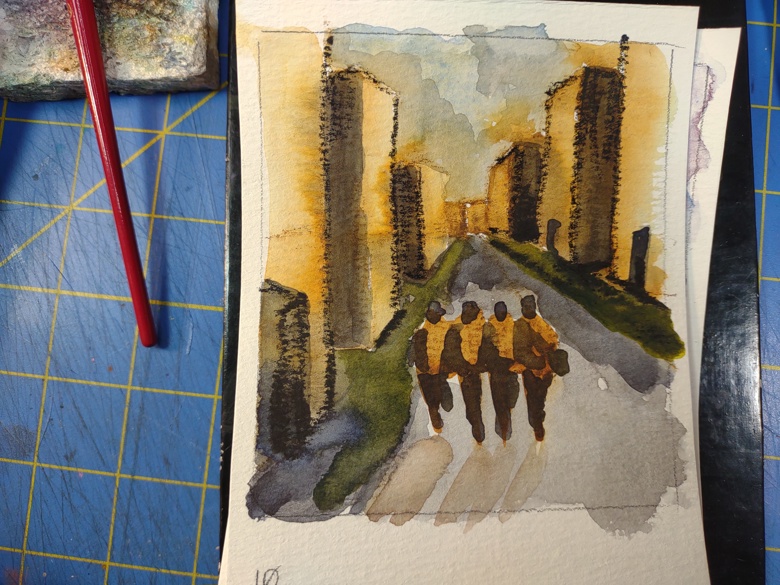
Cutting sheets of paper down to size.
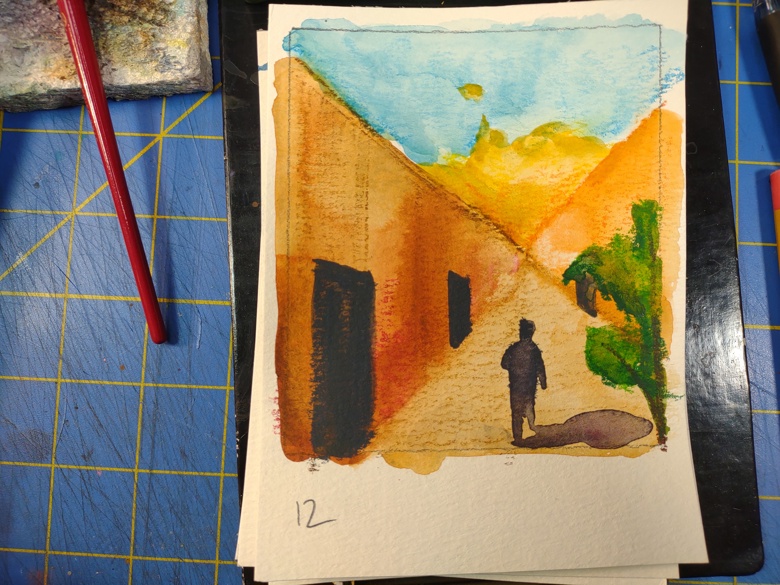
All of this is prep work. It sets the stage for what our actual art sits on. Without the prep the work suffers. A solid amount of gesso gives paint, pastels, and other mediums something to stick to. Taping off your watercolor paper gives a nice clean edge that looks good to buyers. Cutting sheets of paper down in advance means that you won’t scramble when it’s time to work.
I used to resent prep work. I thought it cut into my art making time. I skimped on gesso on my panels. I didn’t tear down sheets of paper in advance.
I regret skimping every time it ends up cutting into my art making.
I’ve had times when the lack of layers of gesso meant my surface wasn’t exactly where I wanted it. I’ve torn down paper for prints in the middle of a print session only to get ink on them. I’ve made so many watercolors without taking off the edge only to struggle to frame it.
Now I not only accept prep as necessary and needed but I try to use the monotony of prep as a mindful moment. I roll out gesso onto panels and take deep breaths and listen to good music. I read while I wait for the first coat of gesso to dry. I then roll on another layer in a perpendicular direction to the first. I don’t sand. I usually do 3 coats. The great thing about rolling on gesso is that it lacks the directionality of brush strokes. I don’t need to sand it. It has a bit of a pebbled texture. But rolled on evenly and smoothly, it almost levels itself. The result is an even coat with plenty of tooth, ready for my paint or pastels.
When it comes to tearing or cutting paper down to size, I try to do a few more sheets than I think I’ll need or want. Better to have more than too few. I plan now for prints that don’t print well.
I write this as I get myself ready to do a mass gesso roll out. I have 12 wooden panels that need to be gesso. I have 24 8x10inch canvas panels that need some gesso love as well as *ahem* 30 more 5×7 inch panels that need gesso.
I have been avoiding the gesso roll out. Also it’s better to do this in a mass. I’ll spread out the panels on paper at work and roll out the gesso over all the panels at once.
These are part of my DIY Artist Residency that I’m crafting for myself this summer. More on this in another post.
*Or brushing, I like to roll mine.