Cut a strip of leather 13 to 15 inches long and 1.5 inches wide. Use a good strong leather, 1.5 ounce or stronger. Don’t use thin appliqué leather as it will just tear. Check out Seymourssi on ebay, great leather.)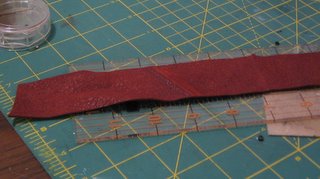
I made a jig for this, as I didn’t want to ding up my covers. Cut a piece of stiff card the size of a mole cover and apply a 2 way glue so that you can work with the leather and not have it move too much on you. I used photo adhesive. You could use a low tack double sided tape.
Position the side of the leather so it lines up with a straight side of the card.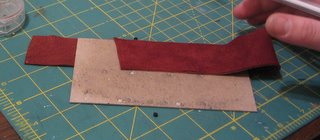
Wrap the leather around the card, slightly stretch the leather and line the edges so they meet. Use a pencil or pen that you can see on the leather, mark the end of your overlap.
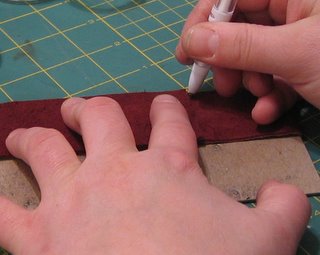
Apply a very thin bead of glue to the edge of the leather up to your mark. Now re-line up your leather and press down gently, from the center f the strip out toward the edges. This forces the excess glue out. Wipe up any extra glue that squeezes out. 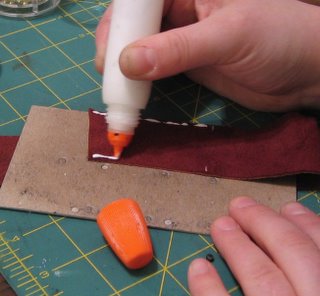
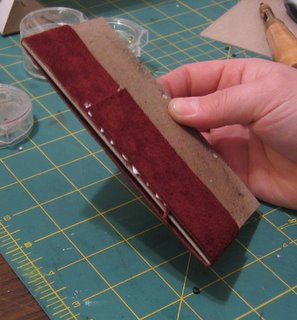
Here you can decide how you’re going to reinforce that glue; you can sew the edges, use rivets, brads, or eyelets. I used eyelets because they give me immediate results and I have ton of them around. Michaels stock a tremendous amount of eyelets, in all sorts of shapes colors and sizes they also have a nice selection of rivet type things that are very cool.
When punching the holes be sure that you place a hole at each corner and in the middle. That’s the only rule, after that go wild.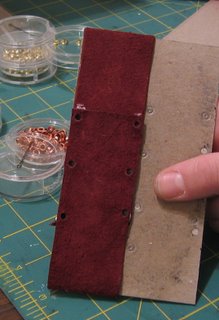
For this I used only 6 eyelets. It was all I needed, I could have added another 4 and made it heavier.
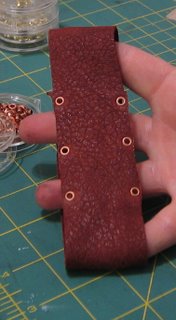

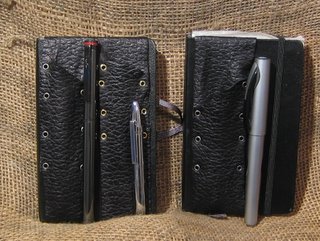
Here are some gratuitous modeling shots of it on my sketch mole; which I have already abused.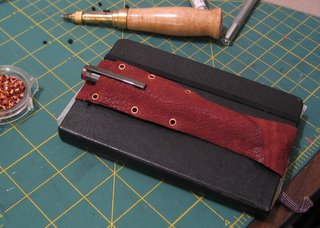
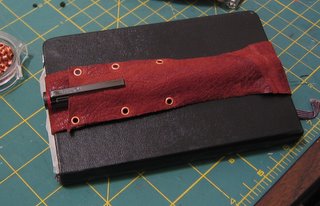
I’ve also included some shots of some proto-types in black. I’m working on them.
