Last Friday I told you about the Printer, in passing. I was gifted a 10 year old Samsung ColorXpressions laser printer. It’s a 4 color printer and on the outside in great shape. I remember my Mom buying it for herself way back when and being super jealous of it. New, it made amazing prints, clean, crisp and clear.
When my mom cleaned out her classroom the printer came home with her and sat in a pile, she had neither the time nor excitement to set it up at home. To be frank she didn’t want to. They had another printer and after 10 years the excitement was gone.
She knew I’d probably continue to use it, so she offered it and a box of 4 brand new unopened toner carts to me. I didn’t think before I said yes.
Then I brought it home and let it sit, for another… 6 months at least.
Then we set it up and the printing was a mess. Clearly it needed a new drum. I searched out and found that the printer itself was discontinued as were the parts for it. Then I found rebuild kits for the drum, and finally, a drum itself for not too much. Ordered. And still the printers were a mess and the machine would not pick up cardstock.
Disappointed I looked at color laser printers, and used ones on Craigslist and Marketplace, whoa, expensive. I hadn’t realized what a gift this machine really was.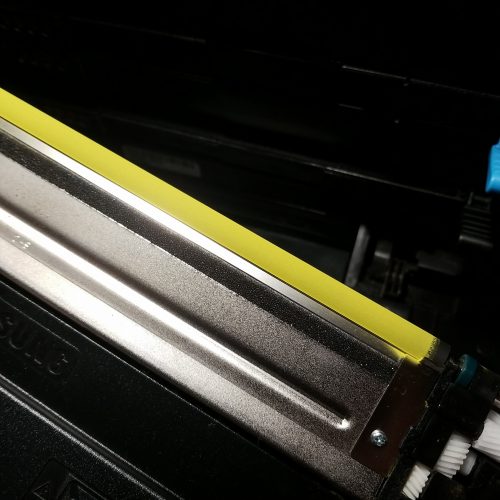 More research, and I found that there’s another part called the image transfer roller- a belt of some kind of plastic that transfers the image to the paper. I could clean it!
First impressions were that mine disconnected in a different way from the video I watched, so I did a halfway cleaning, and things were better.
Finally I decided to remove a few screws, and voila! I could see where everything connected and was able to disconnect the roller and remove it from the machine. I then sat down with rubber gloves, rubbing alcohol, and rags and proceeded to clean off the transfer roller. I took it apart and took it outside and let the dust blow away, and then wiped down the whole thing with alcohol. I took the moment to clean out the dust from the machine itself, there were streaks of toner everywhere. The alcohol picked it up and cleaned it out.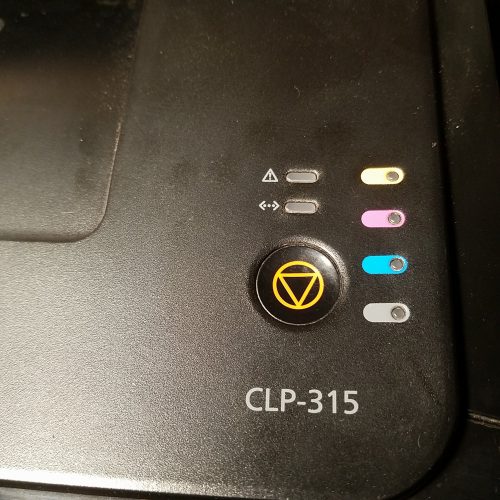
Then I put it back together and did a test print. I was hopeful, but worried I’d need to buy a new part. A quick search showed the parts to rebuild the transfer belt range from $80 to $200, depending on the part. Given the cost of a new printer, that is a feasible investment.
The prints that emerged at first were crisp and clean and perfect. I did a few more test prints and a few covers for some possible No Brand Notebook covers, and the results were pretty clear, but it was also apparent that years of use had warped the scraper bar inside the transfer unit. I won’t lie, this was disappointing, but also not horrible. I’ve found that if I print the same image for a few prints (the intended use of this machine anyway) that I get nice clear prints and it takes 3 prints to get clear prints.
But it is also an easy fix, also cheap. A new scraper bar costs around $10, and replacing it is pretty easy. So after the next issue of UJ I’ll be replacing that. Mostly the wait is that I have to wait for the bar to arrive. The best place to find them has been A1Xpress or ebay and I simply have to wait for it to arrive from China.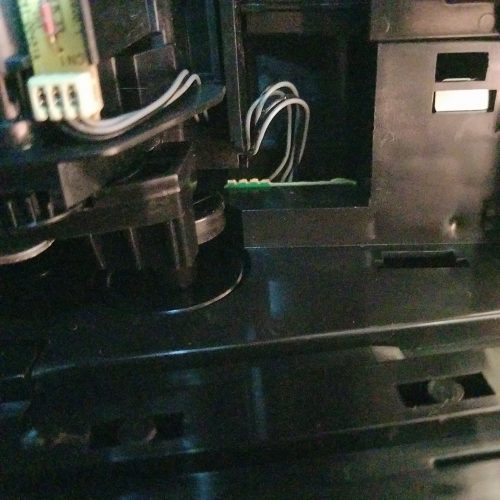
Another great thing about the printer is that because it is old, the market is flooded with a variety of remanufactured toner cartridges. They range from ridiculously cheap to pretty expensive. This means I’ll be able to keep printing UJ with pops of color and hopefully some color inside, at a relatively cheap price.
I’m optimistic that I can keep this printer running for a good long time with careful repairs.