A type of dream dumper that I especially loathe is the Gear Guy. (It goes without saying that the Gear Guy is a gendered joke and the GUY can of course be a GAL or just person.) 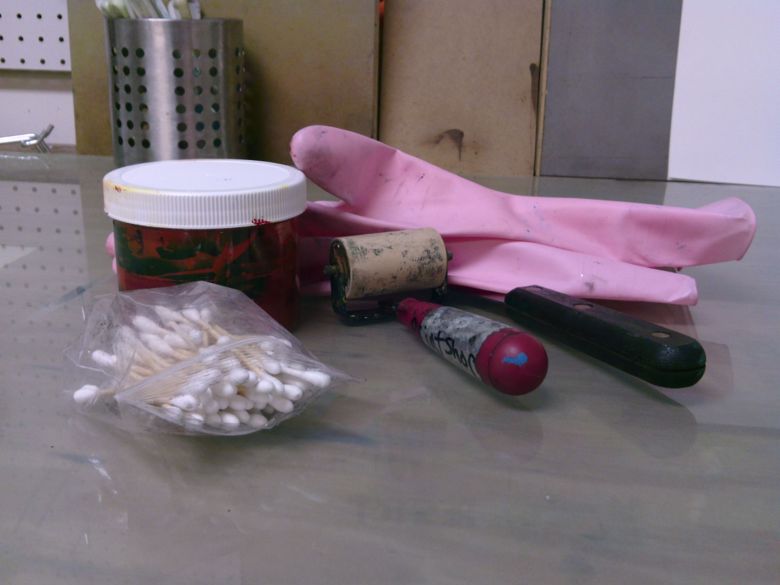
The Gear Guy is that person who asks you what you are using and then smirks and tells you they have the newest model of your beaten up used piece of equipment.
It’s a wallet wag.
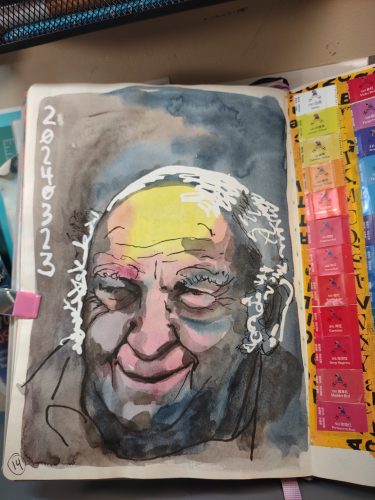
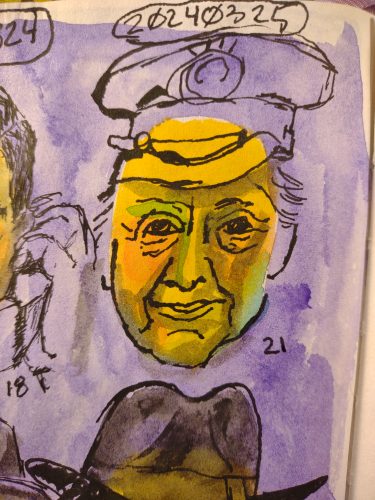
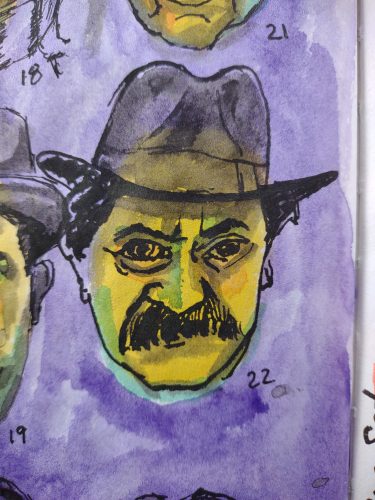
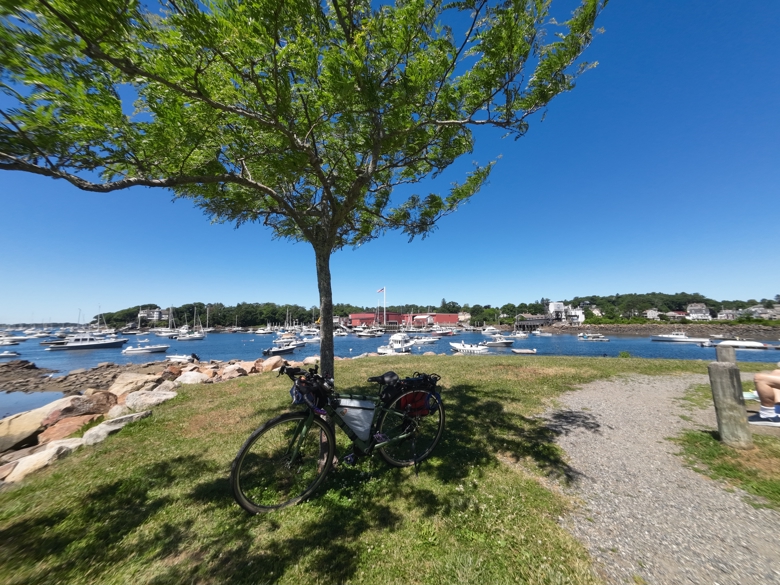
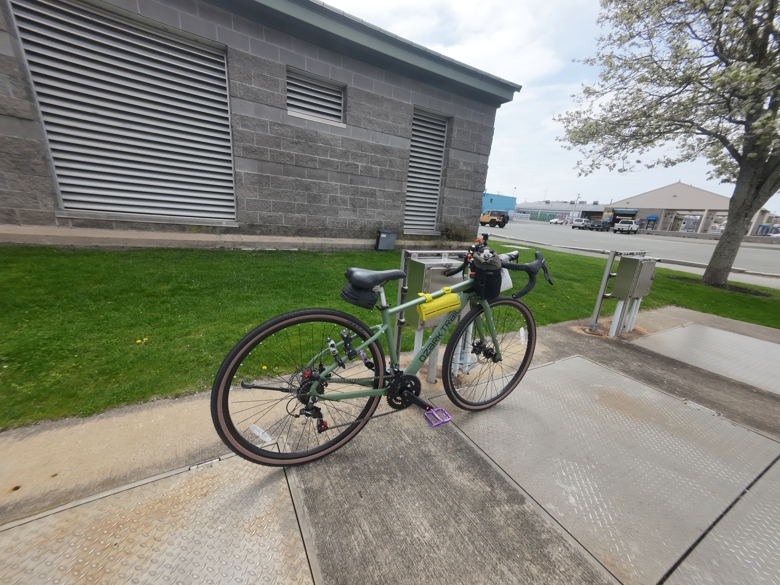
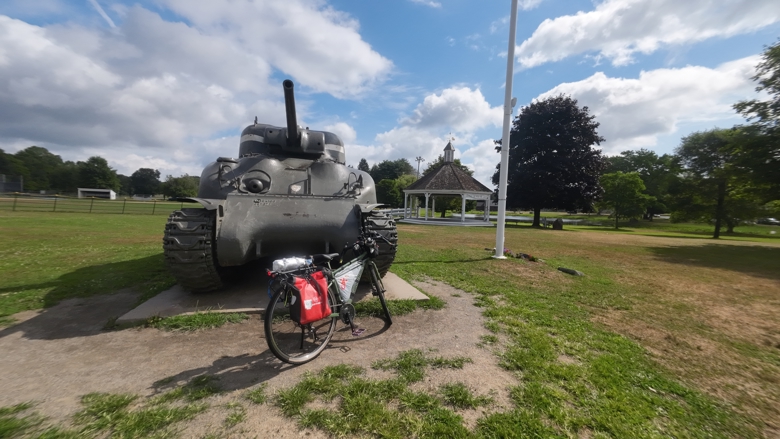
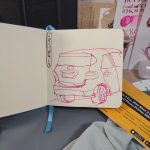
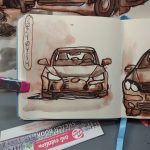
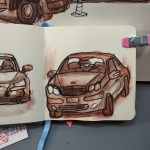
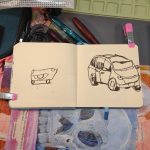
I see this so often when it comes to cameras, watercolor brushes, and bicycles.
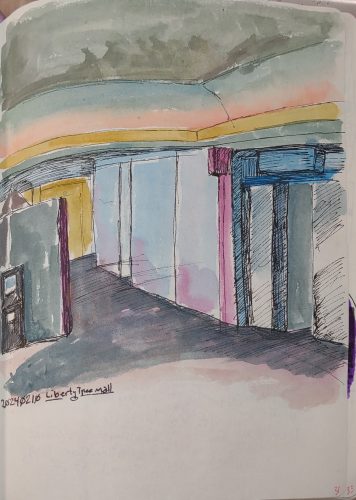
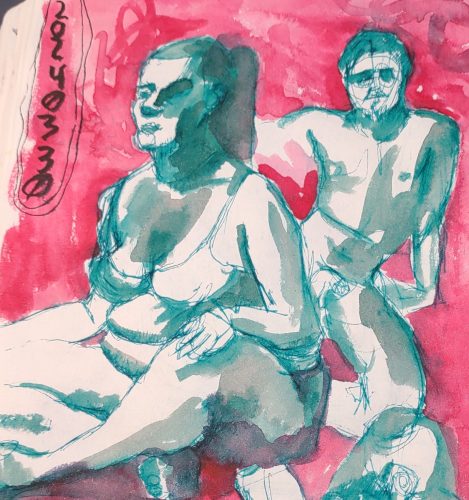
I use my action camera for everything. Because it eliminates shake it’s great for taking pictures. I can also adjust the settings and get a nice shot. I have added a step up ring to it it so that I can use close up lenses and filters! Cool. Nifty hack!
Most of all, I know how to use the action cam, and I have it with me all the time.
I also always have a toy camera in my bag. I won’t write here about my undying love of toy cameras, but I looooove them.
Anyway, I was out with some people I know and I pulled my old trusty modified Osmo Action 3 out, slapped on a 2x close up filter and took some pictures. A Gear Guy came over and asked me about the cam. I explained the ring and filter situation. He smirked and held up his Canon with a $1600 lens.
Me being me, I lifted up my camera and snapped his picture. I laughed as I walked away.
His attempt to make me feel small didn’t work because I disarmed it with humor.
But it still grinds my gears.
Having the money to buy a thousand dollar camera body and slapping a $1600 lens on it doesn’t make him the better photographer. (I am a shitty photographer and I know it.) It means he has more money and more tools to prop him up.
Expensive tools aren’t a magic wand to make better art.
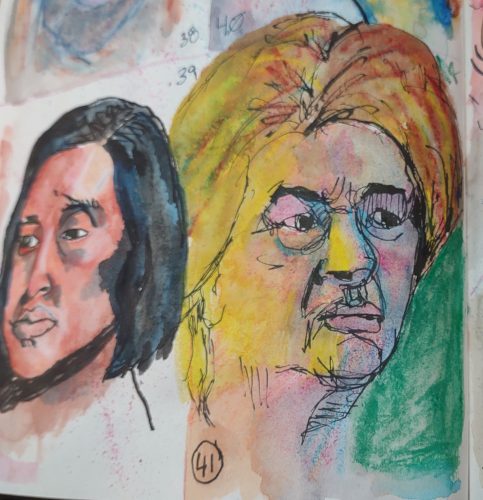
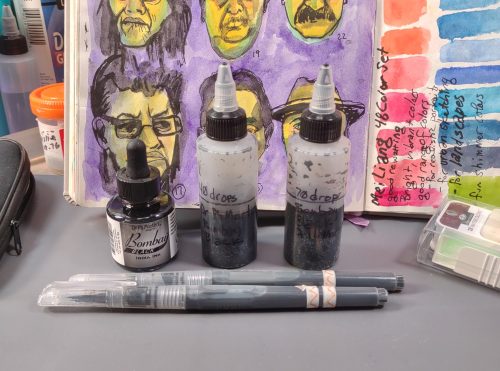
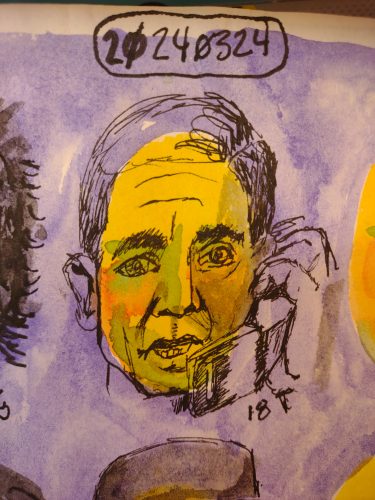
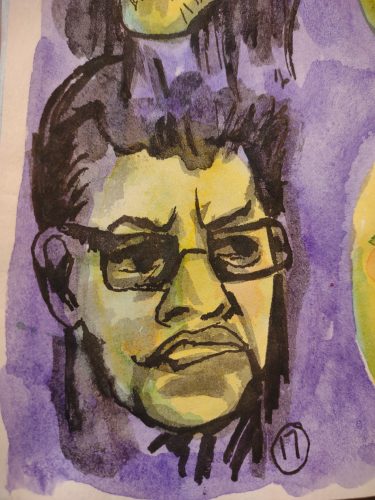
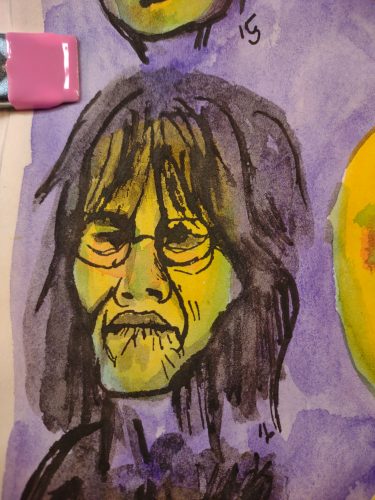
Cheaper tools used well can make great art. Yes cheap tools can be frustrating to make with, but if you are careful and buy well, you can find good cheap tools. Even if you aren’t, I’d rather see someone find an amazing cheap tool and brag about their deal than listen to some Gear Guy brag about his $150 water color brush he flew to Japan to buy.
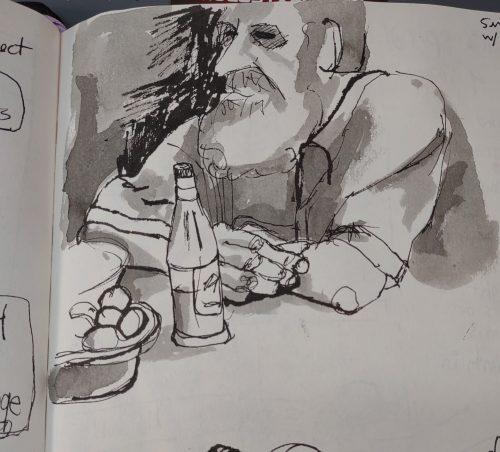
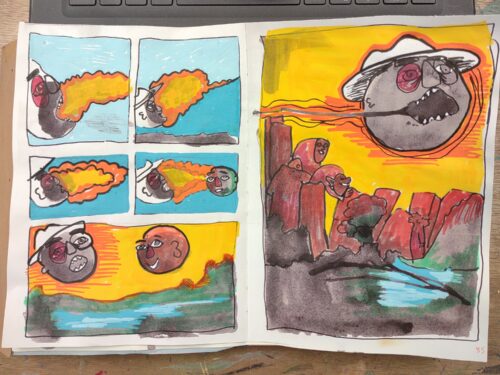
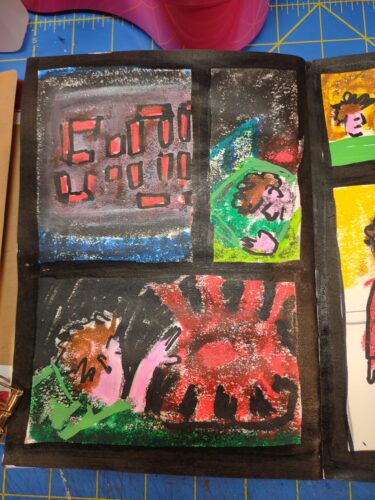
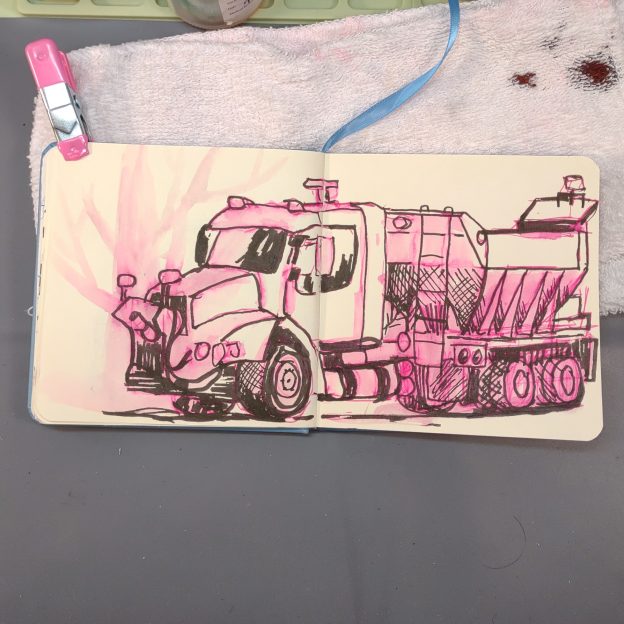
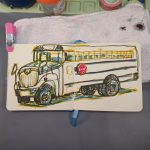
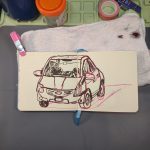
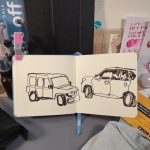
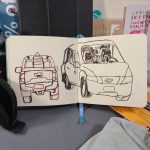
This is why I suggest cheap journals/sketchbooks. Fill them up, burn through them with all the messes and then buy another one. Feel no guilt for using cheap sketchbooks as your journals.
An expensive journal won’t make your art journal better. Only time and effort will pay off. Spend time to find your favorite art journal. Most of the time the journal expense will be somewhere in the middle of the cost range.
Re-post from my Ko-Fi page, get my posts much earlier there.


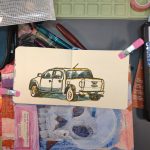
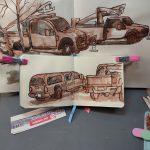
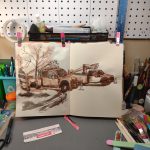

 Let’s look at what did work first.