Category Archives: Journaling

On Making Things: Return to Roots

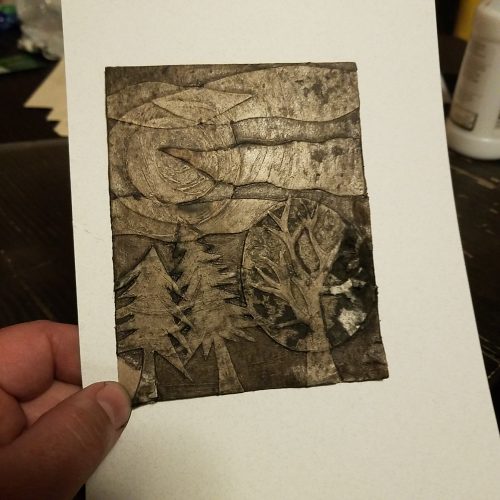
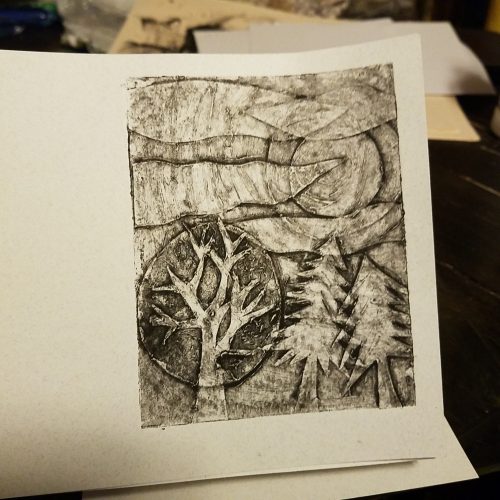
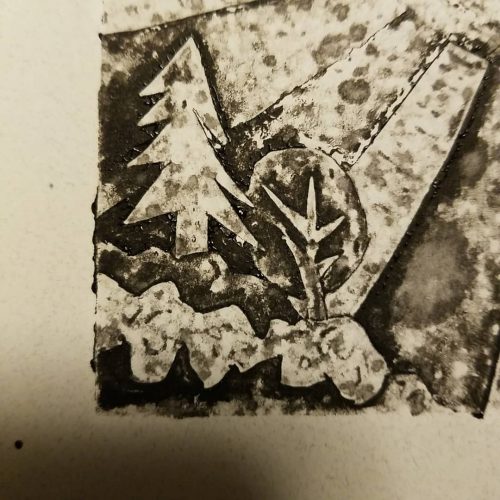
If you’ve been reading CSS for more than the last few years, you realize this blog didn’t start out as a review site. I started out blogging about a break up and my attempts to find my footing in my new single life. It quickly morphed into an exploration of art, journaling, and bookbinding. Soon the old title of the blog no longer fit and I chose Comfortable Shoes Studio as an homage to a gag project I’d made in college. I moved my blogging to CSS and the transition was easy.

Here I started to write about my art and other projects. I was open about sales, ranted about eBay and PayPal fees increasing and all the other issues that occurred with being an artist and craftsperson online. Through all of it I was open and transparent about the business side of things and about the process of making art and art journaling.

Reviews were (are) a side effect of making art and writing. I did product reviews because I was making art and using the materials and readers had questions.

Then life got complicated. Work got complicated. I went back to school. I changed jobs, a couple of times. I made less art, but I had a lifetime of using art materials and could write reviews with much less effort than writing about making art, which I was making less and less of. As for bookbinding? I do less of that than ever because my wrists and hands ache after a binding session, the act  of pulling a needle through paper and board causes pain like no other. So I just don’t do as much of it as I used to, it hurts too much, and if I’m honest, it hurts a lot to think about not being able to bind like I once did.

I’ve gone back and looked at some of my old posts, posts where I’ve “shown my work” when it comes to art, zines, and the business of art. Now that I’m in a more stable place in my life I hope to reclaim some of my writing about more than just reviews.

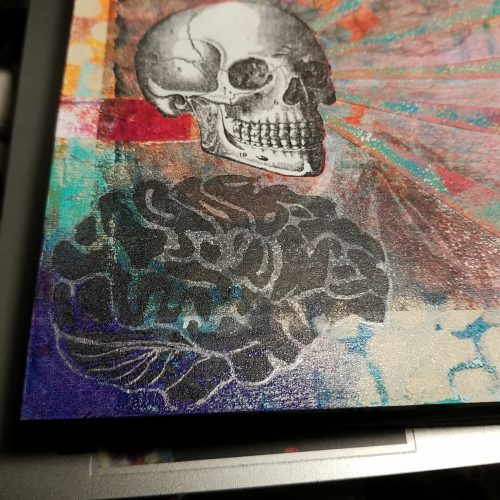
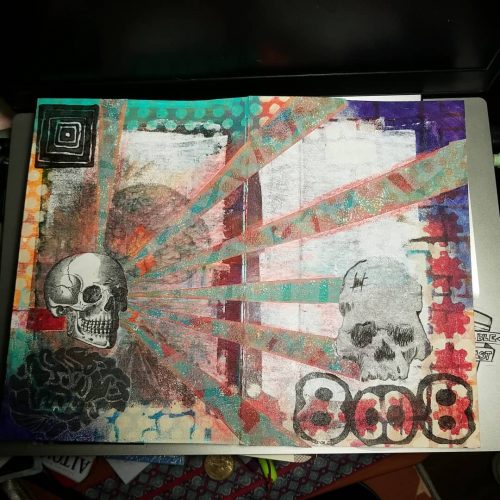
I wanted to write a bit about the creation of Useful Journaling. While it is a culmination of a lifetime of journaling, it is also about teaching myself how to paginate and do layout for printing and binding. In the past I have always done my layout with a physical original. I’d cut and trim things to a paper copy and make a first really good copy of that which I’d print from. I really like the physical aspect of making a paper original copy. There is something really nice about sitting down with a glue stick and craft knife and making that first original. 

I like learning things, I saw learning how to do layout on the computer as a challenge. And wow is it. I hate and love it. I love how clean it can make the flow of words from page to page. I write all the zine in one doc and cut and paste it into Publisher* and it just flows through the document. Easy. I then add in the various elements I’d use glue and scissors for a physical copy but instead I photograph them and crop in the computer. It’s similar skills but all in the computer. It was a challenge to learn how to bring it into the computer but I know I can also make a physical original which I can scan and turn into a PDF and print from that.

Another challenge is printing. I really like the idea of a color laser printer for the cover and inserts. But WOW are they a total pain in the ass. Of course the one I was gifted is old and I needed to order new parts and do a thorough deep clean, but it hates printing on smooth cardstock. HATES it. So future issues will use coverstock, which means I can possibly add 4 more pages.

Which brings me to another thought out aspect of UJ, the size. I wanted the zine to fit into the pocket of an A5 notebook, so it had to be pocket notebook size or a quarter sheet of US letter sized paper. I also wanted it to ship for the cost of one US stamp in the US, even if I added extras (and I did) so I went with pocket notebook size. The number of pages was determined by weight, I knew if I went with 16 pages I’d stay below an ounce for that single stamp. The hard part is that I WANT to make it longer. I want to pack in the content. I also wanted to keep the font large enough that it could be easily read. I get frustrated with zine with font sizes that are too small to easily read.

Anyway, I’ll be chronicling more of my art adventures here, but still be writing product reviews, just less of them.
Continue reading

Useful Journaling Issue 1

It has been awhile since I’ve made a zine. I decided it was time to take the manuscript that I wrote about journaling and work it into something. I’ve taken that old manuscript, torn it apart, lumped pieces of it into themes, and I’m putting those themed chunks and making pocket notebook sized 16 page zines. I chose to make this zine small so it would fit into the back pocket of most A5 or 6×9 inch journals.

The theme of the first issue is Simplicity. Each technique explored is deceptively simple but can lead to wonderfully deep and rich content. This first issue explores an evening mind dump, gratitude, and using prompts. Future issues will explore fear of the white page, picking out materials, and more involved journaling techniques.Useful Journaling is $2.50 plus 50 cents for shipping in the US and $1 worldwide. For now it is only available via my Ko-Fi shop.  Ko-fi shops are great for creators- they don’t take a cut if you are a Ko-Fi gold member (I am now) and allow the maker to post all sorts of different items for sale. PayPal still takes it’s cut (which is hefty) but this is a step in the right direction for all makers.

In Defense of Plastic Covered Composition Books

If you’ve been a reader of this blog for any period of time, you may know how much I love the humble composition notebook. My journey from hate to love was many years long but I have embraced them as not only an object of aesthetic appreciation but a useful workhorse tool. During these times of pandemic, when I went from blank brain fog to a period of large creative output I also embraced a new way of working, or perhaps for me, an old way of working.
You see, I went back to working in pencil and a comp book. Sort of like when I won nano by writing by hand. In the last month I’ve filled 3.5 comp books with notes and ideas, and yes, the workings of several novels. I’ve allowed myself to write the scene out of order, unplanned and as they spring to mind. I’ve written an ending and an epilogue. I’ve got to tell you, that this new-ish manner of working has freed my mind. Given that my mind was caged by fear for three of the last 4 months, this is a new feeling, and oh wow does it feel good.

But that is not the reason for this post, well, without the above the reason for this post would not have occurred.

If you know of my love of compositions books you may also know of my disdain for the plastic covered version of the. If not, now you do. The plastic doesn’t fold over well, I’m left with a lumpy writing surface and really, the cardstock and cardboard covers work just fine at keeping my comp books safe in my bag. Sure they get a bit worn and beaten, but let’s face it, that is a look I adore.

Yesterday I sprained my ankle, Yes again. This has been a frequent thing since I was 21. One of the things I forget about spraining my ankle is how much the pain of it knocks me for a loop. Pain and healing make me tired. (I swear I’m getting to my point.) It also means that I roll over in my sleep, knock that foot out of place and the jarring pain wakes me. Which means I’m still tired. When I’m tired I’m clumsy.

When I’m clumsy I knock over my coffee. Onto my work-in-progress notebooks. Luckily it was an iced coffee and more ice than coffee splashed onto my notebooks (and kindle).

All of my comp books survived with minimal damage. 

Those with card covers have a bit of waver and smell a bit like coffee. (Yum for now) 

The plastic covers wiped clean with ease and don’t even smell like coffee. (A bit sad)

The interiors were all okay and frankly part of that is due to where and how the coffee was spilled (on the spines) and not on the fore edge. 

While I still prefer the card covers for their ability to fold back on themselves and the worn in look they acquire, I see that the plastic covers have use for the more klutzy among us.

Reflection as I Prepare for 2020

This, 2019 has been a rough year. I changed jobs, a family member had cancer and went through chemo and radiation, another family member has been ill, and then we have the whole government thing here in the US. This has been a year of transition and change, and rough patches.

Transitioning from one job to the next is always rough, especially as I moved from one with a top-down leadership style to one that focuses on teamwork. After nearly 20 years of working in top-down styled workplaces, moving into a teamwork environment has been a more difficult transition than I expected. In the past I planned for the first 6 months of any job transition to mean that I would work much less on my outside pursuits of writing, blogging, reading, art, crafting, and garden. And wow, was all of that impacted and for longer than 6 months. Hell, I’m going on a year and I’m just settling in. Add to all that I screwed up my shoulder and had a carpal tunnel flare up and whoa a recipe for not wanting to sit in front of the computer.

When I transitioned I had quite a few blog posts partially written and images shot so this blog didn’t see much of an impact until June. At that point, the combination of all the things in my life hit the fan and I simply was not able to focus on the blog much at all. My plan for 2020 is to get back into writing more posts, focusing on a few art materials, getting back into my professional ink series, and my cheap pens from China.

Another thing I might focus on is the use of the materials. Some of you may (or not) know that I started another blog, FermentStuff.com a place to focus and document my fermentation and gardening efforts.  I use pens and pencils heavily in my documentation of my garden and ferments. Recipes must be documented and seed purchases recorded.

After I wrote the above I was informed that my Grandmother passed away. Despite her advanced age and frailty, it was unexpected. As with any death, it has put me into an introspective mood. 

If there is one thing that 2019 going into 2020 taught me it is that we’re all human and life is short. Despite all my best intentions of writing and exploring art and writing materials, sometimes, life just gets in the way and things, like blogging, must be set aside for the moment. For now, I’m looking closely at how I use my stationery in my other hobbies- podcasting, writing fiction, and gardening; and let’s not forget the DayJob. It is always surprising to see how the stationery I love gets used in the pursuit of all my other interests. Stationery is a support and a tool. And with that thinking, I’ll be exploring a bit of that in this blog. I’m not sure how those posts will look, but they’ll be there. Despite taking a bit of time off from this blog, I’ll be back, with hopefully more reviews, weird little writings, some art, and an assortment of other written things. 

If you aren’t already following my instagram, my facebook, and twitter you should. Though I’ll warn you Twitter is where I get salty and rant a bit and my Instagram is a lot of food and cooking pictures, and if you don’t like plants you won’t like my instagram. You can also follow my other blog, FermentStuff.com for more cooking, growing, and queered urban homesteading activities.

Thinking: Blue Inks That Photocopy

There is no legal reason to not use any color of ink, but it’s a well worn bit of professional etiquette that blue and black inks are considered professional. A former boss at my DayJob insisted on us using black ink for everything. She attempted to tell us that it was for legal reasons, then it was because it’s professional. Finally, she insisted on black ink because blue does not photocopy well. Some blue inks do not photocopy well and if I’m going to use blue ink then I need to know which inks copy well.

I’m going to start this little experiment with the following caveat- I know some of the blue inks I’ve been using at work do not copy well on the small Canon copier we use for fast small batches of copies. We’ve nicknamed this copier “Big Bertha.” Why? I’m less likely to kick uit if it has a name. Well that’s not WHY but it’s a good reason. I’ve included these blues in this experiment for many reasons. Thus far I’ve written with 16 different inks and with one refill style twice, when it is new and once when it starts to skip. Most of these inks are gel, ballpoint, or rollerball. I have one fountain pen inked with blue, and that is included. I do not use a lot of blue inks in my fountain pens, but find myself adding more as I need to have a rotation of “professional” inks.

Experiment- test these pages in my pocket notebook on Bertha as well as the high volume machine on the other side of the building. Bertha tends to make worse prints while the high volume machine does much better. I’d also like to test it on the fax, but then I’d have to write everything out again on a flat sheet of paper. Oh well, next time. Each pen and ink will have the following phrase, “Blue inks for photocopies” followed by the name of the pen, color and size if known.

Results:

The copier used makes a huge difference in the quality of how blue inks photocopy. Big Bertha (Small canon copier) doesn’t do a good job at picking up the blue inks, many of the lighter shades barely show up. With the larger Xerox WorkStation most of the blue inks copied perfectly well. Only the lightest of the blue shades were pale in the copies made on the large Xerox machine.

From the big copier
From “big Bertha” note the differences.

The pens I would use for guaranteed copy success no matter the copier would be:

  • A fresh Monteverde blue refill with a medium tip
  • Zebra Sarasa medium in indigo
  • Uniball Signo 207 BLX in blue black
  • Papermate Inkjoy in Slate Blue or Blue

Medium tips seem to copy better than fine or extra fine even with the better copier. The line form the EF and F tips were fair with the better copier but not exceptional. Sadly for photocopy clarity, a medium point is needed.

Big Bertha makes pale copies.

Thinking: 100 Days Projects

There are a lot, and I do mean a lot of projects that people sign up to do online, from 30 Days of something to NaNoWriMo to 100 Days Projects. I have trouble completing any month-long projects that I sign up for let alone 100 Days projects. Yet here I am at 33 days into a 100 days project. I’ll surely have more pointers at the end of the project but let me share what I’ve learned so far.

Break the rules– The rules of 100 Day project state that you work on something every day for 100 days. I can’t do that and know I can’t. It’s not possible for me to work my DayJob and then come home and do something every night. I work late on Wednesdays and I know that I cannot work on my project on that day. So I double up on a day when I work late.

Don’t beat myself up. Because I know that I’m not going to be able to work on the 100 Days stuff on Wednesday night, I also allow myself to not work on 100 Days stuff when I’m stressed out or very tired. Because I’ve built in some flexibility I don’t beat myself up for taking off a needed night.

Accountability– Despite building flexibility in, I need to hold myself accountable for catching up on days when I can. This means that often times I’m doing double duty on Saturday and Sunday. I do 2 items on those days. Or try to. Go back to not beating myself up.

Thus far I’m very much enjoying the 100 Days Project. I’m learning a lot about watercolors- how the various colors respond in use and with one another on a variety of papers. I’m learning which of the colors granulates, how they merge with one another on the page as well as when mixed in a pan. Anyway, the 100 Days projects are a great way to learn about a material in depth, and it’s worth the effort. Just remember to be flexible and not to beat yourself up when you need to skip days, then catch up when you have time.

Interesting Things 20180817

Eyeballs

Warren Ellis does the author mailing list right. Sort of like getting an accumulation of interesting things in my email once a week. Perfect.

Man the 70s and 80s were a rough time for paternity. Also, Jobs was a shit heel.

Ear holes

Truth in advertising. People are hungry for truth.

Starting around minute 19 own your own content. For real people, own it.

Zig Zag is a lovely podcast. I don’t get half of what they talk about but listening to the hosts explore what it is like to create a fresh business as women is amazing. David writes in and says some typical grousing about women laughing and being themselves and Manoush shuts that BS down. Sick burn, get David some ice for that buuuuuuuuuuuurn.

Some people are just evil and the world is a trash fire.

A Global Search for Stationery: Taiwan

This post and images was graciously created by the wonderful Tiffany Babb. She is a New York based poet, comic creator, and academic.  You can find more of her work at www.tiffanybabb.com

Taipei is a stationery lover’s paradise. No matter where you are, you won’t have to go far to get some shopping done in the city. Even in the most residential areas, you’ll find yourself walking by some form of school supply shop or stepping into a convenience store with a decent assortment of mechanical pencils, erasers, rulers, and pencil pouches.

During my time in Taiwan, I was able to visit most of the stores recommended to me. My first stop was Kuangnan, a brightly lit two-floor store (the upper floor is where you can find stationery). The stationery section of the store focused on pens, notebooks, and binders, but I did find a pencil section which featured a selection of labelled and unlabeled dime pencils. I also grabbed a cool pencil pouch for about 3 US dollars.

ESLITE

The second store I visited was the large Eslite location near City Hall. Visiting Eslite was quite an experience. It felt like a glossy shopping mall with a strong literary bent. I found everything from a Powerpuff Girls café to an organic olive oil shop. In my mad rush to find some pencils, I first stumbled across the “Writing Center” (pictured below) which mostly carried fountain pens and fountain pen related ephemera. They had these gorgeous Caran D’ache pencils—a set of four for $30 USD, which I had to pass on, but a quick trip upstairs landed me with some well-priced single Caran D’ache pencils, a cool store brand notebook, and an Agatha Christie novel I hadn’t read yet.The store is a must for lovers of washi tape, as I felt like I couldn’t walk ten feet without bumping into another selection of (admittedly not cheap) beautifully designed tape. I also found this huge table of Rhodia products, half of which I hadn’t seen before. The store also carried Leuchturrm, Midori, and Moleskine products. The day I set out to hit the rest of my stops, it was pouring rain (yikes!) I’m pretty sure I ruined by shoes, but my love for stationery won out, and I found some real gems!

DAISO

The Daiso I visited (in the Living Mall) carried Golden Swords, only the B cores, but they also carried a host of other Japanese pencils that I had never seen at Daiso before, including the Kitaboshi red/blue pencils, Kitaboshi HIT 4Bs and 6Bs, and even some pretty Mitsubishi pencils. They also had the newer triangular natural wood pencils. Apart from the much better pencil selection, I didn’t see much difference from the actual store in Taipei and those visited in Southern California.PINMO PURE

I only stopped by the Pinmo Pure store for a few minutes, but it was a really cool little DIY notebook place. If I had more time, I could imagine spending hours there picking through the various grades of paper, stamps, covers, and binding options before coming out of the store with an awesome personalized notebook. Like a lot of boutique stationery stores in Taipei, the store’s aesthetic very trendy and the employees seemed friendly.
KINOKUNIYA

When I first got to the Kinokuniya, I was a little disappointed. Don’t get me wrong—the store is big and beautiful and carried a bunch of amazing stationery options, but I just didn’t see much that was  different from what I could find in the branch in New York or LA—at  least not in the single pencil category. There were a few more more Japanese pencil options, but most were in box sets and a little pricey for me. I did note that they had a few really cool displays of both ballpoint and fountain pens, but due to my lack of knowledge about pens, I couldn’t tell how special or rare they were.I was about to leave when a jar of pencils caught my eye. In this magical jar I found some loose Palomino Blackwing 602s, a couple of Pearls, an older MMX with the gold stripe (which I snapped up), a vol. 1138 (!), and three vol. 24s (!!!) I rushed to pay for my purchase, constantly glancing around me making sure that no one was going to take my treasures away from me.TOOLS TO LIVE BY

Tools to Live By was the kind of stationery store you wish you had down the street from your apartment. It’s meticulously kept and curated and carries a strong assortment of pretty much anything you’d ever want. It was also the store I visited which carried the most American made pencils and notebooks. They also had a nice selection of fountain pens and ink.  They had a myriad of Japanese pencils as well as American pencils including loose Field Notes pencils (both the round ones and carpenter), Rhodia pencils, Palomino HBs, and a couple of loose Guy Clark editions too (which I happily picked up). They had some individually wrapped (!) Pitch Black Field Notes. They also had a really amazing selection of high quality (and priced) “Tools to Live By” branded items from delicate and surprisingly heavy scissors to beautifully thin metal rulers.CONCLUSIONS!

Taipei is a really great place to check out if you’re a fan of stationery. The city is wonderful (lots of tree covered mountains in the distance), with a very clean and easy to use subway system. High quality stationery including Faber Castell and Staedtler as well as (surprisingly) Wopex pencils can be found pretty much in any stationery store as well as Taiwanese brands like Liberty and Rabbit. If you’re not picky about brands, you’ll be able to find plenty of pencils and cute notebooks of varying size and quality for fifty cents to a couple of dollars.

Motherland

The mountains here are a force of nature,

oceans of stone roiling beneath a vibrant forest

that shivers as warm winds pass through.

The boundaries between air and earth are indistinguishable

As the tallest peaks disappear into the sky

It seems as if they’ve been there forever

Waiting to split open the earth

And swallow the sky.


An Updated PigPog PDA

This post is written by Lenore, one third of the 3 woman team that makes up the awesome RSVP Stationery Podcast. You can listen to Lenore talk stationery to you over here. You could also enroll at the University where she teaches chemistry if you really want to know more about the elements that make up the world around us. You can hang out in the RSVP stationery podcast Facebook group and learn even more about stationery!

My history with to-do lists and pocket notebooks has been a messy one. Like most of us, I often have lots of little personal tasks that need doing, some on a timeline, some not, along with tasks for my work including big jobs, small jobs, and big jobs that are made up of lots of small jobs. I’ve dabbled with various organization and productivity systems in the past, but have usually fallen back on some combination of a desk pad, a stack of index cards, a pocket notebook, or random scraps of paper, none of them organized in any intentional way.

So when I read Less’s post last week about her planner setup, [ed note this is from 2006 and unearthed when we were talking about OLD school GTD methods on RSVP.} there were three main components of it that leapt out at me and made the difference:

(1)    The 4-page arrangement: two facing pages for lists, and the next two pages for random whatever. I needed this. One of my problems has always been the fact that there’s a combination of action items and random thoughts needing to be corralled, and like siblings in the back of a station wagon on a 13-hour road trip, these don’t play well together unless some thought is put into making space for them.

(2)    The concept of marking things off *or moving them forward.* I don’t know why this had never occurred to me before as a formal part of a system; it always felt like cheating to mark something off one list and move it to another, but of course, it’s brilliant, because it keeps everything where you only have to look at one display, rather than checking back.

(3)    Dropping in one vertical line for the margin, to check things off as they’re dealt with.

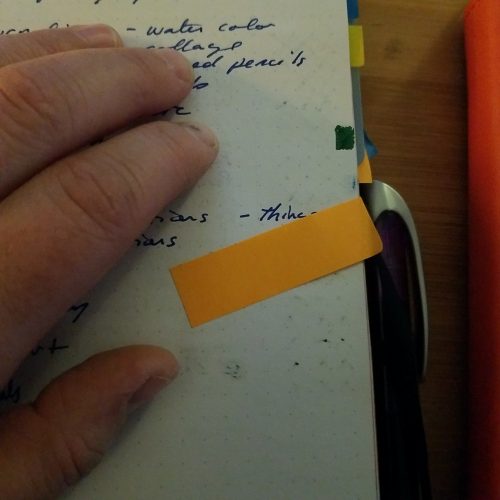
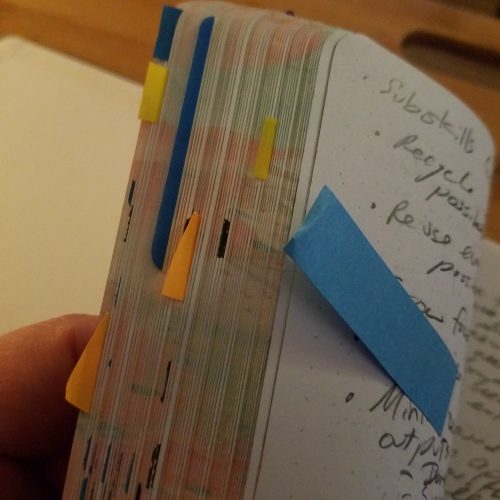
Of course, her setup, and the PigPog planner setup from which it’s adapted offer so much more than this. I was going to go the whole way, setting up my new notebook with sticky flags in the front, dedicated pages for various tasks, etc etc, but then it was four days after I had initially read her description and I still had no place to write down the first action item, which was, “Go back to Less’s blog post and set up planner.” So I realized that I needed to just take the very minimum components and get it going.

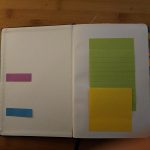
My setup is as basic as it gets: a dot grid No-Brand pocket notebook with a date in the front and my name and phone number in the back; 

the first set of facing pages marked with margins and separated into four to-do lists;

and the second set of facing pages marked as “idea pages”. 

Because of the weird way my first day went, the “idea pages” didn’t get any play, while the to-do list pages were nearly full. But that’s ok because I just leapfrogged over to the third set of pages for my next set of lists. It was fine.

Less’s setup has dates in the margins for when jobs need to be completed; I rarely need this feature, since I have a sense of the necessary timeline for most of my tasks, and can naturally prioritize them in an appropriate way when I have them all laid out in front of me. And since the number of tasks I’m recording is small enough for me to have an idea where most of them are in terms of progress, I don’t need the dot-slash-X-circle kinds of codes a lot of systems use. For me, a check mark indicating completion is usually plenty. Similarly, I don’t need color-coded inks (and indeed this would be an impediment to my using the system, since I don’t normally carry a variety of writing materials.) For me, it was really critical to give myself permission to write—and check off—with literally whatever is handy to write with.  (This is another point in favor of the pocket notebook, since I often feel pressure to match the ink and use good handwriting in a “nice” journal.) In my initial setup, I was thinking of three categories of jobs, but of course I didn’t allocate exactly the right amount of space for them so I ended up with some messiness when the longest list slopped into the next available space. Also, four lists is a more appropriate breakdown for me, if I’m going to use a single notebook for work and personal lists together. On my second set of to-do lists, I fixed that by starting two lists on the same page, one from the top line down, the other from the bottom line up. I left a space between them when they approached in the middle, and I still had to slop one list over to another area, but at least it was only one. Oh, and here’s one of my revlations: when the pages started filling up with jobs, and then the margins started filling up with check marks, and I found myself staring down the barrel of opening a new page of to-do lists…I was reluctant to copy some of those jobs over. They were such little things, it really seemed like I should just do them instead of carrying them to the next list. I should just…do them…oh. I should just do them. Oh, yeah. I don’t know why it took me that long to catch on, I mean the point of a to-do list is to remind me to do things, but before starting this system, I was perfectly happy to let those jobs just sort of languish on an old list. I mean, I knew I needed to do them sometime, but…well, they were on my list, weren’t they? But now I have to put up or shut up. The day this dawned on me, I completed several small tasks that would normally have just fallen off the end of the day, again and again.

I use a few other adaptations that I haven’t noticed in other places (apologies if I’ve appropriated ideas without credit):

  1. For tasks that include several small sub-tasks, I often combine them on a single line, with spaces for check marks after each sub-task. Then when the whole series is done I can mark it off in the margin. For example, for an exam that has to be scored, the line might have:

“E1: Score___ Total___  Alphabetize___ Scan____ Collate____ Record____.”

Then if I need to move part of this to a new list, it might become

“E1: Collate___ Record___”

or just “Record E1.” (b)  I do use the PigPog method of keeping a sticky flag on the first page that still has active jobs listed on it. However I also literally mark across a page with a slash mark when everything on that page has been completed or moved. It helps me get over the uneasy feeling that I might be missing something.

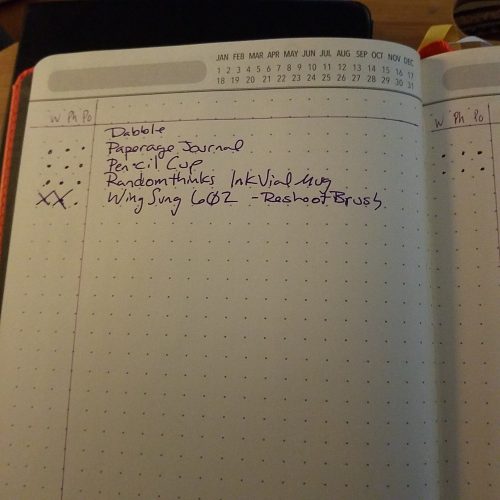
(c) For other needs that come up, I just start from the back of the book and use space as needed. Quotes, meeting notes, ink tests, drawings my daughter does when I’m trying to distract her at a restaurant, etc. Most of the things I might need to do in a pocket notebook are sporadic and unpredictable enough that I don’t need to invest mental capital in setting them up when I start a new book. The top consideration for me is low startup costs. The best planner is the one you’ll use, and my experience is that if I have to do a lot of organizational work before I can start my organizational work, I’ll close that loop by never doing any of it (and I’ll be back to a pile of index cards, a random scattering of pocket notebooks filling simultaneously, and a lot of dropped balls and missed deadlines.)  (d) When I have a task that really has to happen pretty quick, particularly if it’s a kind of task that is outside my normal workflow (I’m lookin’ at you, insurance open enrollment period), I put a circle in the margin (with or without a date) to draw my eye every time I open the book. [Pic 8]

So, the tl;dr: new notebook; margin lines slashed in on outside edges of first two pages and date at the top (total setup time <30 sec); four categories of tasks, one category at the top and one at the bottom of each page; markthrough of entry and check mark in margin on completion of a task. A set of dedicated pages immediately after list pages for whatever brain dump/ephemera/info that needs to be captured and transferred elsewhere. A plan to use pages starting from the back for anything I need to use them for. Permission to be messy.