As part of my new series on writing processes I am exploring a series of websites and apps that are similar to Scrivener but are a little different. NovelPad.co is a browser and cloud based novel writing app. It features a chapter and scene card based outlining and writing tool, a character and scene tracking and outlining tool, goal tracking, an insights tool, and the ability to export into a variety of formats. I’ll explore all of these tools in detail in this review of the cloud-based writing tool, NovelPad.
Everyone’s writing needs are a bit different from another person’s, but I need an app that will sync across devices and can be used on my PC* laptop, android** phone, and Fire*** tablet. Whatever I use to write, needs to work as well, if not better than Docs on these 3 devices. When I hit save on one I want to see that work on all 3 as instantly as possible.
I currently writing in the morning and evening on my cheap laptop, on my lunch break on my tablet or phone. In the pre-Covid times I wrote in a café on Friday evenings and Saturday days. When I’m out and about my tablet and a small compact BT keyboard are a lighter weight option so it is important that any of these writing tools I review work seamlessly on the tablet and phone.
To start this review out, NovelPad works well on all my devices. It has been speedy and smooth my my cheap laptop, slick in the Silk browser, and great on Chrome on my phone. Chrome is sideloaded onto my Fire tablet and it seems that the ‘Zon interferes with sideloaded apps and their ability to use BT devices connected to the tablet. I have been able to work in all my usual manners in almost all my usual locations using NovelPad.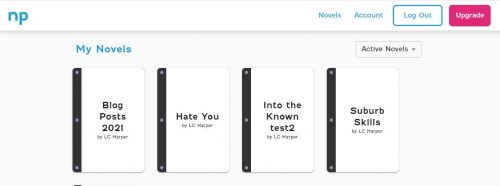
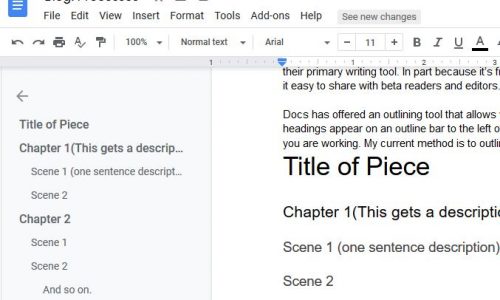
NP has a simple and clean interface. At the website you are greeted with a clean page that include icons that look like books with the titles of your novels. When you mouse over, or tap them, they open the book and offer for you to open that document. It opens to the “edit in context” option, where you can write directly into your novel. Along the left side of the screen are a series of icons. It took me a moment to figure out the icons and their meaning, and the tutorial is pretty clear.
![]()
The icons are as follows:
- Edit in Context
- Chapters
- Plot
- Characters
- Location
- Insights
- Goals
- Save
- Export
- Settings
Horizontal View
Vertical View
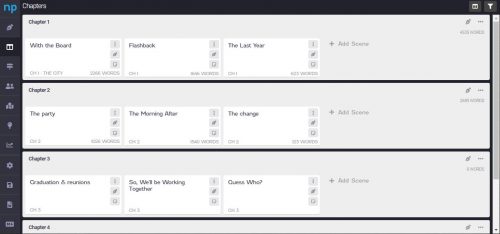
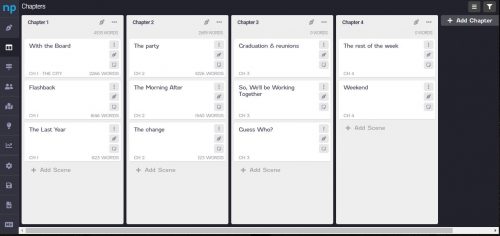
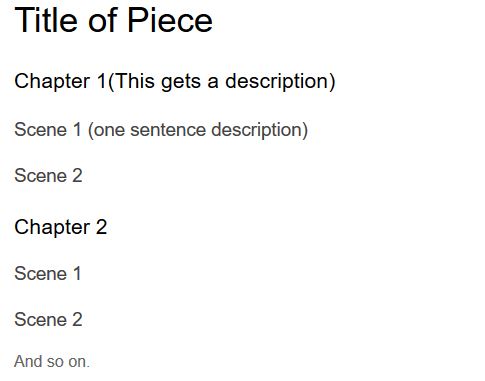
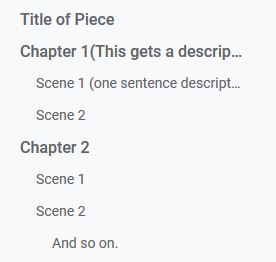
I really wish it opened to chapters for many reasons. Chapters is what makes NP really stand out. Chapters allows you to set up chapter cards and scene cards within each chapter. You can then easily drag and drop scenes and even whole chapters into new locations. Chapter 3 not working between 2 and 4? Does it need to be between 7 and 8? Drag, drop then renumber. It’s ridiculously smooth and easy. And I love it.
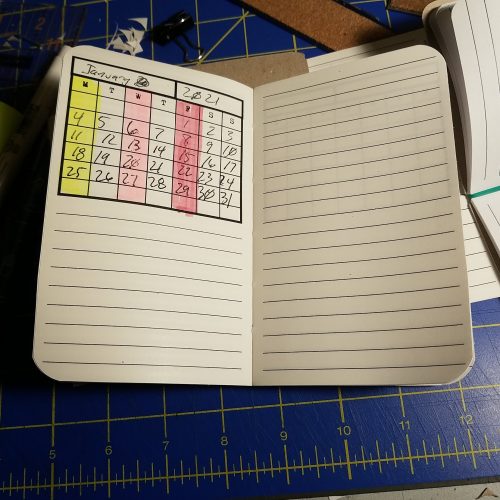
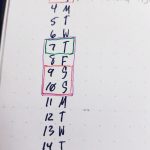
As I was working on my NaNo novel, I realized I’d left out a scene at Thanksgiving. I dropped a scene card in that said, “Add Thanksgiving angst.” I then highlighted it in orange so that it would stand out as I worked on my novel. The color coding is meant to assist you in tracking plots and scene changes, but I have found in my raw writing stage it most useful to remind me of where I’m currently writing and what scenes need more work.
I really like that I can open the chapters tab, click the pen icon for a scene, and a writing area pops up. The writing area can be half or full screen. With this I can keep an eye on the outline as I write. I can easily toggle between my writing and my outline. It really helps to keep me on track.
Each scene has an associated notes section, the icon looks like a tiny sticky note in the corner. This allows you to drop in research notes, character ideas, and other associated information into the body of your work. The notes section can also be set up with a reminder, that can be set to remind you in an hour, a day, week, or month. Nifty.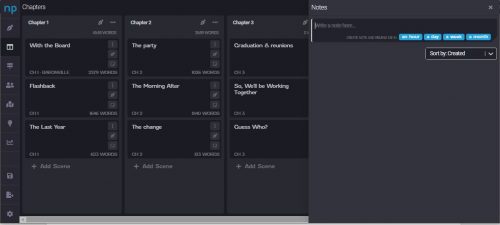
Because I’m finishing my NaNoWriMo novel I decided to stress test all the apps I’m testing with a cut & paste of the 58k words in a Google doc into each app. I wanted to see if the app would 1. divide the doc up into scenes and chapters based off my heading structure 2. use three * to divide into scenes 3. be able to handle the giant number of words dumped into the app.
I don’t recommend dumping nearly 60k words into any app, heck even Docs doesn’t handle it well and Word’s online version was shaking apart at the seams. It took several tries for NovelPad to accept the cut and pasted doc. It did not divide into chapters and scenes in a way that made sense, though it did break the novel up into several scenes, though they seemed to be rather random. Instead of cutting and pasting 60k words at a time, I’d suggest pasting the novel in a chapter at a time.
This might seem like it’s a negative, but does anyone really expect any app to handle that large a document in one large cut and paste? I would like to see NovelPad include an upload feature that works as well as their download feature.
Once your novel is finished you can download it in markdown, ePub, and Word formats. The process is simple and easy. Best of all it works well.
In Part 2 of this review I’ll look at the Plot, Character, Location, Insights, and Goals sections of the app.

 Super easy and this lets me quickly and easily toggle through my list of items and find them when it comes time to post them to the blog, then it’s a quick copy and paste.