This post is written by Lenore from RSVP Stationery Podcast. This is a great post about a useful tool!
I actually ordered the regular (polyurethane) version of the Starrett Measure Stix, and what came in the package was this steel version. Until I was writing this review, I naturally assumed I had ordered the wrong item by accident, but looking back through my order history, it’s clear that the vendor sent me the wrong one (I actually can’t find a link on Amazon to what I received, but here are links to the 4’ and 12’ versions). My intent had been to throw a piece in the covers of my non-FN pocket notebooks, and the steel definitely wasn’t a great choice for that. At the price, though, it was definitely worth using rather than sending it back. The steel tape measures come in various combinations of length (at least 4’, 6’ and 12’ options), scale (English only or English + Metric), and direction (reading left to right or right to left), but not all combinations are available.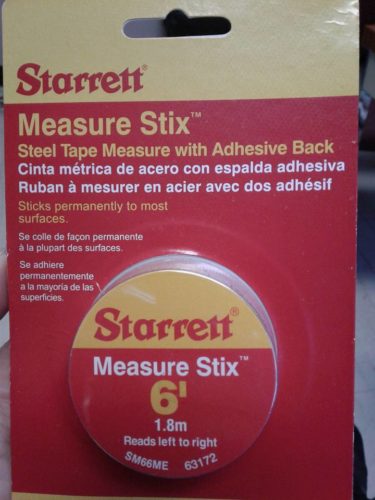
25 years ago, give or take, I had put some tape-measure tape on my cutting table for sewing projects, and it’s been peeling off. I was looking for a replacement for that, and when I saw that an option was available with both English and metric scales, I thought I’d expand it to use in my notebooks as well. So a word about that: if the scale is all you need, and you don’t necessarily need the markings to start at 0 at the edge of your surface, then the two-scale tape can be cut to any length, and into any number of pieces, and work fine (it just won’t start at 0). But since inches aren’t tidy multiples of centimeters, the scales only align at the beginning of the tape and every 50 inches (127 cm) thereafter. I’ve been looking for some adhesive tape marked just in cm but haven’t scored any yet.
I literally have no idea how one was supposed to get into this package gracefully. I had to go full hulk on it.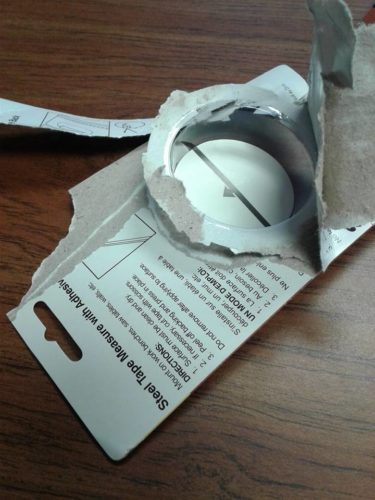
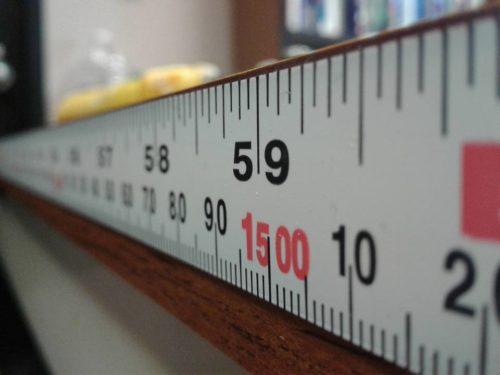
The steel tape is a little springy and pops into looser coils as soon as it’s taken out of the package. The print is sharp and clear. You can see that there’s a short (a centimeter or so) leader at each end, unmarked; I cut off the left end because I wanted to put the 0 mark right at the edge of my table. The package says to cut it with scissors, but I don’t have any scissors I was willing to abuse this way, so I used tin snips. (As you’ll see a little later, they didn’t make quite as tidy a cut as I would have liked, but this is a utilitarian, rather than a decorative, addition.)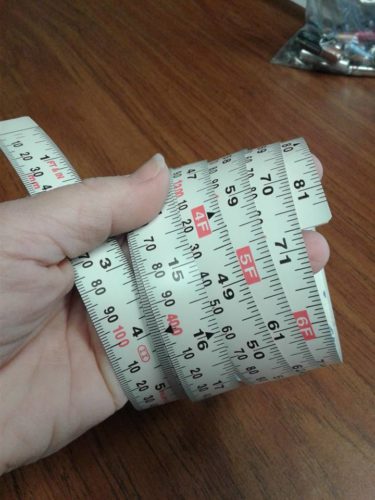
It’s a 3M adhesive. The backer paper was easy to get a corner free to peel, and the adhesive was fresh and sticky. (VERY sticky. This is an aggressive adhesive.)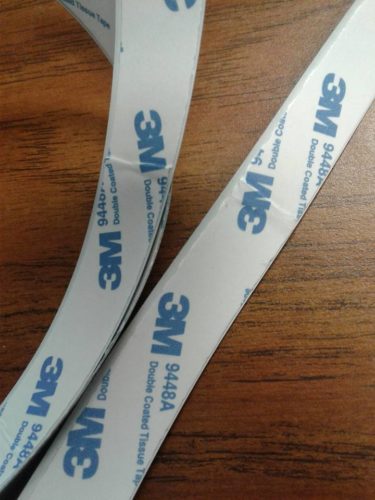
If I were putting this on a project table, I would certainly put it on the top of the working surface. This table, though, is in my office at school; I mostly use it for meeting with students during office hours and as a work table for shuffling papers and grading, so I didn’t want to give up the smooth top for a ruler I wouldn’t use often. The steel is thin; it’s thick enough that you could use it as an edge to bump a piece of paper or card stock against it, or thicker material (like carboard, mdf, wood, etc) if it had a very defined corner, but fabric, or any hard material with a blunt corner, would slide up right over the tape. (You can also see the yellow handles of my tin snips lying on the table in this picture.)
The application was easy. This is NOT intended to be repositionable, but I did have a couple false moves where I stuck a small area to the table and was able to pull it off again and get it straight. I peeled the backing off a few inches at a time as I worked across from the zero end, lining it up with the edge of the veneer as I went.
My table is only 5 feet long, so I cut the tape at the corner and then went ahead and wrapped it around onto the end. I didn’t try to make a sharp bend; it’s possible it could be done, with care or with the proper tools. This is where you can see that the tin snips made a little bit of a messy scratch on the surface.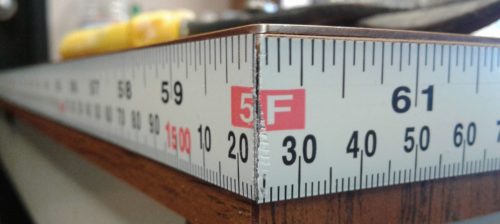
It also turned out that because I was placing this so close to the top of the table, the sharp corner of the cut end was a little too noticeable and was catching on my clothes or my students’ sleeves if they brushed against it, so I trimmed it down a little, and then just threw a piece of scotch tape on it for now to protect myself. (Unfortunately, this corner of the table is the most prominent and the most likely to be bumped or brushed against.) This will also protect the surface of the ruler from wear. I may come up with a cleaner, more permanent solution later.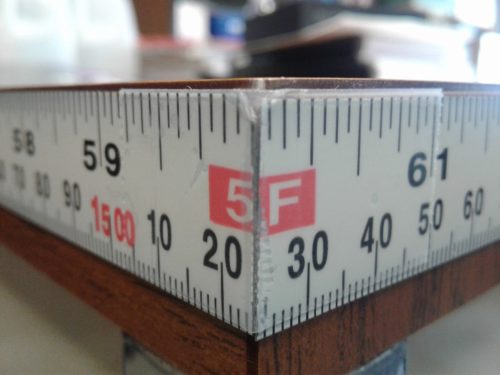
While this is labeled as a 6’ tape, it actually goes a little beyond 2 meters, as you can see here. The total marked length on the English scale is 81 inches, and there’s some space on both ends, so it’s almost 7’ long and will have to be trimmed in any application to a surface shorter than that, which means the sharp corners at the cuts will have to be dealt with.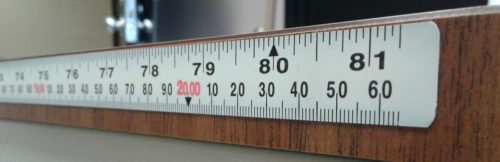
Overall, this product was surprisingly inexpensive for what it is. It’s well-made and easy to apply, and it looks good. I’m going to follow up with the vendor and see if I can get the regular polyurethane version.
The links provided are affiliate links; RSVP will get a few pennies for purchases made through Amazon should you chose to use them.