Category Archives: Art Habit

More Stencils

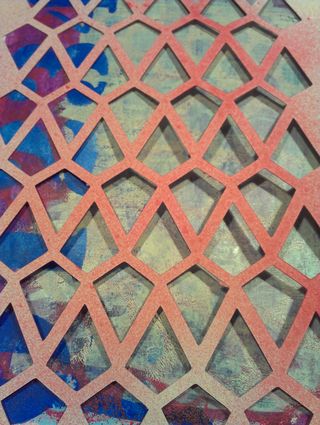
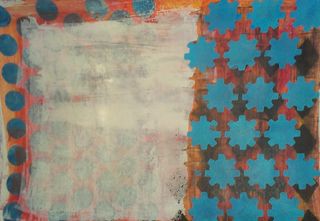
I ordered a few roland blades for my provocrap Cricut machine. They are sharper and work better than the Cricut blades. I got 10 for $20, free shipping from this guy on the 'bay. No affiliation, just happy to get blades that work and are cheaper than $5 to $10 a blade.

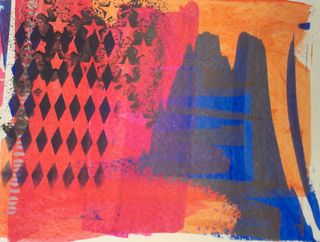
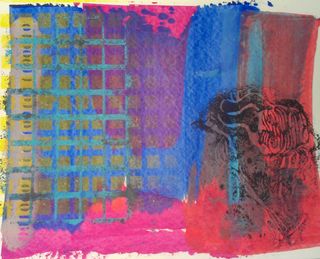
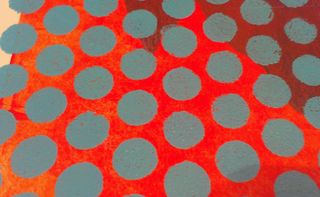
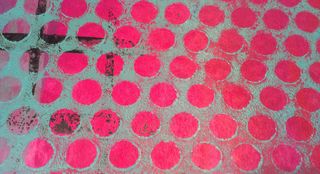
This is letting me make more cuts. I've done a new series of ovals and circles, much like punchinella, or sequin waste. This time I've been smarter and saved them all, so I can cut them as I wish instead of redoing them again and again.

IMG_20121127_143547

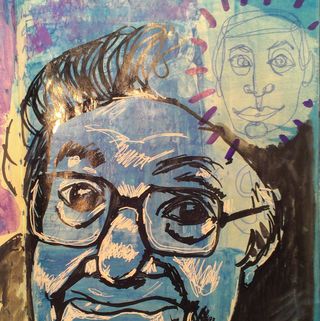
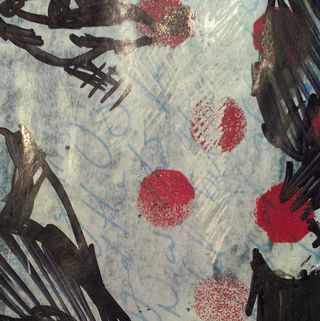
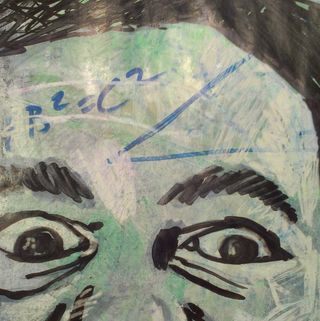
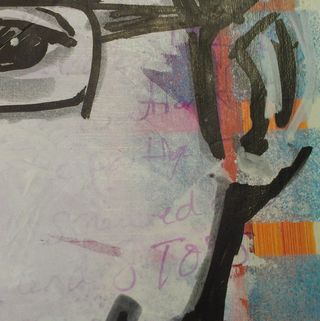
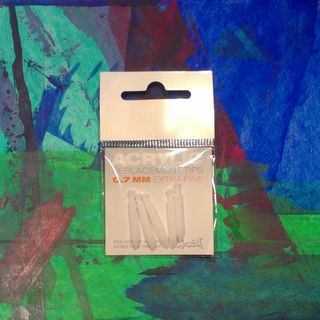
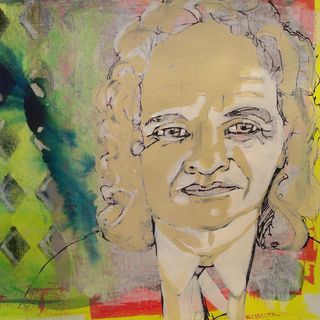
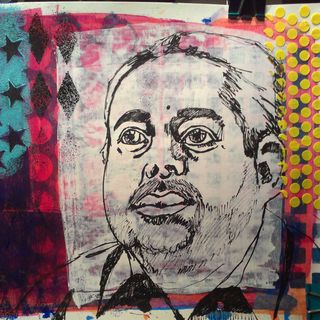
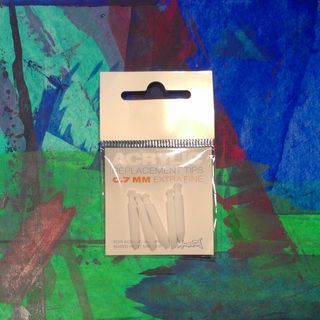
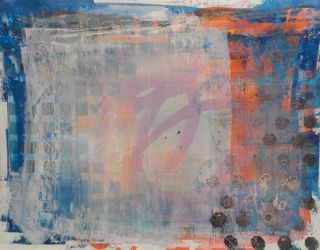
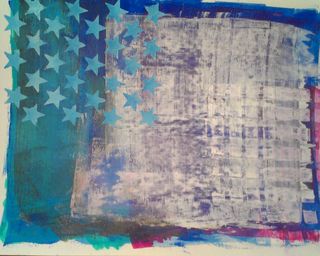
I also picked up a couple of EF Montana paint pens and replacement tips. I've been filling them with liquitex acrylic ink, awesome, awesome stuff.  You can see their work in the images below. Full review to come.

IMG_20121125_194240
IMG_20121125_194240
IMG_20121125_194240
In other news, I got braces. They hurt, like a lot. More than I expected. A great thing about them is that I can see results already. I had this one tooth I called the "snaggle tooth," and it's already straighter and closer to my other teeth than it was before. Soon enough no one will be asking me on my YT videos if I'm missing teeth. Which, has to be the worst youtube comment I've ever gotten.

More Process, All the Steps

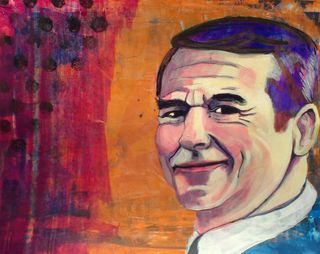
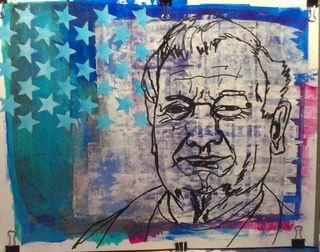
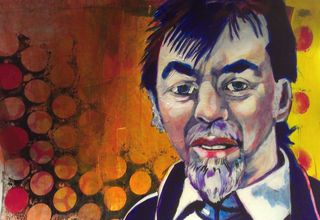
IMAG0202Above is the intitial drawing. Done with a Pitt pen in black. I messed with doing these drawings in gray but like the effect of the black better.
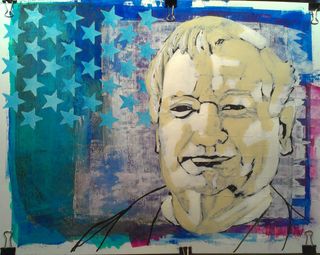
IMAG0202Then I block in light and dark with titanium white and unbleached titanium white.
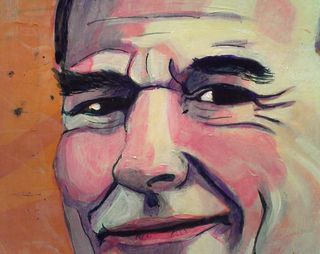
IMAG0202The layers of warm glaze come first, then I add a layer of blues.
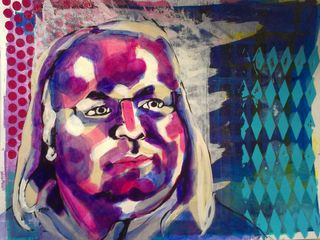
IMAG0202Then a layer of unbleach titanium white glaze. I am missing a step after this, I would add a layer of very very transparent warm and cool glazes on TOP of the unbleached titanium white glaze.
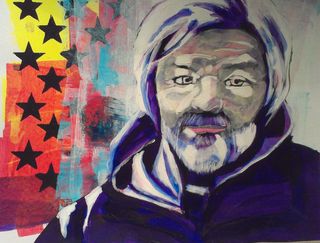
IMAG0202Final details, like the eyebrows and hair with a liner brush and color of the lips are put in last.

More Process of the Glaze Portraits

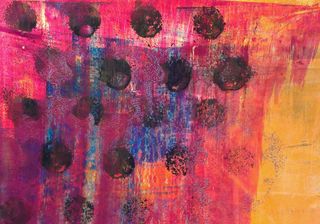
I start with pages like these. I build up a textured base layer of bright vibrant colors.

IMAG0190
IMAG0190
I look for spots that have interest, like these.

IMAG0192
IMAG0192
And then I add an area whre my paint will stick, using a mixe of white acrylic and gesso, sometimes just white acrylic.

IMAG0195
IMAG0195
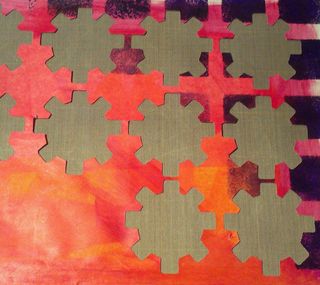
Sometimes I add more stencils, so they overlap the whtie area.

IMAG0198

Stencil Process

I've been using heavy cardstock for my stencils for the last few years. Previous to that I would cut my stencils from thick pulpy paper that reminded me of super thick construction paper. The cricut does great work with cardstock, I've not looked into plastic, I like the way cardstock stencils handle.

I start out with a clip art image. I pull that into GIMP remove  a lot of the detail and adjust the light and dark. I then print the image and thicken lines with a marker. I also add bridges, so that every area that needs to be connected to another is. The last thing I want is an island that shoudl have been connected not connected. This process takes quite a bit of time. After I'm done with the manipulation of the image it looks nothing like the original I shoot a pic and adjust the light and darks so that it's a crisp black and white line art image.

That image gets cropped to size and then pulled into MtC's pixel trace setting. I manipulate it in pixel trace a little bit and then import the image.

Here are a few process shots:

IMAG0182Above you see the scanned in image, below the actual stencil. This stencil needs a little work, some of the areas are too small to be effective and will quickly clog with the thick paint I'm using. I'll probably import the image again and see if I can thicken those.
IMAG0182

Brains

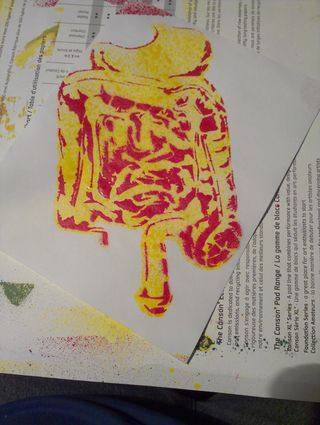
I've been wanting a good brain stencil for awhile now. Back in the late 90's I made a series of large sized internal organ stencils, all handcut and all bassed on old school medical illustration, but highly modified.Over time and moves they were lost to the shuffle and I miss them.

For this project I printed off a mid sized medical illustration of a brain. I highly adapted it by whiting out areas and thickening areas and creating bridges so it would work as a stencil. That took the most amount of time. I then used my new ScanBox to snap a perfect clear picture of it, uploaded that to my computer and then pulled it into Makes the Cut's  pixel trace setting. A few clicks and whirs here and there and in a few minutes I had a background brain and an internal detail stencil cut. There are a few areas where I would probably simplify it a little bit if I had more time but as is I like it a lot.

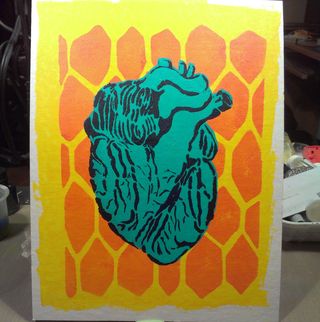
You'll probablly see a few more internal organ illustrations show up.

IMG_20121113_200028
IMG_20121113_200028
IMG_20121113_200028

New Stencils

I've been using my cricut by Provocrap to cut more stencils, Makes the Cut still kickin' it. I just ordered myself some fresh Roland blades to further hack my cricut.

I wanted to add some alphabet stencils to my work, so I cut stencils form the stencil font. I started out with letters and numbers but pretty soon I was looking up words in binary and cutting those out. One of my favorite songs has a word sung in binary in it. So I cut that lyric out in several sizes. Of my new stencils, it's my favorite. I'll be looking into cutting out more words in binary.

These are backgrounds, nothing exotic going on here, just loads of stencils, over stencils and scraped paint to create loads of texture. I need to transfer this technique more to loose sheets of paper. Totally digging it. Totally digging the capability of hiding messages in the work, in plain site, while not hiding them.

IMG_20121112_165653
IMG_20121112_165653
IMG_20121112_165653
IMG_20121112_165653

Roots

Sometimes it's good to get back to your art journaling roots. This past week I grabbed a cheapo journal out of the bin and started at it. I'd written some rants and ravings on the first dozen or so pages and I wanted to draw on them, so I had at the journal with acrylic paint.

I started out with pages that had been written on in waterbased ink. I scraped a layer of paint over that, allowed it to dry, then added another color.

IMAG0115
IMAG0115
On some of these pages I doodled. Others I wrote.

IMAG0119
IMAG0119
After i got past the written on pages I collaged on pages from a telephone book. Once the gel medium was dry I tore the edges and pulle dup the bubbled areas. Then scraped more paint over those.

IMG_20121024_001534
On many pages I stenciled.

IMAG0121
The final layer is a smooth thin final coat of titanium white. Super thin, the colors and ink still showing through.

After all that I will draw and write on the pages with sharpie and a variety of ink pens. I might add more layers of paint, or stencils.
IMG_20121024_114957

I've chosen stencils with shapes I cut and designed that have meaning to me. Mostly they are simple designs, gears show up.

IMAG0122


Weekend Process

Life happens and then stuff takes longer. This was the first weekend in a long time I was able to concentrate on the chipin camapign from the time I left work on friday until I went to bed on Sunday. It was pretty great to spend a full weekend doing art and art related things. I was in the zone.

An interesting observation of the Chipin Campaign is that my life seemed to do anythign it could to derail me. Couldn't get the weekend off that I wanted, then I was sick, then death. Its interesting how life seems to fight the good and then when you are ready for it, it comes at you in waves.

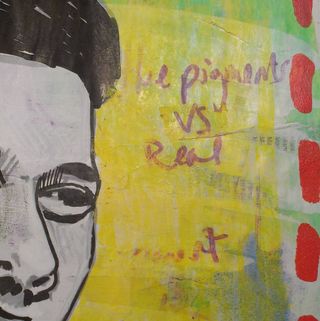
Anyway, I wanted to show some of the process of the art. Before I get to the good paper with my fine point pens I do some studiesw and practice pieces. These are quick studies done with whatever I have at hand on whatever sketchbook I have around. This weekend I was working in a Piccadily journal that I'd written in and then scraped ink across its pages. Honestly I'm loving the look of that as a background and many use it in the future for more art. So much texture, and it's definately back to my art journaling roots.

So before I even touch those fine point pens, I do a bunch of warm upsketches, larger than the final piece and usually in Sharpie or some other marker. I work fast and loose, moving my hand quickly from one side of the page to the pother, mapping out the lines and features of the face.

After I map out the darks I add in the lights, sometimes with white paint pen more often with white china marker.

Only after I've done a bunch of these do I move onto finer point pens and good paper.

IMG_20121021_151659
IMG_20121021_151659
IMG_20121021_151659
IMG_20121021_151659