When I was a pre-teen my Dad bought a beat up Ford Ranger. It had a tape deck that the previous owner claimed had a tape stuck in it. That tape was a copy of Naked Eyes Burning Bridges. I managed to get it out of the tape deck and then proceeded to listen to it on repeat.
Pre-teen me loved Brit synth pop. I think I wore that tape out.
Also I wanted that truck.
The title I used for this post is a riff on one of the songs on that tape- the actual song was “Always Some THING There to Remind Me” and apparently it has been recorded by quite a few artists.
Anyway, after that intro…
I was reminded today of how there is always someone there to remind me about what they think about me, my art, and how they think I should also feel about all that. And generally they don’t rate me or my opinions very highly. There is always some fool out there ready to tear me down. 
And frankly it’s really hard to weather that storm.
Their garbage opinion always seems to rain down when I’m at my my fragile. When the scaffolding of my self esteem is constructed but don’t have the support braces installed yet.
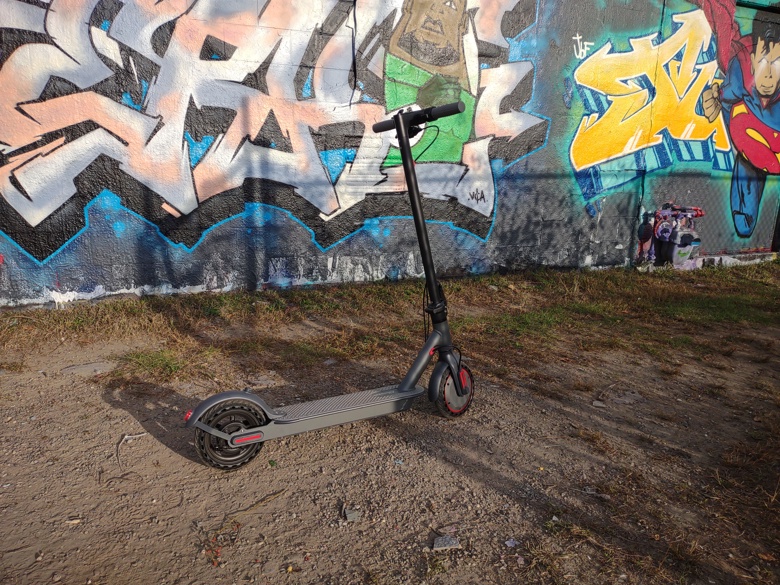
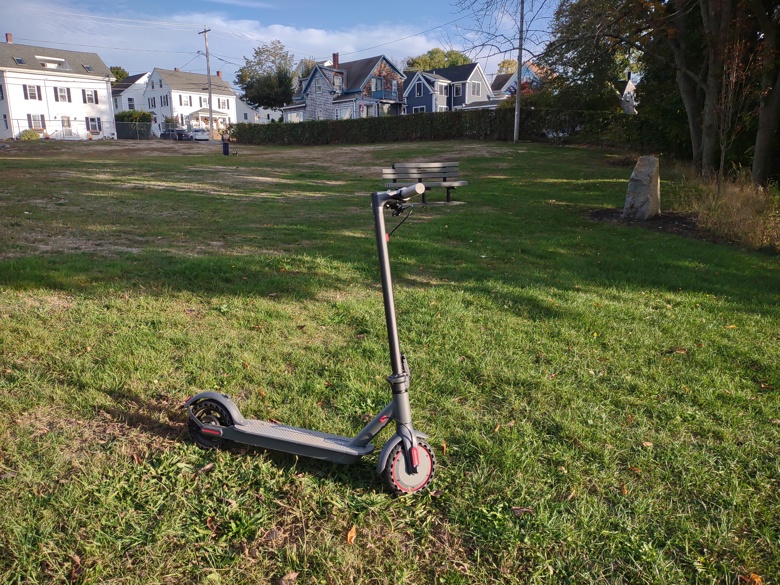
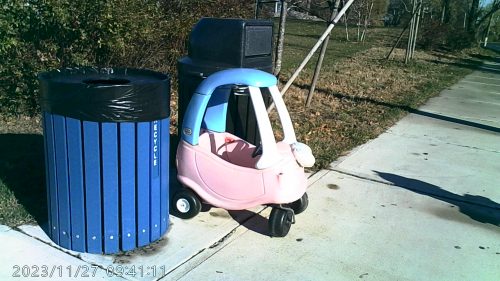
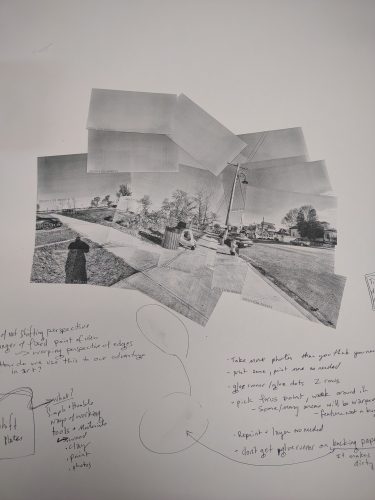
These people, they are jealous of success. When they sniff out success they want to take a dump on it. When they see my joy they want to dump on it.  This pic has a fun little glitch in it. The wheels do not look like that IRL! I wish I knew how to make it happen again!
These are the worst kinds of people. They just dump on everything and everything. They don’t really care who they dump on, they simply want to tear down people in a misguided attempt to build themselves up.
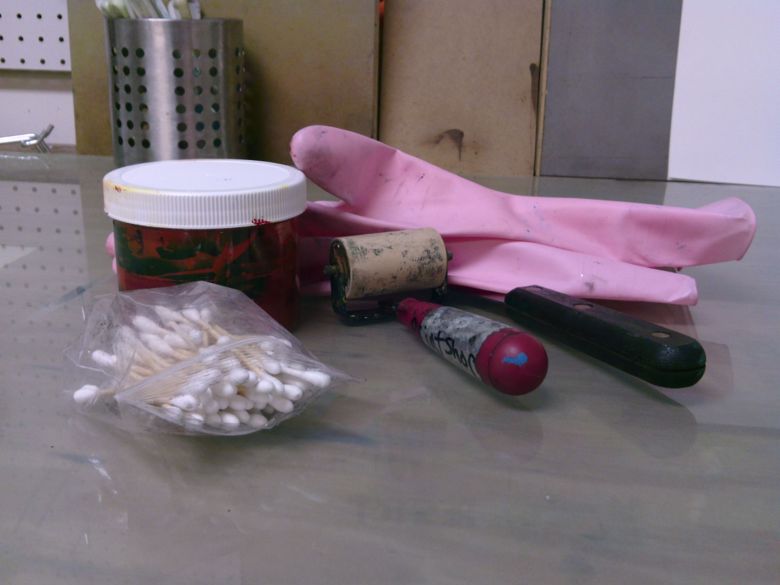
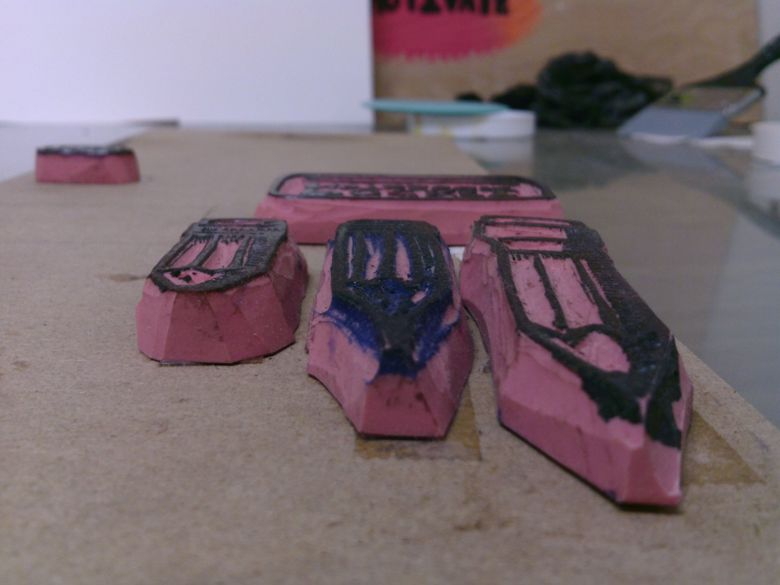
I use a generic THEY here because we all have a dumper in our lives. I’ve referred to these people as Dream Dumpers before. These are the people when you tell them about your favorite new cheese/ TV show/ art material/ movie/ hobby/ etc… they just dump on it.
Their capacity for finding the worst in everything is mirrored by how awful they feel about pretty much everything- they hate their boss and their job, as well as just about everything else in the world. But mostly they hate themselves.
I write this not to find empathy, though I do have empathy for people who hate everything. I write this because it helps me to think about the hate that these folx spew outward, they also spew it inward.
Imagine how horrible I/you feel about what these folx say to you either in person or in a social media comment. Then imagine them saying it back to themselves over and over and over again.
How awful.
Garbage in. Garbage out.
It gives me some perspective. But also it helps me to see that the Dream Dumper, their perspective is skewed. They can’t see the joy because all they have is hate. They dump on good happy things out of jealousy, even if they don'[t know they feel jealous, how can they actually know how they feel when everything is shrouded in hate?
Dream dumpers suck the joy out of pretty much everything.
Re-post from my Ko-Fi page, get my posts much earlier there.