Technique Tuesday: Sticker Paper Toner Transfer

The other day at work I was about to toss away the backing sheet from some address labels. I looked at it's slick surface and thought about the fact it had already been through a laser printer and that in the past I'd stuck sheets missing a label or two through the printer and that the toner sort of flaked off those areas. I heard about a collage technique in which you cover each collage piece with gel medium, let it dry and then use a sticker sheet to cover the pieces and finally adhere it with an iron. So, I wondered, "What would happen if I ran this empty sheet through a laser printer, with the image reversed, and ironed just the TONER onto a sheet of paper/art journal page?"

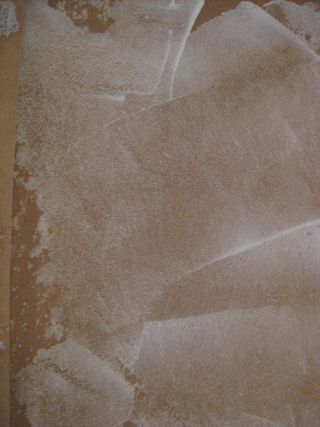
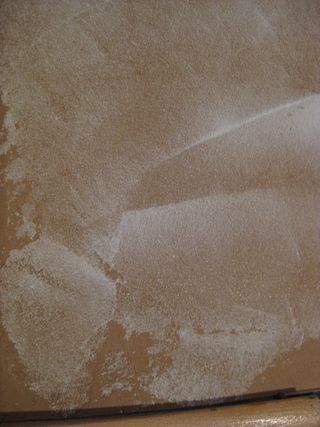
Well it turns out you get the best damn toner transfer I've ever seen. Crisp, clean. clear, and nearly 100% transfer of the toner to paper. I haven't tested this on an art journal page but I'm sure the transfer will work just as well.

Here's what I did:

  • Clear the edges off the stitcker sheet
  • Set up an image in GIMP(photoshop, or some other program that will let you REVERSE your printing options or lettering)
  • Go to Image>transform> flip or use the "flip" tool
  • Flip Horizontally so your image is reversed
  • Select print
  • Tell the printer that you're using "thin" paper or a transparency, this uses a lower heat setting so the toner sits on the surface of your sticker sheet better.
  • Place this on your page, set your iron to a HIGH NO STEAM heat setting. (play around with heat settings to see what gives you the look you want. I found that high heat gave the crispest transfer, but lower heat settings distorted the image and left some toner on the sheet.)
  • Carefully iron the page, gently move the iron around, hitting ALL the toner with the iron.
  • Remove the iron
  • Allow the page to cool enough that you can touch it comfortably.
  • Gently peel off the sticker backing.
  • And shout out "HOLY CRAP IT WORKED!!!"

Alternately if you want to grunge this up, peel the sticker paper up when the toner is still hot, if any is still slightly stuck to the backing, it will stretch the toner out and distort your image/words. Then iron it again to get it stuck to the page. Let it cool and peel off the backing, subtle distortion.

This will NOT work with injet or ink based printers, as the ink will just bead off the sticker backing.

The sticker sheet can be used many times, but I found that after a few runs through the printer that the transfer was more and more grungy. I also found that large areas of black did not transfer as well as images with more lines and white.

I will be saving all the address label and sticker backing material frmo here on out, this is the BEST transfer technique I've ever used.

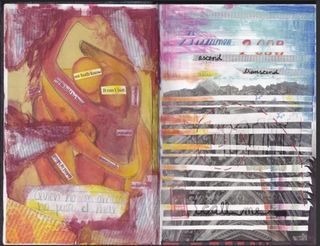
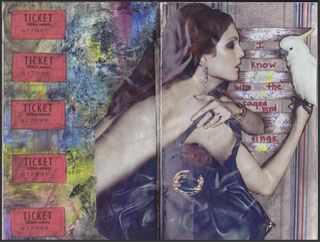
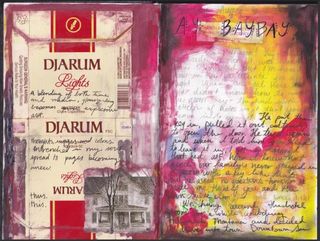
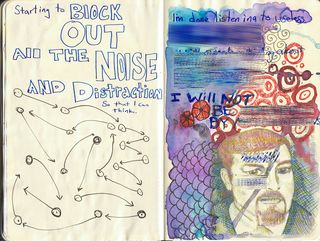
Here are some of my test pages and one page that is 100% from transfers.

  • Ink mix0076
  • Ink mix0077
  • Ink mix0078
  • Ink mix0079
Ink mix0079


Observation: Looking Back into Old Journals

I was looking through one of my older moleskine sketchbooks specifically the one I started writing in then I first moved to Massachusetts. One of the thigns that I wrote about a lot was simplicity. I had lived in a small 3-ish room apartment in the woods of Maine. My apartment was essentially 1 large L-shaped room, a half wall divided the kitchen from the living “room” and a wall with a doorway divided the kitchen from the bedroom. There was no door on the bedroom. The only room that had a door was the bathroom, which housed a shower stall, toilet, sink and a bunch of shelves. Total square feet of the apartment was maybe 600sq ft. If the walls had not been vaulted it would have been awesome.

When I moved to Mass the apartment I moved into wasn’t much larger. Over the years we moved from about 600sq ft to about 700 sq ft and now we are in a 1200 sq ft house, we’ve got about 300 to 500 sq ft we don’t use all that often. Sometimes I feel like it’s too much space and other times I feel like it’s not enough. I am really thankful we’ve got a garage and a basement, both of which feel decadent after years of living without a space to work on bikes, engines and greasy things that don’t belong on kitchen or coffee tables.

I feel like I need to revisit this simplicity concept . It’s not like we live extravagantly, simplicity is something I strive for, but sometimes I get caught up in ridiculousness and making things more complex than they need to be. I need to cut that out.

I tend to think of simplicity as going hand-in-hand with organization. As I look around my office I think perhaps I should start here and work my way out.

On a side note anytime I think of simplicity I have to think of my art and what materials I would work in if I could only chose a few supplies to keep with me. I have to say I’d probably go with pen and ink with watercolor. It gives me color and the ability to draw.

If you could only pick 3 art materials to use for the next 6 months what would you use?

bane of my existance

Around the time of my birth every city in the NorthEast decided it would be a great city beautifying project to plant oranmental trees around their cities. Think about it- pretty flowers it the spring, green leaves all summer and no fruit to clean up in the fall. It's a win right?

Except for people like me. I'm allergic to the little babies show below, the Bradford Ornamental Pear. Pretty white flowers with a shit load of pollen. So cheers to city beautification, I'm taking another claratin and washing it down with my morning coffee.

IMG_2986
They sure do make a pretty picture

Wordy Wednesday: Sort of, but just go look

I have a thing for grungey thing. Bits of paper, paper that looks like it's rolled around in the street and been rained on. Rough brush strokes. Stained paper. Smudged ink.

Take a look at this artist's work. Look at the rust, smudges, weathering. It's what I like.

I've been wordless lately, taking in art, looking, intensely at the things around me. I finally started to organize my random collection of rusty broken bits in little plastic bags, all stapled to a gessoed board. As of now it's a way to collect the pieces, but I'm thinking it's a neat way to organize it too. Show off the random bits.

IMG_2982

Gear Shift

Sometimes it's good to break  up the usual with something unusual. Some of you may know that I dabble with creating my own messenger bags from recycled materials. A few months back I made my own messenger bag by chopping up an piecing together tyvek mailers from fedex and the USPS. It came out fab, soft and sturdy. It's showing a few signs of wear but over all as a proof of concept it's worked brilliantly.

I learned a lot from that bag, and I'm applying that to another recycled idea- you kn ow those recycled reusable grocery bags? Those are a great sturdy fabric. We had a bunch that were chopped up to make a display and a few more that were returned for recycling (they can go into plastic bottle recycling!) and I realized they would make fantastic fabric. So I brought them home and chopped the bags into 2 inch strips aand then stitched and top stiched those into 14 inch wide by 24 inch panels. I purposefuly went with 2 inch strips rather than 4 or 6 so that all logos and words would be unrecognizable.

I'm still working out in my head how I want this bag to be, I know  I need some internal pockets, because summer is coming fast and I won't wear a jacket, so I need places to stow my phone and keys.

Here's a spectacularly crappy photo of the panels:

Recycled reusable shopping bags made into panels for a messen... on Twitpic

As you can see it's pretty bright, which is drastically different from my Fedex bag, which is mostly white and very understated. I htink I'm going to need to do edging on this, so I might head to Joann's this weekend with my Mom to see what kind of edging they have. I'm also going to need sturdier pins, I've bent a bunch on this stuff! It's much tougher than the tyvek.

Drawing-a-Day: Weekly recap

I decided that after week 2's disasterous results of, well, not getting a lot done along with allergy attack I needed to regroup and rethink the drawing-a-day thing. (Traci was right when she said the upload was the longest part of it.) My initial decision to NOT tweet process pictures really threw me for a loop. Tweeting, facebooking and flickring process shots really makes my drawing time more interesting. Drawing is interesting with out the progress shots but… I like progress shots. So I'll be putting those back into my "process." I'm also taking the size requirement out.

Initially I focused on making the drawings in my Graf  it pad, which was all well and good, but for the fact that sometimes I want to draw on my lunch break and I don't take the graf it pad with me. Maybe I should just suck it up and BRING it with me. Instead I chose to change my "rules" to conform to how I actually work, and that is that the drawing-a-day can be in any format, ie in my webbie if I chose, or the graf it pad, or anything else.

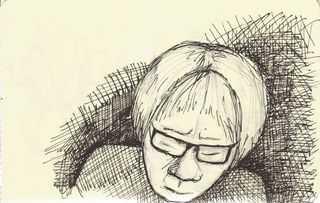
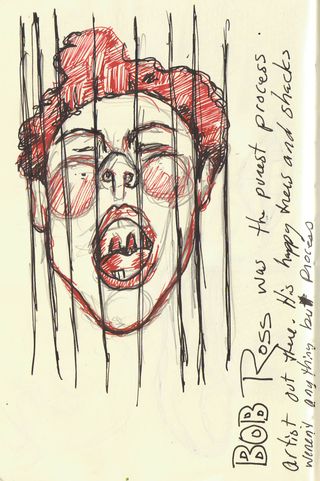
So, there's that, and here are some of my drawings from this past week:


  • Ink mix0069
  • Ink mix0070
  • Ink mix0071
  • Ink mix0072
  • Ink mix0073
  • Ink mix0074
Ink mix0074