This is a long post so bear with me.
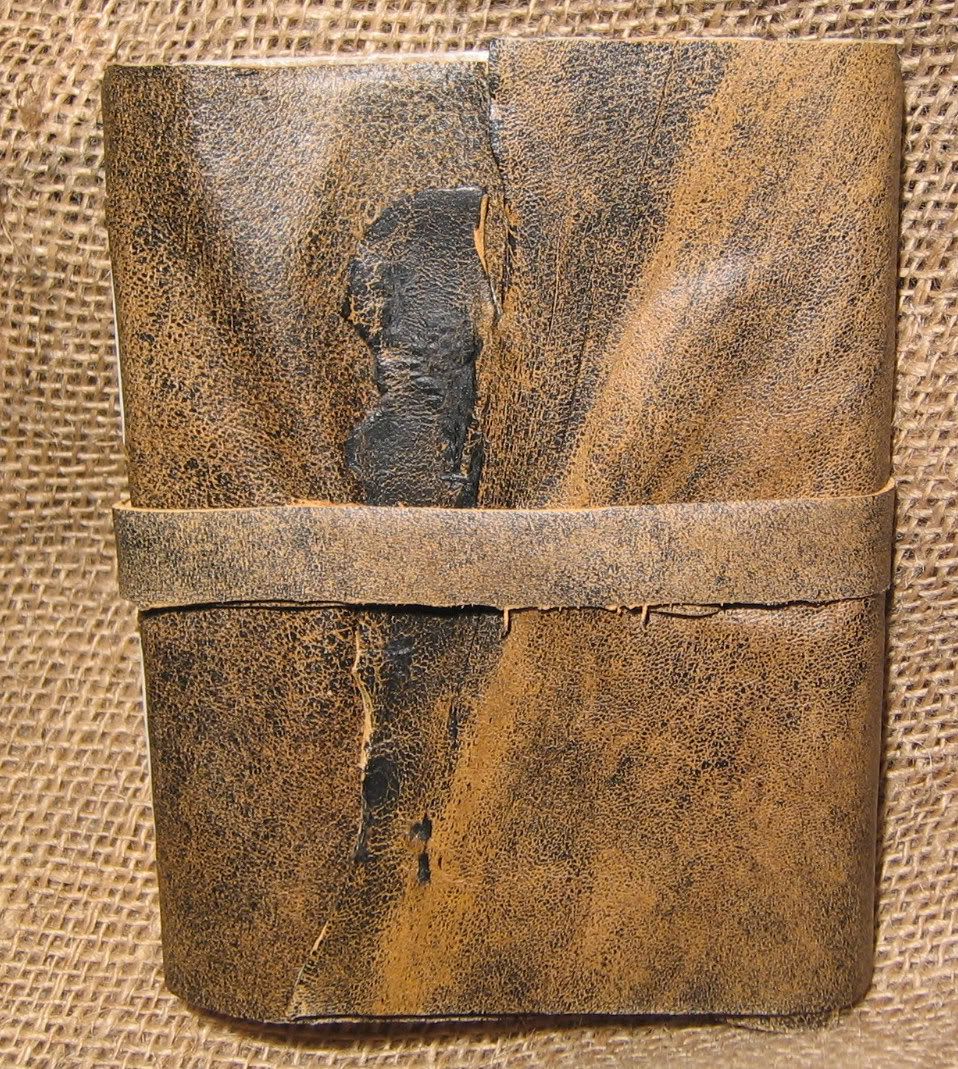
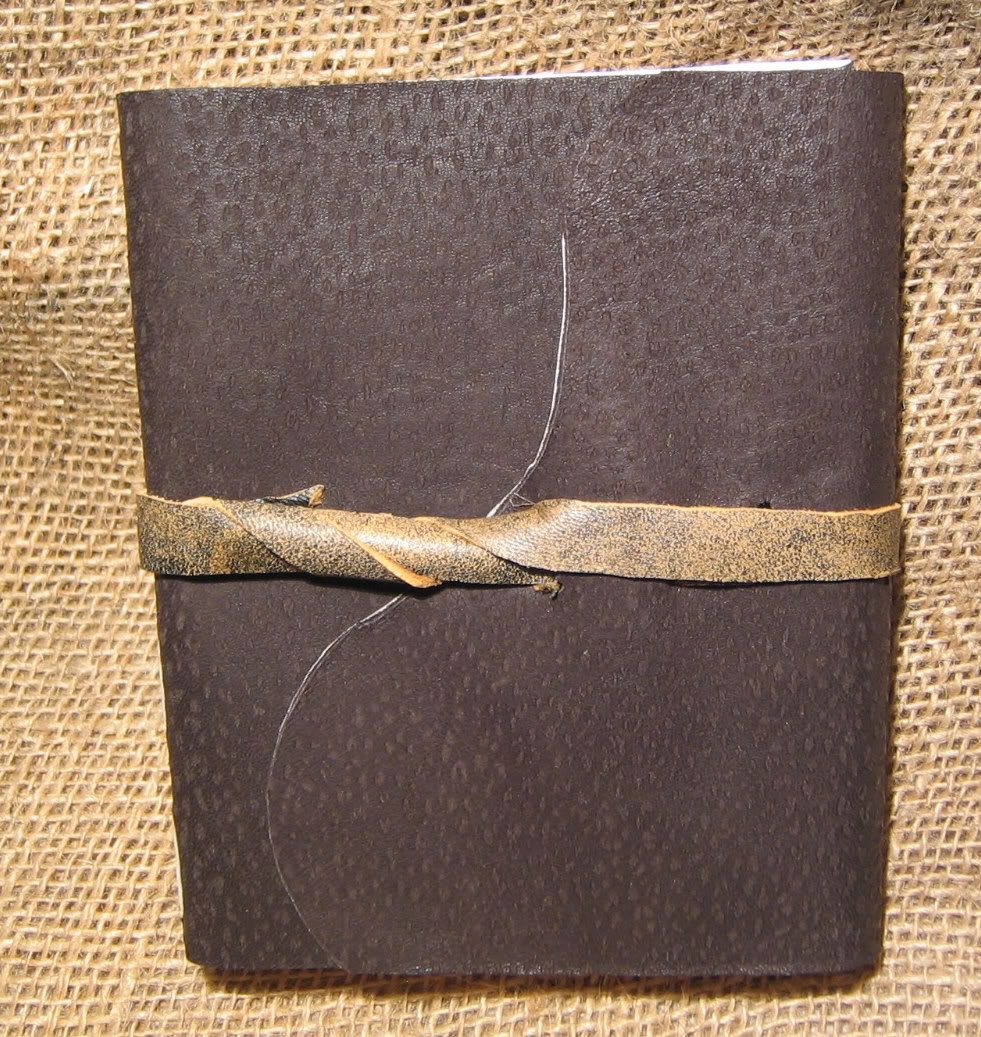
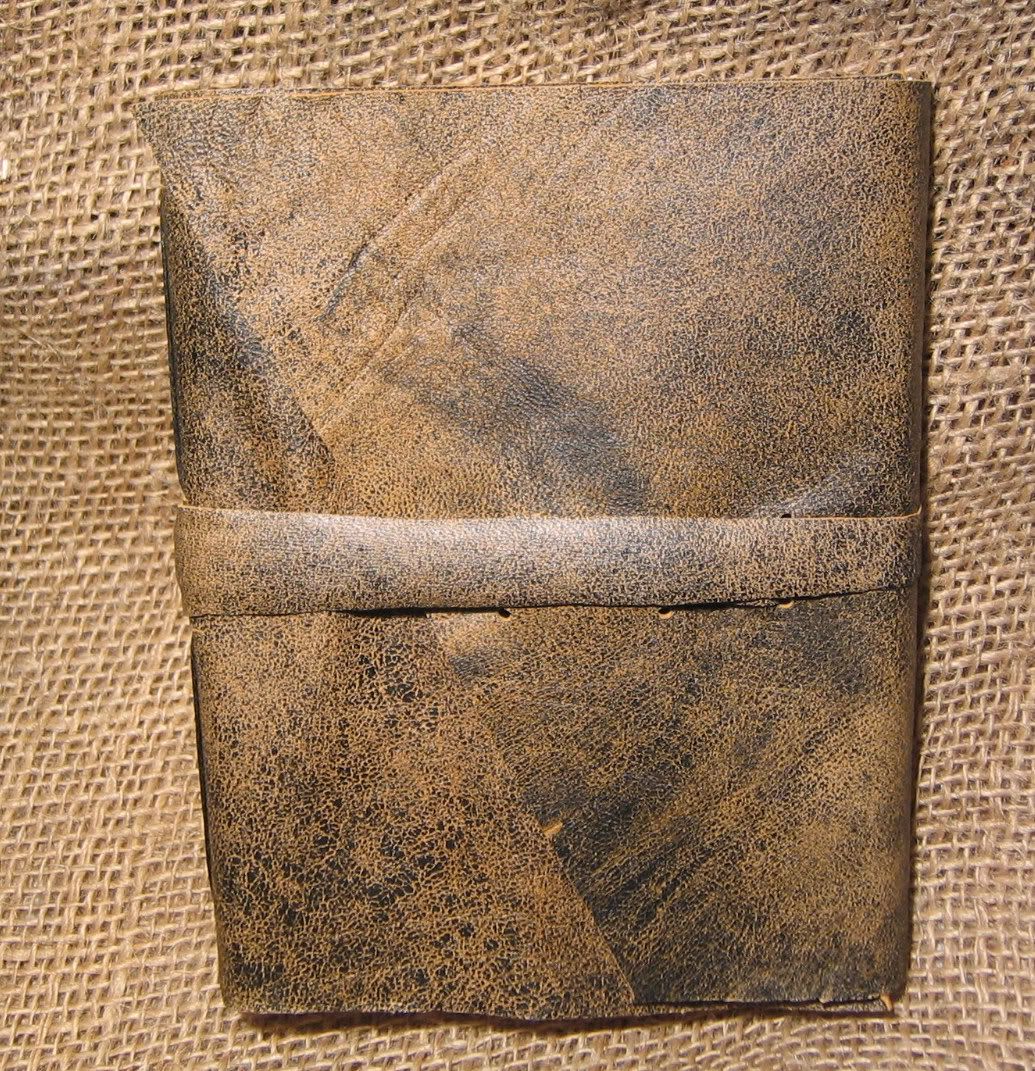
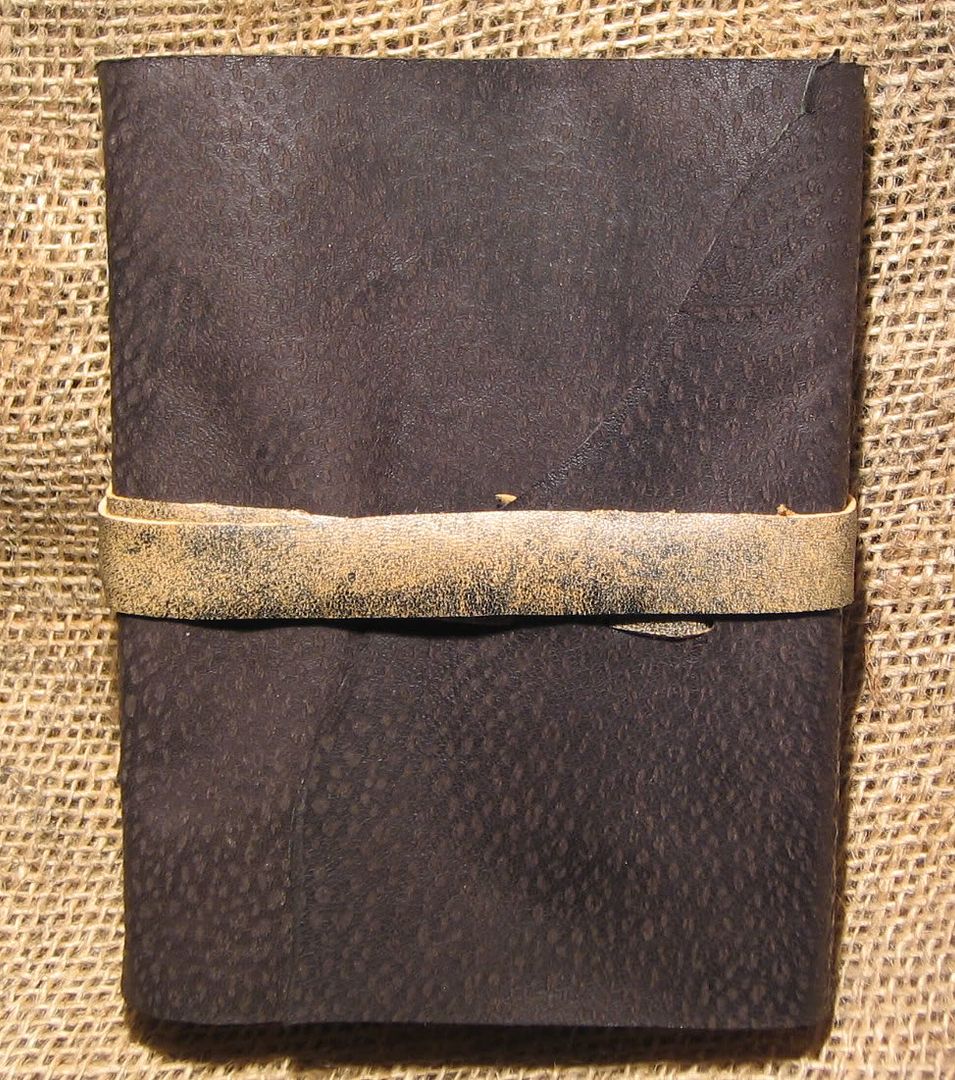
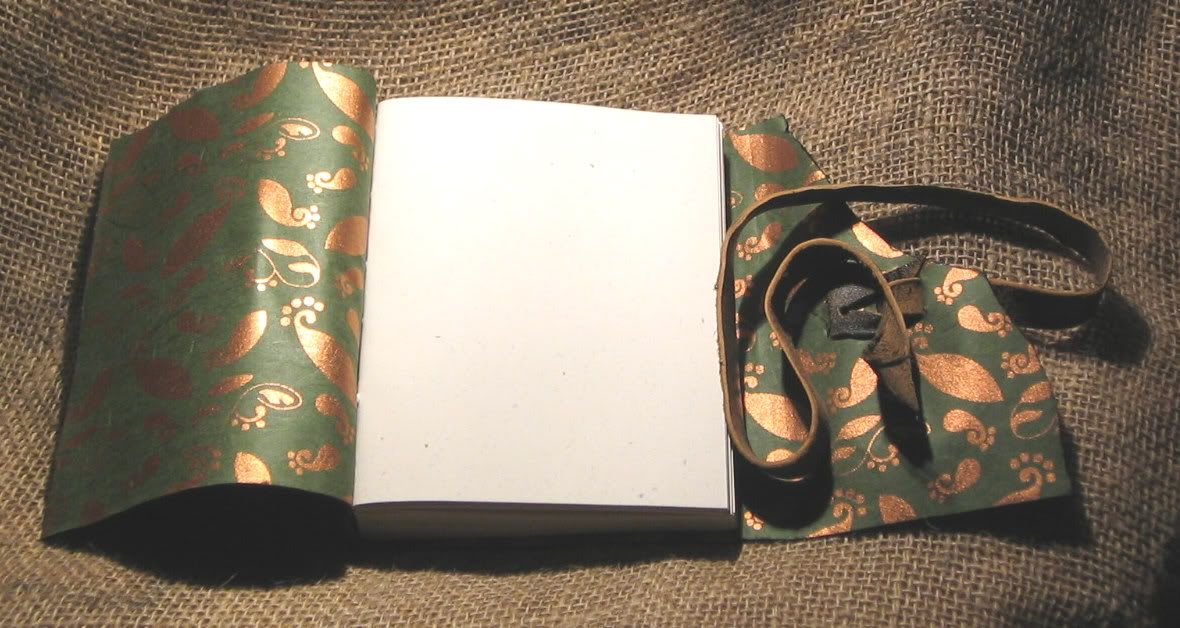
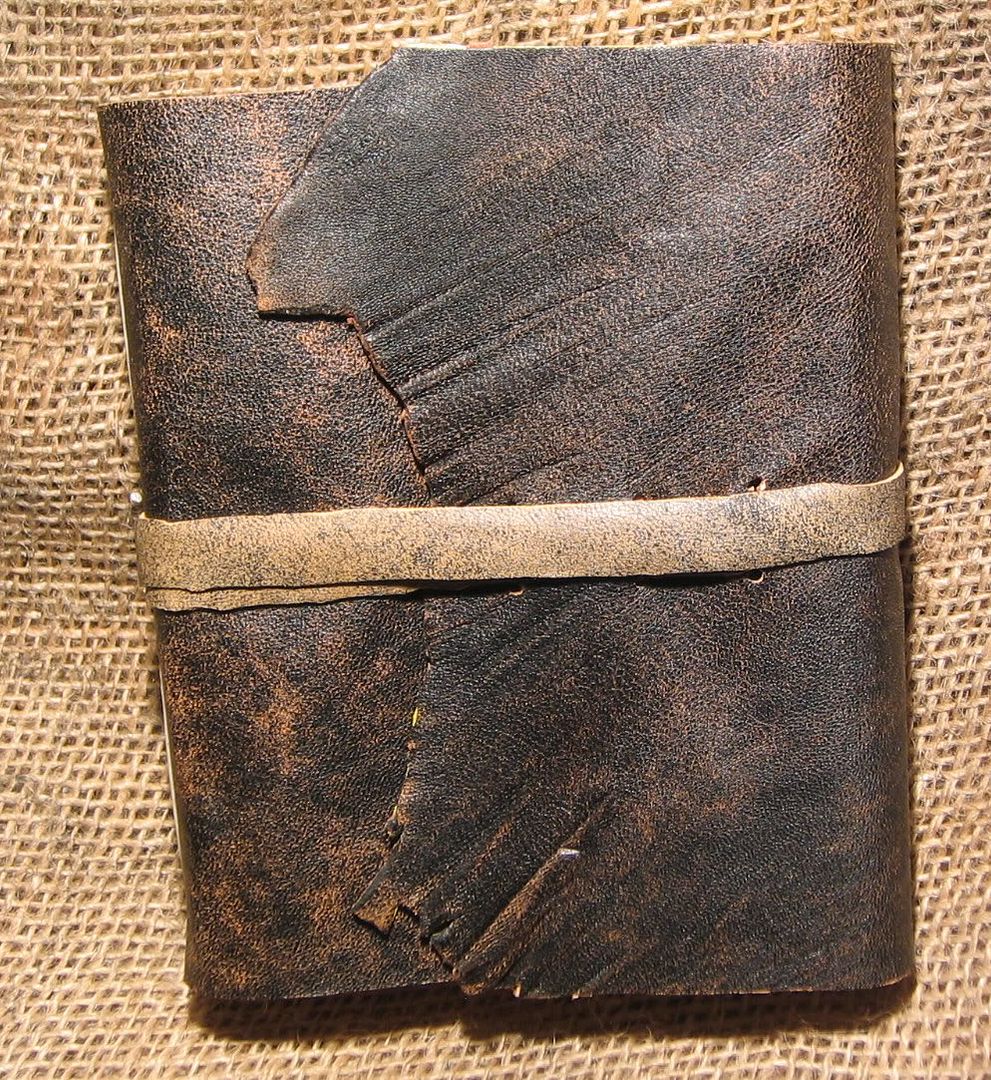
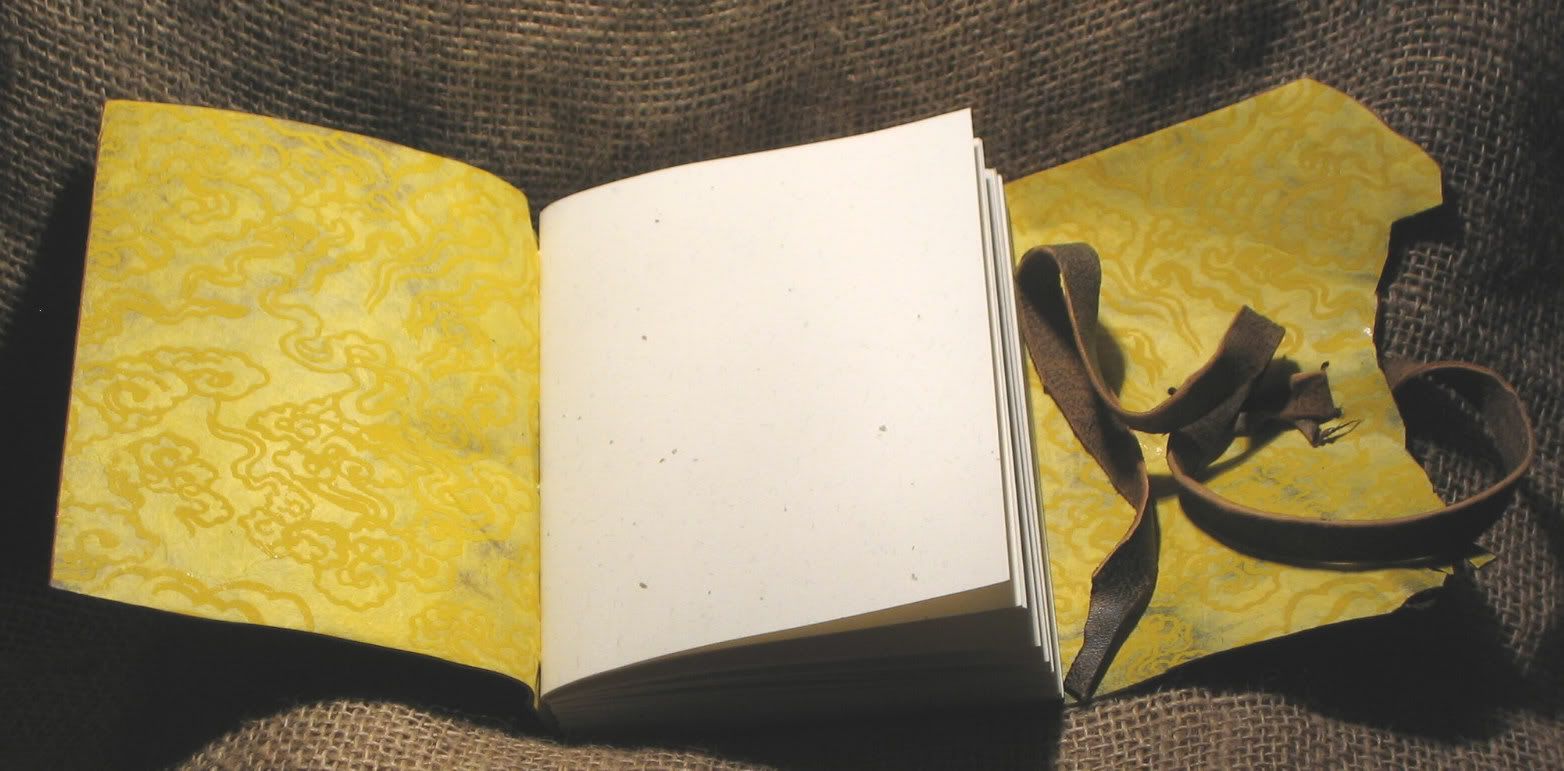
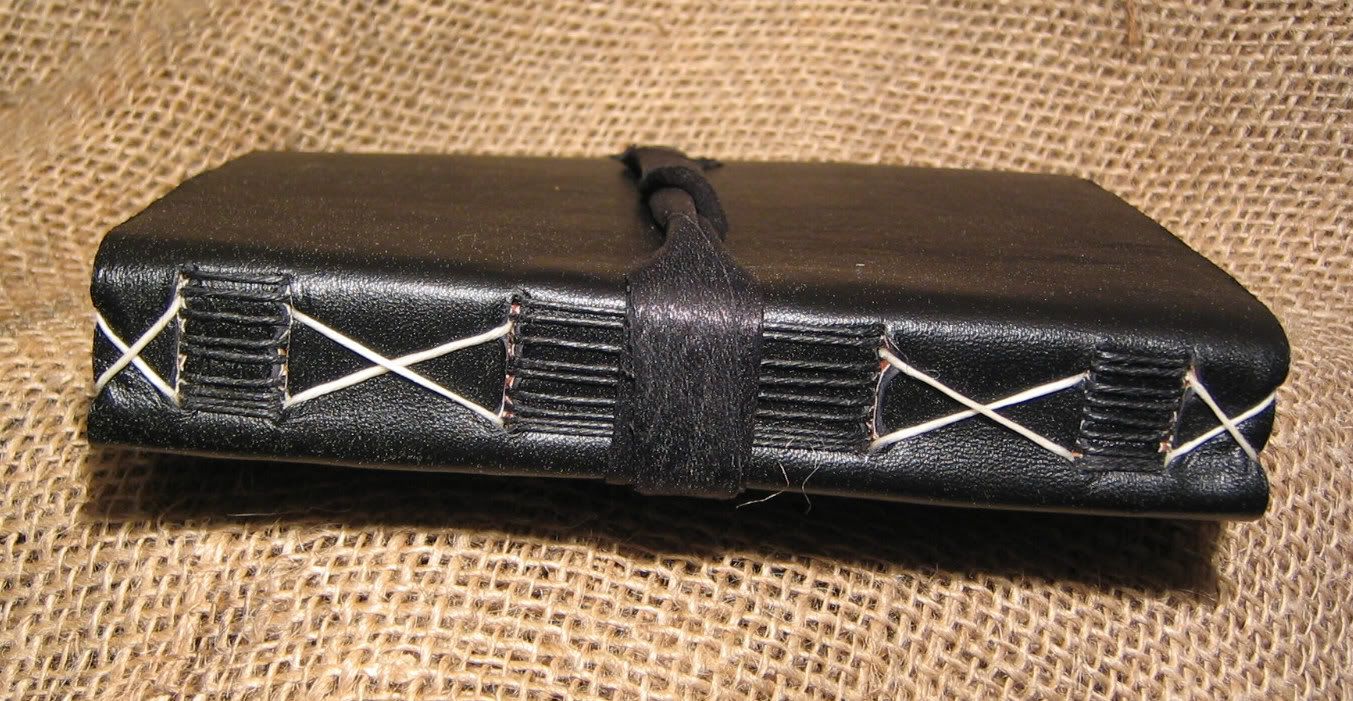
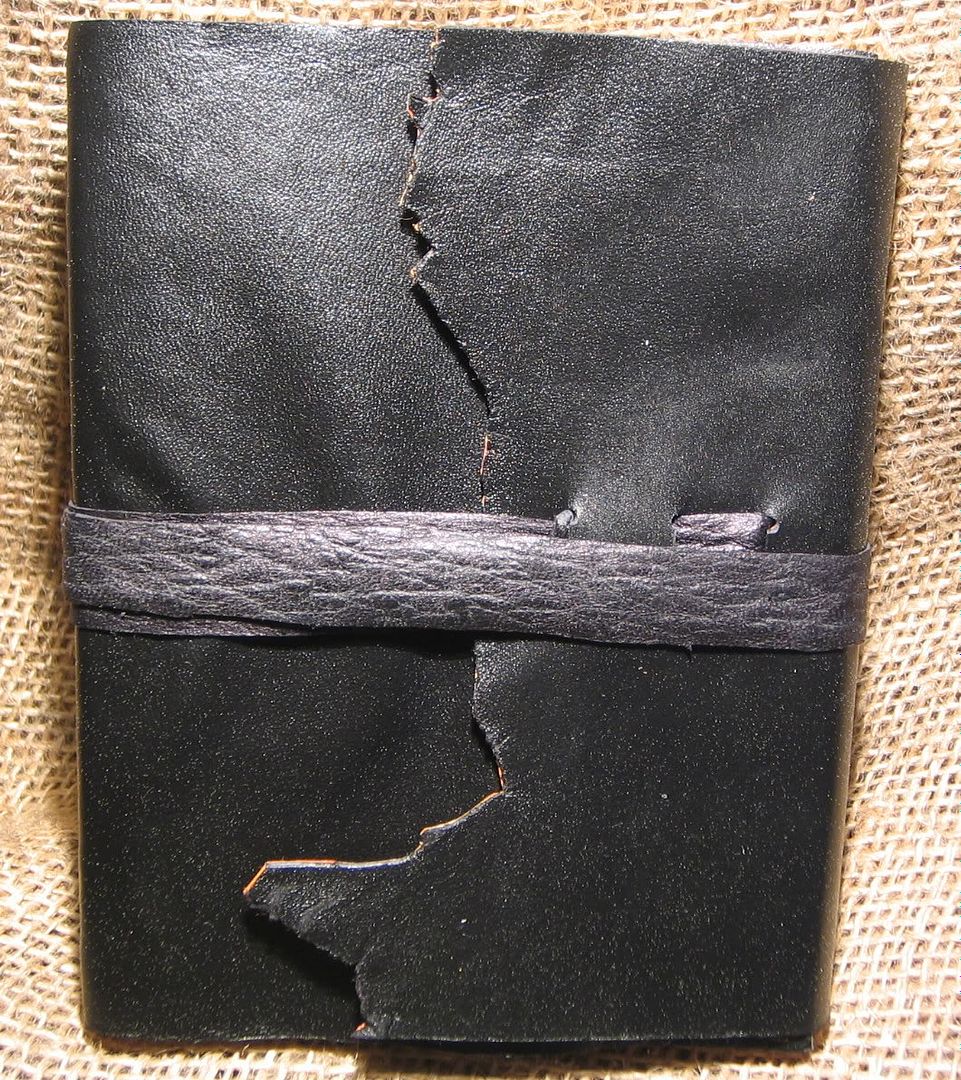
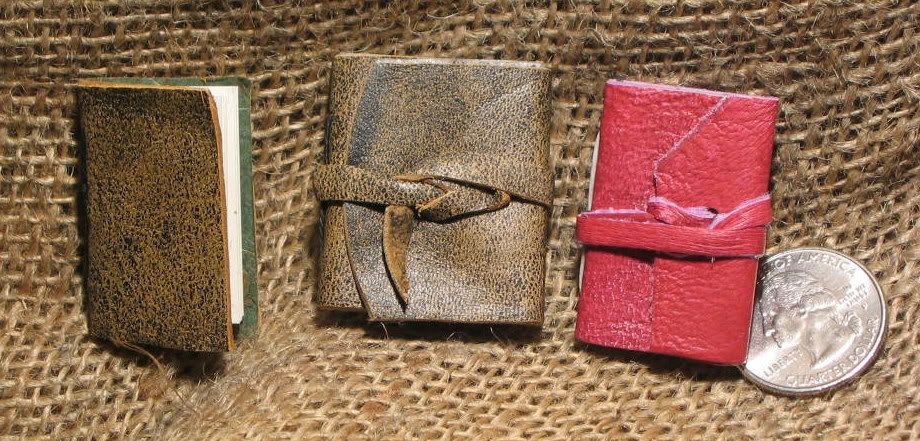
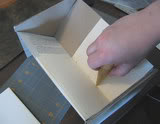
 These are 3 covers with my templates temporarily glued down (leho 2 way glue baby, the best.) I measure the template on the covers so they work with the cover.
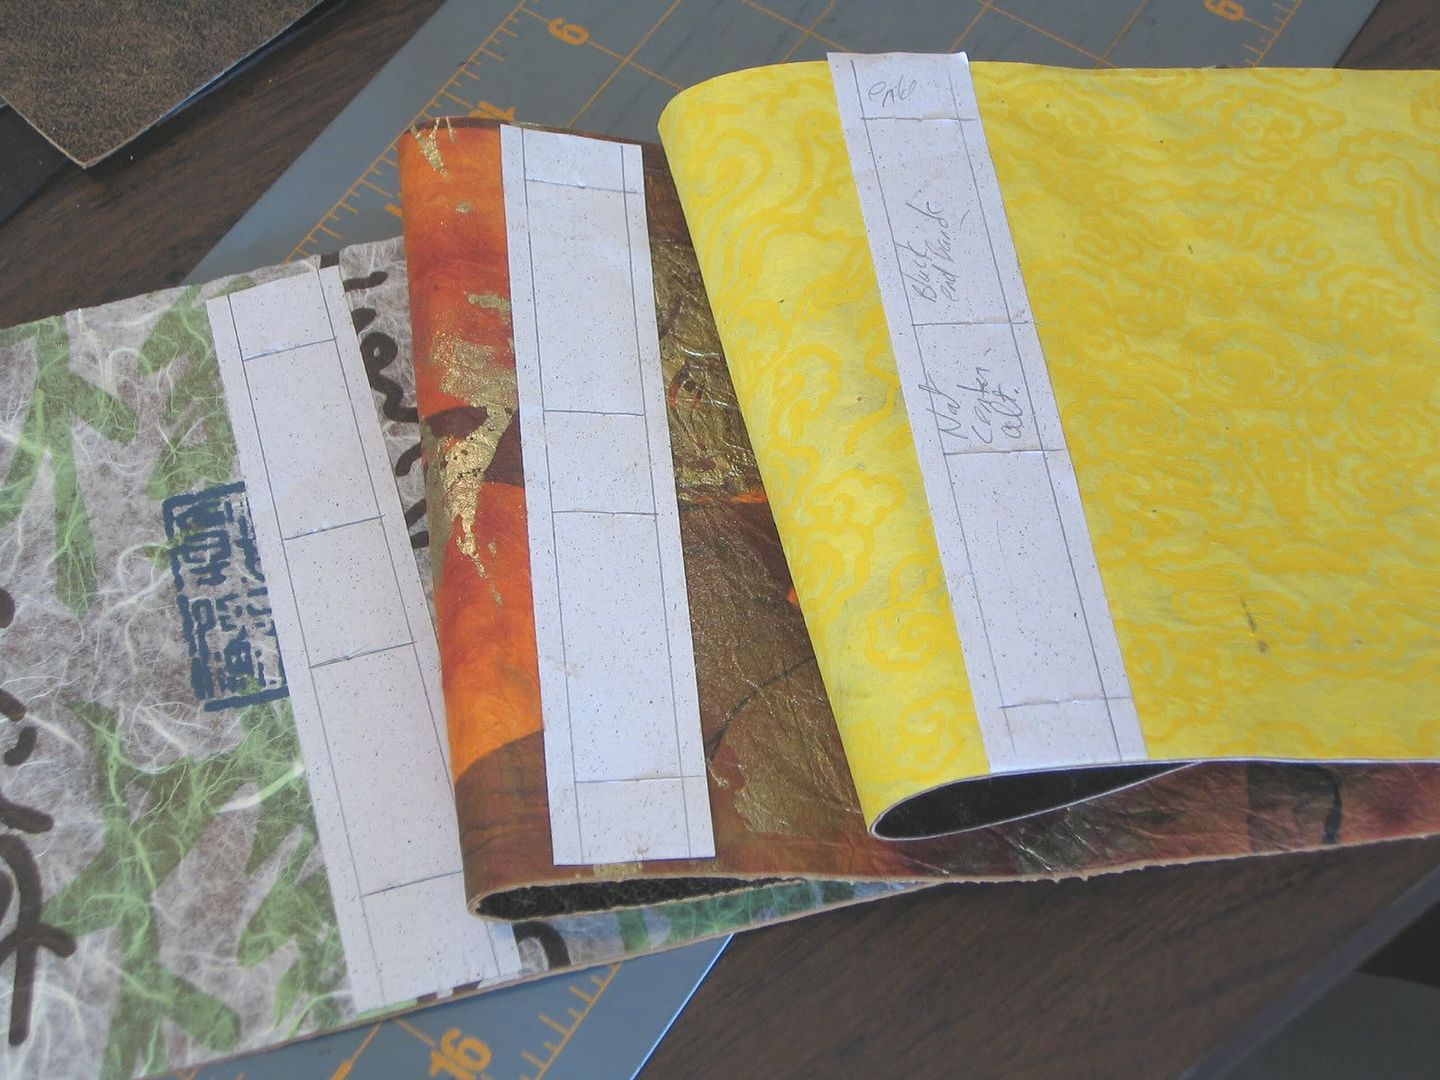
 Here I have a stack of 10 signatures to go with this cover.
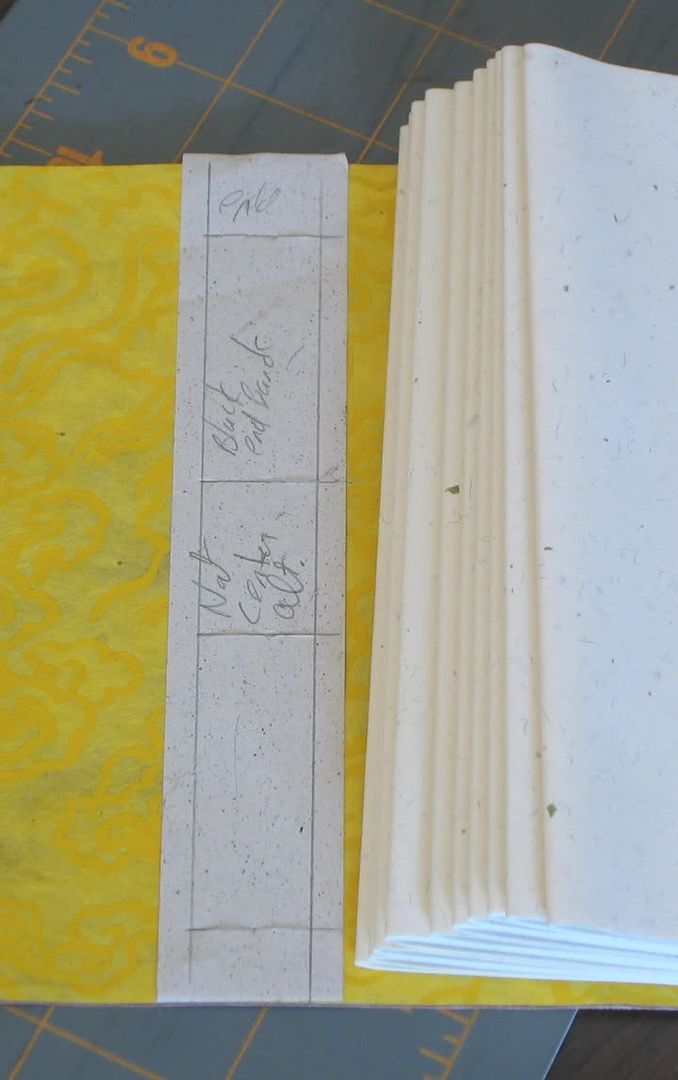
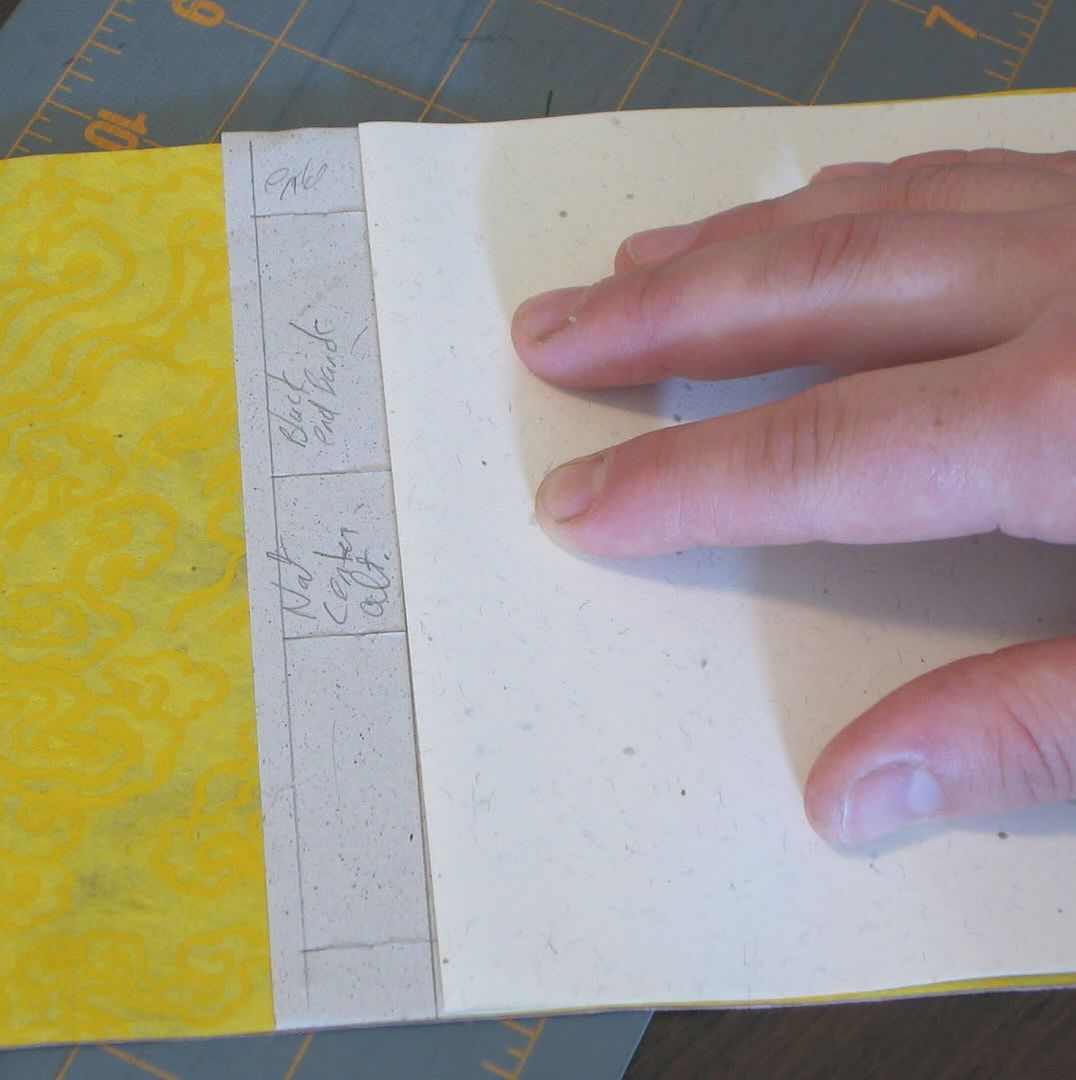
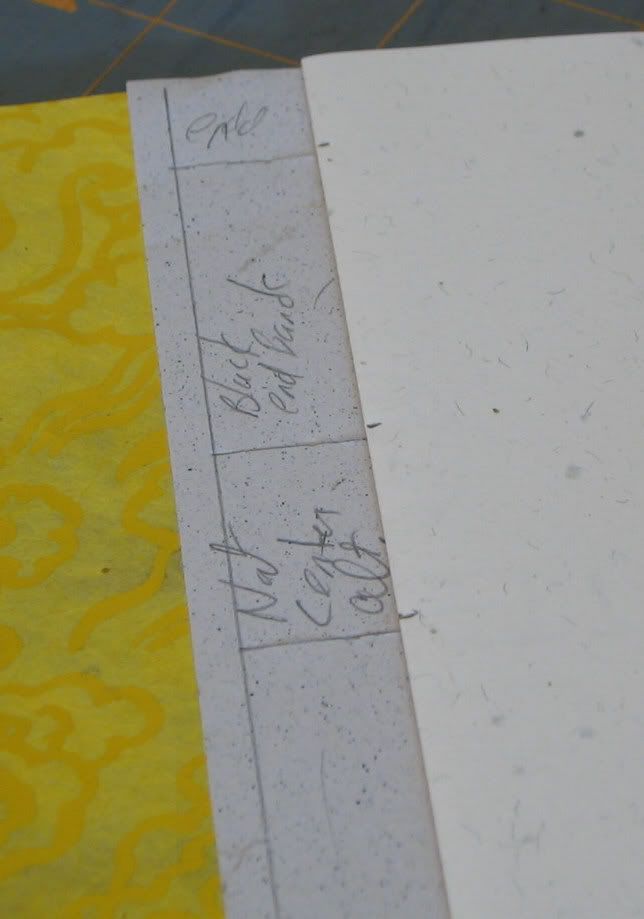
 I take the middle sheet from the last signature. I measure it against the template, I eyeball it because I find that works best in the finished book. Measuring it with a ruler can make it static and too stiff. I like an organic feel.
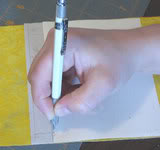
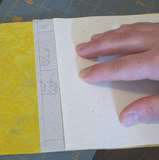
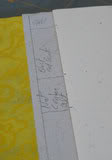
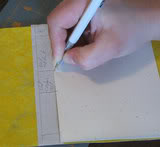 These two pictures are of me marking the lines fromt he template to the folded sheet that will be come my jig and thus mark all the signatures.

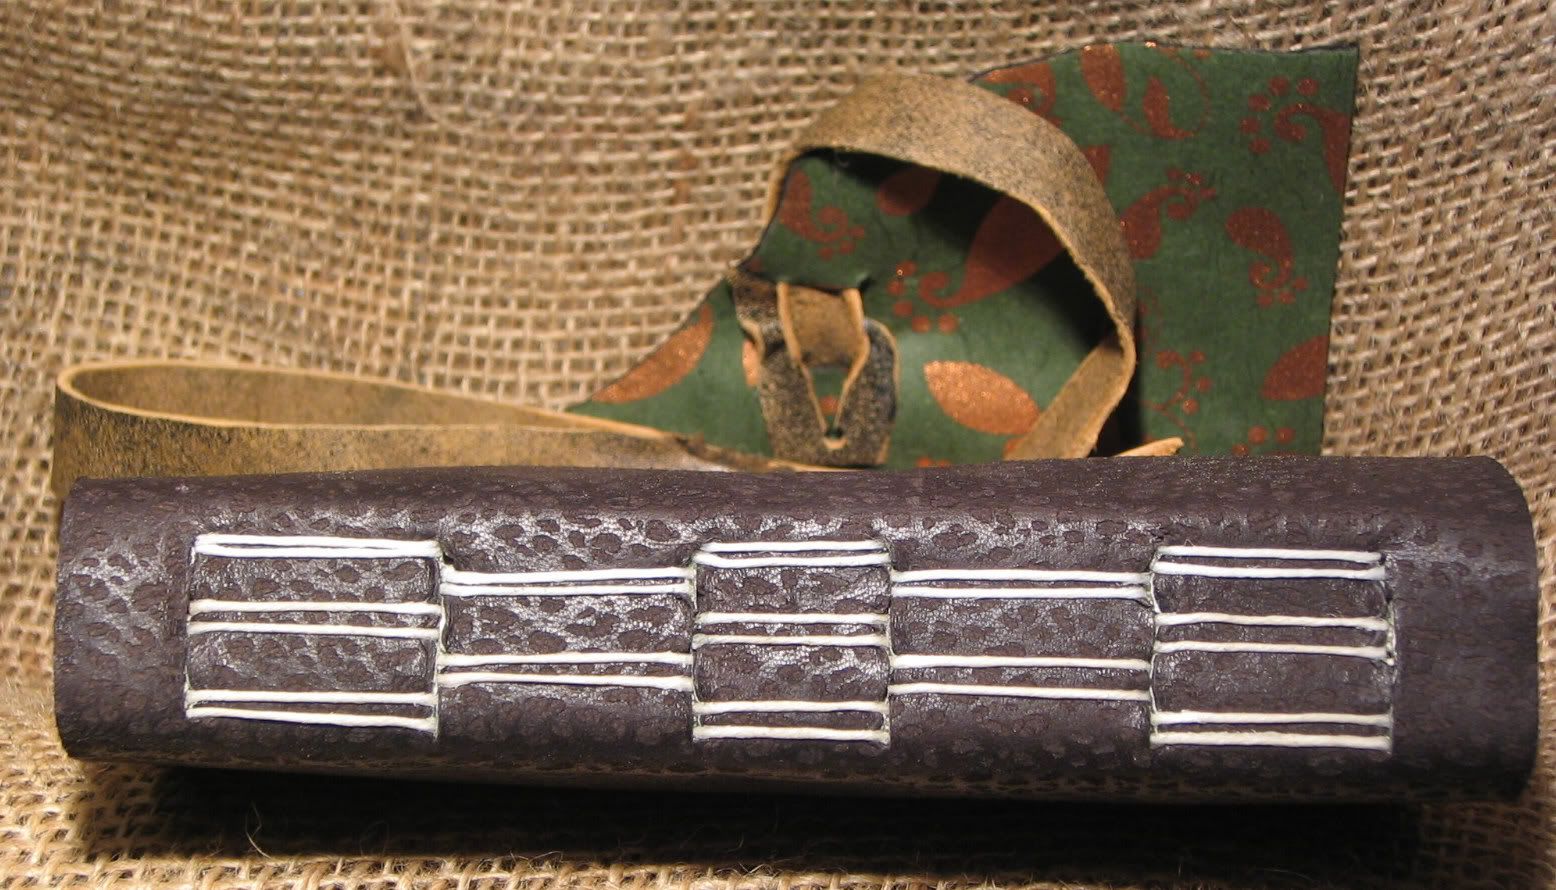
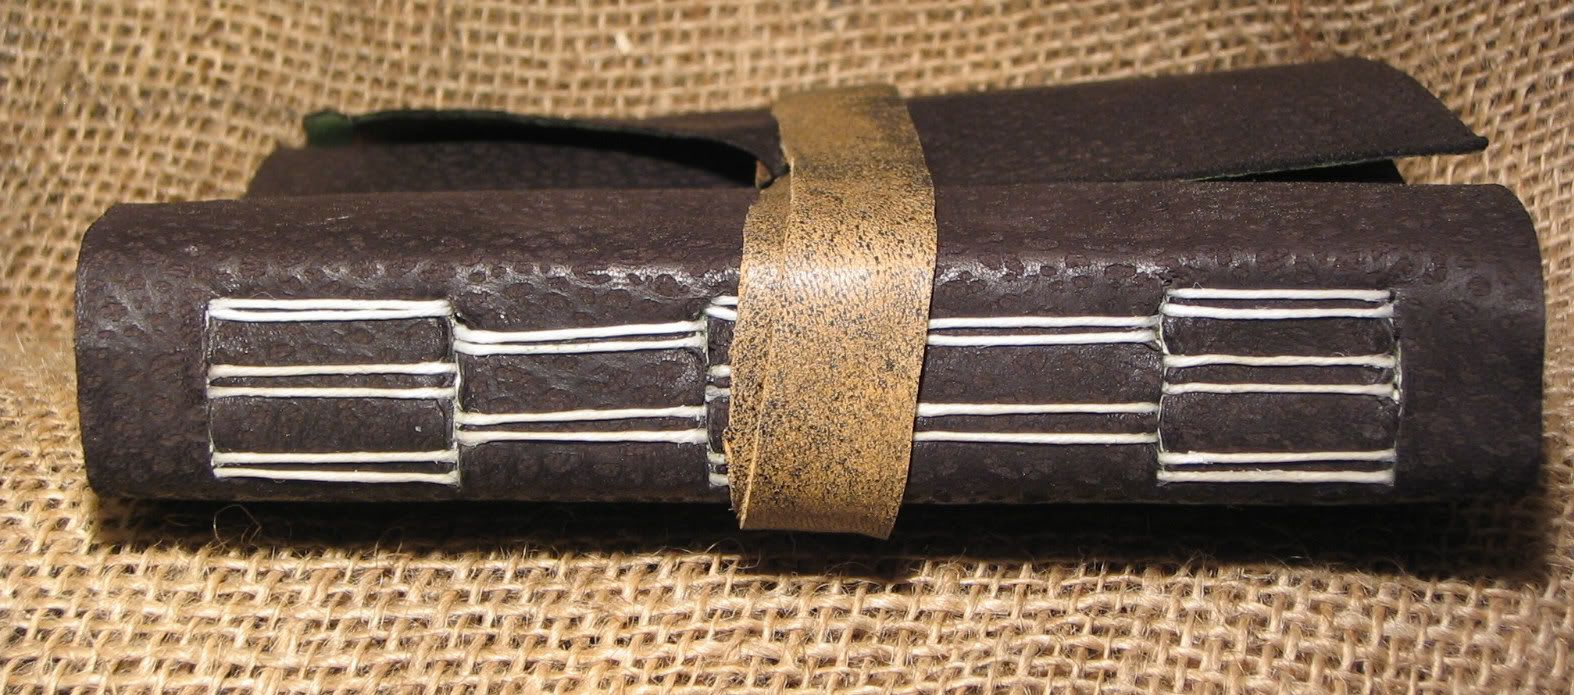
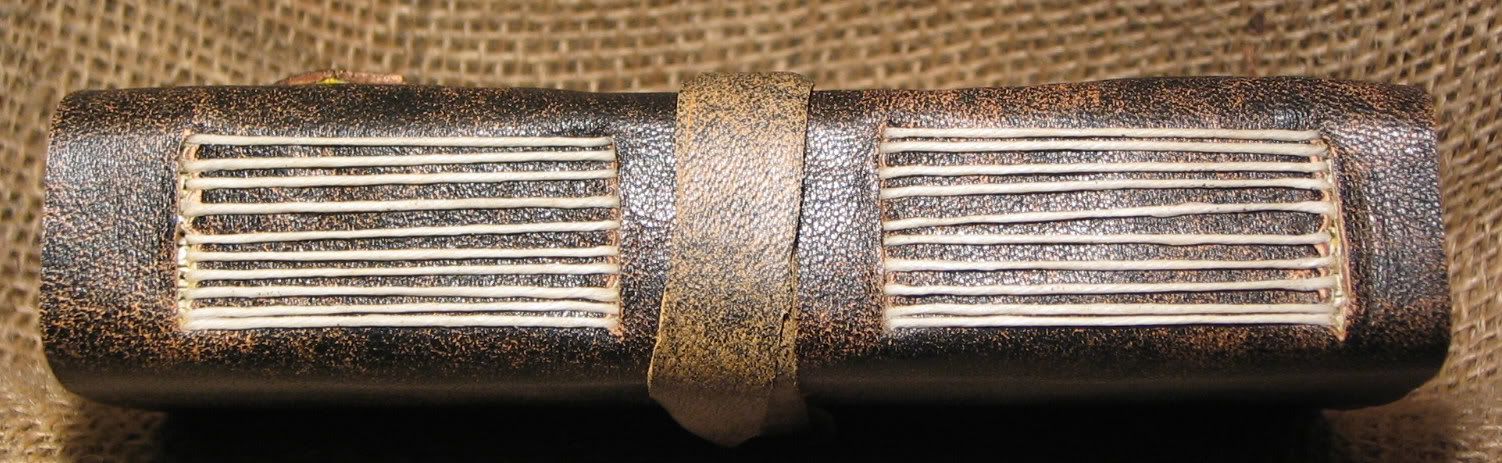
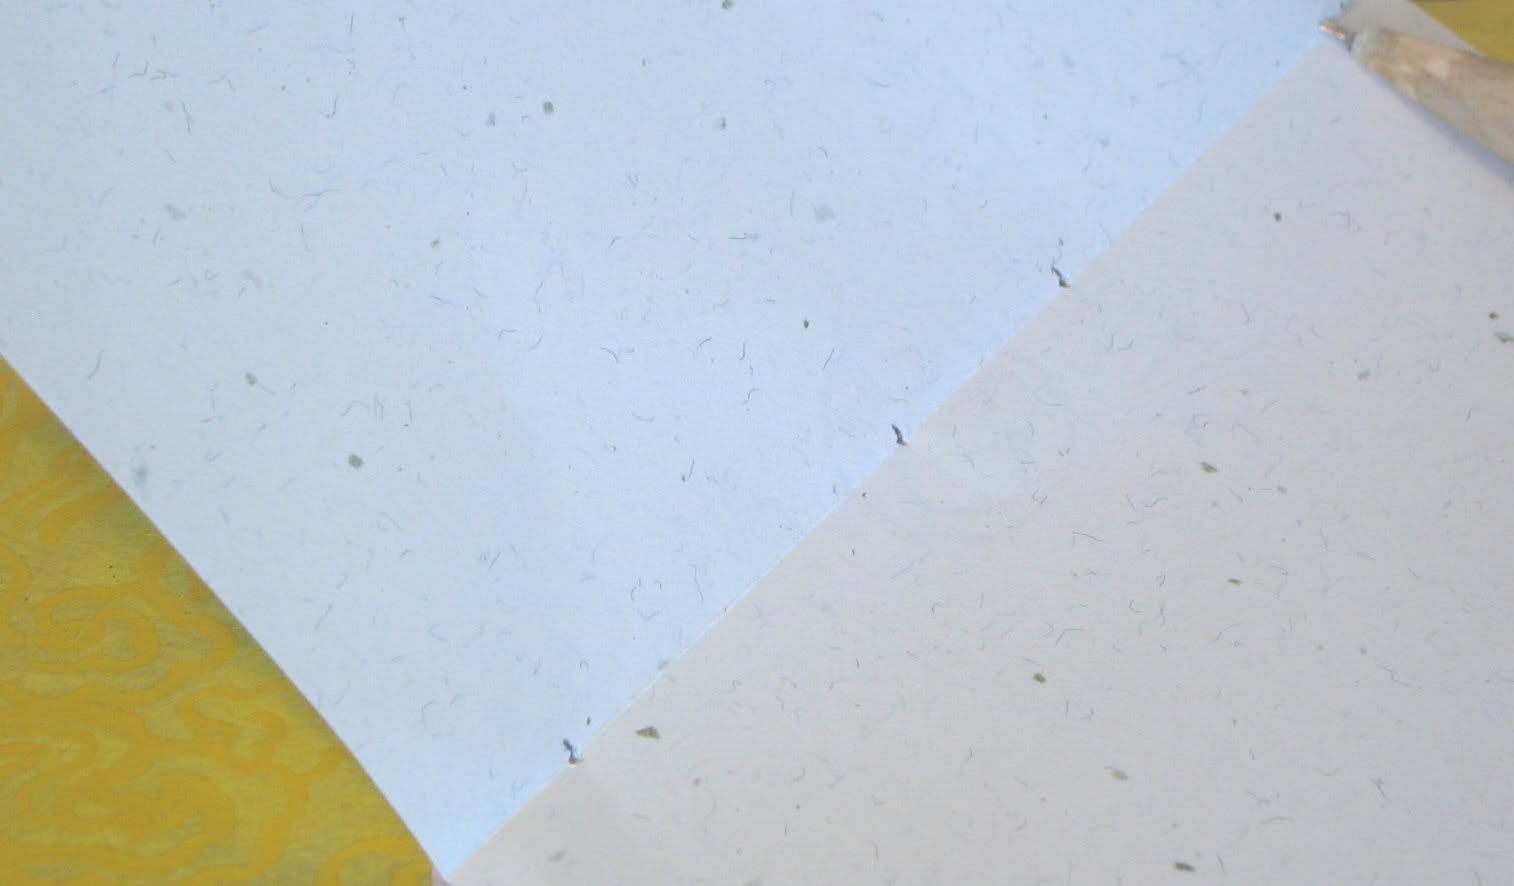
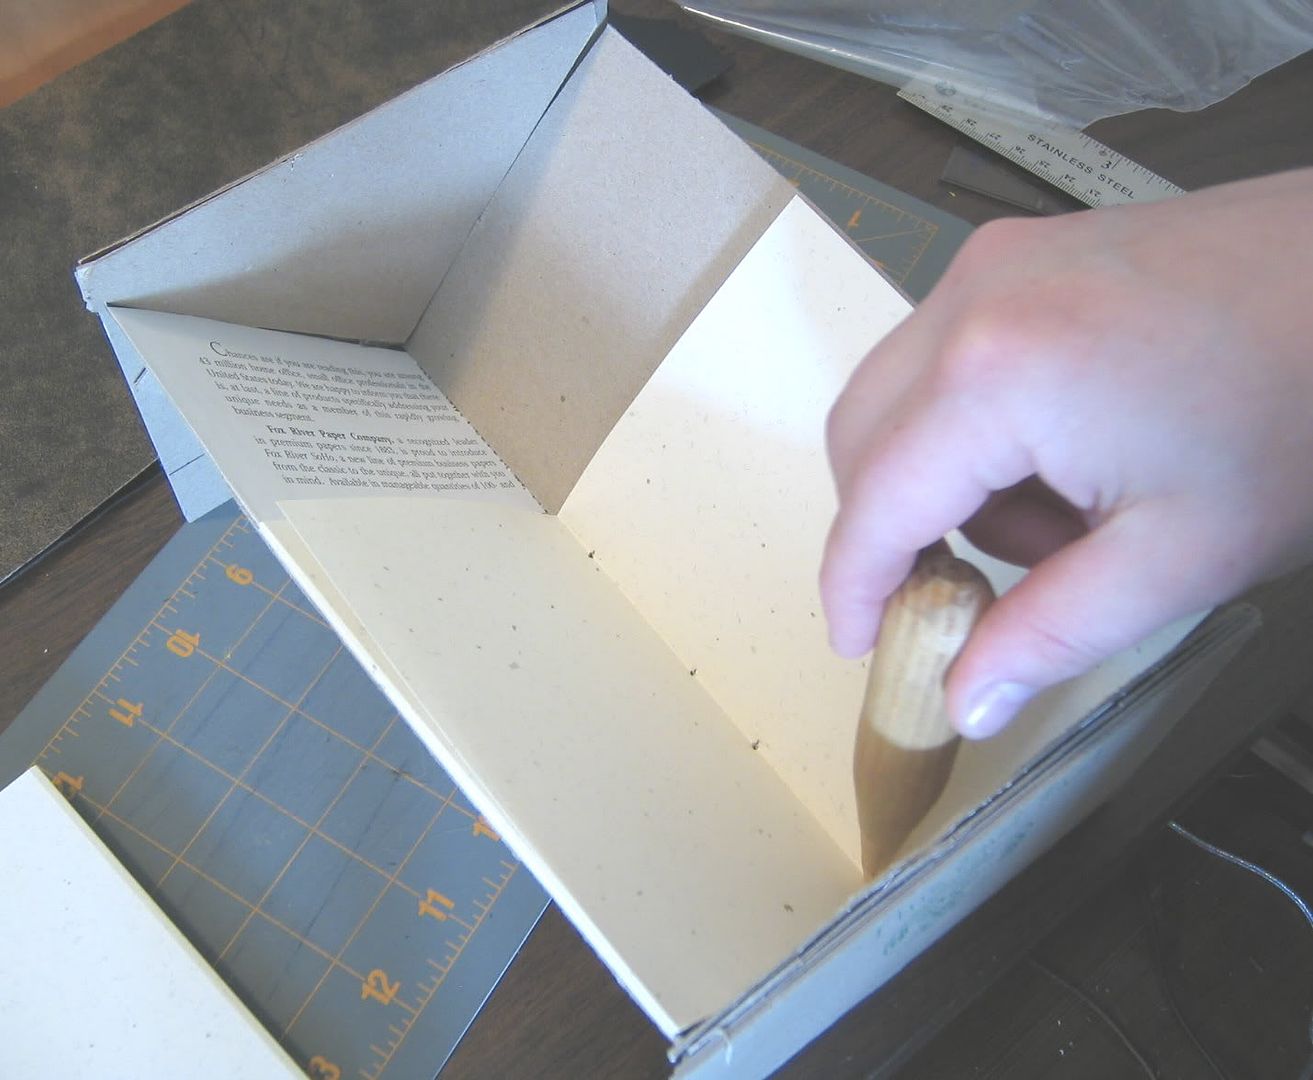
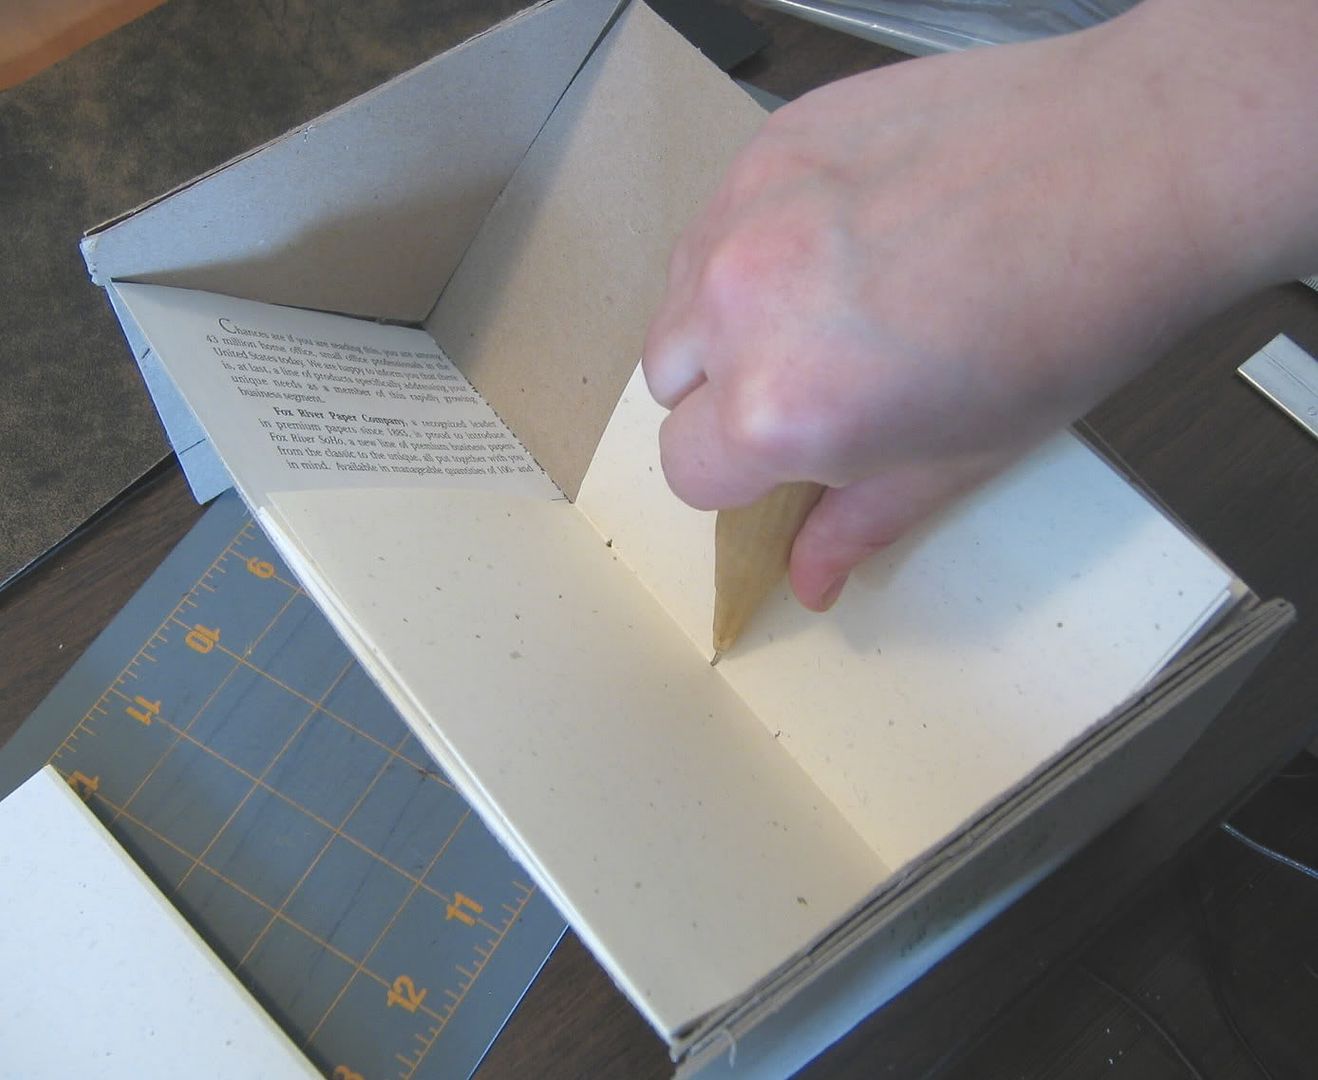
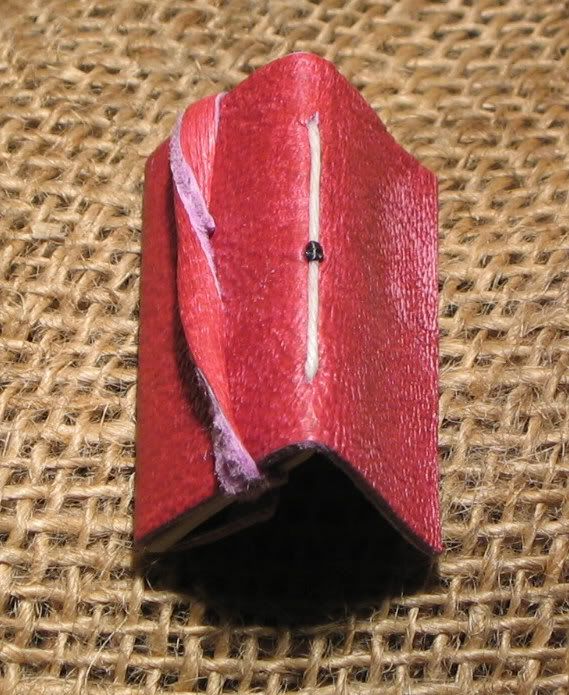
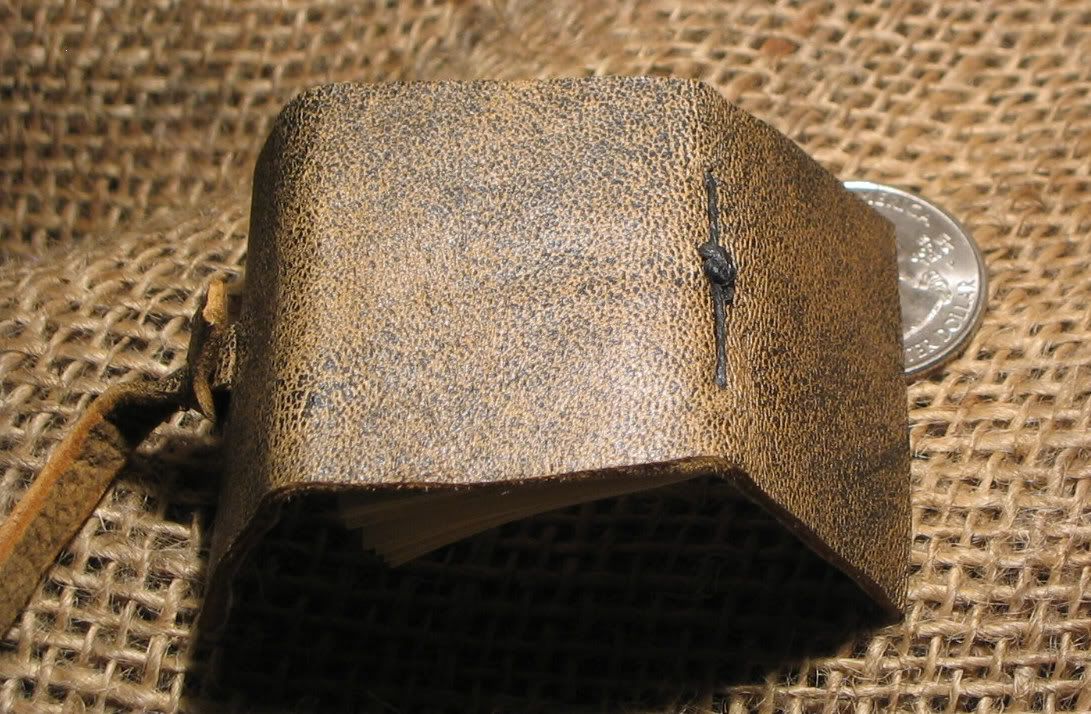
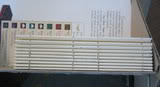
 These 3 pictures are of the finished jig. After I mark all the stations on the jig I fold it back along the orginal fold, so that the marks are now on the inside of the fold. After that I punch the holes with my handy-dany home made awl. (A wodden dowel cut to my hand size, smoothedand rounded to comfort. A leather needle had the eye cut off and a small drill was used to drill a hol in the end of the dowel. I then glued it in place with gorilla glue.)
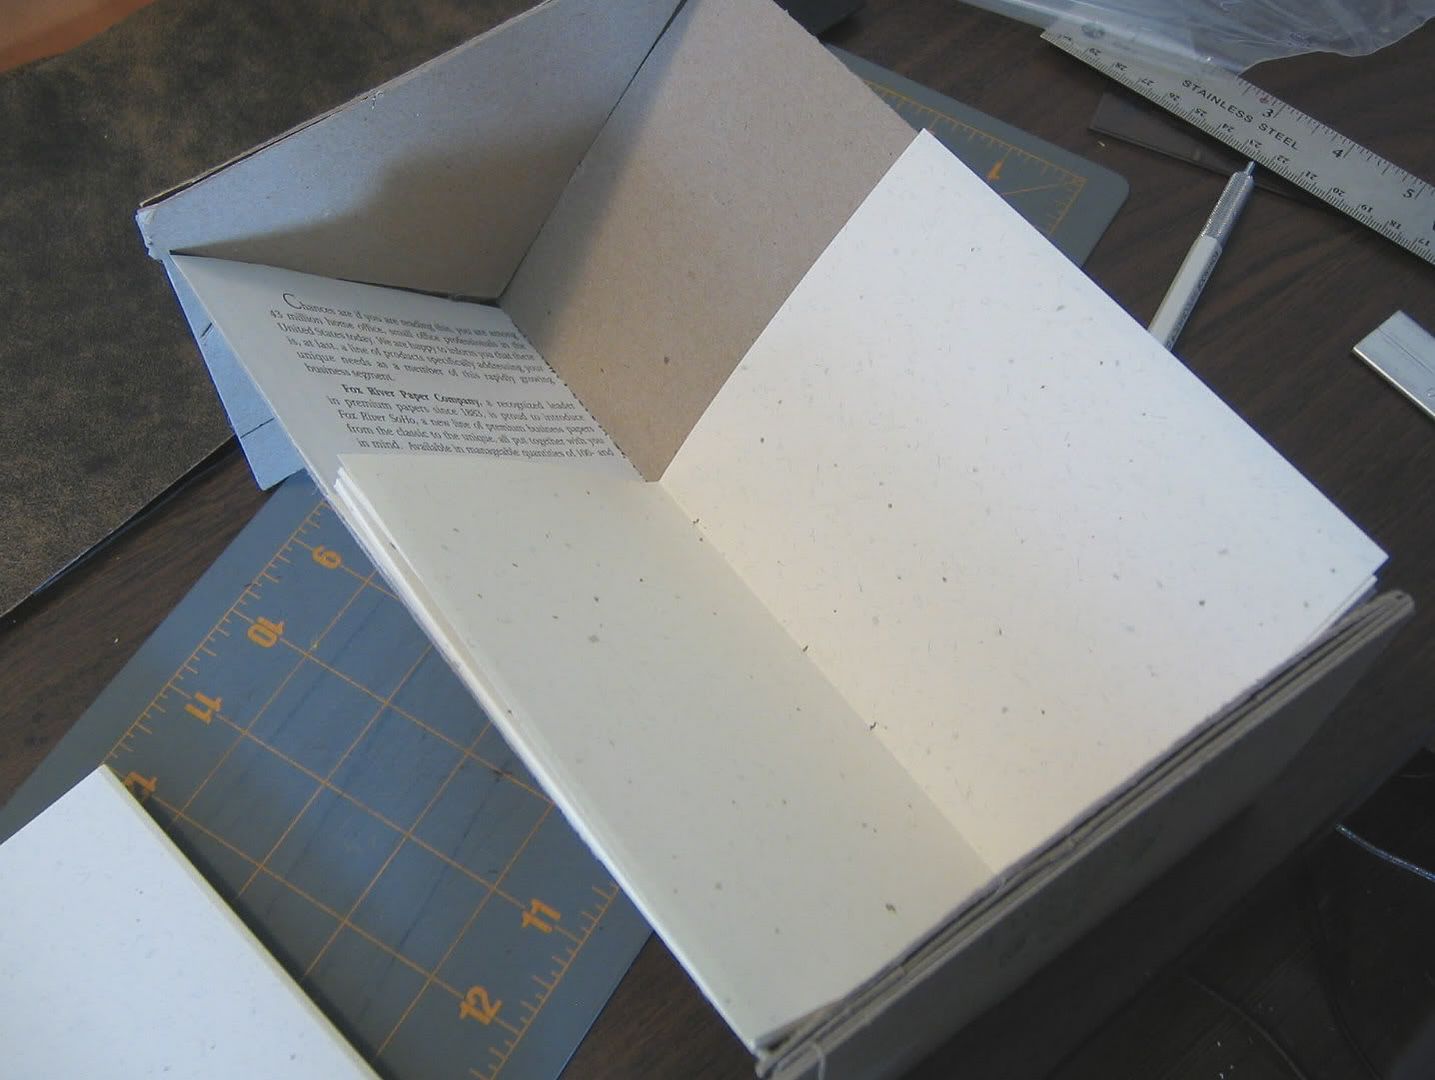
 Here’s my finsihed jig. I’ve dropped it onto the top of 3 sets of signatures stacked one on top of each other in my sewing cradle, also home made!
 I then punch all the stations. Repeat until I’m done with all the signatures for this book.
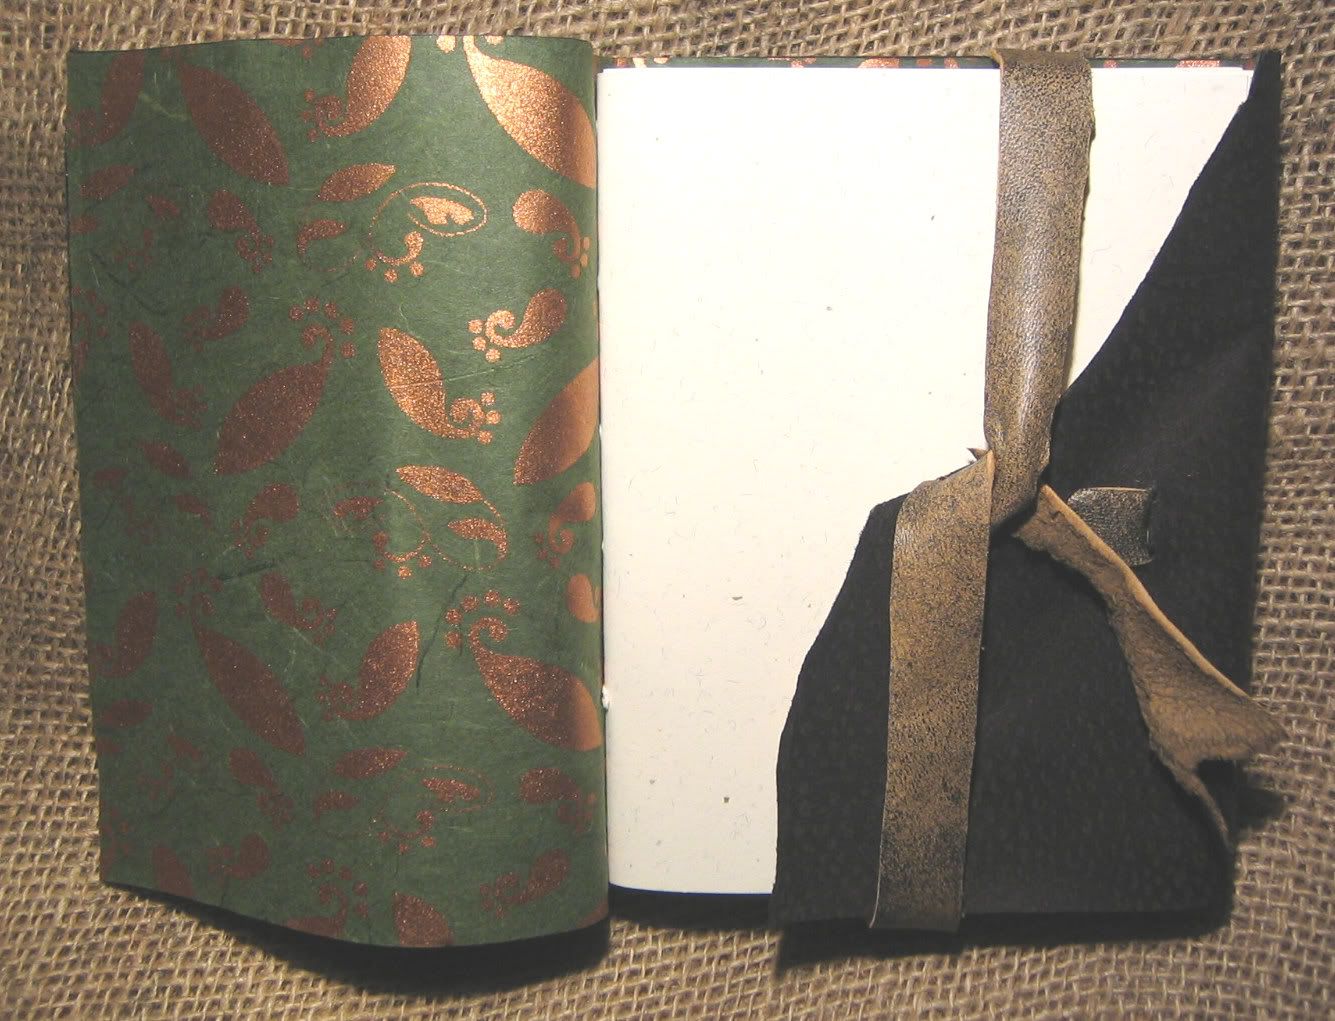
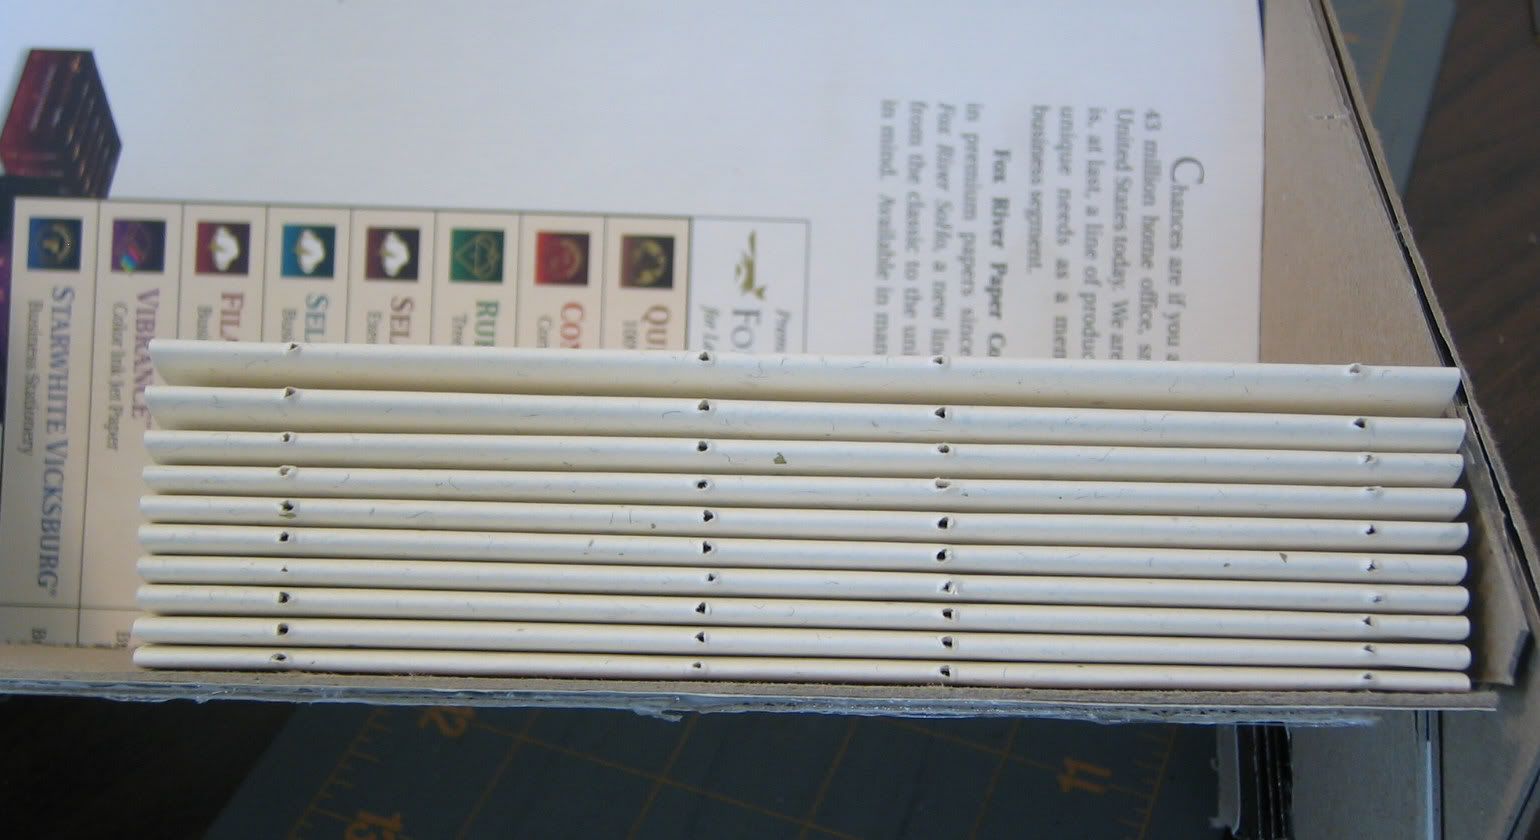
 Heres the finished stack of signatures, most are right on, except forthe one I punched while taking a picture, but even that is clsoe enough that it won’t change the showing.
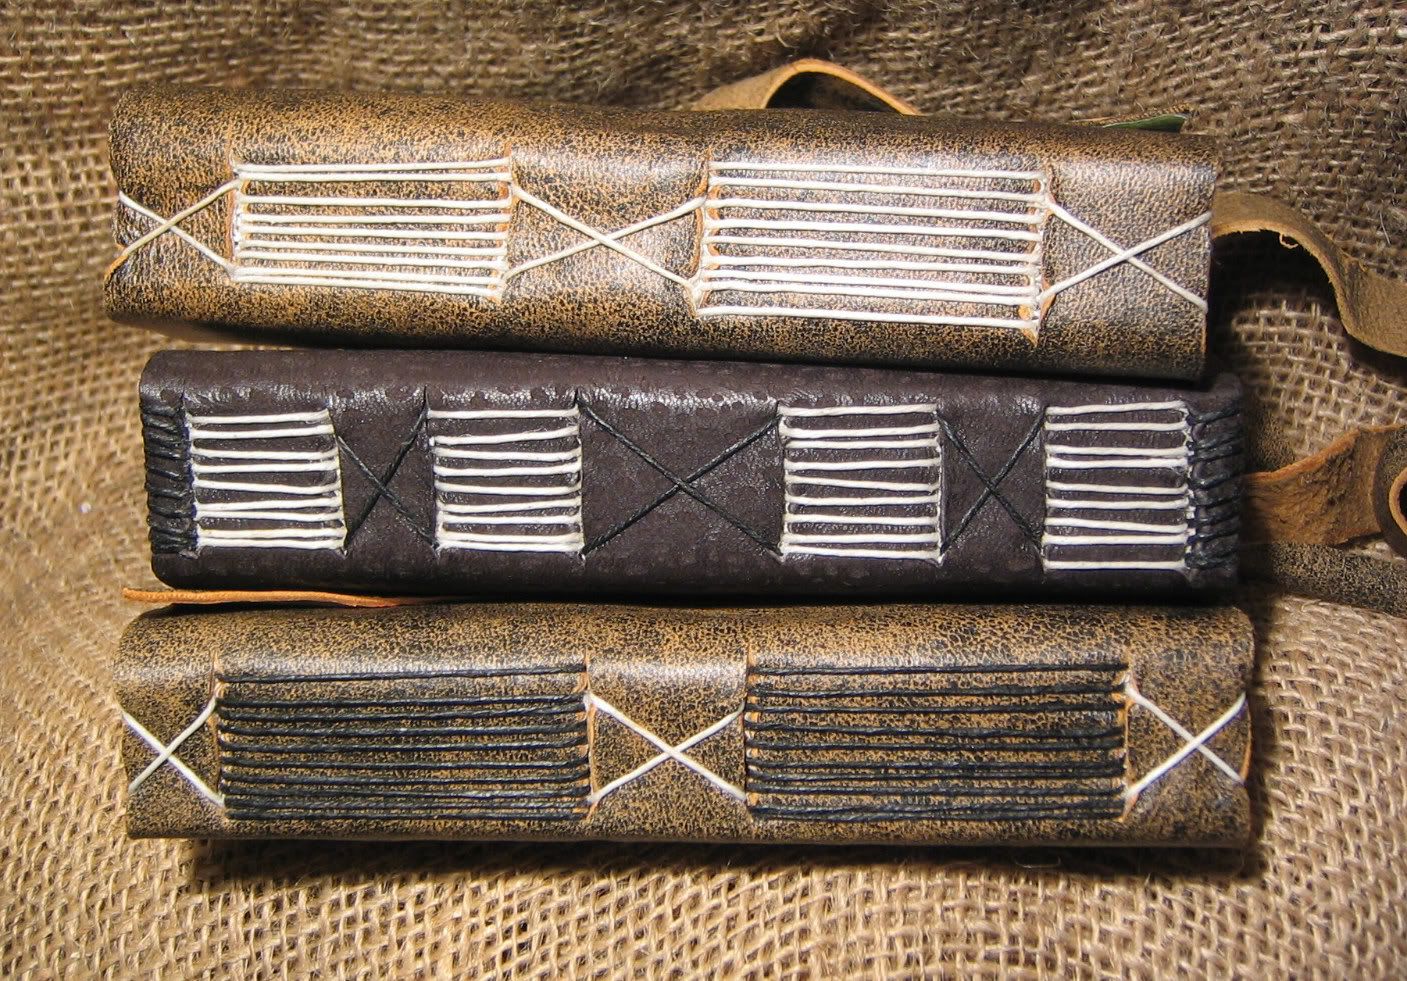
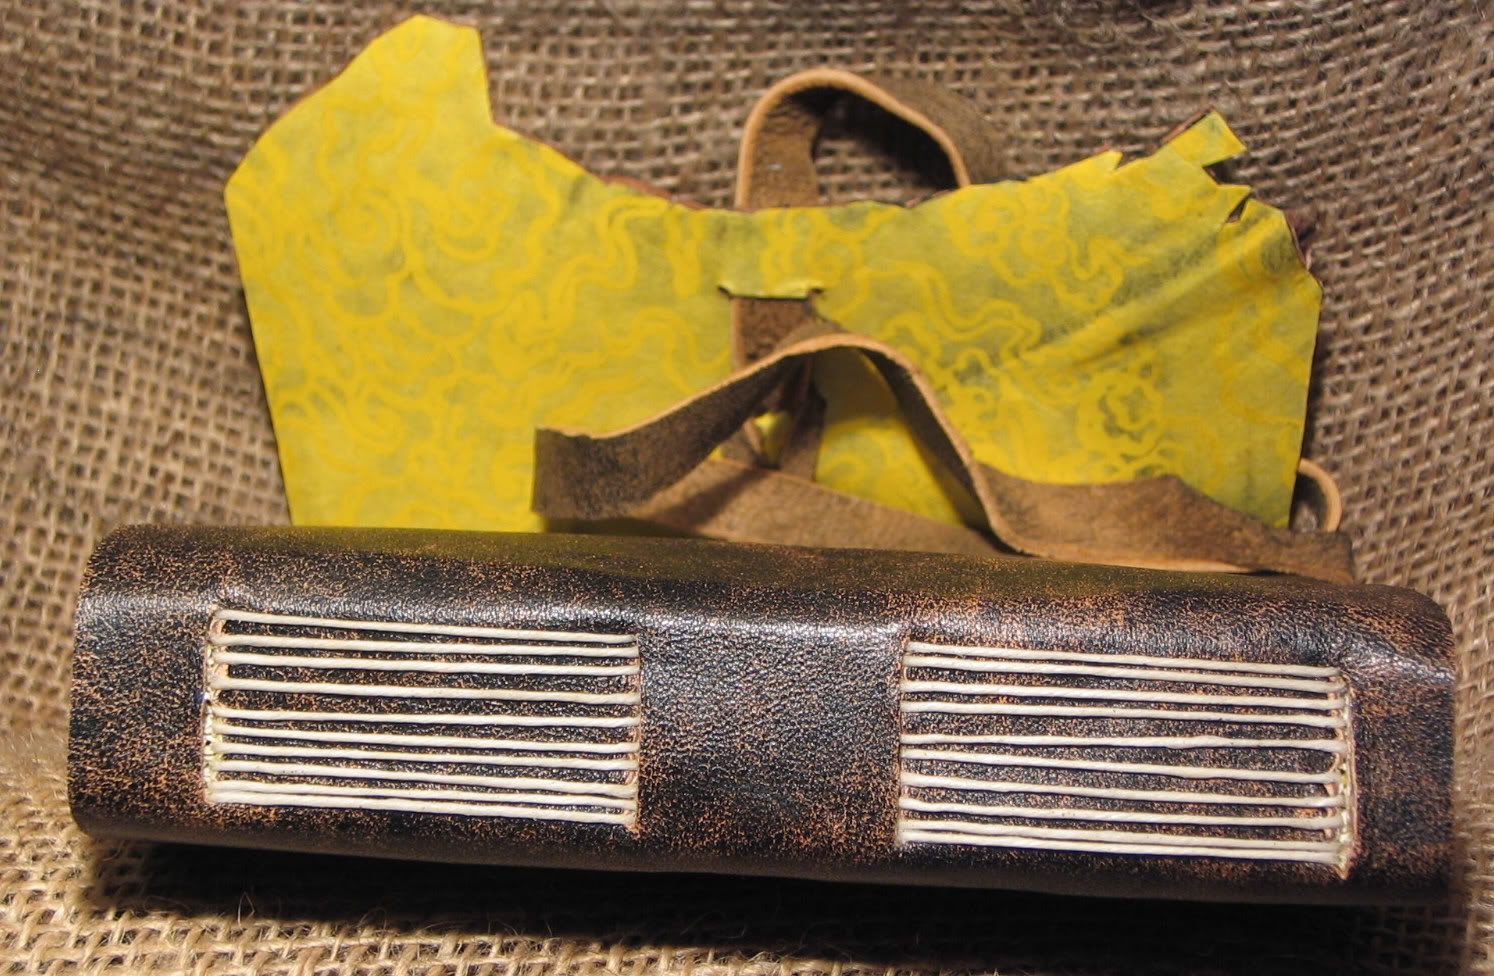
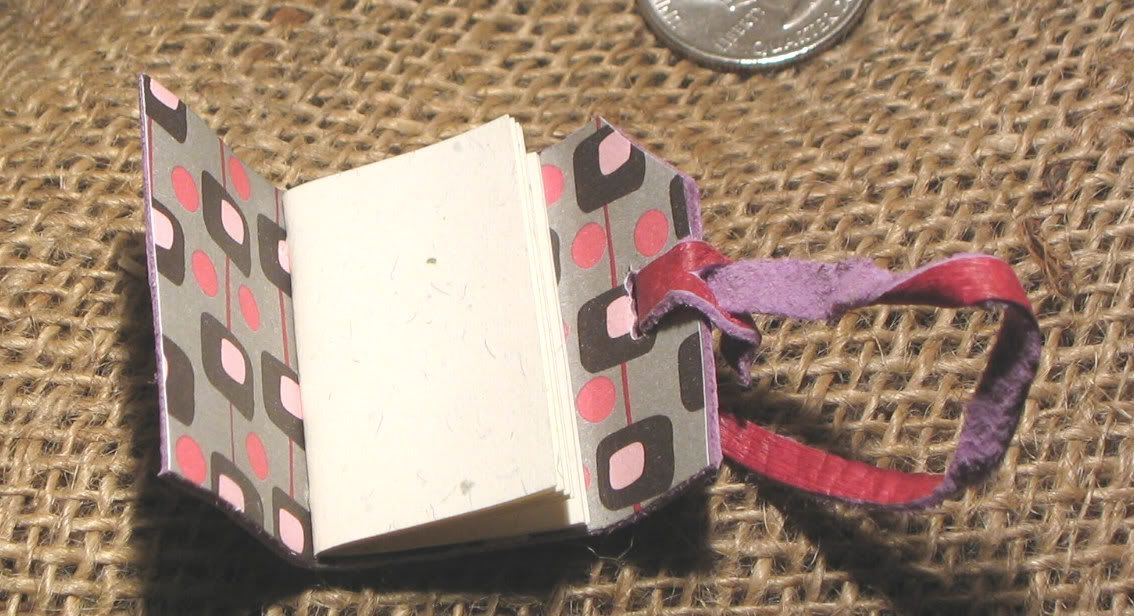
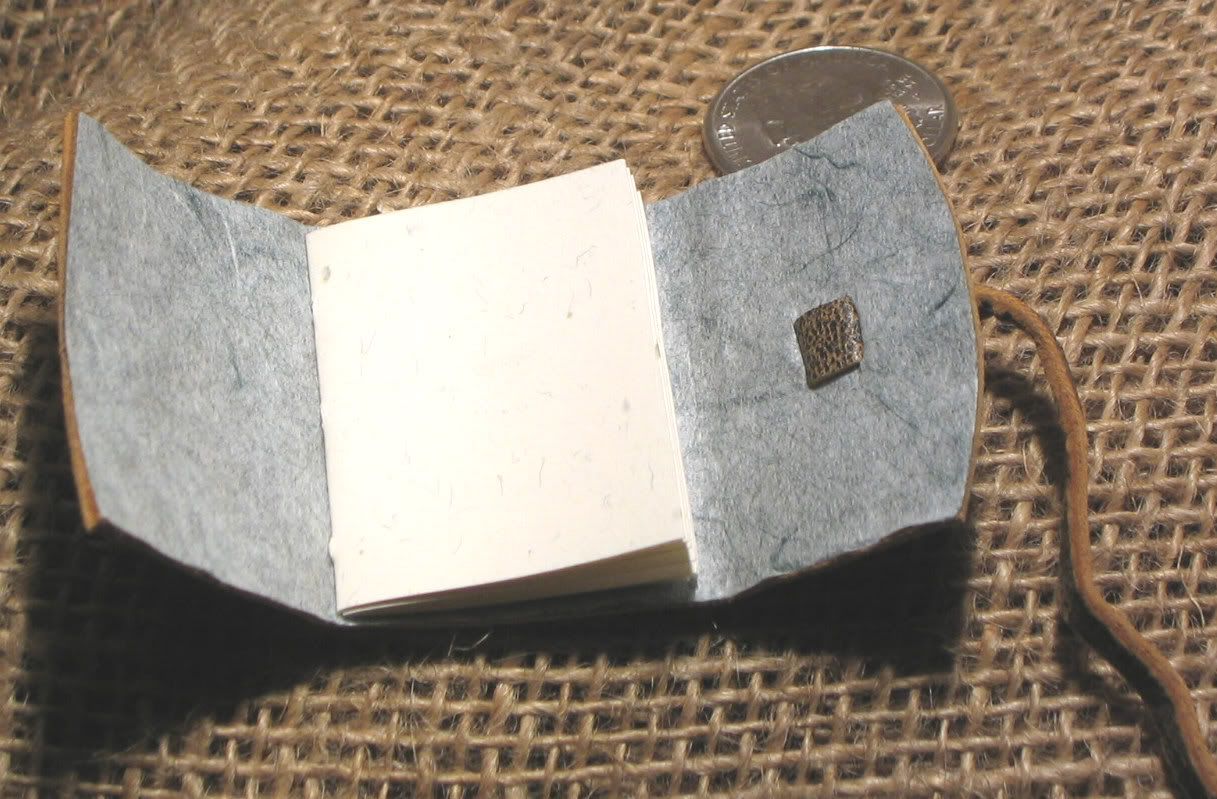
For me this method works best. I’ve cut my stations, I’ve measured each one. I’ve created mini jigs, etc. . But this has been the best for me. It’s also similar to what Keith Shith describes in one of his books. He uses a smaller jig, while I prefer to use an actual sheet from my book. Though I must say that when I work with images or words I make a jig that is seperate. It protects the pages from unintentional damage from the awl and dirty fingers.