Busy week and the typepad app will only let me load 5 pics. Boo!
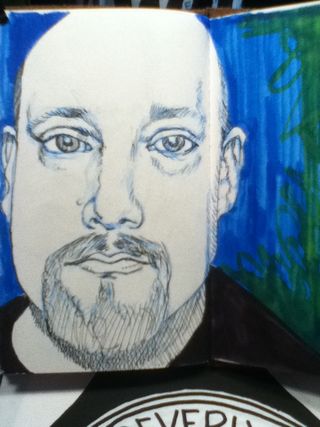


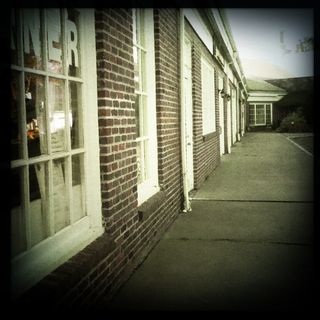
Busy week and the typepad app will only let me load 5 pics. Boo!
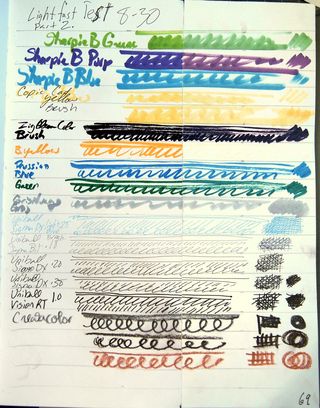
Pens tested:
Method:
I drew lines, scribbles, and a block of color on acid free archival
paper. The page was cut in half. the loose page was placed in a south
facing window that gets full sun for the majority of the day.I placed
the sheet in the window on August 30th, 2012. I took it down on
September 13th, 2012.
Let’s
start with the good. There was no color shift in any of the
Create-a-color leads. No worries there. The Uni-ball pens also had no
color shift, not even the bright blue color. The gris Nuage ink by J
Herbin also showed no signs of color shifting. This is a second test for
this ink. I like to affirm my previous tests, just in case.
The
bad. Let’s start with the Sharpies. Sharpie makes no lightfastness
claims. They don’t even bother with claiming their markers are archival.
No claims, no surprises. The green had major color loss. The purple was
mostly magenta after 2 weeks. The blue showed off some major color loss
and change. This was all expected. These are not lightfast. Do not
consider it archival and do not use it in finished art.
The
next on my list of bad is the Copic Cad Yellow marker. In the art world
Cad Yellow is not considered a fugitive color. In fact if you find a
painting with cad yellow in it from 200 years ago, that color is likely
to be still true to the day it was placed, depending on where it was
stored yada yada yada. The copic yellow marker had a major color shift
in 2 weeks and lost much of it brightness. What was left was a pale
yellow ghost. In some areas, where I’d had a light touch the color was
completely gone. The layered areas also showed color change and loss.
The Copic marker is not lightfast. Do not consider it archival, do not
use it in finished art.
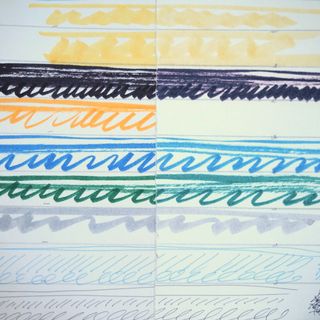
The
next series of markers that are in the bad category were the Zig Clean
Color Brush markers. Zig makes a great deal of archival markers for the
scrapping market. I had to test them. In 2 weeks the color of the bright
yellow was completely gone. As in a shadow remained, as in you couldn’t
tell a color had been there, unless you already knew. The Prussian
blue and the green showed a great deal of color shift and loss. The
black, perhaps the most disappointing of all, turned purple and was well
on it’s way to disappearing. Zig does not advertise the Clean Color
markers as archival, light fast or even acid free; simply watebased. As
such I’m sure I can say with confidence that you shouldn’t consider them
any of the above either. Again, don’t use these in finished art pieces.
What
does this all mean? You can go ahead and use these in your art journal
and sketchbook- any place that will be kept out of sunlight, but be
aware that these could shift color if exposed to any strong sunlight,
really for any period of time. Let’s face it, even in the summer
Massachusetts sun is not considered all that tough and tougher pigments
and dyes often outlast it. I’d also caution you to be aware of buying
art from people who use Copics in their finished pieces, they were
initially made for the marketing world, where finished art is often
tossed after it’s been photographed. The markers did not need to be
lightfast. Now that people are using them for other art, Copic should
really consider making their markers lightfast.
I’ve
started to work through the Drawing Tutorials Online figure drawing
from memory instruction series. You can get it by signing up for his
newsletter here.
I
took figure drawing in college and then took a continuing education
credit at the School of the Museum years later. I haven't done figure
drawing in years. I’m trying to work with some friends to get another
friend to pose for us. Since I don’t want to be too rusty when I go into
the session I decided I’d brush up on my skills with the DTO lessons.
As
with my college classes the first DTO lesson is about gesture drawings
and working with a simple skeletal figure. I’m very familiar with this
lesson. It was what we spent the first week of our figure drawing
classes doing. Short 30 second poses. It is a great way to warm up.
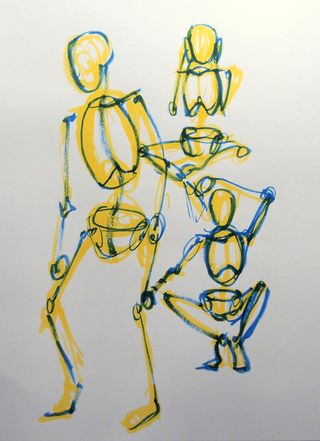
I
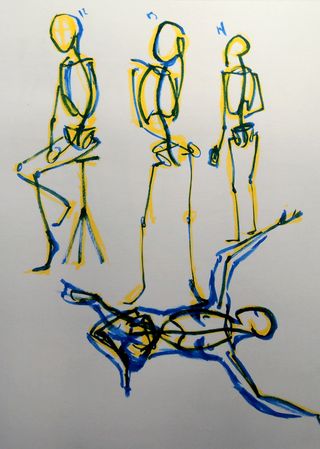
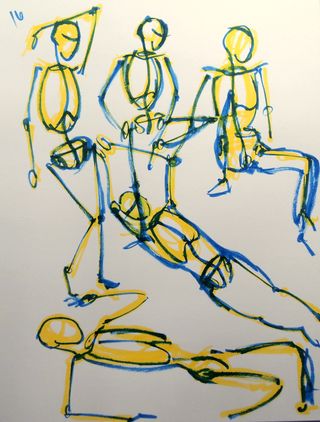
decided to work with my yellow brush pen and a blue brush pen. In
college I used to do my figure drawing with yellow, orange, red, and
dark blue colored pencils working in layers. This method works well for
me. When I took the class after college the professor complained that I
chose difficult materials since I brought watercolors and a long liner
brush. 🙂
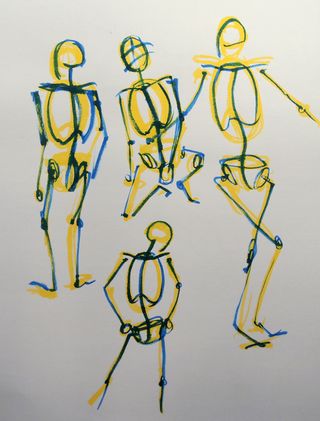
Anyway,
since I don’t have anyone to pose for me I went online and found a few
websites with free images to draw from. The best was this one. Caution
it is NSFW EVER. I mean never ever. Lots and lots of n@ked people. I did
20 quick gesture skeleton drawings. And by quick I mean quick, spending
no more than a minute or 2 each. I also worked in a dirt cheap
sketchbook.
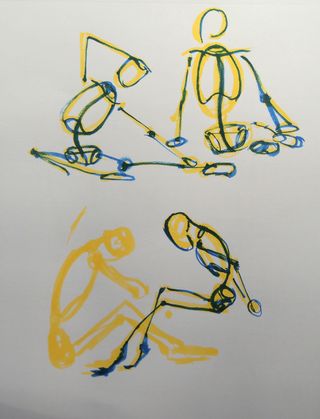
It
was a good challenge and by the end of the 30 minutes I spent sketching
I really wanted to flesh out the images and create a finished drawing.
Alas that was not the goal for tonight, tonight was about looking and
recording quickly and with simple methods. It was about getting the
eye’s and hands attuned to the figure. It was learning to see.
I'm venturing out from my usual walk into work images. Trying to find beauty in another way.



One
of the things I really like to do is get the maximum use out of all my
art materials. This means that I like to hack them for a secondary use.
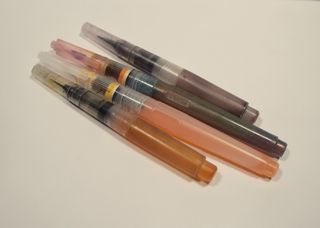
AC Moore recently had a 55% off coupon. SCORE! I headed in and bought
yet another brush pen. At 50% off I spent $4.30 for a Niji brush pen.
Sweet price.
When
I get one of these the first thing I do is take an exacto to the body
and separate the restrictor that forces you to fill the pen via
squeezing it. I stuff that into the brush part. (Video on this later.)
This lets me fill the reservoir with water in my prefered method- small
squishy bottle. Or in the case of this particular pen, a bottle of ink
and a blunt syringe.
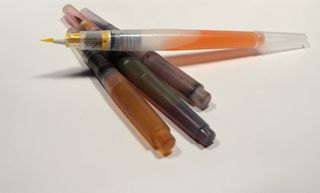
I placed 4ml of ink into the body of the pen, greased the threads with silicone grease and screwed the whole thing up.
I now have a brush pen full of ink.
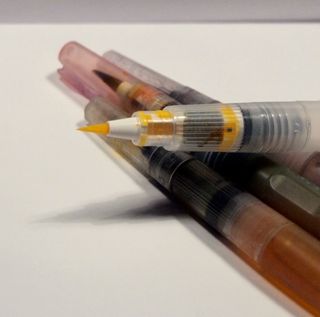
I
can fill this brush pen with any ink. Pigmented ink, acrylic ink,
fountain pen ink. Obviously it works best with ink that is watery in
thickness than super thick ink, but even super thick ink will flow, just
not as well. If using permanent ink you’ll need to make sure you clean
the pens out well and not let them dry out with ink in them.
Why would you want ink in a waterbrush? Uh, awesomeness.
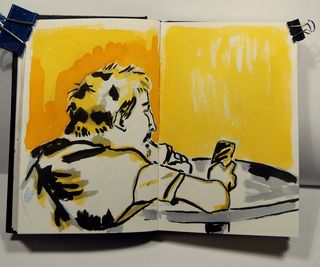
Personally,
I really like how the colors flow together and I get a really nice
amount of blending and feathering when 2 colors hit the page. I love the
loose brushiness that the brush pens force me into. I can’t spend time
worrying about anything, overthinking kills the look of the brush pen.
Worry is it’s enemy. It forces me to be free and to not overthink.
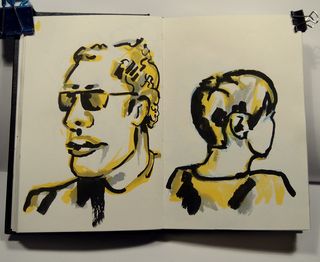
(I'm currently testing my yellow inks for lightfastness, or lack thereof. I don't expect much from these. I'm probably going to pick up a bottle of Liquitex or other brand of pigmented ink.)
In college I took a figure drawing summer course. The professor came up from the Savannah School of art to enjoy the Maine summer and teach 3 classes: figure drawing and 2 sections of monotype. In the figure drawing class he carried a simple china marker. He would, after asking permission draw on top of our sketches with his china marker. Je liked them because they wrote over everything, leaving behind a bold line. It also helped that they were dirt cheap. I don't remember what brand he used but he carried a variety of colors, red, blue and black.
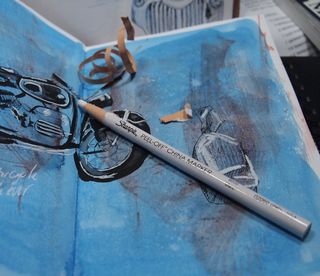
A few weeks back I was in Artist and Craftman and found a cup full of them in a variety of colors, around 70 cents each. I picked up a white and a yellow. The yellow is lightfast and I'd assume the white to be as well.
I've been using these on toned pages to add some delicate colors back into my ink drawings. They look a lot like chalk but aren't dusty or smudgey.These are a great way for art journalers to add white to a page when they don't want the look of a ultra fine line pen.
I found multicolor 12 packs on amazon for less than $10.
If you've been reading this blog for any time You know I love to read Robert Genn's twice weekly writings. He and his daughter are both artists. Right now they are taking a helicopter trip to the peaks of a mountain and painting with a group. He writes about the excess of inspiration they find at the peak of a mountain and how you can search for better compositional elements where ever you find yourself.
I agree.
What inspires you?
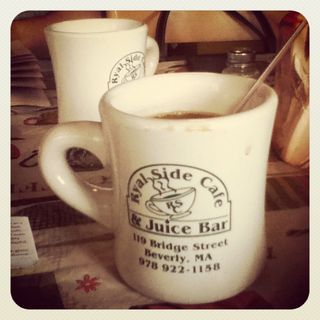
I was speaking with a friend of mine about how certain things get my creative mojo going, like a walk to the cafe, a nice cuppa something hot and coffee flavored, and then a wander around the city.
Parked on Cabot Street during the Sketch Up I realized that the urban landscape inspires me as much as the natural. I need to train myself away from literal details. For instance, the Brown's of Beverly building has six windows on the left side not 3. I felt 3 worked better with my image than 6. 6 would have made that side too busy.
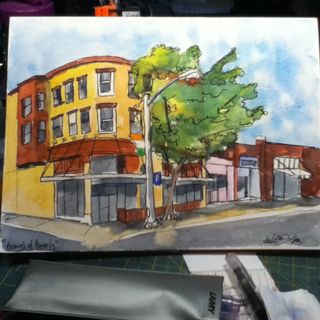
I love the Brown's building. In the AM it's lit up gold from the rising sun and as the sun sets the opposite side glows in the sun. It's a great building.
I hope to get a decent painting done of some of the buildings around me that give me inspiration. Maybe that will be my next chip in campaign.
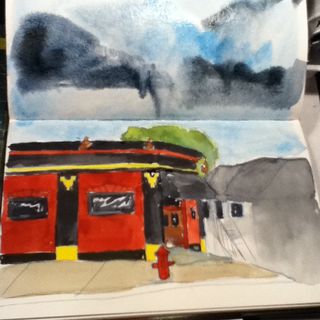
It's here! You can get it at the link below. Check out that sweet robot on the cover by Chongolio!
I attend a once a month artist meeting where a group of local artists get together and chat. Basically we shoot the breeze for a few hours in a low key setting. The gathering could take place in a bar but we get the use of a room at a local college. It's a very interesting gathering and I've met a lot of really neat local artists.
During one of the last meetings some of us talked about drawing and sketching together. I had been wanting to expand upon the bi-weekly get togethers that Jane and I were doing and get more artists involved. I hastily threw together the first (of hopefully many) Beverly Sketch Up.
Yesterday some people had to cancel so it ended up being myself and Scott of ArtfulChairs.com we spent a good piece of time shooting the breeze, as I think happens anytime you get 2 artists together. We finally got the the business of making art.
We parked infront of Maria's Pizza- there were chairs and a nice clear spot for us to view the street.
I set up my tripod drawing board, which worked totally sweet, and set to work drawing one of my favorite buildings in Beverly, the Brown's of Beverly bike shop building. (It also happens to be my favorite bike shop.) This location afforded us a view of Brown's, Casa de Moda, Cityside Dinner, Atomic, and a great view down Cabot St. It was also the frist spot we stopped at AND I have to admit I scoped it out as I walked to the meeting spot.
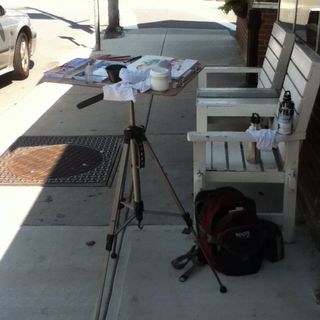
Scott took the tact of doing a lot of smaller drawings where I decided to work larger than usual. (I didn't get pics of Scott's work, he's shy.) I worked in pencil and then did a layer of fine ink pen. After that I layered in a lot of juicy water onto the paper. I was trying out the Fluid watercolor block with cold press paper. I'll write more about that later.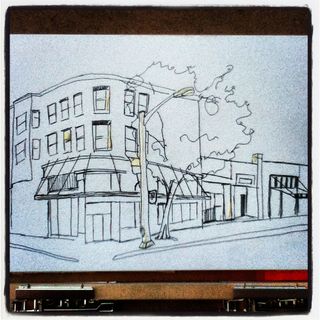
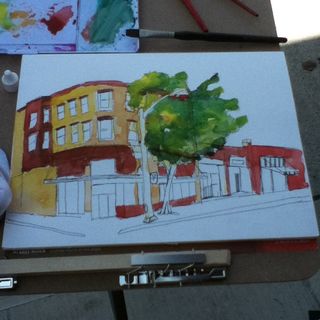
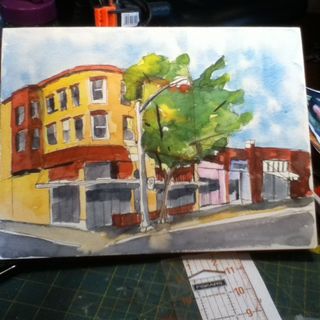
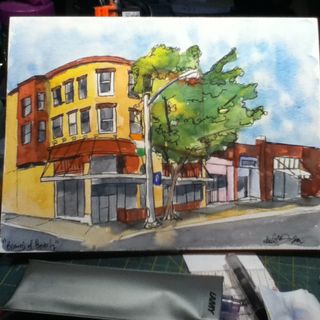
The final step after the image was finished and dry was to add some thicker line work and the brigh pops of clean color- the parking sign and the Irish flag hanging in the window.
It was a real challenge for me to draw with an offical set up in public. Normally I work small and pretty secretive. I try hard to not be noticed. This time I was totally exposed. We had a few people stop to look at what we were doing and kids looked at the art. Being so close to an art school I expected to be pretty much ignored, and for the most part, we were. People who did stop and look were very pleasant and very positive.
I enjoyed the company and the experience and I can't wait until next month! Anyone is welcome to join in on the fun, all experience levels, and any media. Stay for 1 hour stay for 4, it's all good.
I
like Kuretake waterbrushes so I thought these might be neat. I order 4
colors: yellow, green, blue and black from Jetpens. Pricing was $3.30
per pen. I do not know if these are available anywhere else. They come
in single colors from Jetpens as well as a larger package that has an
attractive hard translucent case.
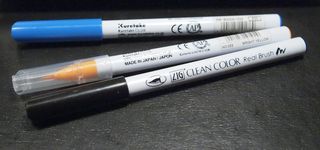
I
got a mix of styles of these pens, some new and some old style. The new
style has a clear cap and a matching color section on the pen itself.
While the old style has a grey section and a color cap to match the
color of the pen. I have to say I like the clear caps better, they
simply look sharper. Not all of my pens came shrink wrapped. I think
this is a just a matter of new and old stock being mixed in the same bin
and it was no big deal.
The
brushes aren’t as springy as say my Pentel Pocket Brush Pen or even my
Kuretake waterbrushes but they provided a nice fine to broadline. The
ink is watersoluble and when adding water to it you can get some really
nice watercolor like effects. My favorite part of these were how well
they responded to water.
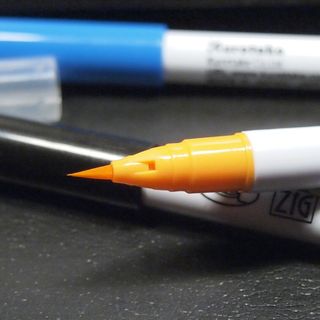
The
colors on their own are deep and bold. They don’t layer well, though
they are mostly transparent. They just don’t mix well, which is sad, because
they have so much potential to be a really cool sketching tool. If I
could layer the blue and yellow and green to get various shades of color
it would add another layer of depth. I did mix them with water and
found that each color did mix to give a sort of primary school like
color blend. A search found that there are 95 differnt colors available, many shades of the colors of I purchased. With a few more colors I'm pretty sure these would make for an expesive but complete sketching option.
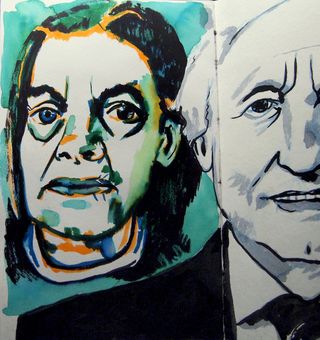
Instead
of using these like watercolors I decided to approach them like alcohol
markers, layering them in bright bold colors, much like I did with the
sharpie brush markers. The effect is much like with any brush marker,
bright and bold, lots of great line weight and essentially looking
pretty good. In another instance I worked them like watercolors and was pleased with the results. The ink really moves around on the page well.
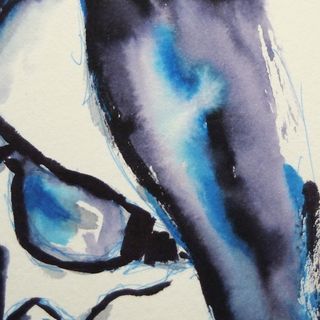
These
had a lot of variation in the amount of ink applied, when moving really
fast I was able to get some nice texture from the paper.
I
do not know if these are lightfast or not. I’ve got a card up in a
window so I’ll know in a month or 2. I expect major color shifting
across the week. In a month I expect major color loss as well. I do not
expect these to be lightfast, though I know that other ZIG markers are
lightfast. These are not made for the American market so it could be
that they simply do not label them as such.
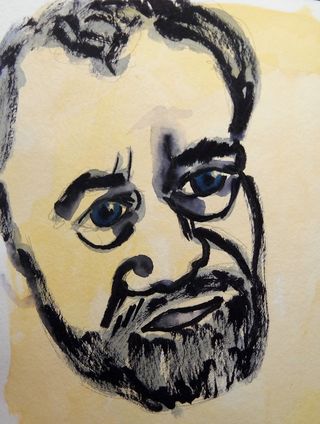
I
like these, but like any brush marker they are for sketching only, at
least until I know they are lightfast. I do really enjoy sketching with
them. You get clean consistent color without fading like when you mix
your own watercolors. If you get it on your hands it washes right off.
The way the ink applies is great for landscapes and figure drawing. The
pen is not refillable.
All
that being said I find I’m being pulled in by these big bold colors.
I’ve been working black and white or with lots of crazy color lately,
these pens will add fuel to the crazy color fire I’ve been burning.