Alcohol fades and somewhat whites out any images on a thermal print. I found that this happened on many papers, but not all and not on thermal print sticker papers.
So let’s dig into this.

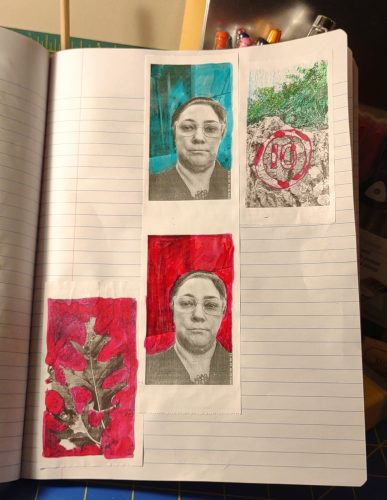
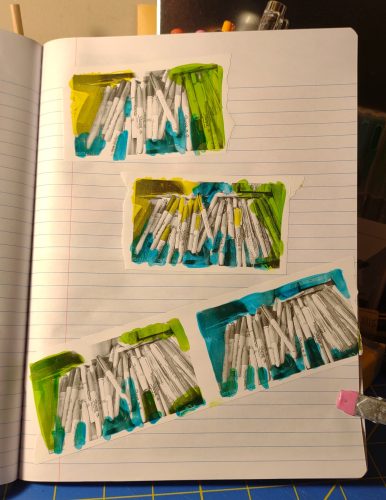
Some examples of fading AND darkening. This paper came with the camera and had some intense reactions to the inks. This is all Sharpies.
You might think, as I did, that Sharpies and other alcohol inks would be the perfect tool for adding color to your thermal prints. We’d both be sorta right, and a whole lotta wrong. It turns out that alcohol and other solvents in alcohol based pens fade thermal prints. It can also lift the finish and blur the dark areas around. In other cases the solvents can blacken the paper.
This can be used to manipulate the images in a fun way.
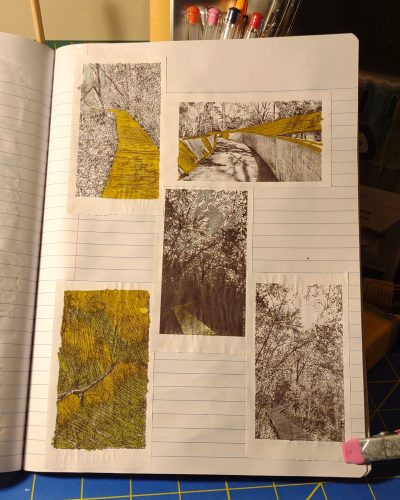
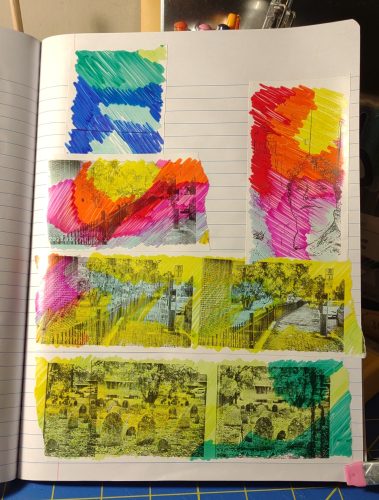
These images were done with Artist Loft Artist Brush tip alcohol markers. Lots of smudging and fading and blurring of the background- what I particularly like about the effect.
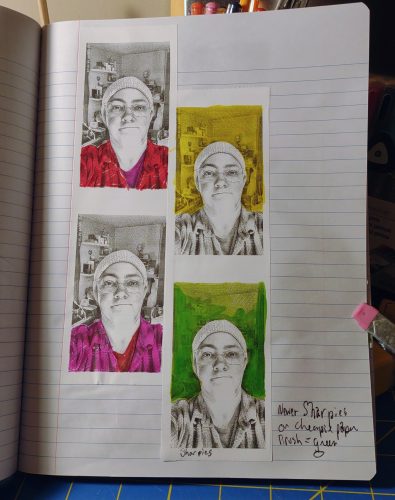
Here we have Sharpies on thicker glossier paper. Notice that for most of the images that the darks didn’t fade much at all. Only on one image- the one with green, do we have fading.
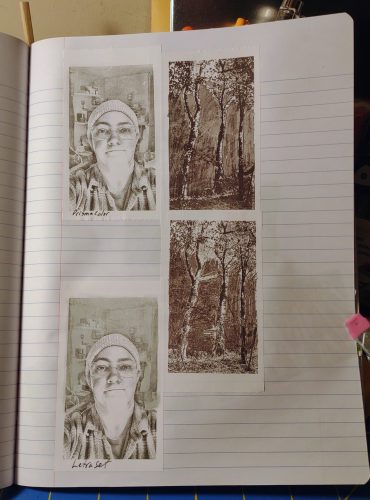
Letraset and Prismacolor markers are much more intensely alcohol and other solvent based, but wow do they manipulate the image in a different way. I used 2 very pale grey markers- I think 10 or 20% gray. Both cool greys. You can see the ghosting effect here. Also the tree images used the narrow point side of these markers to pretty good effect. It lifted and smudged the darks. Neat.
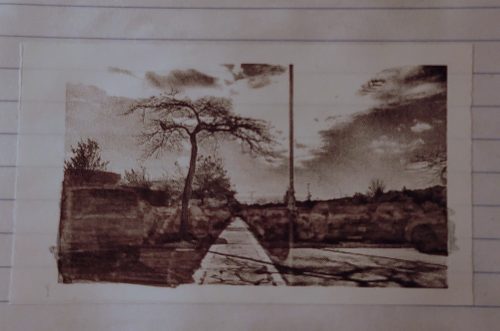
This is a close up of one of the images where I used the very pale grey Prismacaolor marker to fade out and ghost part of the image- in this case the cars in this parking lot. Creepy and very cool.
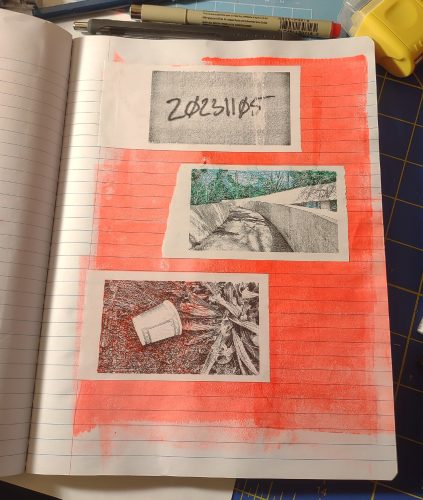
But on some papers the alcohol doesn’t fade or alter the darks at all, so you can add a flood of lighter color.
I tested Sharpies, one pale LetraSet, one light gray Prismacolor, and a set of artist loft alcohol ink markers. I tested them on a couple of different papers and images. I also tested coloring the paper and then printing.
The cheapo paper I favor will fade with all of the above but less so with sharpies. With Sharpies it fades and seems to come back a bit.
sharpies
With the slightly heavier and more coated paper that I bought for work it doesn’t fade at all.

Tests of all the alc pens on heavier glossier papers
With sticker paper nothing alters or shifts either.
I also tested some Sharpies that were at least 10 years old, if not significantly older. Shockingly they worked. They also seemed to alter things more so than the newer Sharpies.
I also sprayed some images with plain old isopropyl alcohol, and it faded things significantly even on the heavier glossier paper.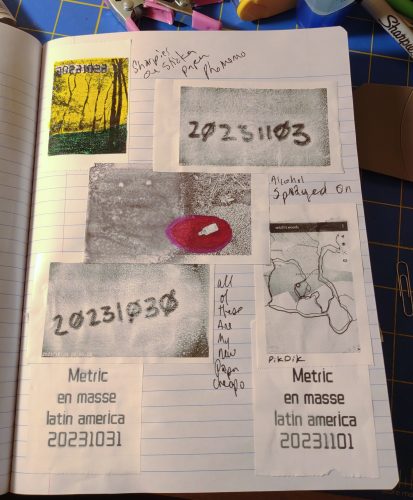
Important to note, color the paper the night before and let it dry overnight. the alcohol can make the coating sticky and it can bind up on the print head, it will eventually print but it will be warped. I like the randomness of this. Do this at your own risk.
Another test was to color the paper with alcohol markers then print on it. The tests were fantastic and very cool.
Alcohol ink markers aren’t archival but neither are these photos. Part of the joy is that they are so disposable and temporary, they are the very definition of ephemera.
Note: I have provided affiliate links to the ‘zon items I have ordered in the past. With the ‘zon you may not get the exact same item I ordered. I’ve had this happen on more than one occasion. I order something I reorder it only to get a similar but ever so slightly different item. It is best to test whatever you get with the materials you hope to use to be sure it will react in the way you wish.
List of links:
This is the paper that I use. It’s cheap and is nice and glossy and has good contrast when printed on. It’s also thicker than some of the other papers I’ve used and doesn’t have a plastic core. ($14) https://amzn.to/3SdGWA8
This is the paper I bought for work, it’s much thicker and very glossy. https://amzn.to/3SzTp14
Colored sticker paper I use. https://amzn.to/47eQHTu
Mystic Gem Sharpie https://amzn.to/3MAsPBl
This has been repubbed from my Ko-Fi page, if you have found this helpful or useful please head over and consider buying me a coffee so I can keep this blog useful. Want to buy art supplies and support me through affiliate links? It’s a great way to spend what you are going to spend anyway and have Bezos pay out a few coins. Click any of the links in my posts and buy through there. It doesn’t cost you anything and Amazon tosses me a few coins for providing you with a link. 🙂

 Short answer is: yes, it will work, but you need to finesse it.
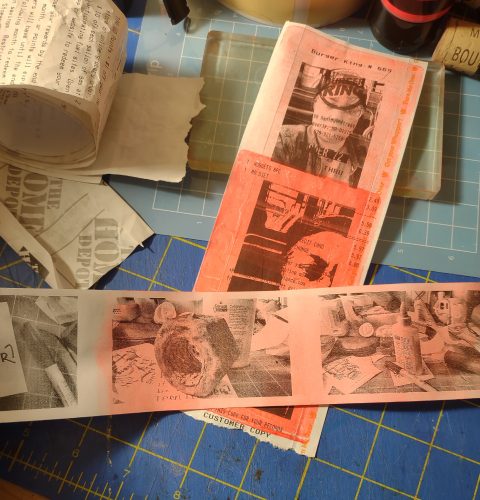 Too much paint and it obscured the image. Too light an image and details were obscured too much. To opaque a paint and you can’t see the image at all. Too much paint of a transparent color- image is obscured.
 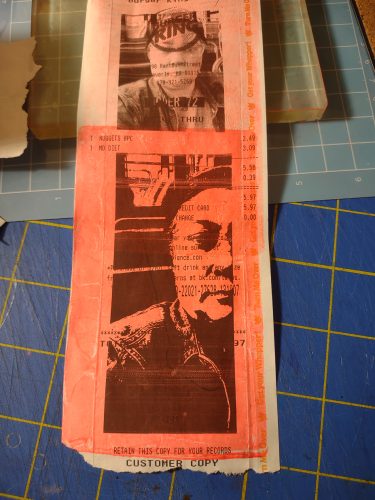 I started with an excessively thin coating of paint. This produced a very washed out color. I did layer on a second coat of paint and the paper did okay but felt weaker. This paper is pretty weak compared to sketchbook or even regular printer paper. Let it dry completely between coats from the gel plate otherwise you risk tears.
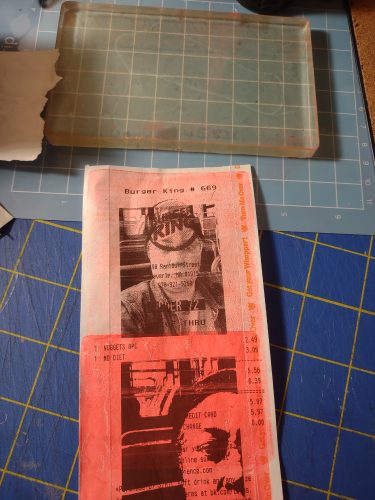 I found this really let me get a nice lovely layer of complete color over the image. I’m thinking of the usual ways I use a gel plate to create images- masking and stencils…. I’ll get more into that in another post.
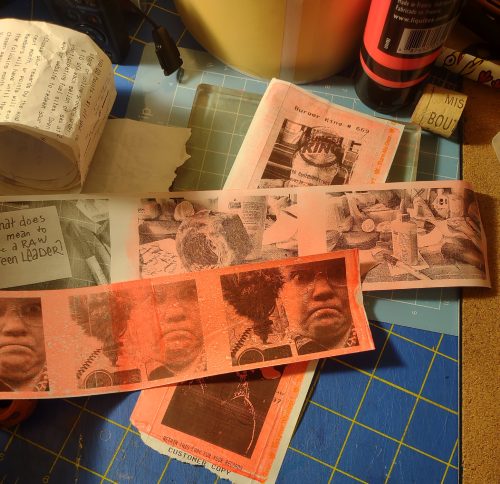
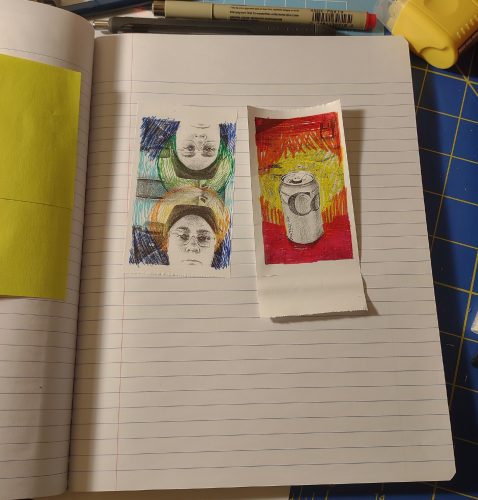
 I didn’t spend much more than 15 minutes on testing this idea out and I think it adds a lot to these images. There’s something about a pop of color that can really bring out an image. I can’t wait to play with stencils and masks with these.
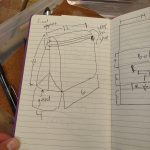
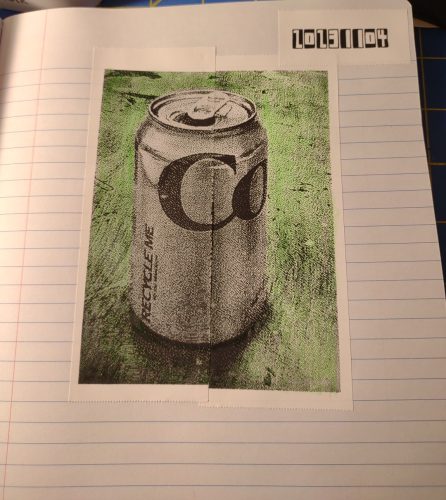
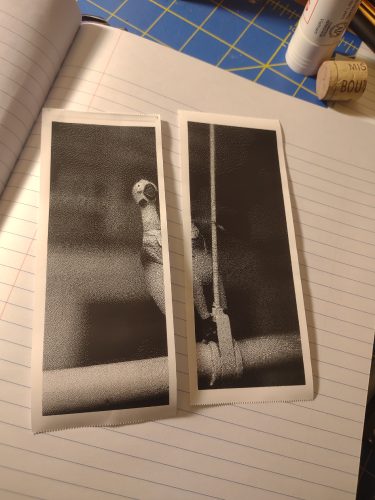 Then I had to decide how many cuts, and how large I’d like the image. 2 cuts keeps it small, 3 cuts makes it larger. The original shape of the photo will matter- the soda can is much large than the chicken because it was taken with an app set to 16:9 while the chicken was cropped to 4:3.
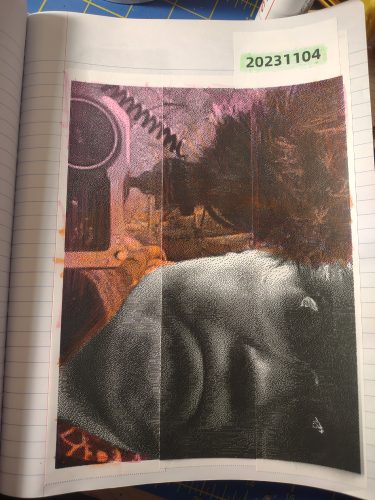
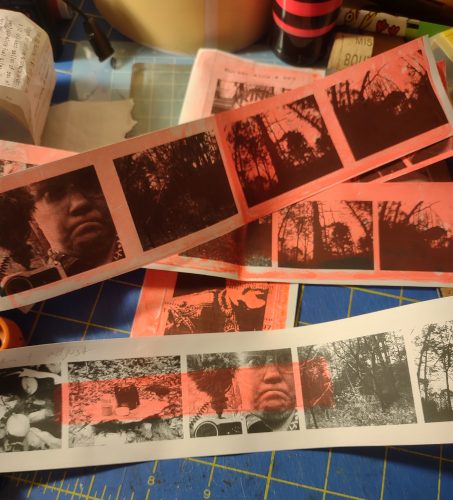
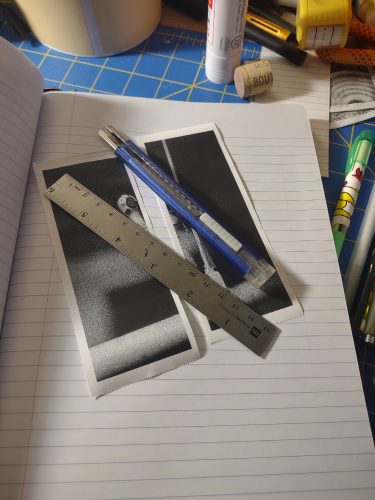 Some notes: These images did not print exactly, that is to say some of my prints were longer than others and some shorter. They didn’t match up perfectly either, it was like there was a 2 or 3 pixel gap. I think the imperfections work perfectly for my uses- my journals.
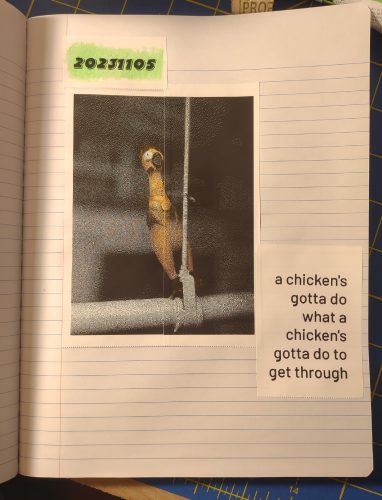 Notes:
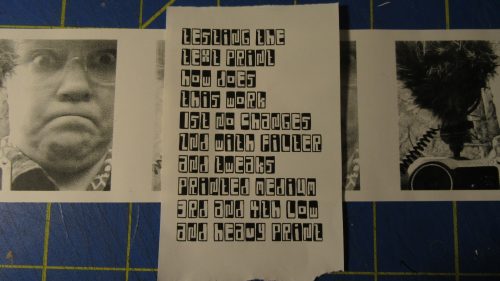
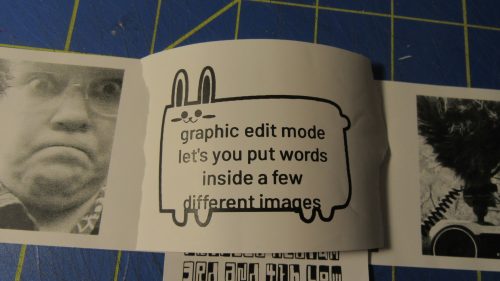
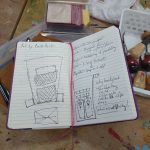
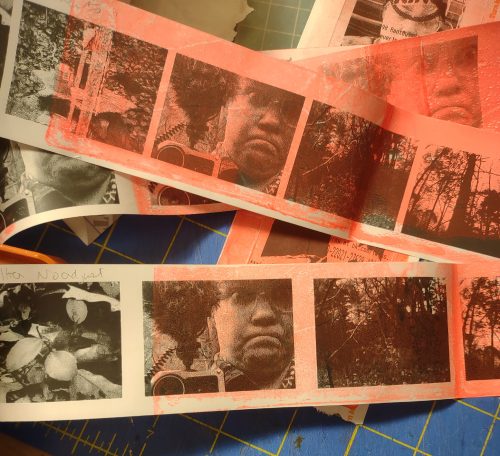
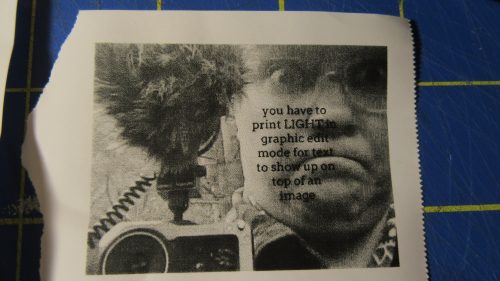
 I suppose some of this is a minor quibble. The prints are fantastic, it’s just I want more control and you know I like to print a lot of photos all at once. I want to print 10 or 20 in a reel to create my crankies. Having to print one at a time is annoying. I can print more than one at a time in the graphic edit mode, but I cannot adjust the contrast or exposure.
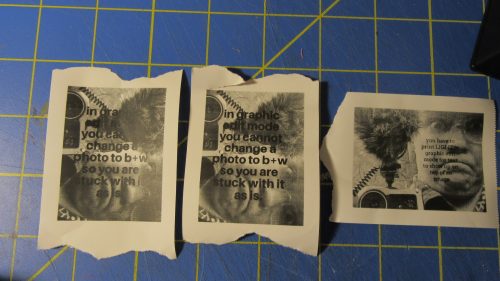
 I like this. I didn’t test this, but I have printed and then reloaded the image into the printer and printed over it. I’ve also taken a reel of images from my toy cams and printed words over them. It can be really cool.