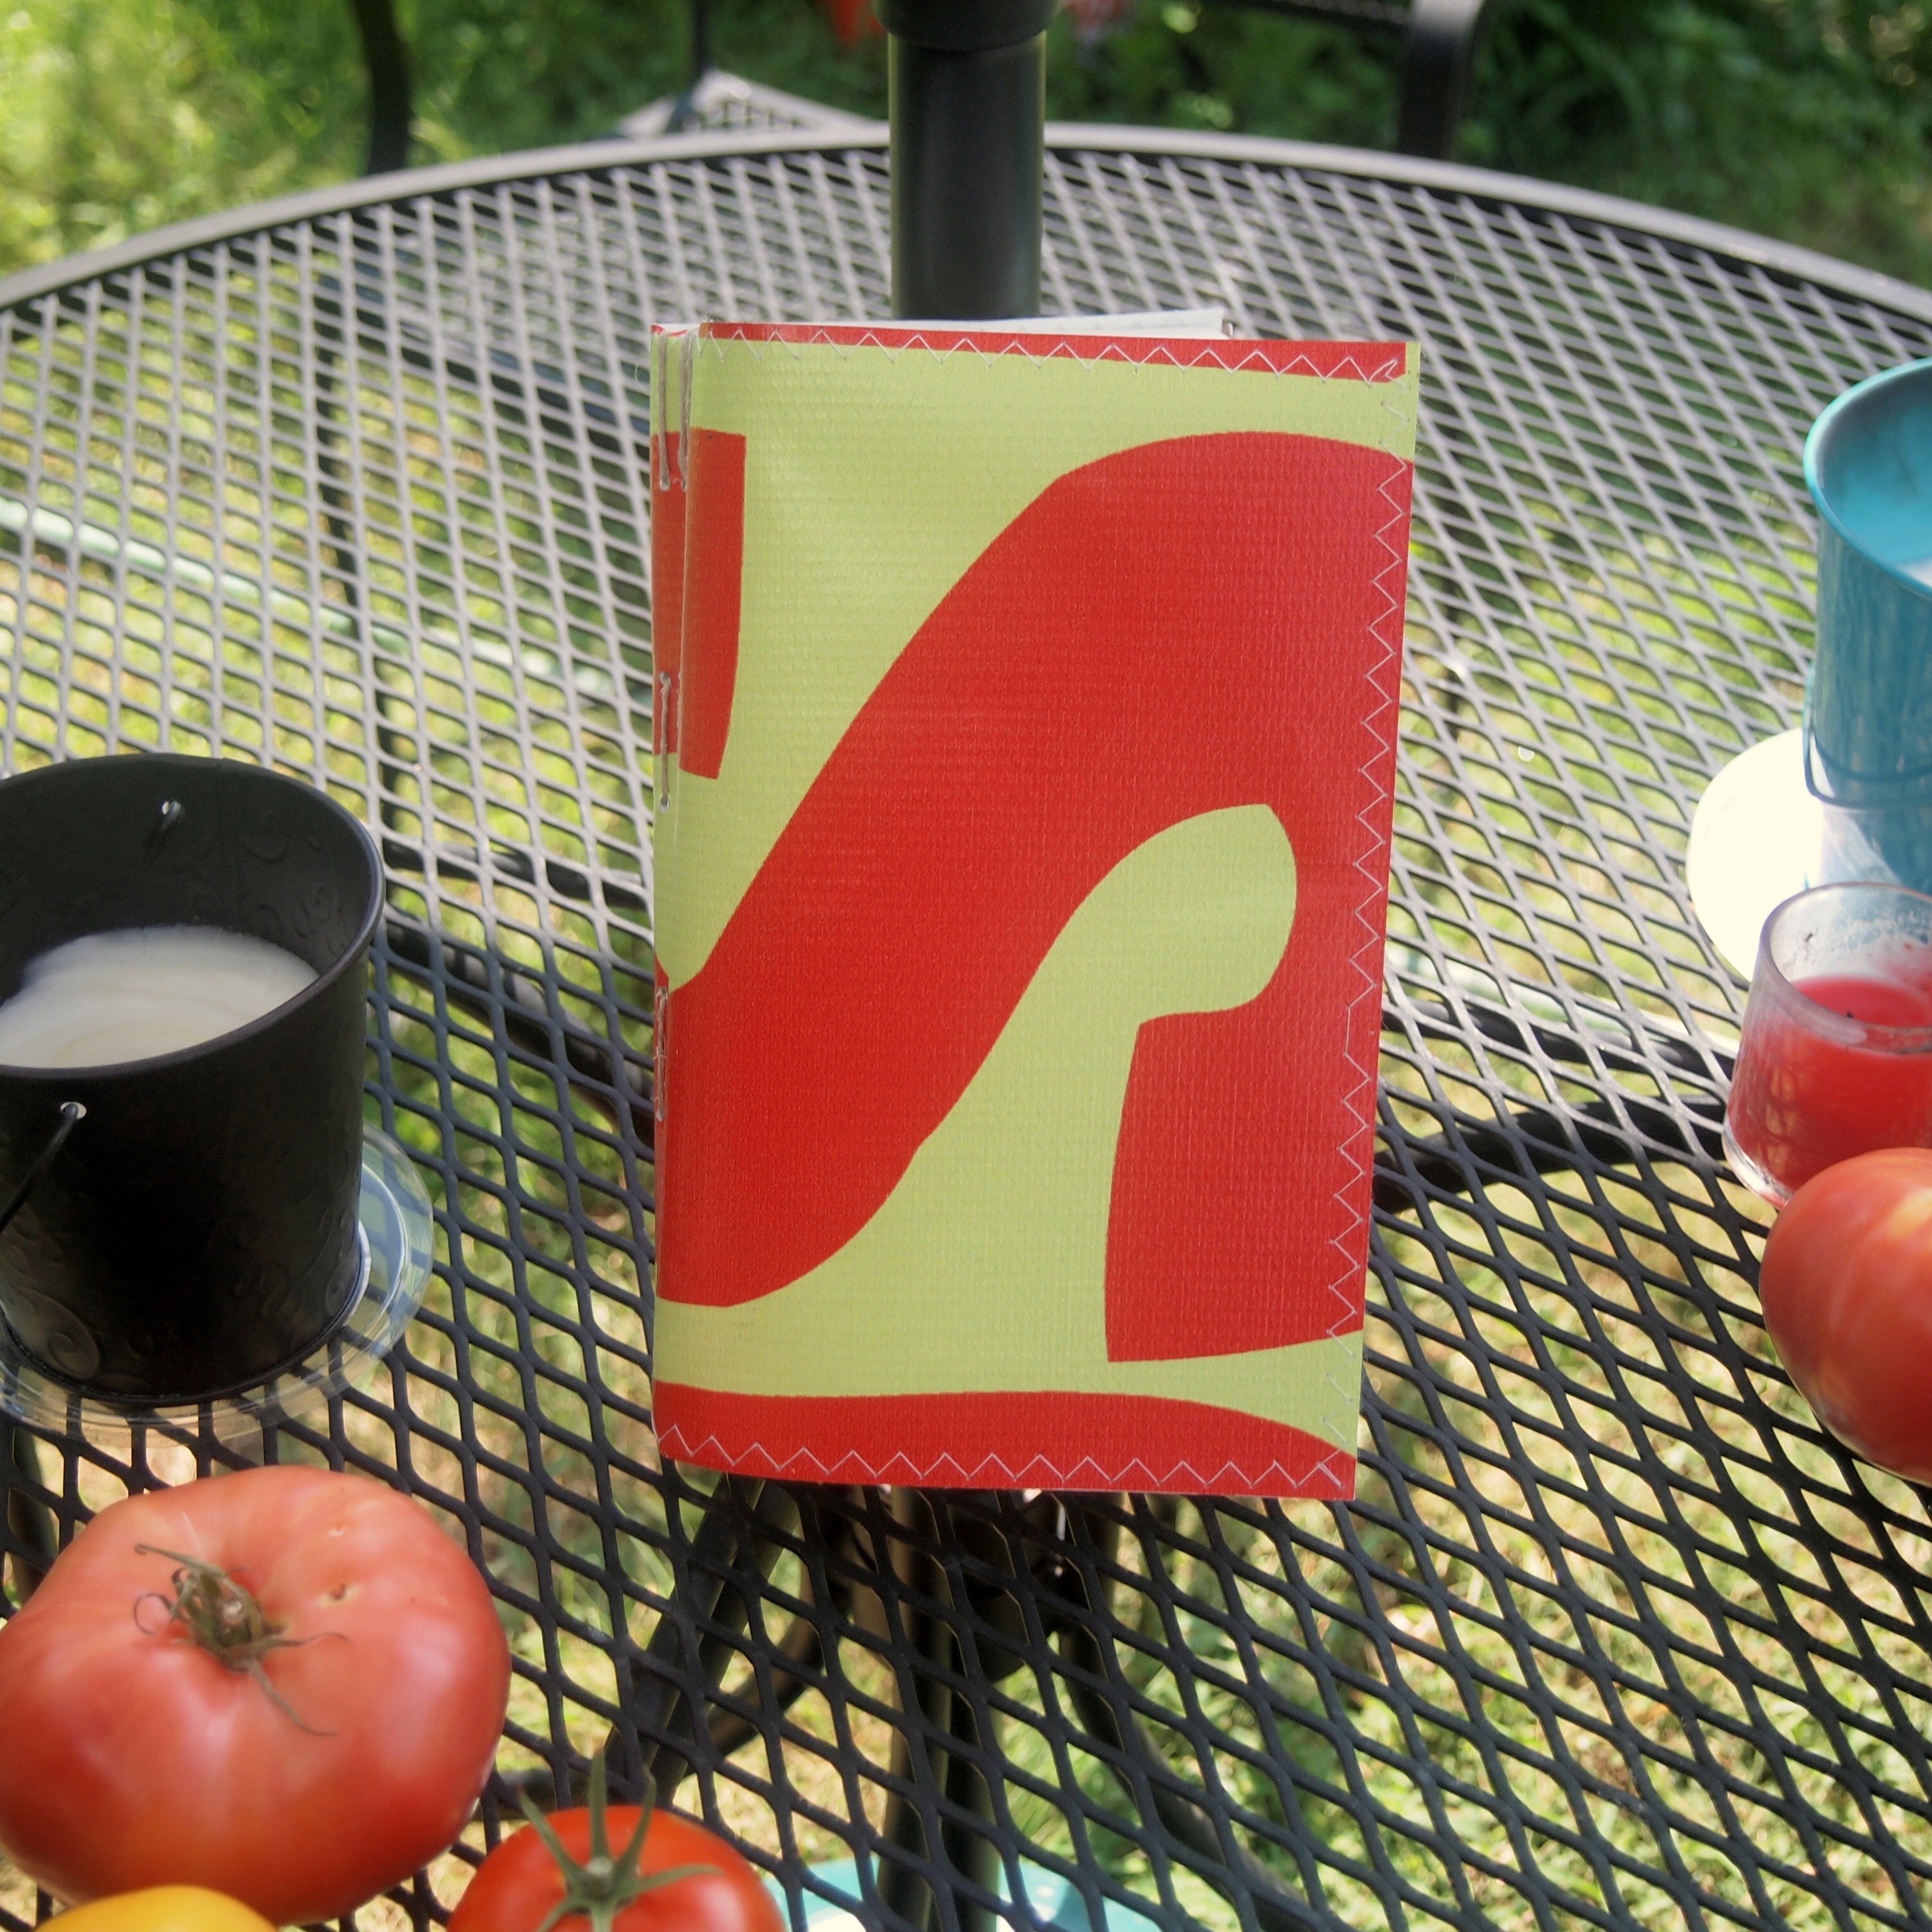
I previously review the Yoobi HB pencils. Like their pencils, the composition books are available in 4 bright cheerful colors. these colors all work together and look great. I enjoy the bright colors but they are not for everyone.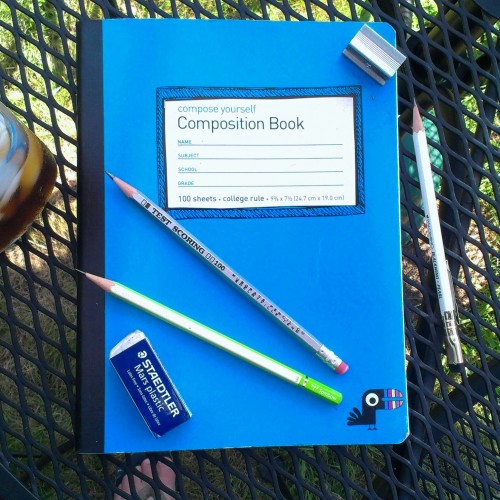

The composition books feature medium weight card covers with the Yoobi toucan logo, the phrase “compose yourself”, and a standard information area for writing. The information areas has a “scribbled” border that I find cute. The weight of the covers is about the same of almost every currently produced comp book. Lighter than they used to be, and flexible. *
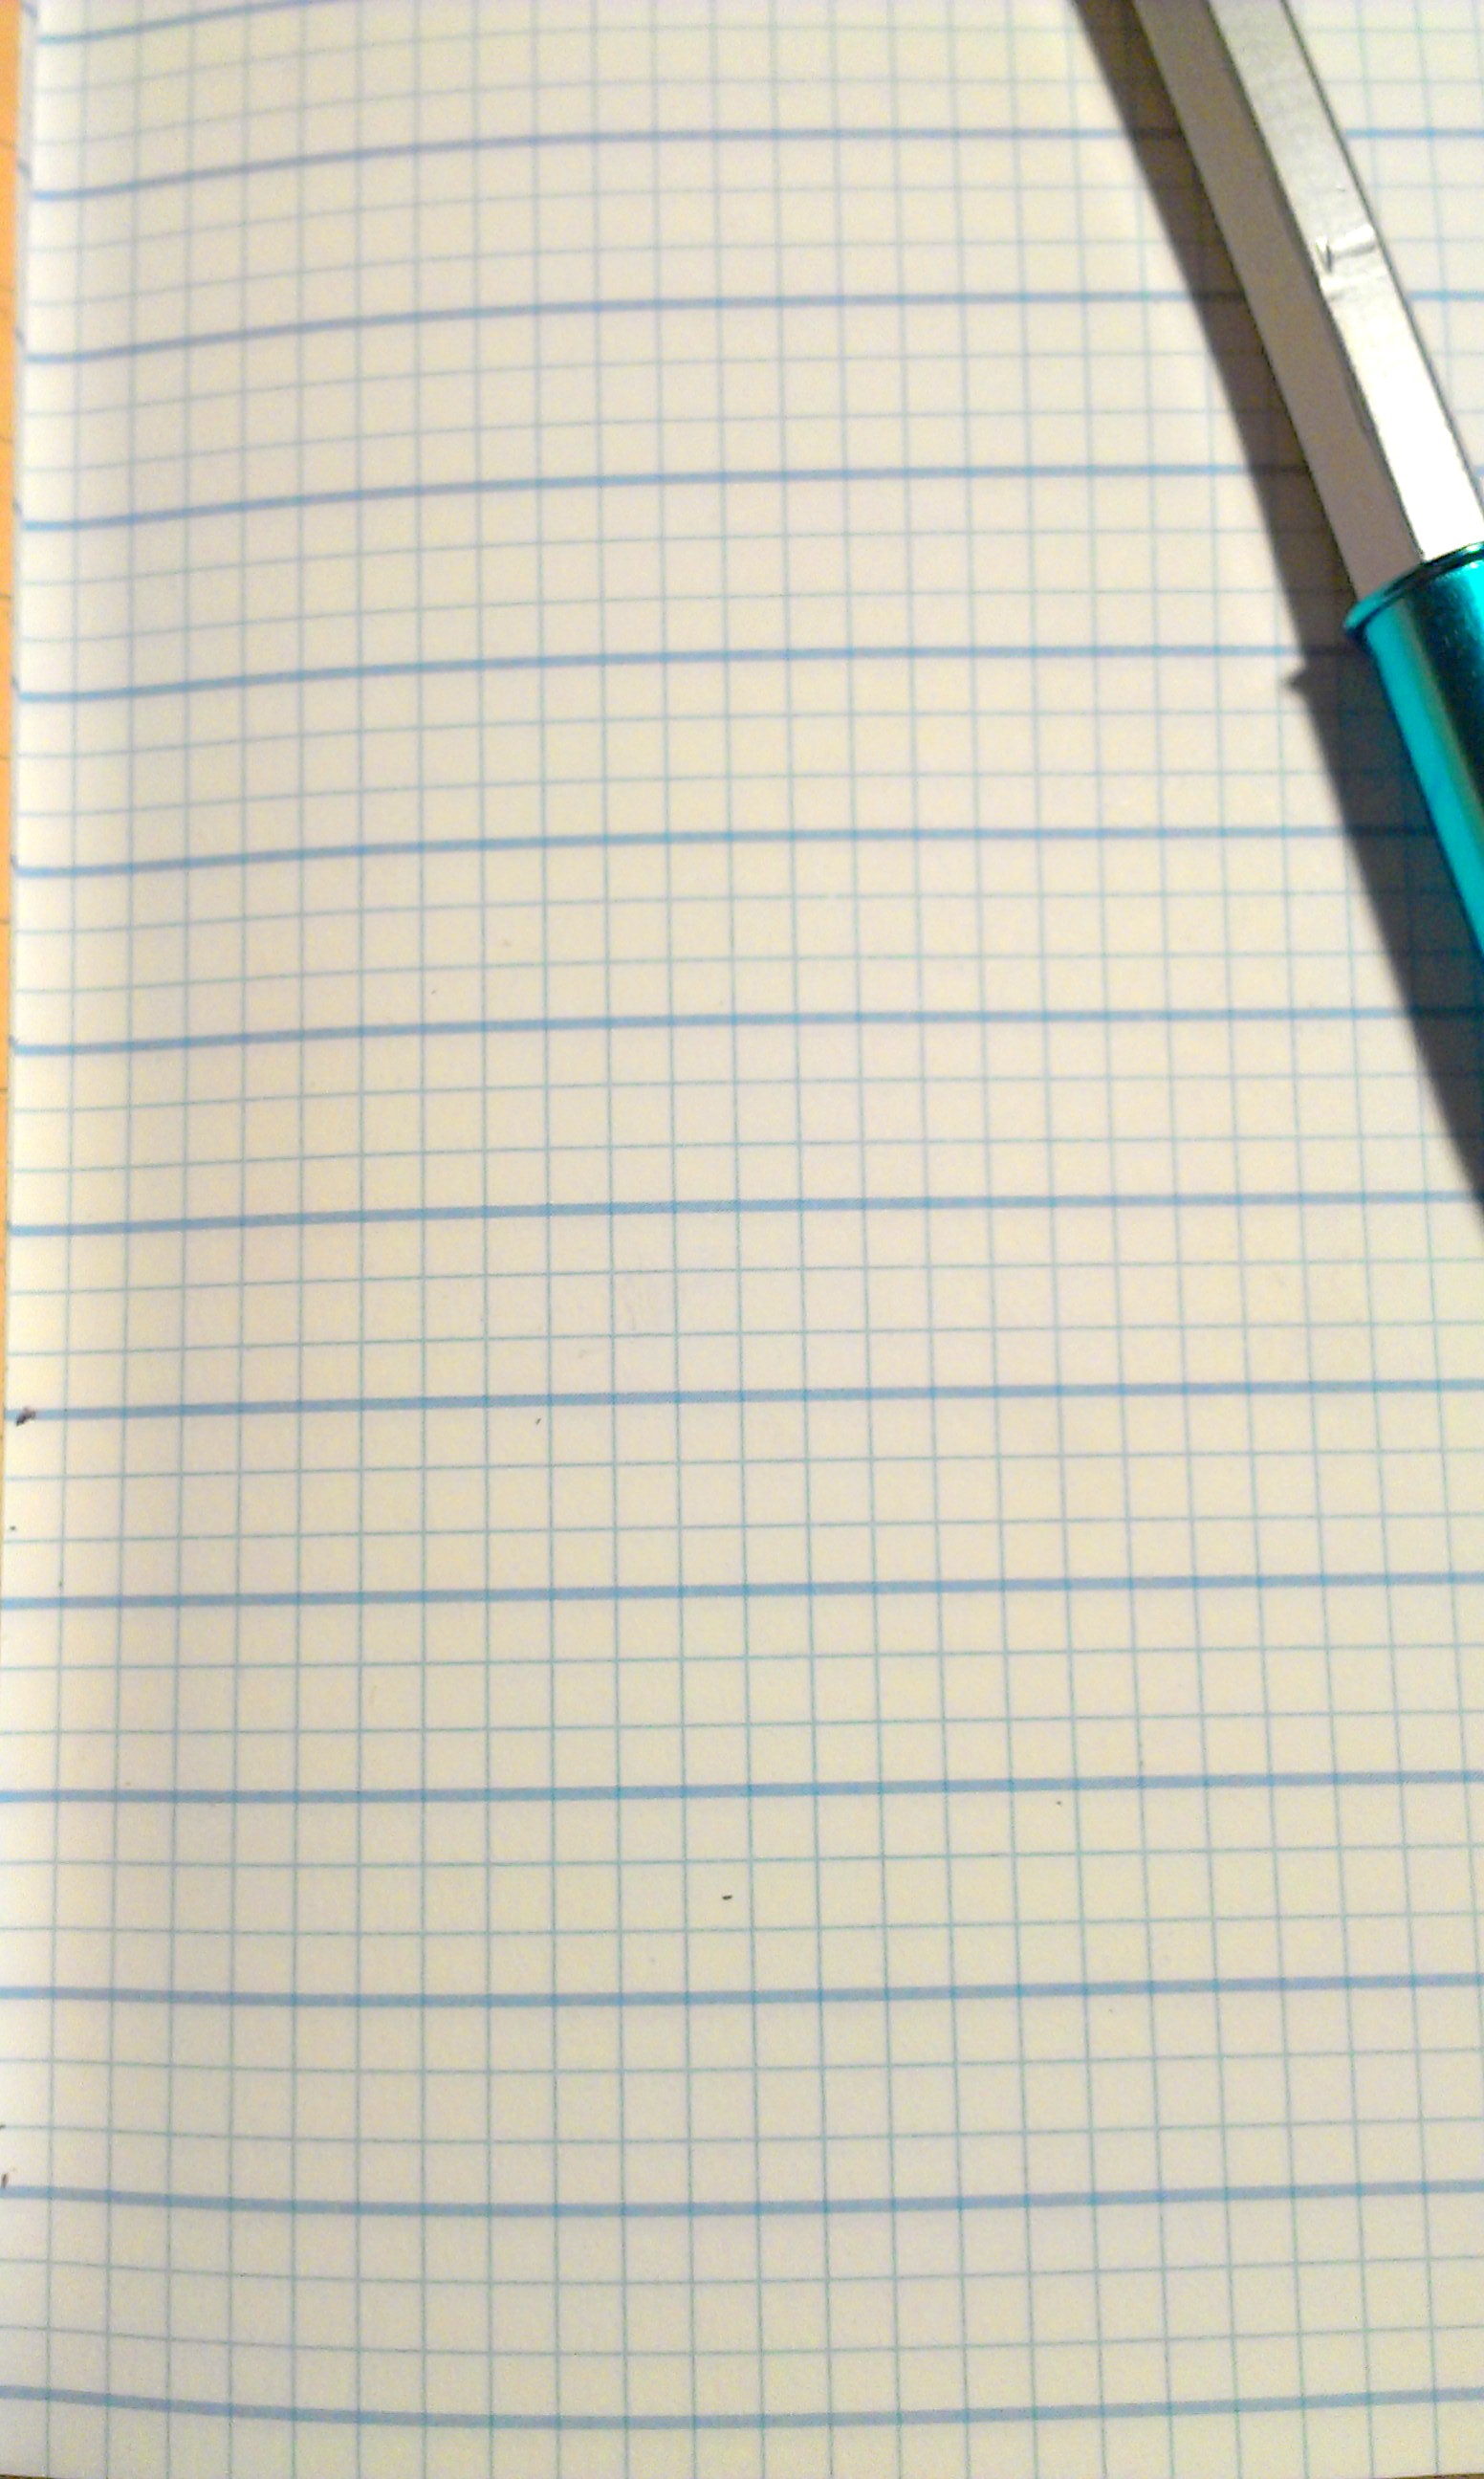
There are 100 sheets (200 pages) of standard weight smooth notebook paper. The paper has blue ruling, mine is college ruled. I did not see wide ruled notebooks on the shelf. The margins are marked off in red. In other words this is a very standard composition book. I found the ruling to be slightly darker than my go to Staples brand composition notebooks. It’s not so dark as to be distracting or horrible, just darker.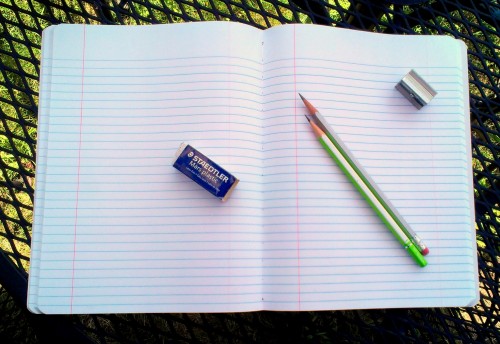
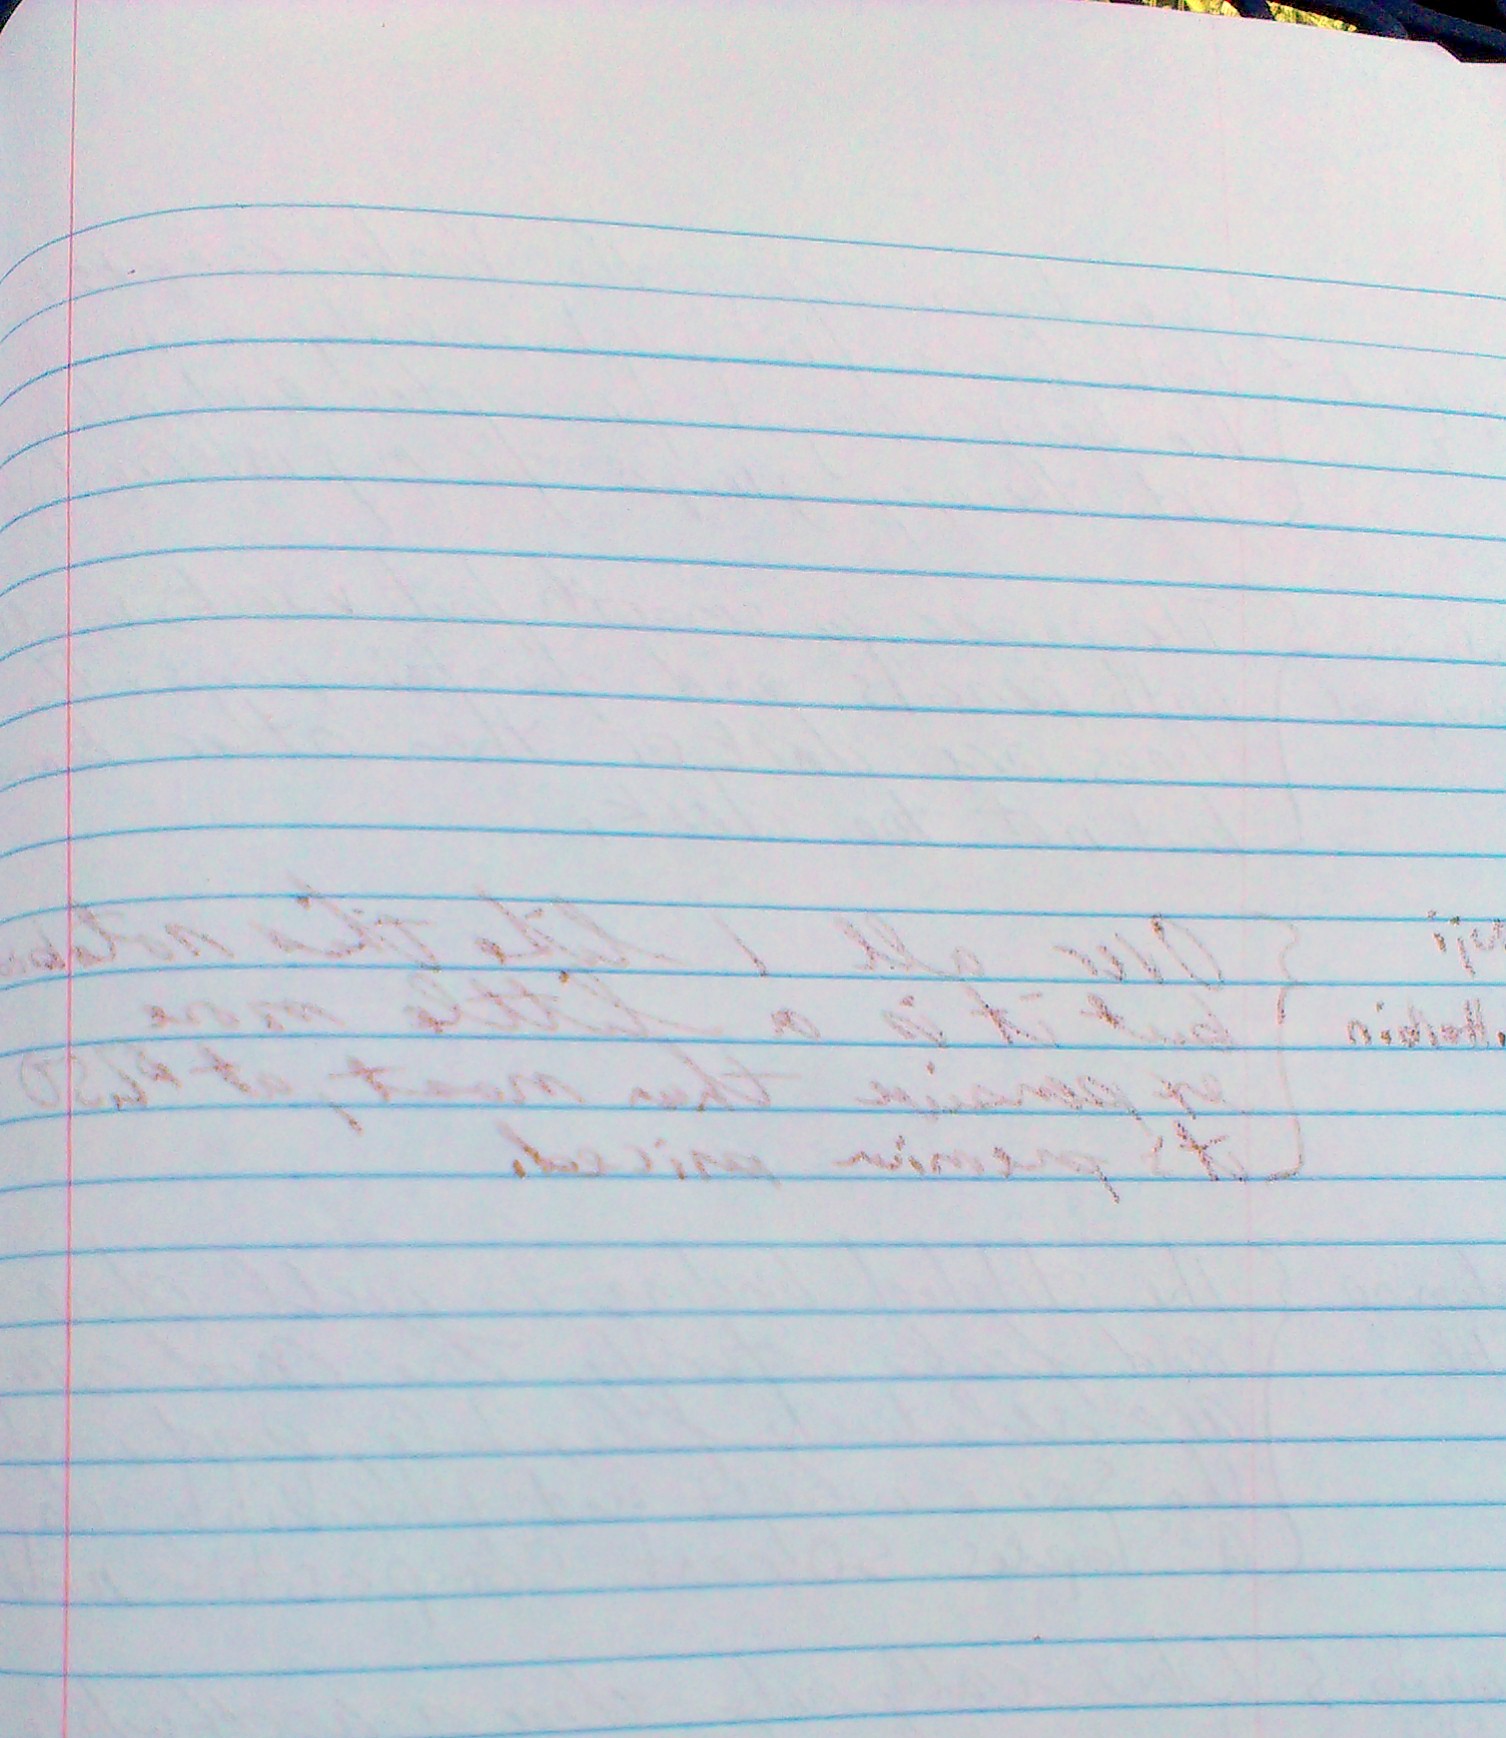
The paper does well with pencils, being toothy enough to coax dark lines out of many pencils but smooth enough it’s not like I’m writing on sandpaper. With fountain pens the paper does well, with a little more than expected bleed through. I tested it with a couple of inks and most did well, with little feathering, and all with some bleed through. I wouldn’t use a double broad nib on this paper, but it does well enough with a medium I wouldn’t hesitate in it’s use.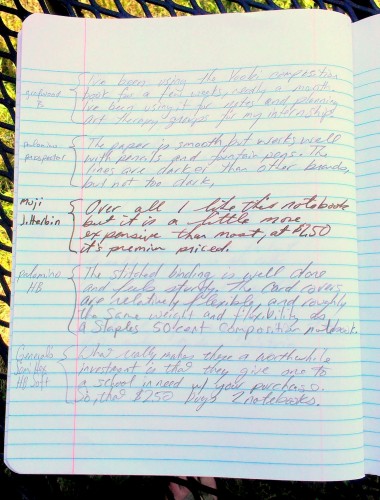
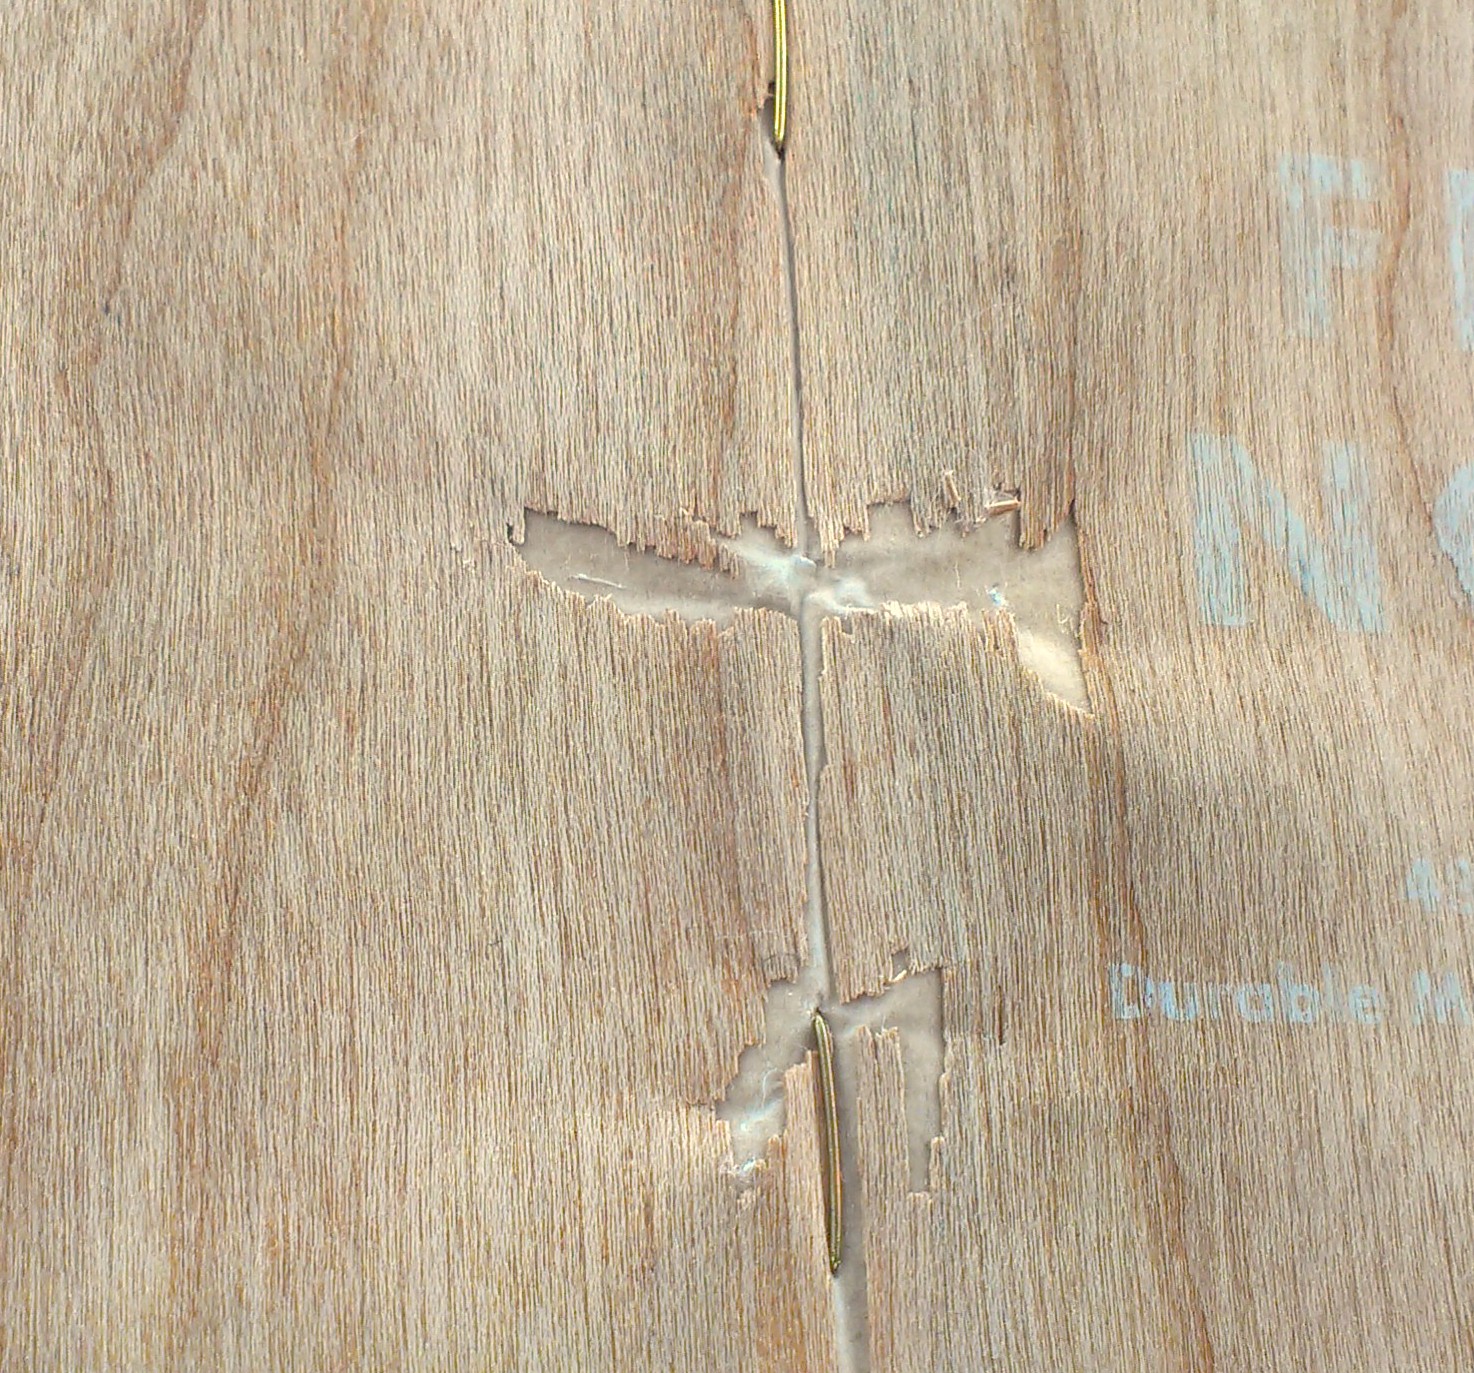
 The binding is very sturdy and stitched well. There were no loose stitches or ends. The taped spine is secure without any separation of the glue from the covers. It’s a well made composition notebook.
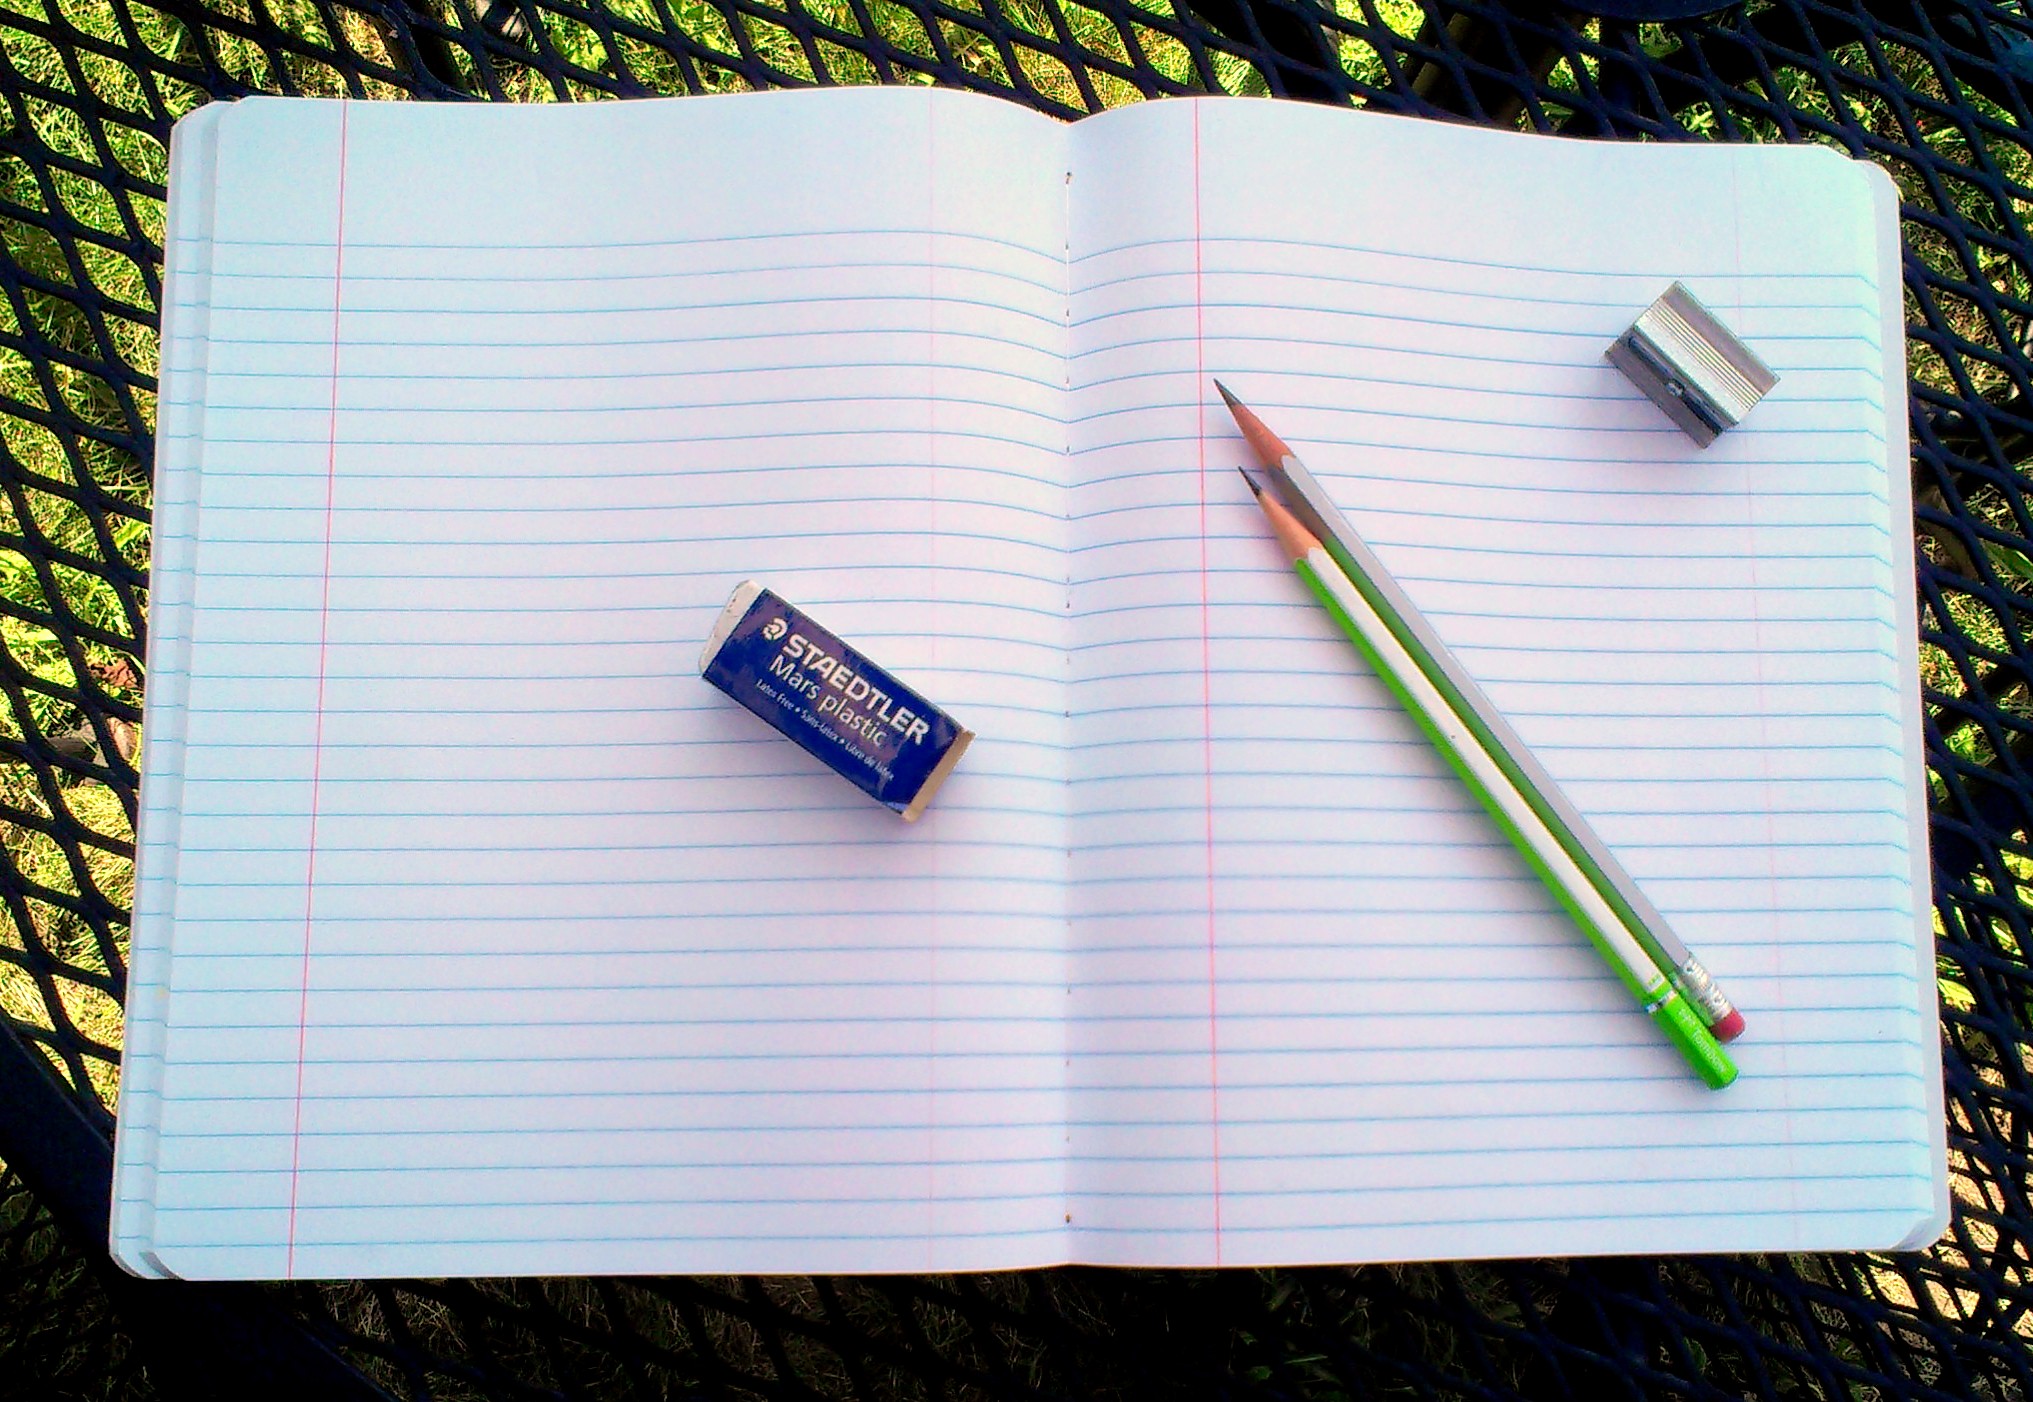
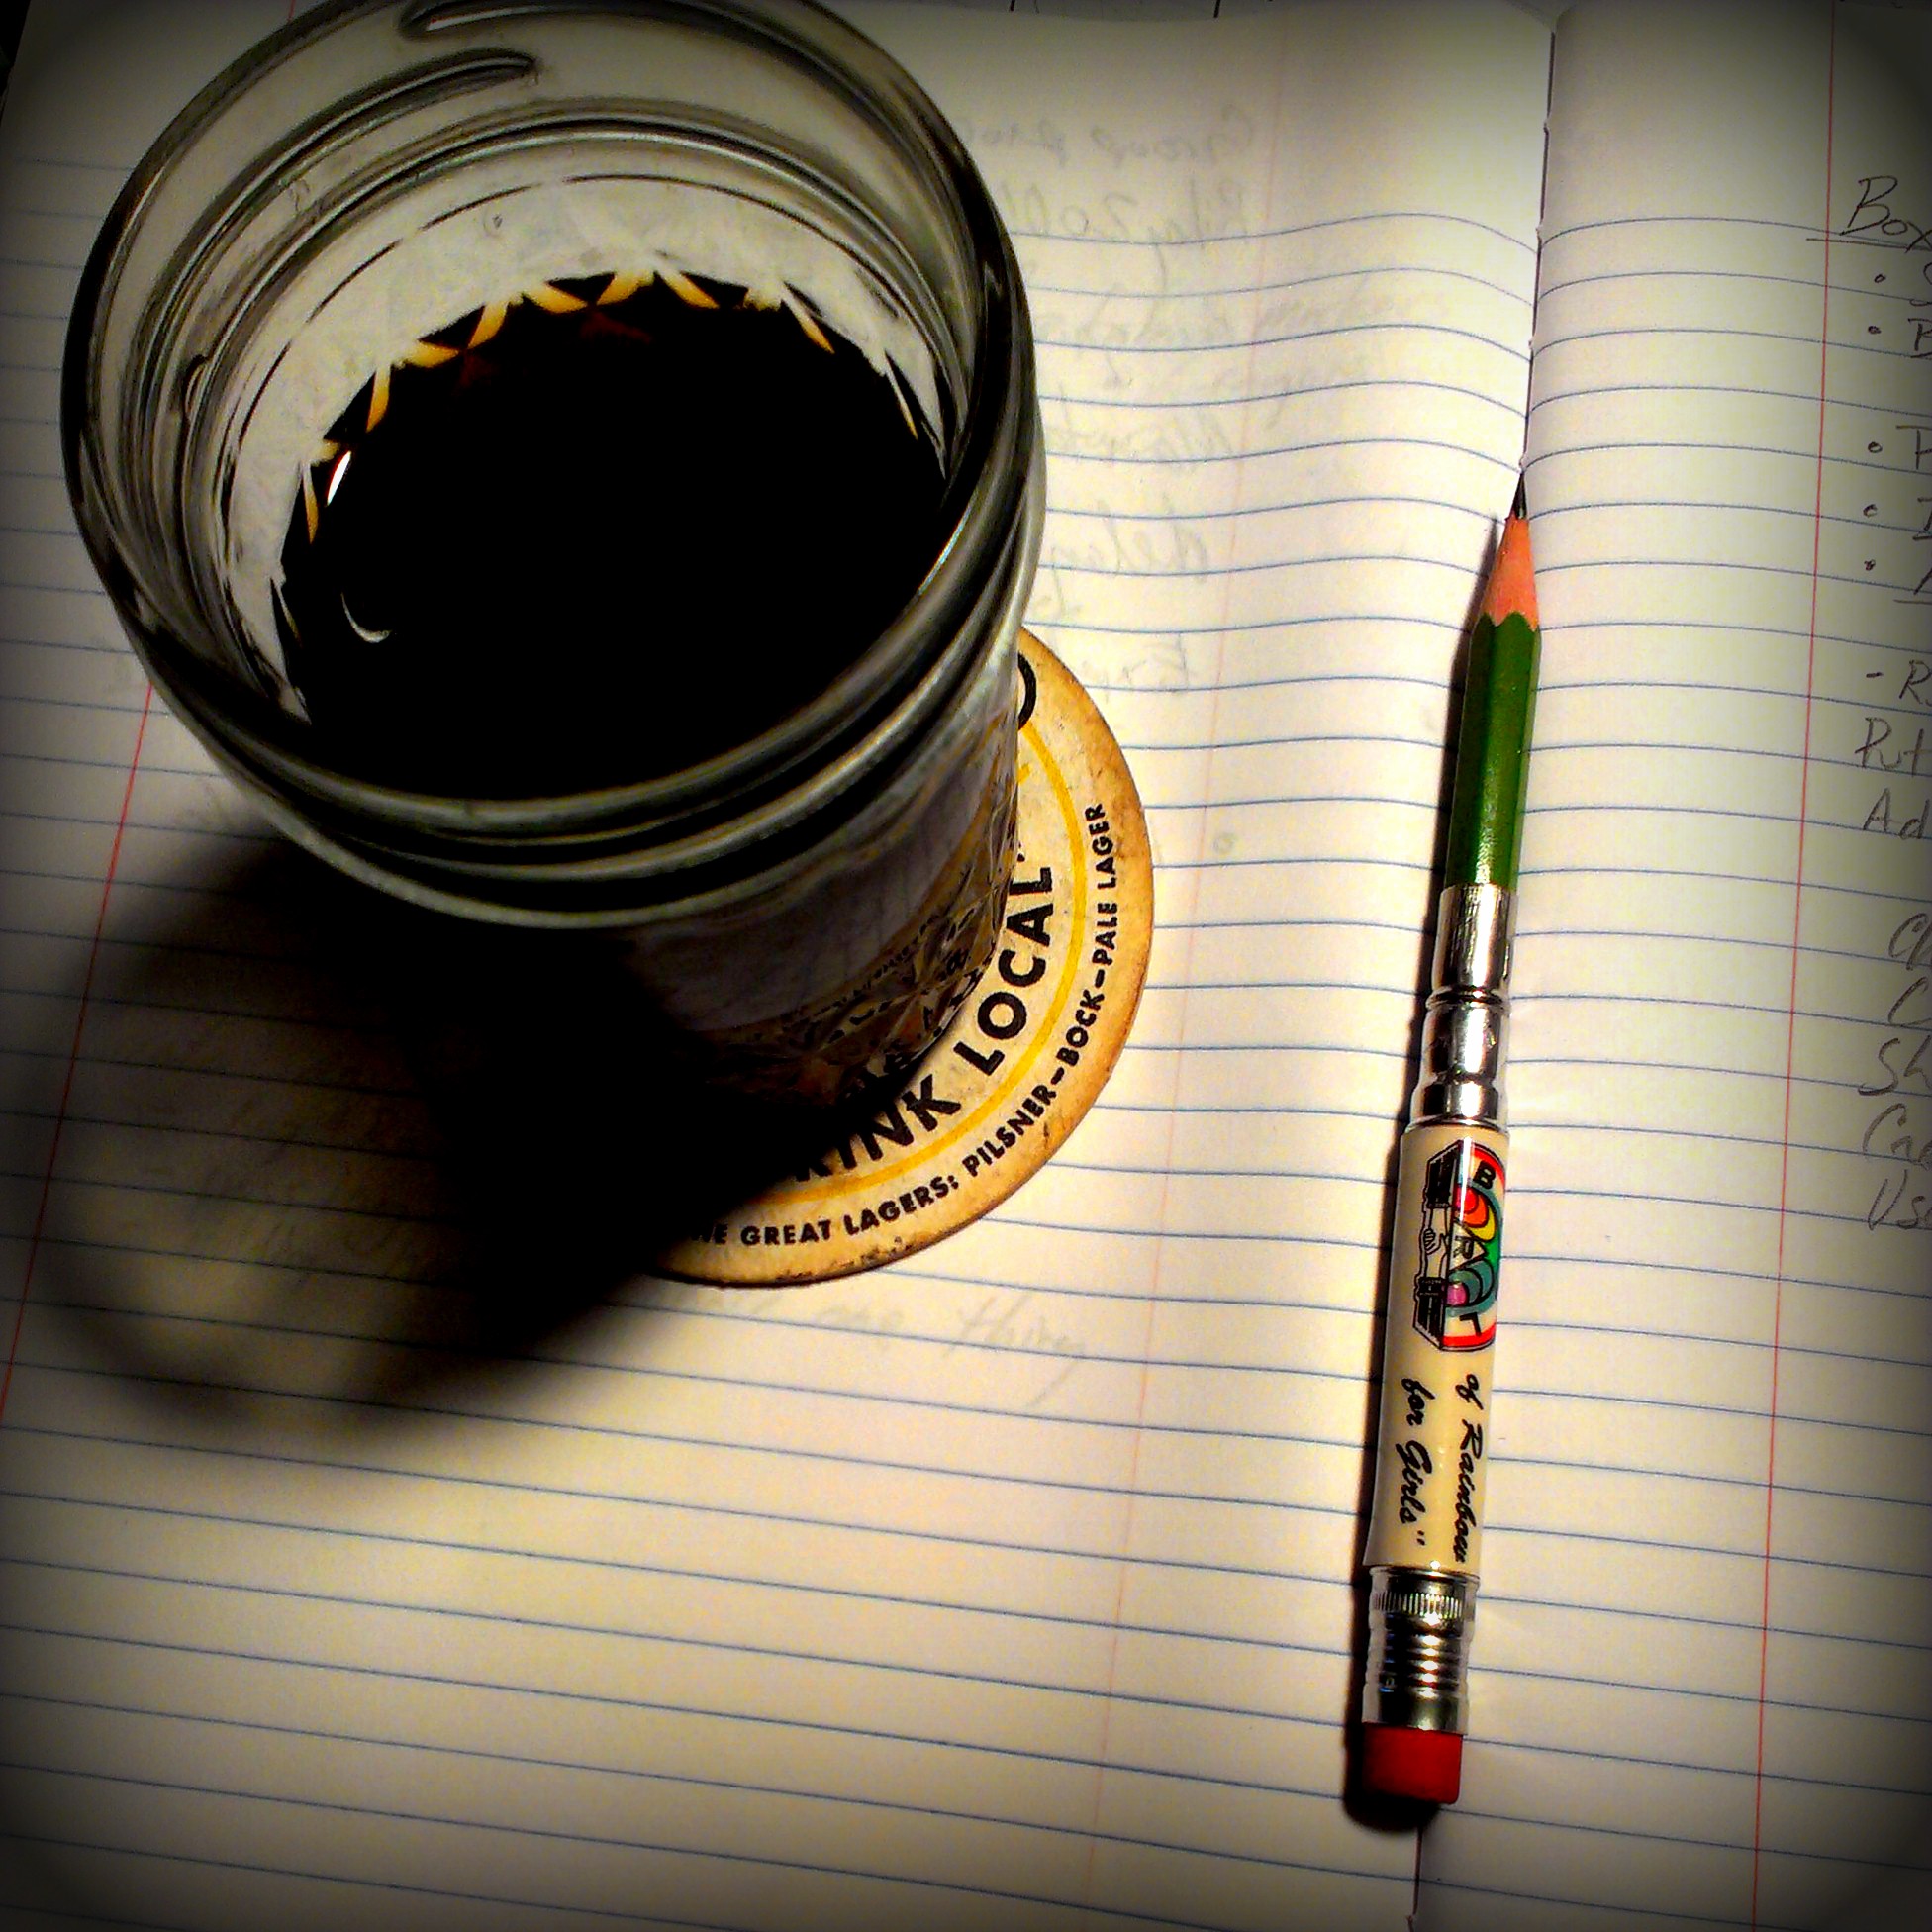
I’ve been using mine for about a month now as I write up group therapy ideas for my internship. Most of this work has been done at my patio table, outside and at coffee shops. The book has survived being in and out of my bags and thrown onto the rough surface of my patio table. There are scuffs and dings in the cover with some wear around the edges, but given that I’ve not been gentle with this notebook it still looks good.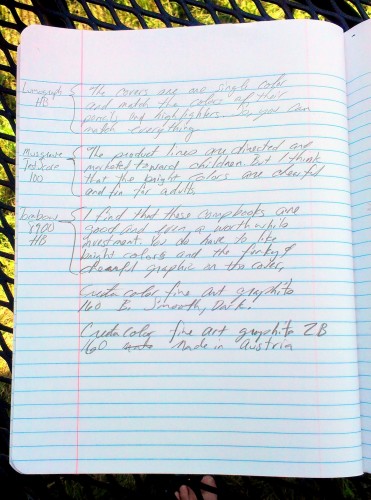
The price of the Yoobi composition book is on the higher side. Ringing in at $2.50 (or around that) it’s priced like a premium composition notebook. While it holds it’s own in sturdiness and being constructed well, it’s only slightly better made than a Staples comp book. This made in Vietnam composition notebook it’s bad, and when you factor in that they give supplies to schools in need, it’s a pretty good deal for a sturdy fun notebook.
Continue reading →
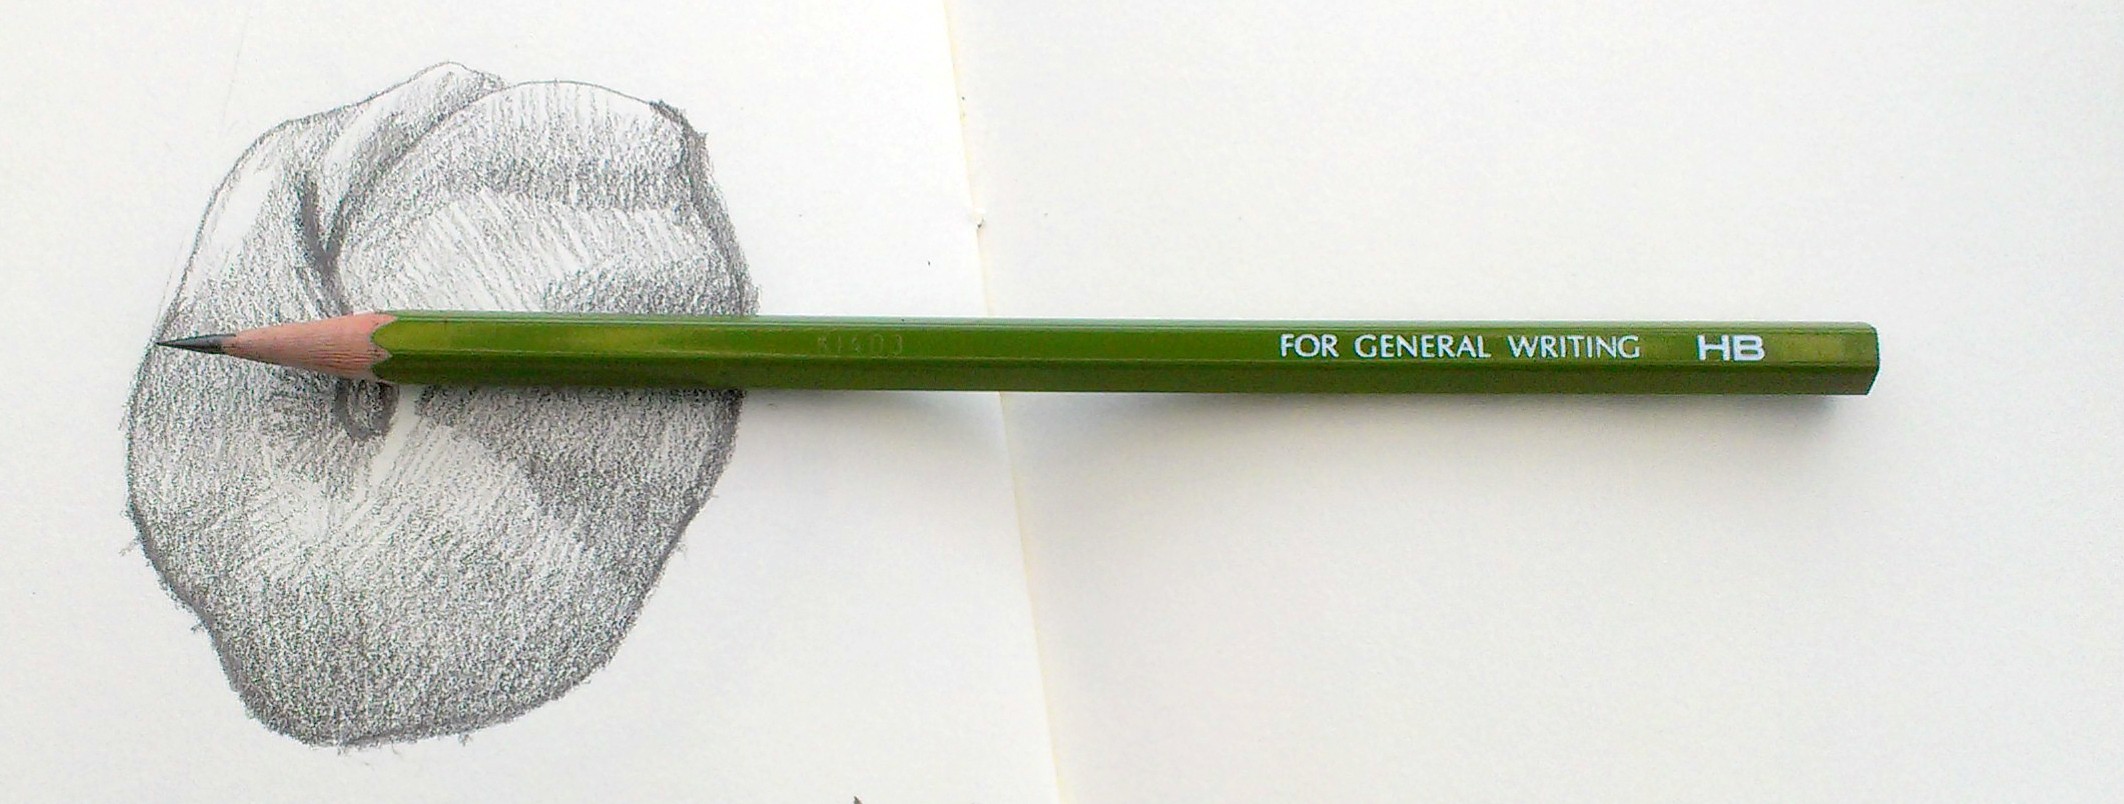
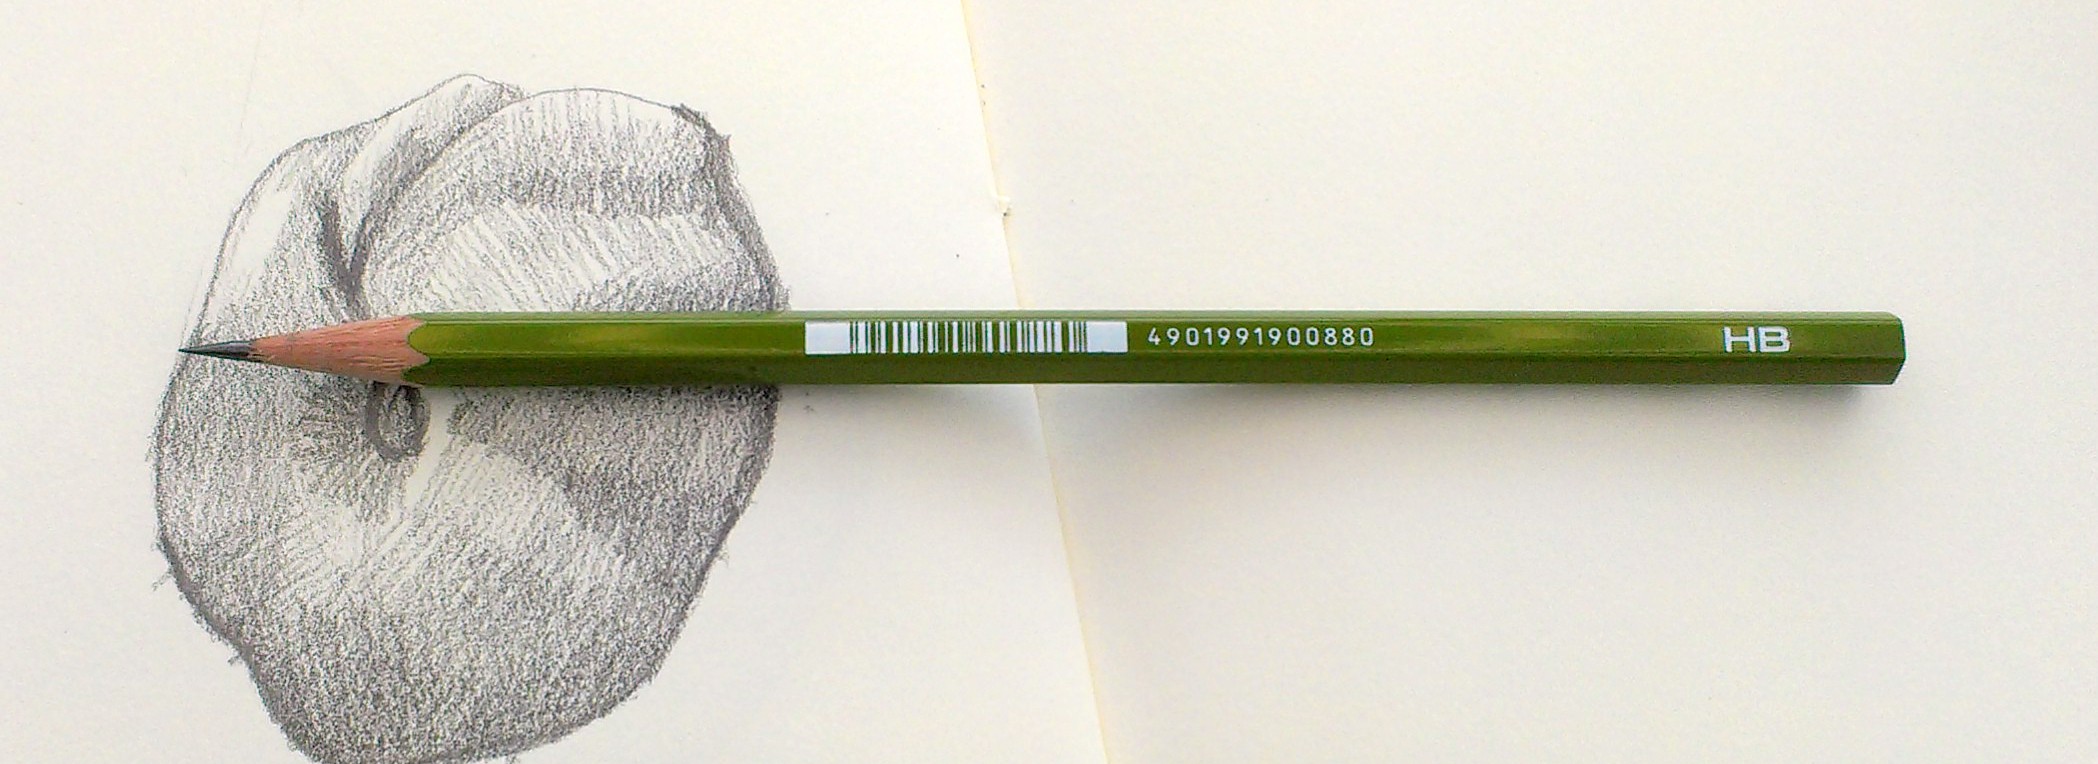
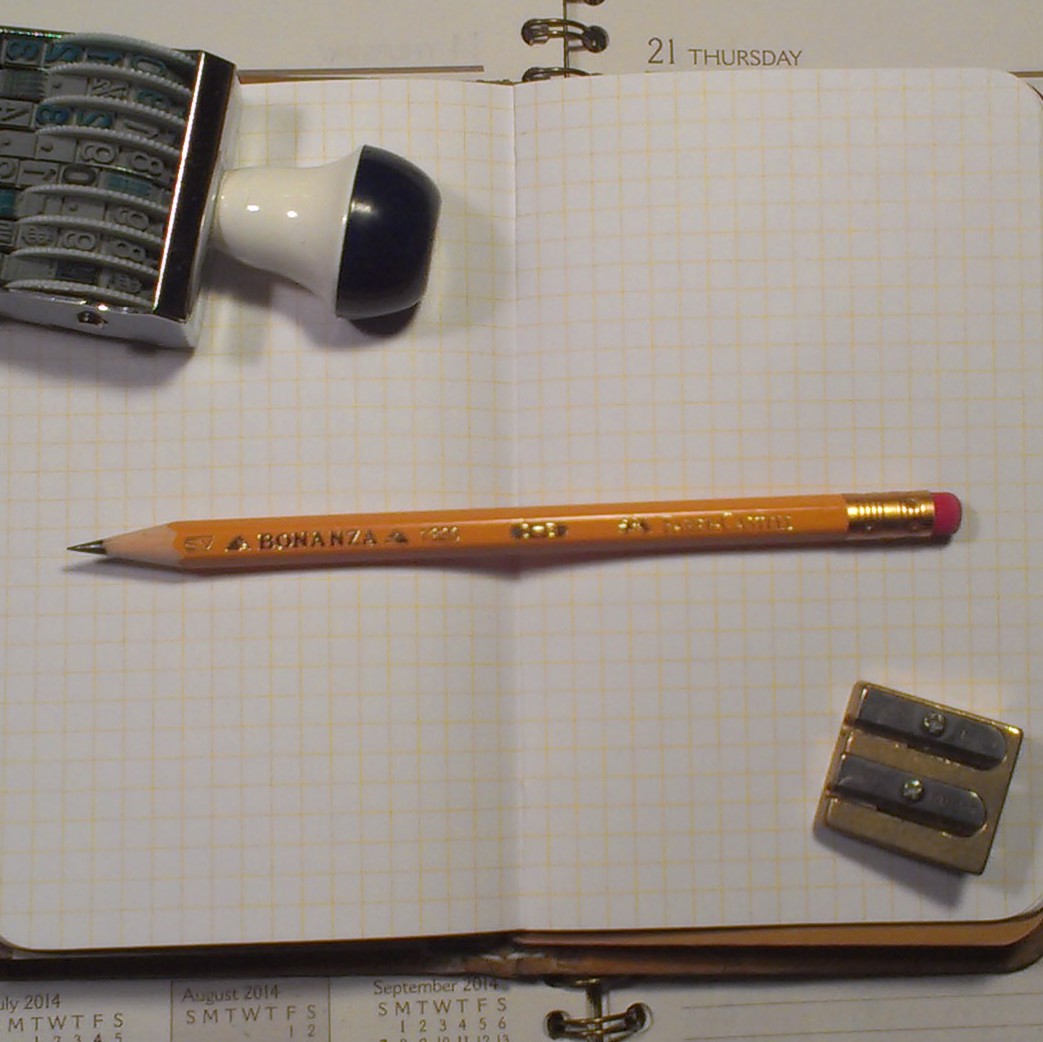
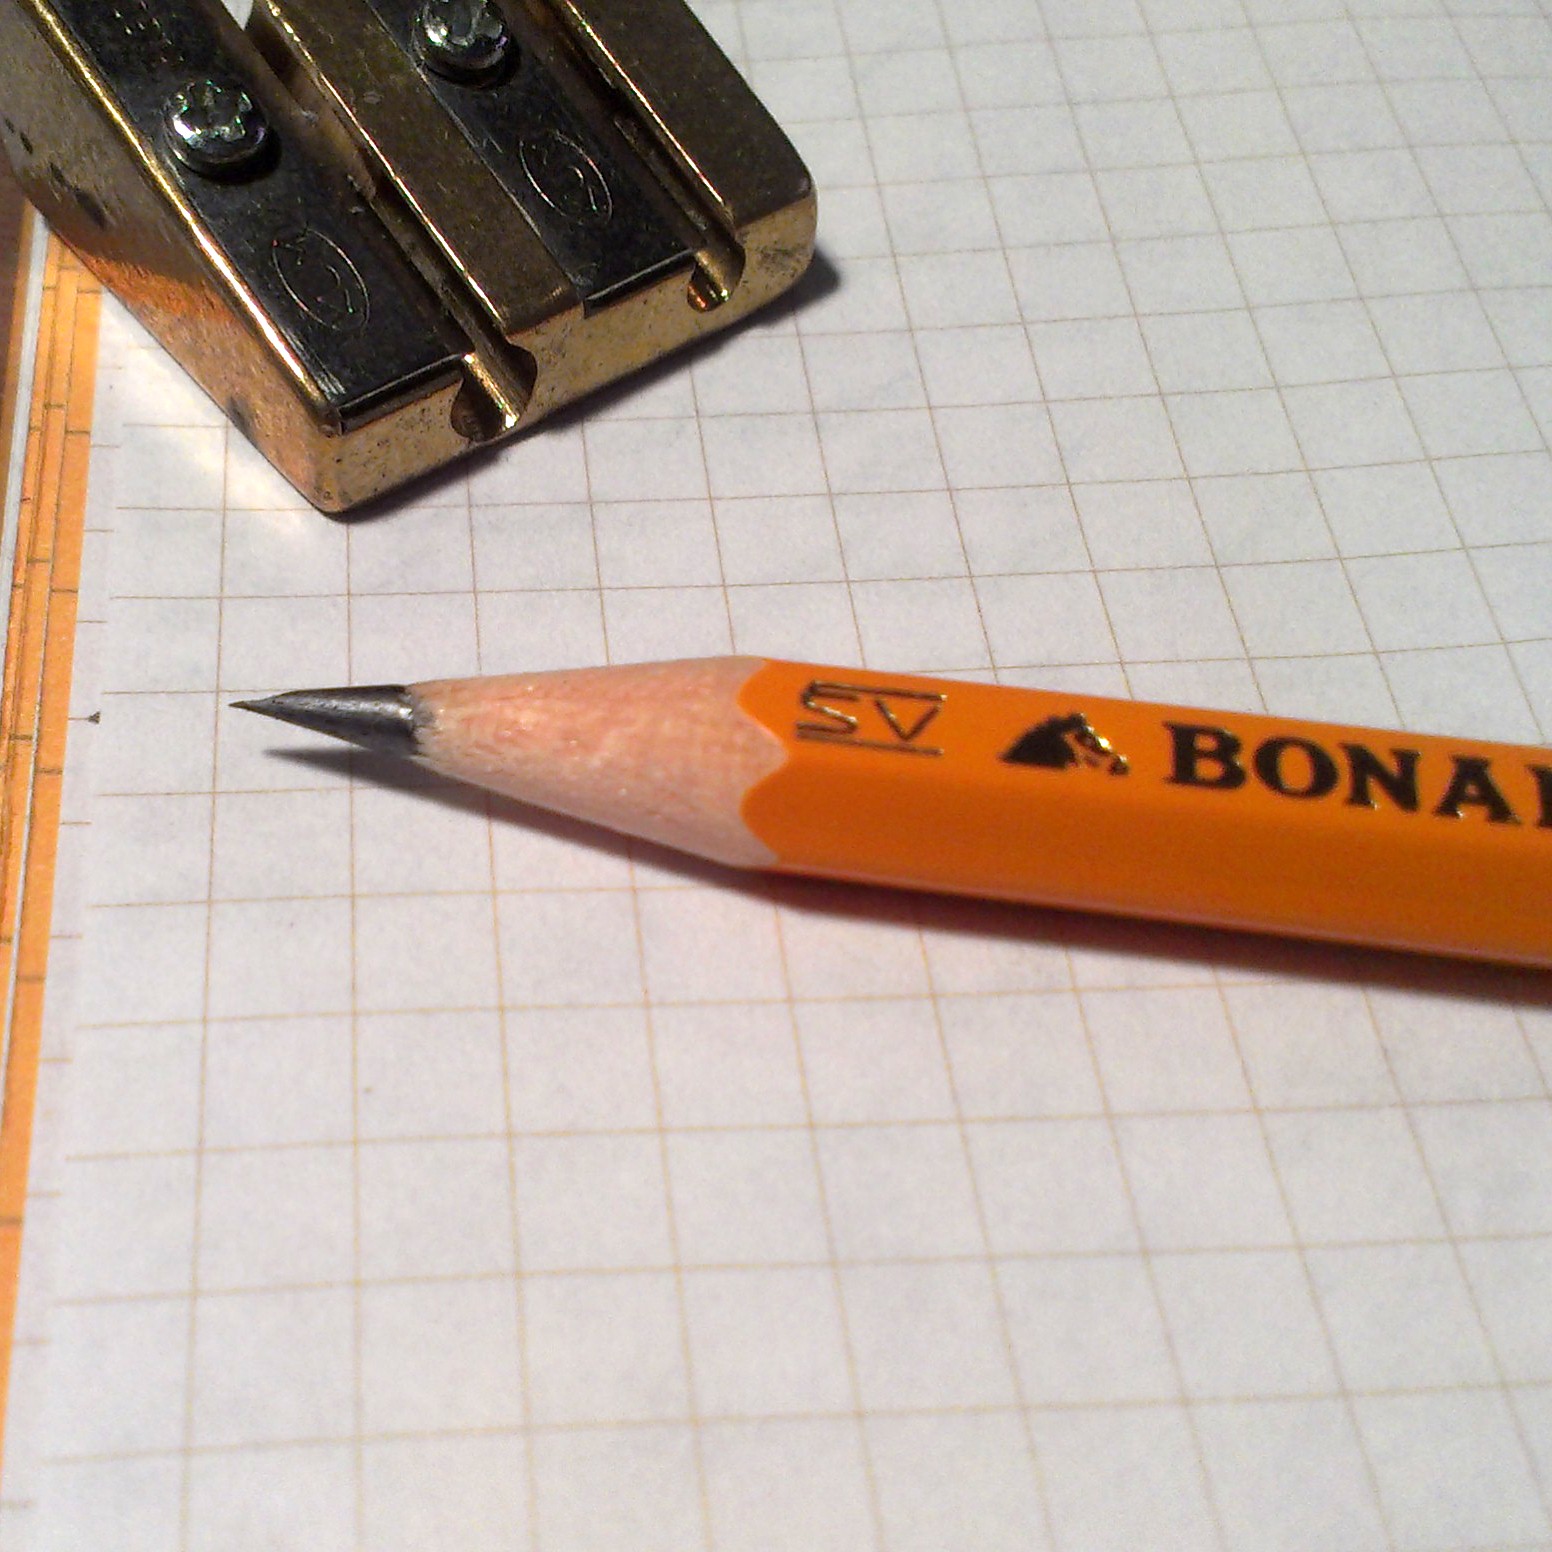
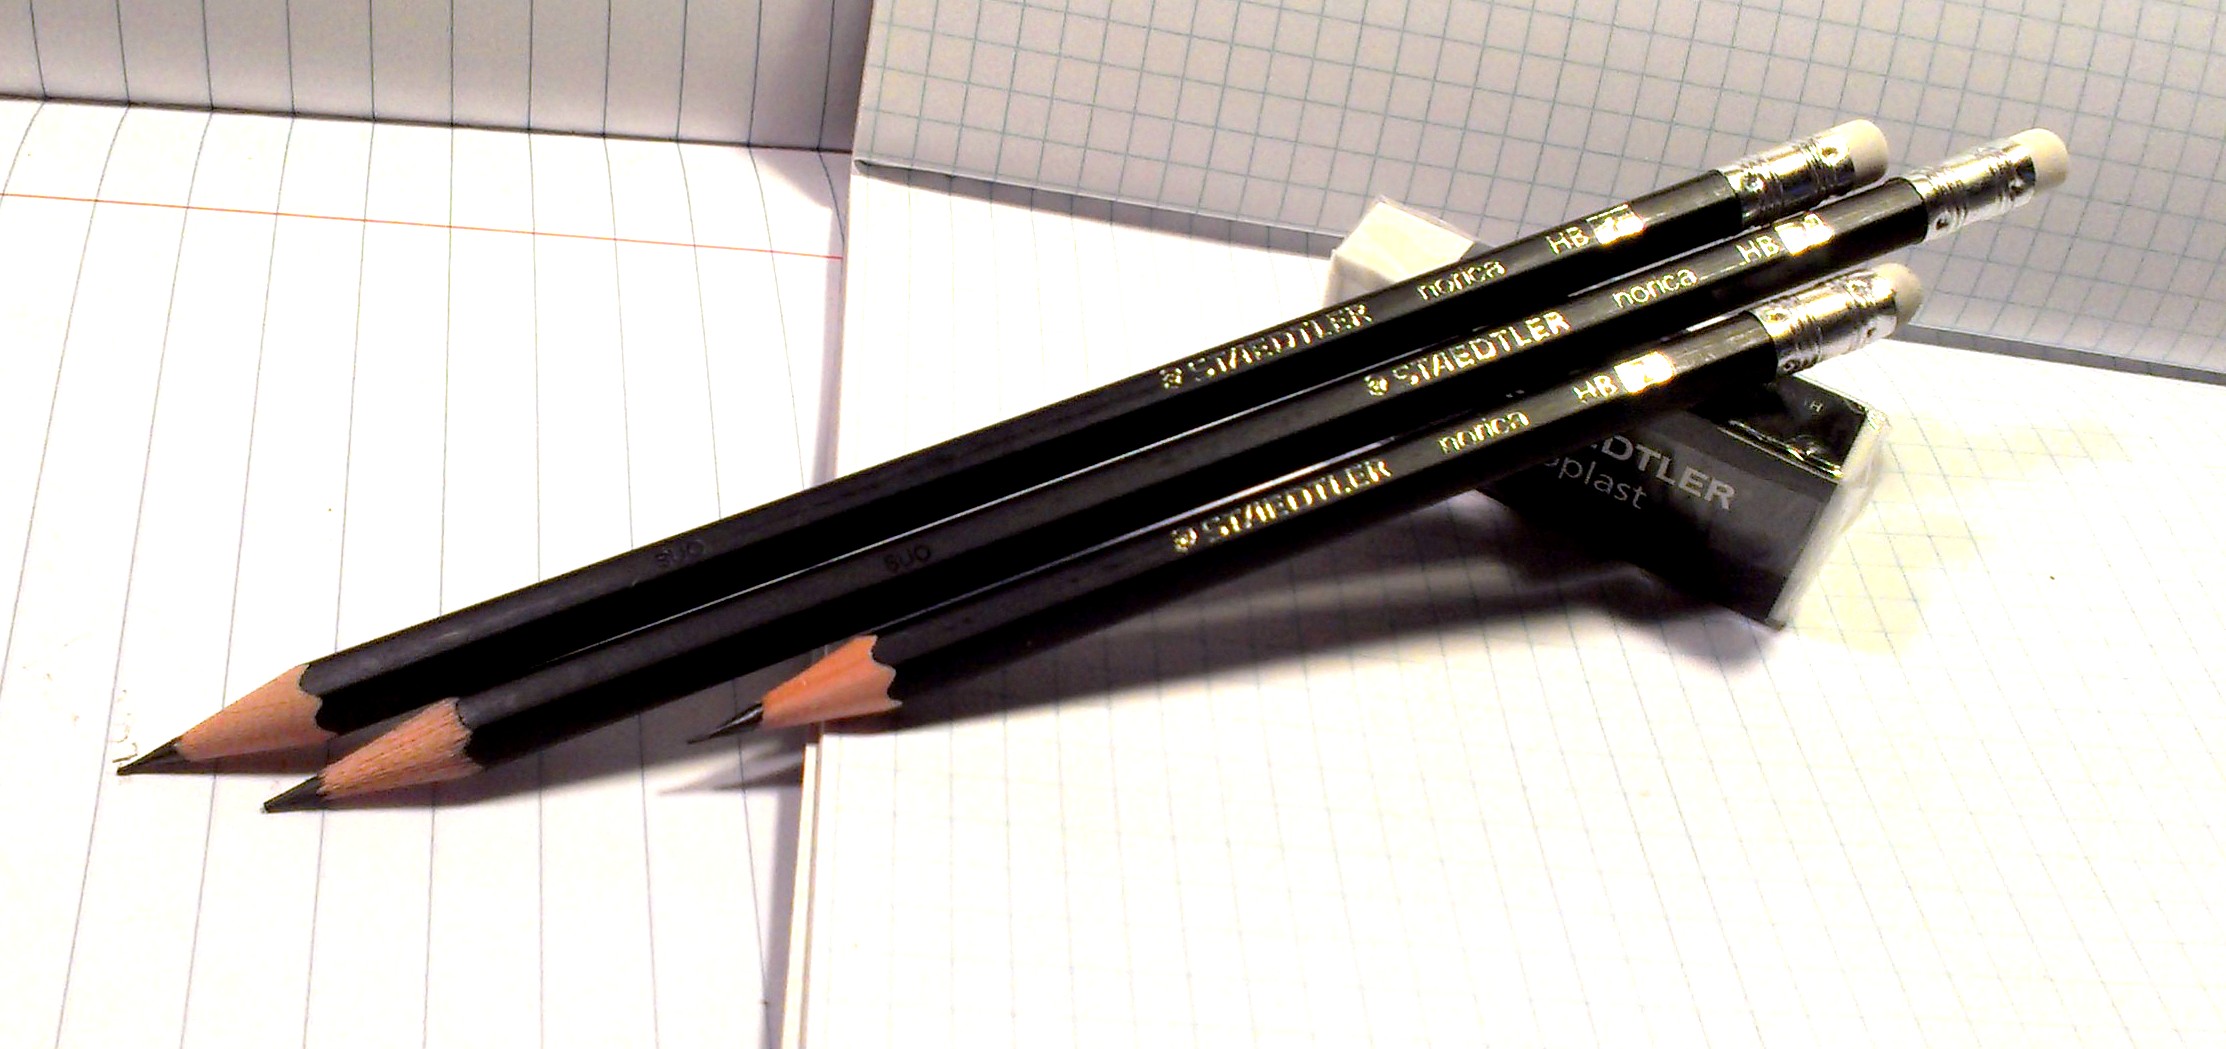
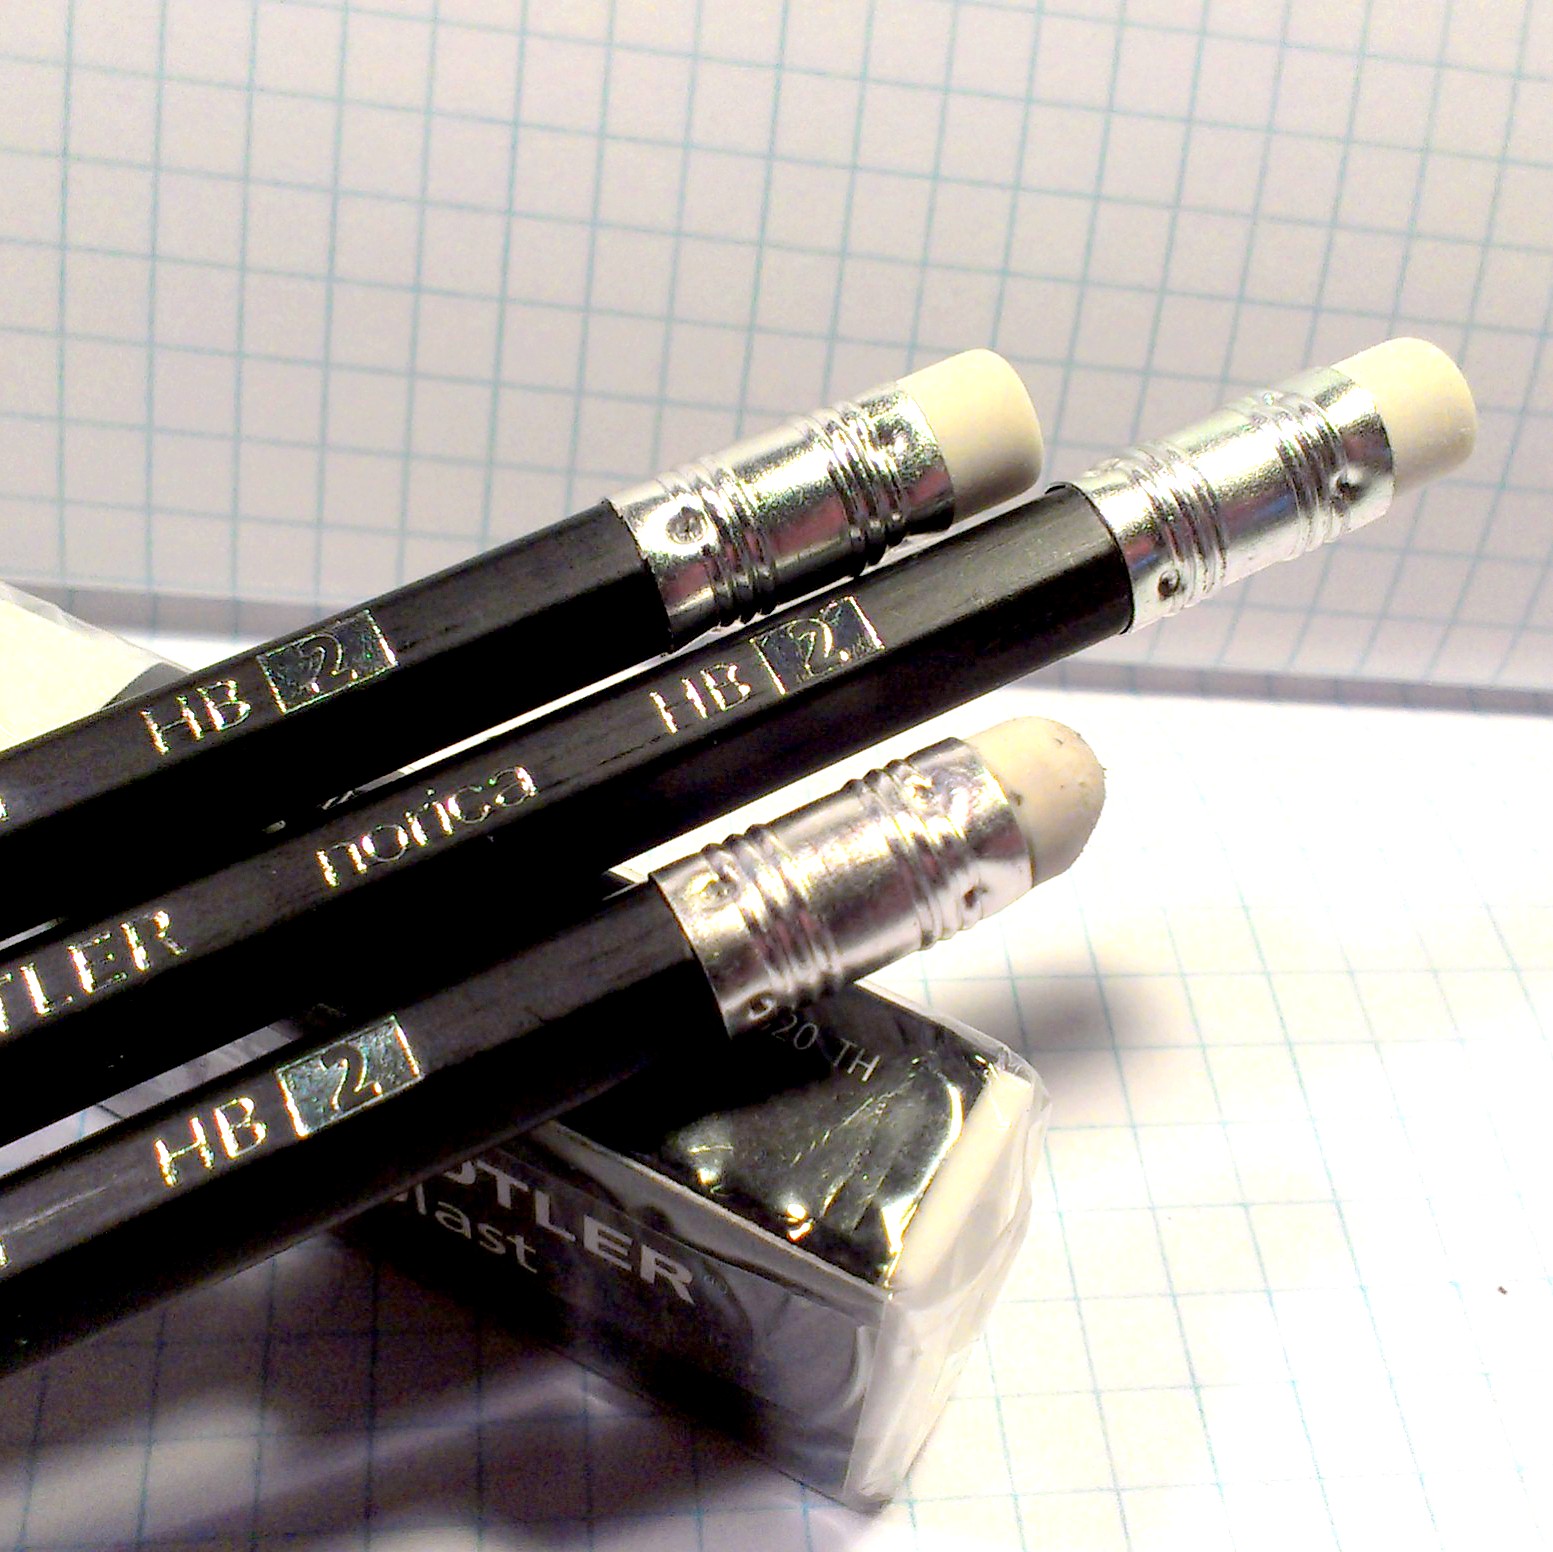
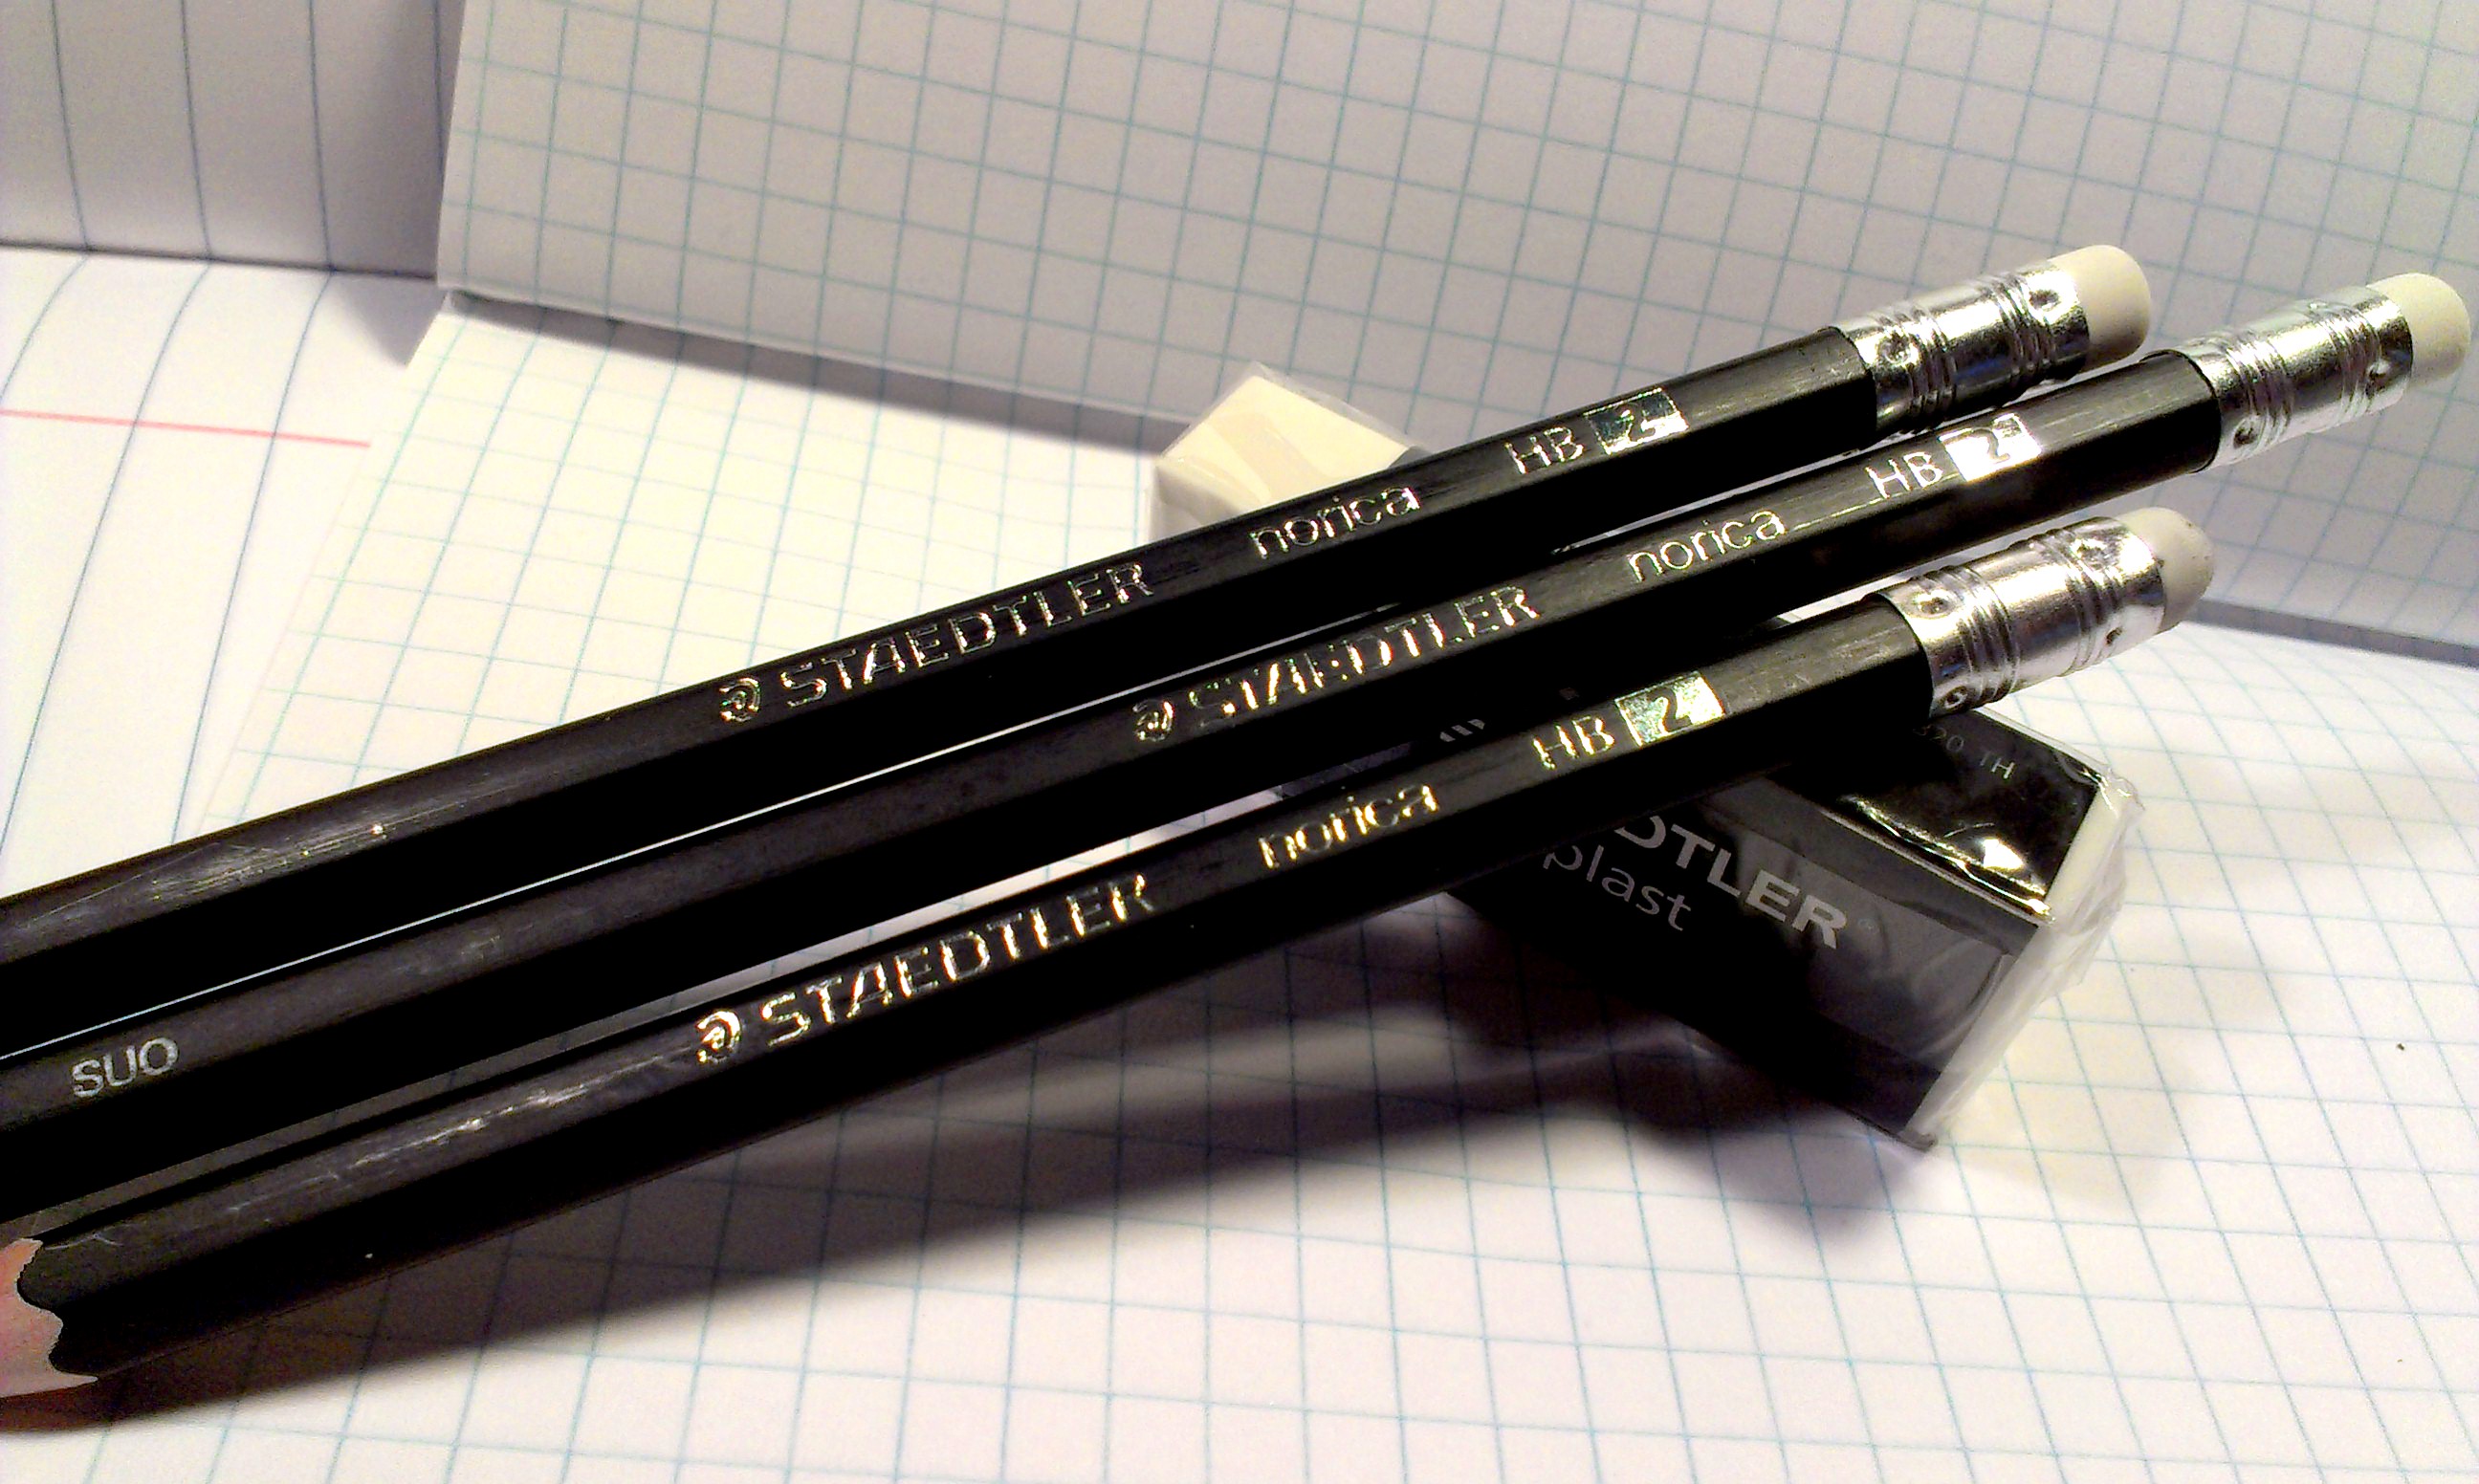
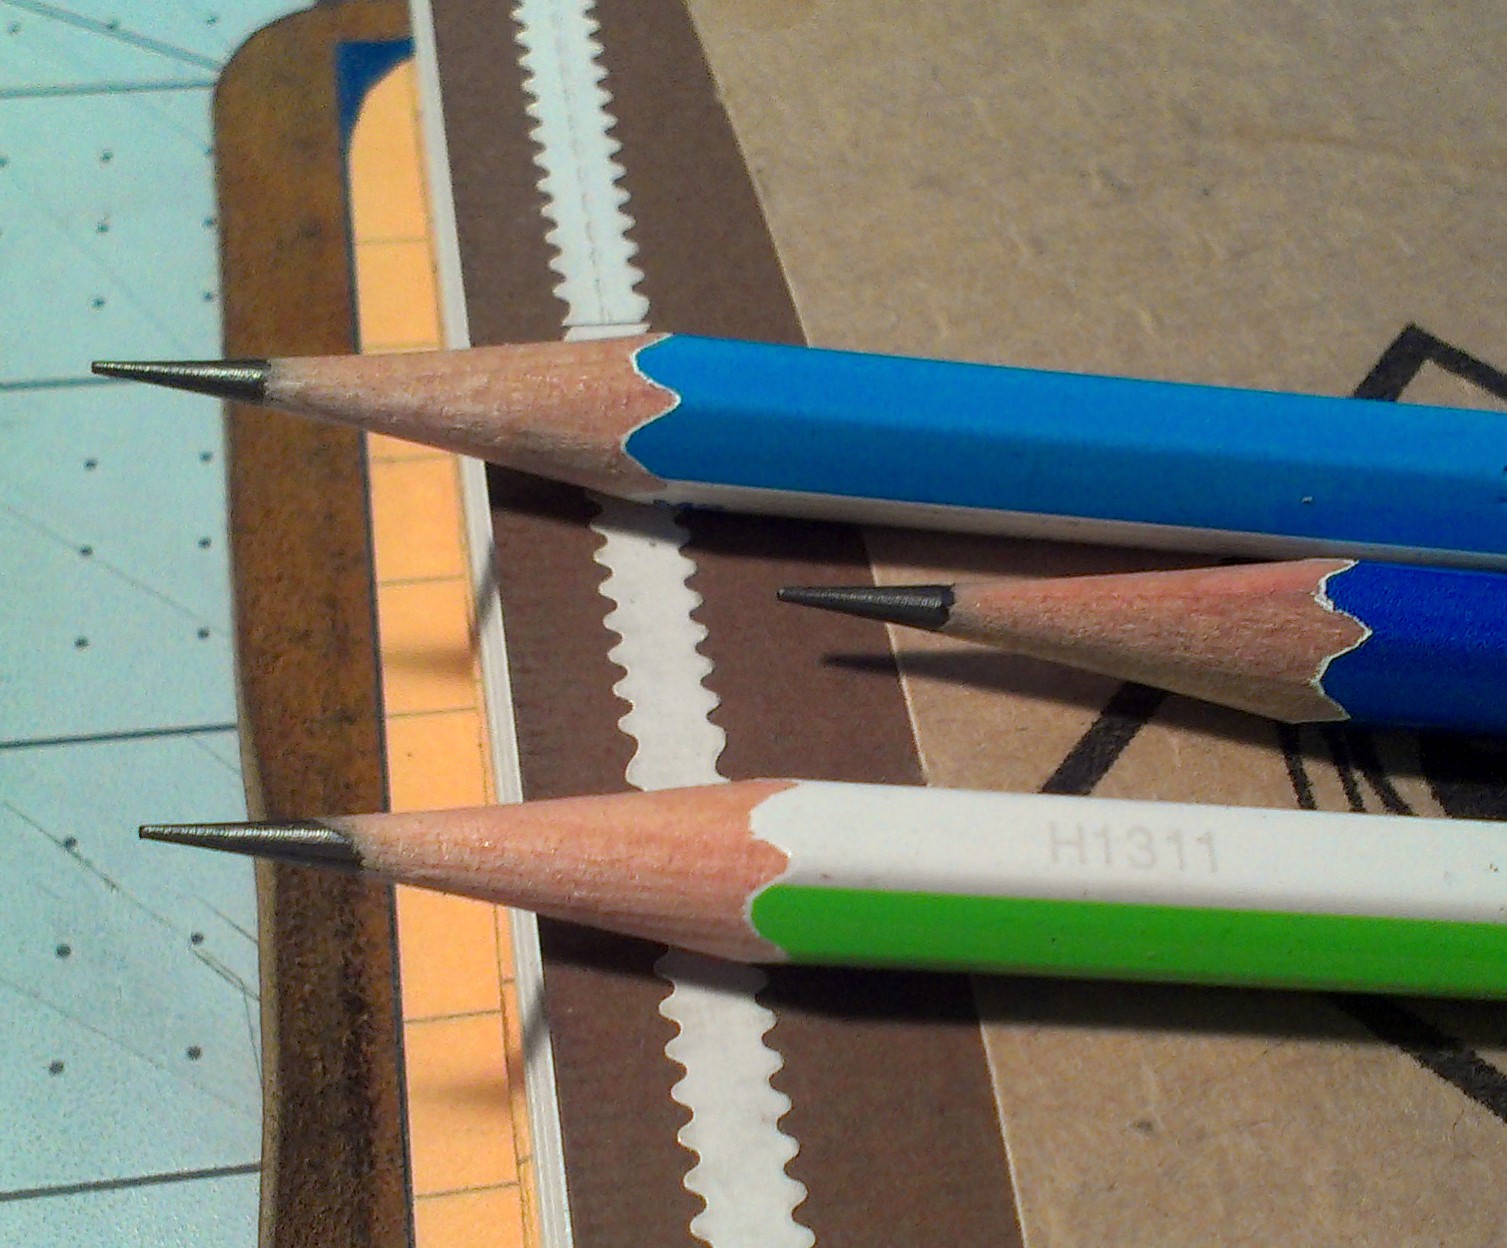
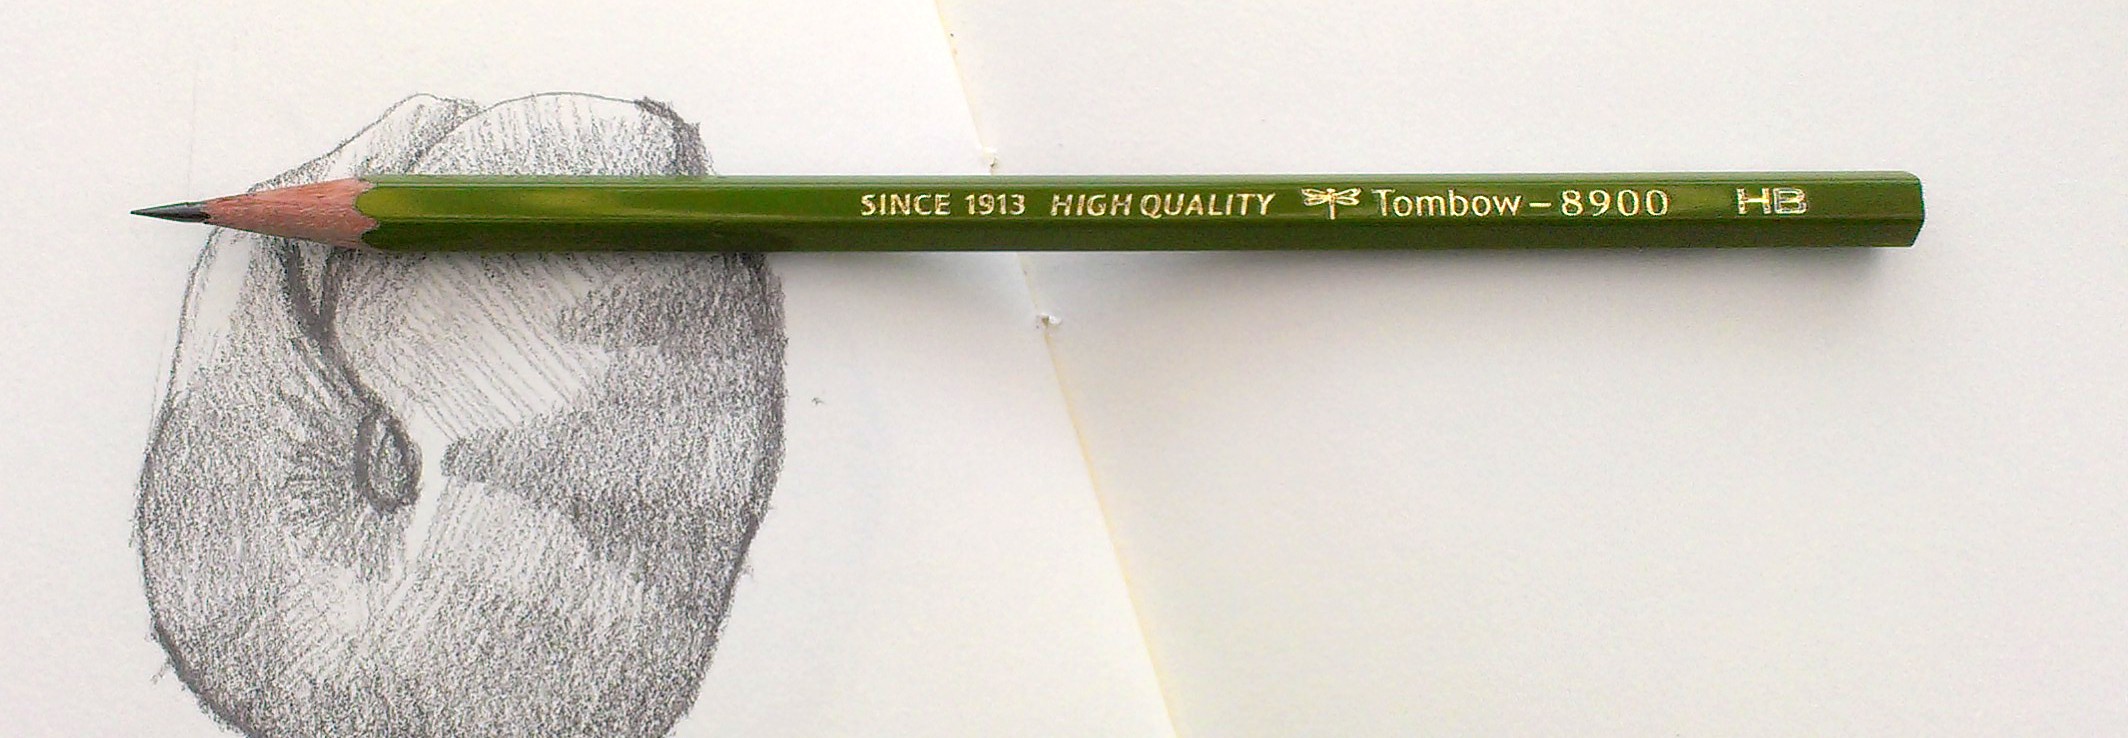 I believe the wood is cedar. The core is average in size and well centered. The pencils sharpen well with all of my sharpeners. It especially seems to do well with any long point sharpener.
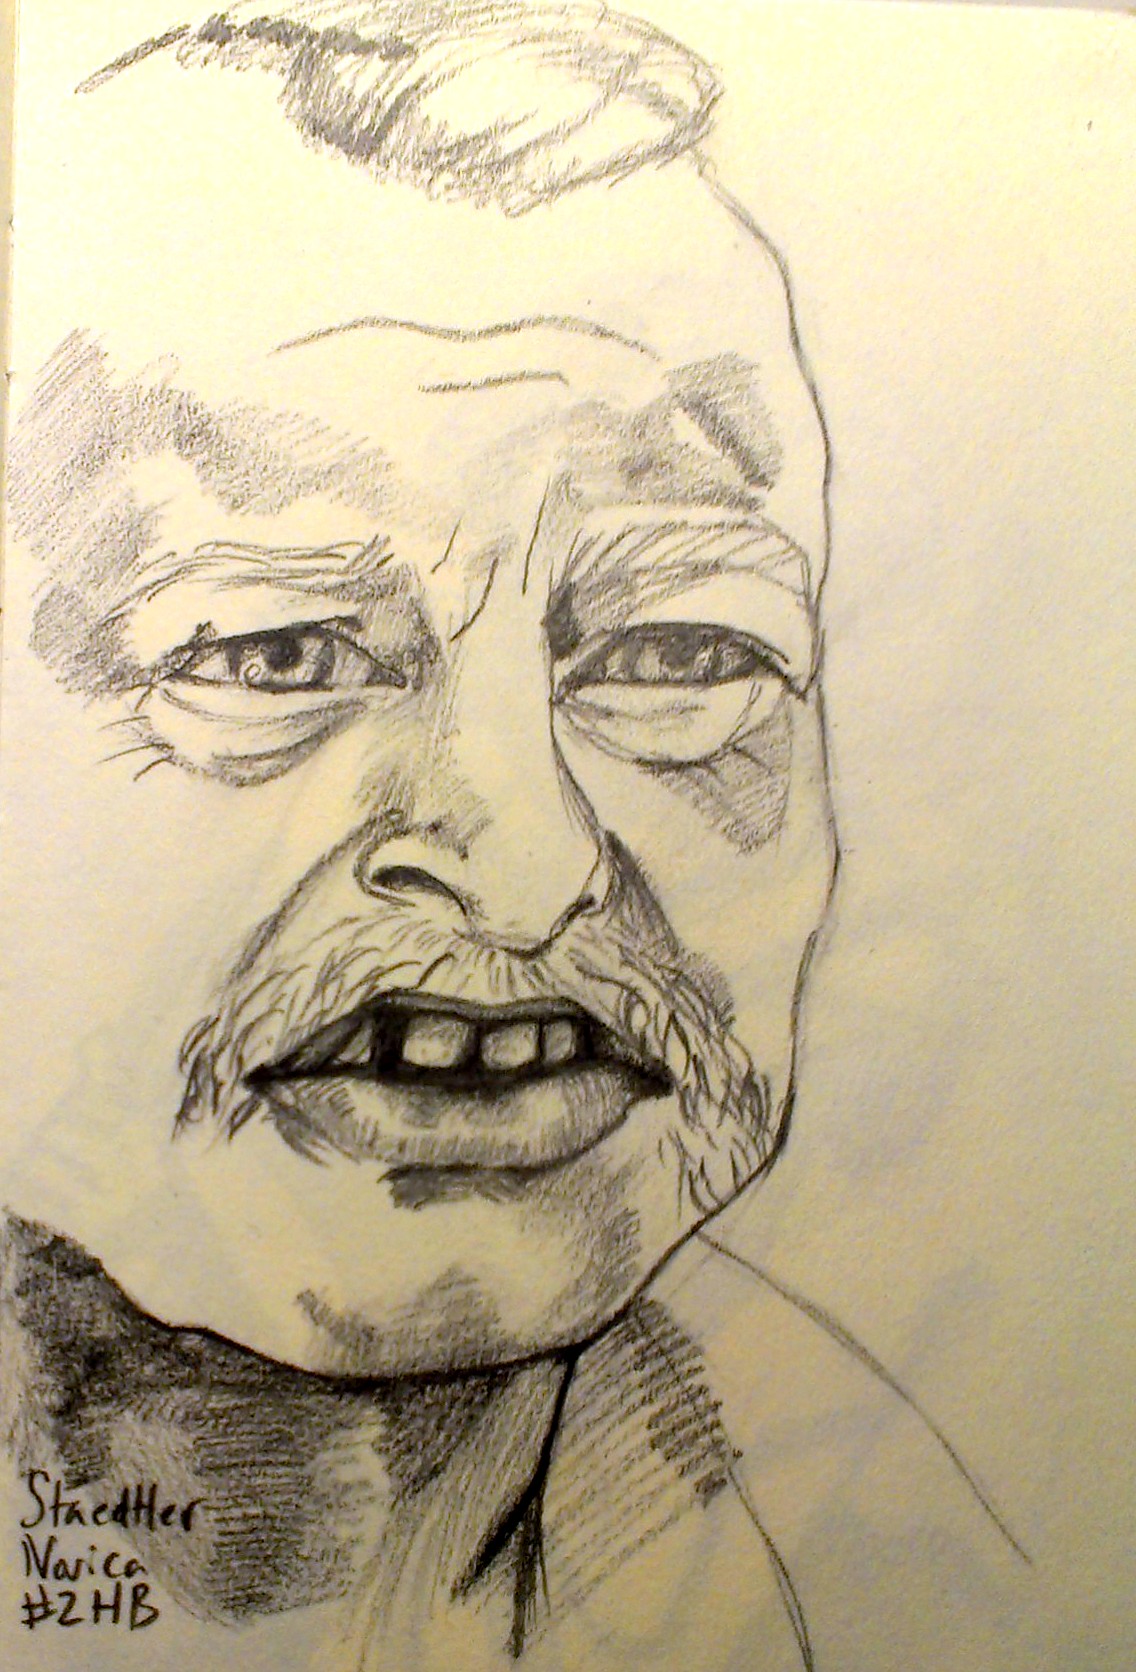
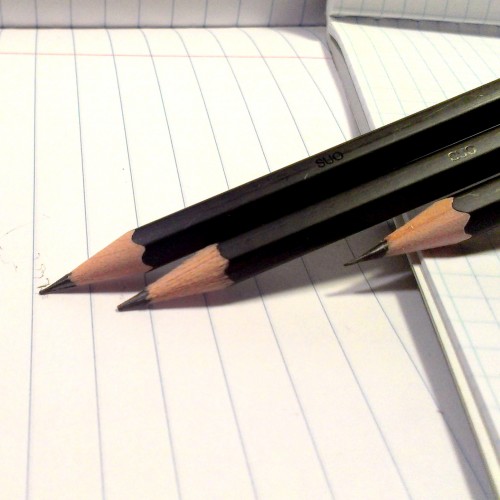
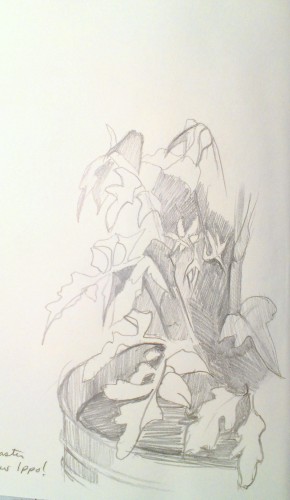
 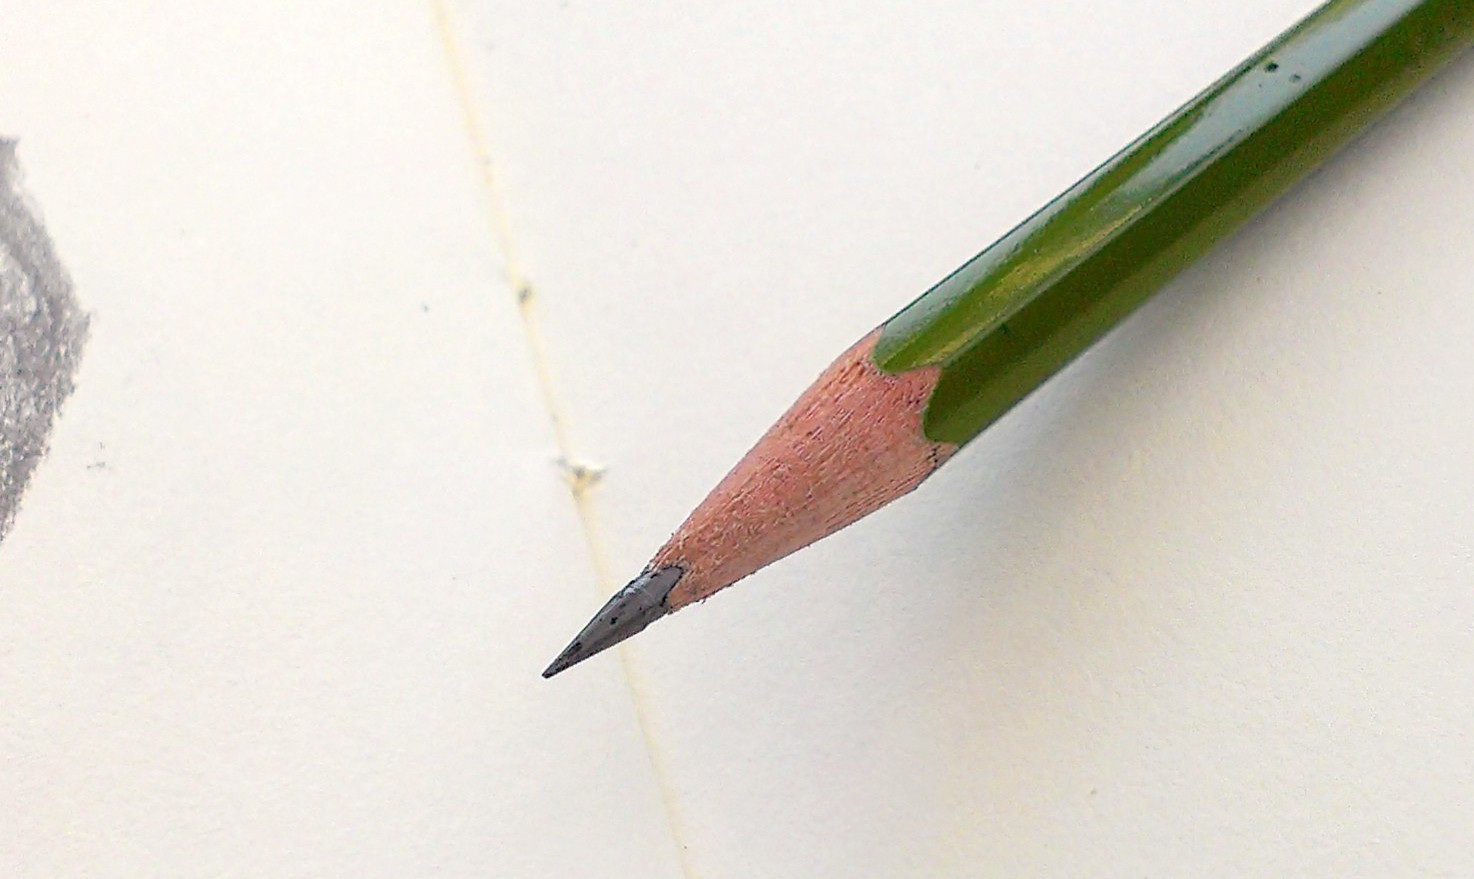 The core is very smooth and very dark. I’d rate it as a 2B or 3B in terms of darkness and softness. During sketching I was able to get a great variety of shades from the pencil. Additional layers of graphite give a lot of nice darkness. With this pencil you can do a quick rough sketch and get a lot of dark areas. It’s a little harder to get lighter areas than it is with a regular HB pencil.
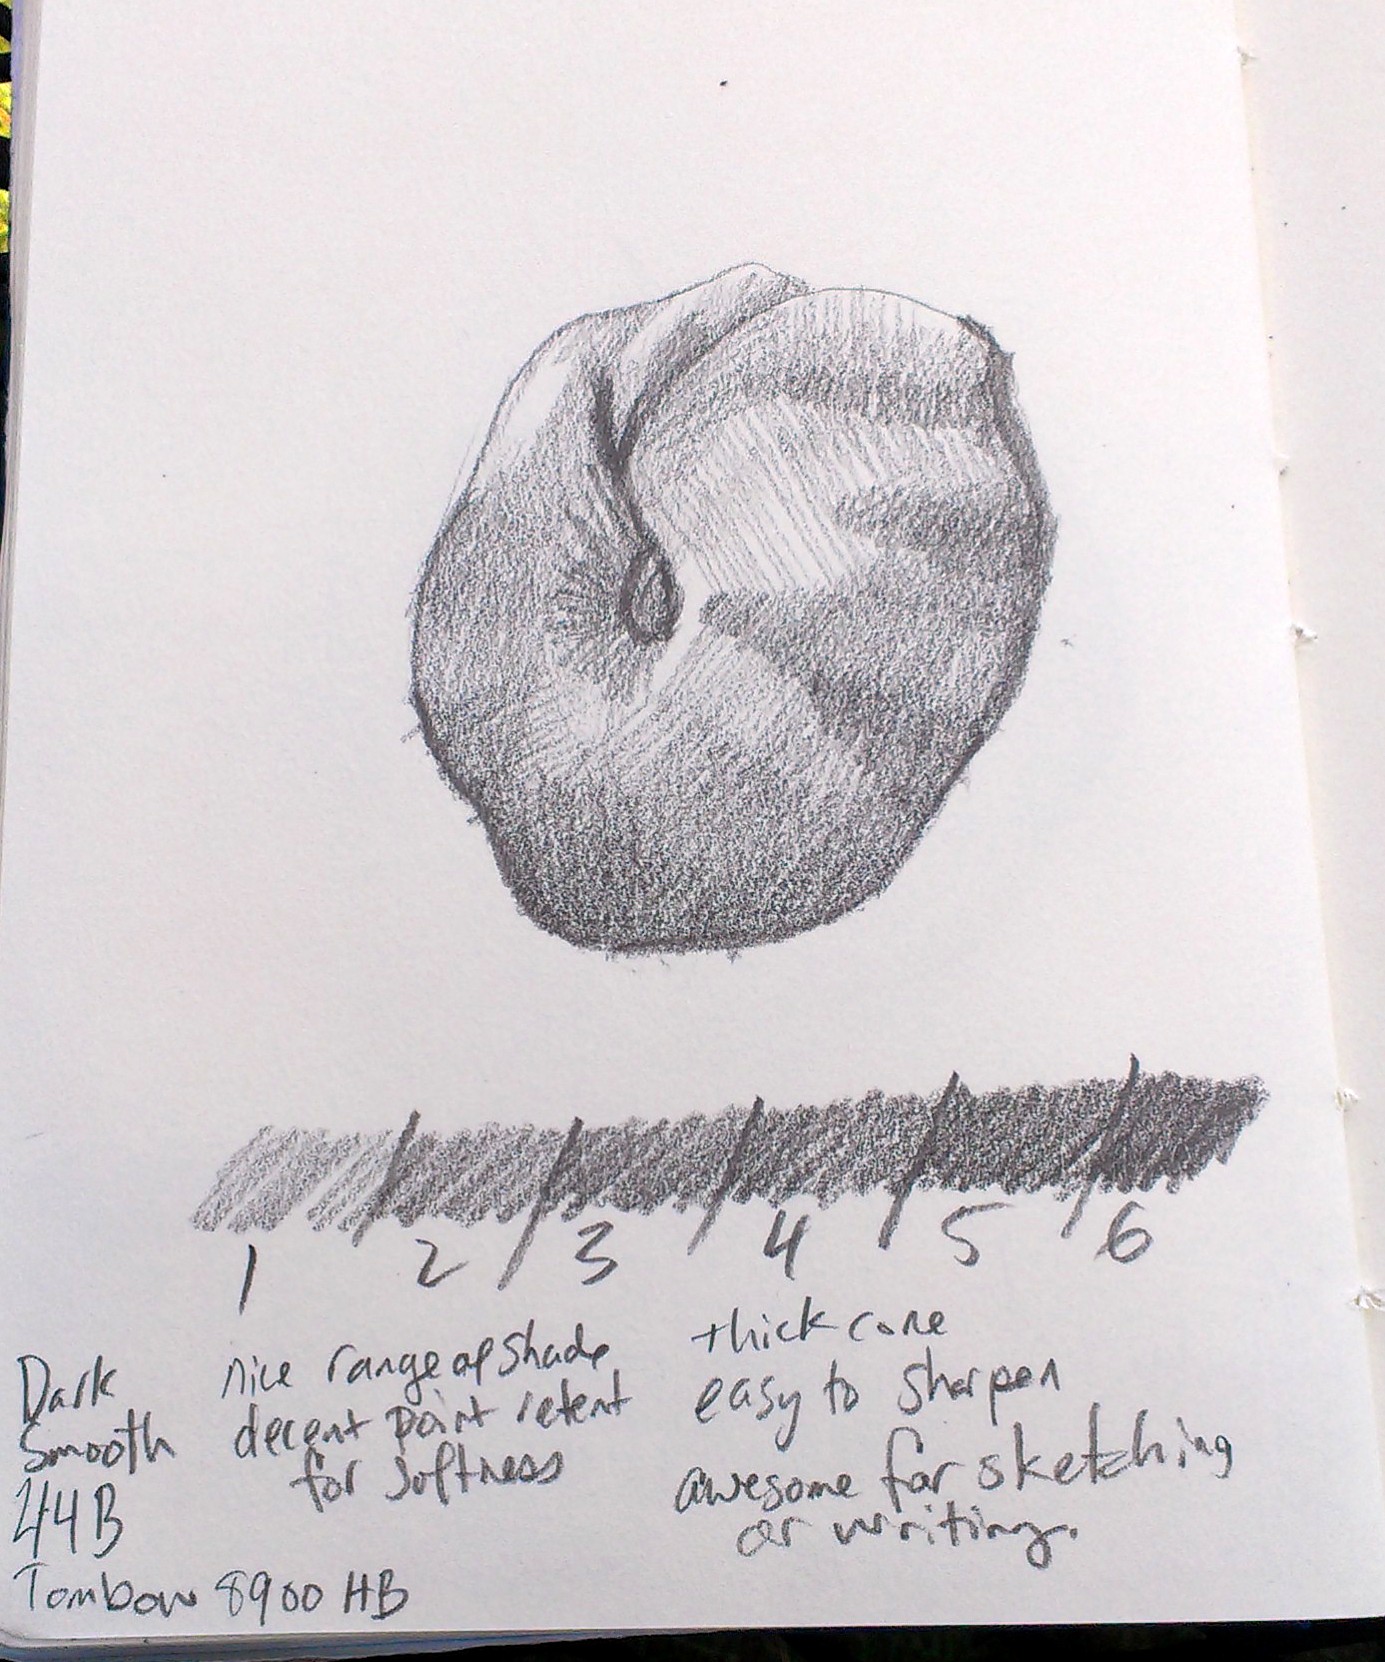 At about $5 with free shipping for 12 these aren’t a bad deal via Amazon. At about 42 cents per pencil they are a great no-frill alternative to other dark and soft pencils like the Palomino Blackwing or Pearl.