Category Archives: Uncategorized

CLOSED- Free Art Friday

Jean M. has won the drawing!

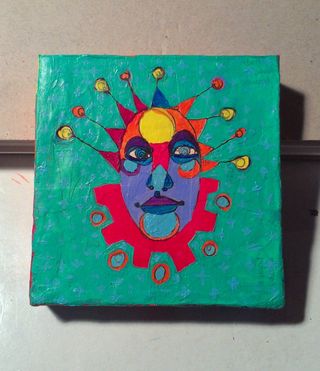
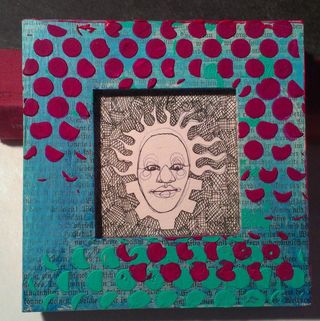
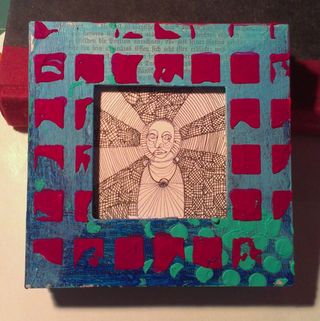
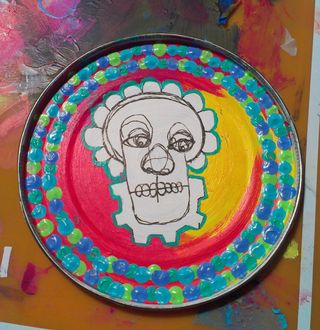
I started to make these little recycled mixed media mandal styled images. (The mandala is around the center image of a weirdo/automatic drawing.) I’m obsessed with the idea of “Free Art Friday.” I’ve written about it before so I won’t go on about My Dog Sighs and all his crazy good art. But I want to do some of that in my area as well as on the blog.

So I’m doing a rafflecopter giveaway where you can enter to win this piece:

IMAG1337-1You can enter a couple of times in different ways. Check out the raffle copter below. Enter, share win a little peice of my art!

a Rafflecopter giveaway

Massive Fits of Procrastination

I've been very very productive this weekend, both on my paper and in making lots of art. Not all of it for my classes. At this point I'm fighting inspiration and getting ready for bed. I've got a little light reading… Well, sort of light.Okay, not light at all.

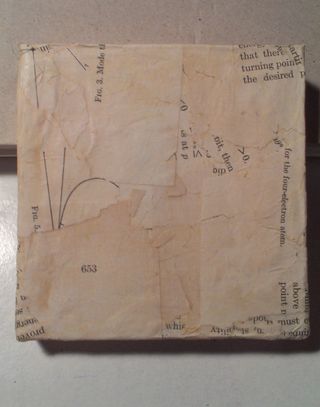
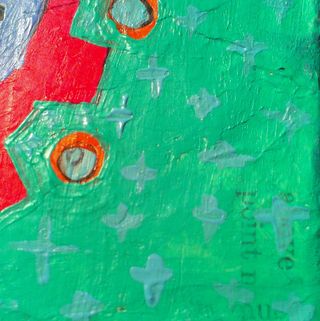
Anyway. I worked on this little 4×4 inch gallery wrapped canvas. I layered some antique magazing (American Journal of Physics 1970) and then did a little automatic drawing on it once it was dried. The gelmedium I used for it was Liquitex Matte gel. My Pentel Hybrid technica worked on it just fine. granted it is matte and not gloss but not a skip or nasty line at all. Keep in  mind I waited until the medium was absilutely dry. After the drawing I started to add in some color. I built up layers of color. The backgroun has a light teal paint with small plus signs all over it in light blue. They can only be seen whenm you are looking for them. Fun. Again I'm messing around with colors that jive with one another. the color interaction does not photograph well. IMAG1325
IMAG1325
IMAG1325
IMAG1325
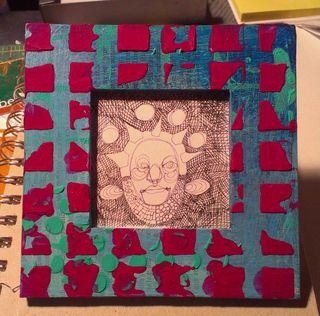
I finished the last of the 3 small pieces for the small frames I posted about yesterday. I'm really inspired by medieval art works. IMAG1321
IMAG1321
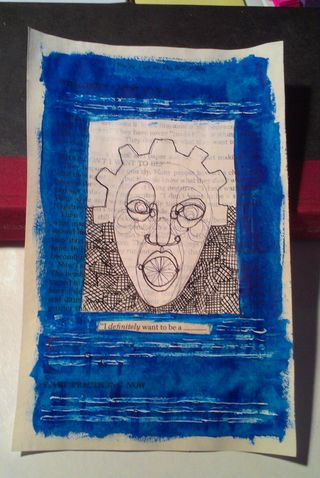
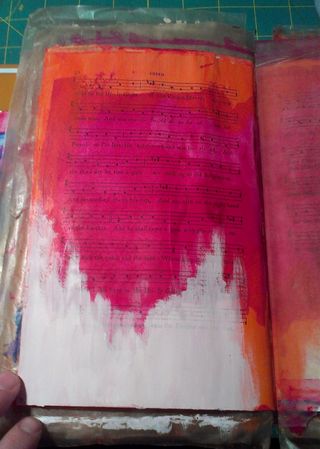
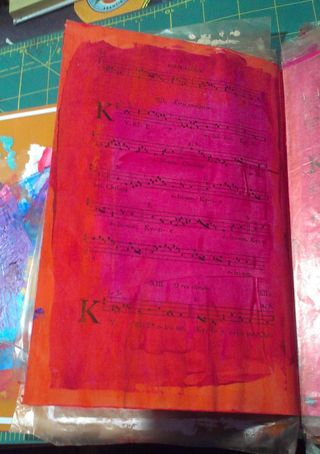
IMAG1321I also did a little drawing and paint background on a book page. The school library gets rid of all kinds of neat and funny books. either they are damaged or not needed. This one wasn't worth anything but had some self help inspiration. So i'm working with that.

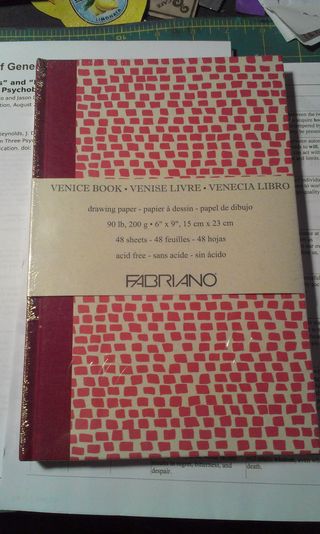
IMAG1333I forgot to also mention that I picked up a Fabriano journal with a 50% off coupon at Michael's. So far it's really nice, but we'll see what it's like once I start to abuse it. IMAG1309
Anyway, the art will be up on etsy in the next few days. I'll probably load them up Wednesday. Scratch that, they are all loaded up here.

Frames

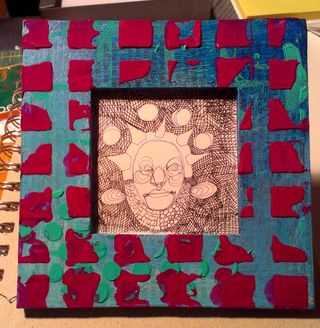
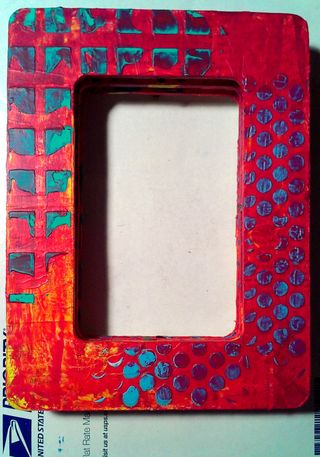
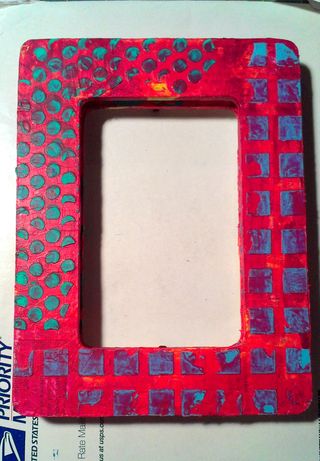
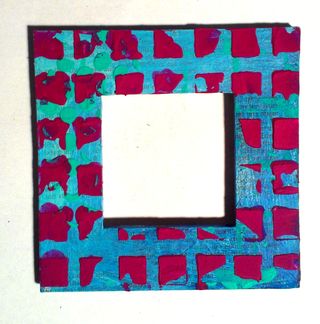
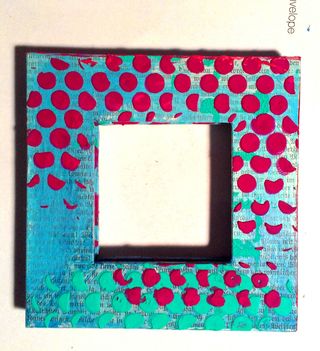
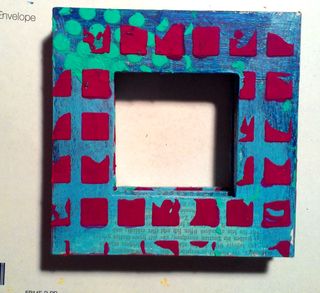
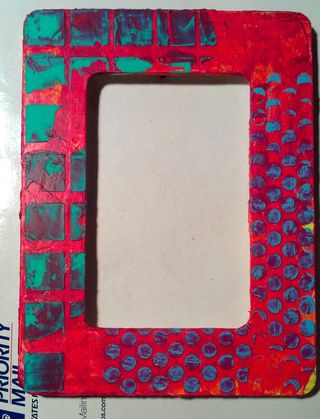
Last winter I picked up three 5×5 inch wooden frames with cute 2.5×2.5 inch openings at Michael's. I had planned on decorating them, filling them, then loading them to Etsy. Well life happened and I didn't manage to finish them. I'm working on that now. IMAG1315This past weekend I picked up a few more, larger frames, on a total whim. These measure 6×8 inches with a  5.5×3.5 inch window. IMAG1314I started each of the frames by applying antique paper with matte medium. Each piece of paper was crumpled, crinkled and torn to size. the paper was pulled from antique (but worthless) books or magazines. I snagged a copy of the "American Journal of Physics" from 1970 a week ago. I have had a copy of a German travel journal from the early 1900s. The paper is so interesting. Layers of it was built up to create texture. IMAG1318After the paper was dried I began to add layers of paint. The large frames were covered with warm colors- yellow, orange and red. I brushed the paint on and then scraped it around. again creating texture. In some cases removing the color entirely to allow the paper's texture to show. I then added layers of glaze. The small frames were roughly painted with shades of blue. IMAG1317I used some of my crapcut stencils (my own designs). through these stencils I scraped colored modeling paste.  I scraped on another shade of blue and teal. on the small frames I decided to make some colors pop so I mixed up a magenta modeling paste and scraped that through a stencil. IMAG1316I'm really digging how the colors play off each other and the stencils and modeling paste add a layer of texture. They feel so cool. IMAG1313I've decided that I'll fill each one with a black and white automatic drawing. I've made 2 of the smaller images and I can'twait to work on the 3 larger images. IMAG1322
Anyway, i'll have them up on etsy soon.

Waves

A few of my classes require that I make art as part of the class content. For one of the classes I decided to make an altered book into an art journal. I've been adding a little bit to the book here and there.

I started by scraping paint around the book. I used warm colors because they matched the covers. On some pages I've written with sharpies. And on others I've doodled. Oddly I've not added any collage or ephemera from my personal life. I may have to remedy that. IMAG1293
After I scraped paint I then and added some brushed on paint.

Then I doodled and drew. IMAG1292On other pages I wrote.

On some I added more paint. IMAG1294
The pulpy paper is as absobent as a tissue.

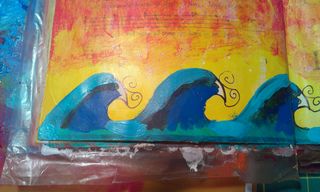
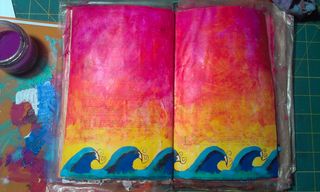
I started this page with white and yellow. I doodled on the waves, but left them "blank." IMAG1290Yesterday in class we did an experiential where we interpreted an article we read and discussed with movement. It wasn't dance but movement. Not my usual thing, but the group decided to work with the idea of fluidity and waves.

When I came home I decide to work on the page a little more because it called for it. There is something to the idea of my art journal being a predictive form of art. Though I had read the article in advance of working on the page I wasn't consciously thinking of waves or fluidity. It just happened. Amazing how what I read comes through on the pages of my art journal.

Today I added the blues and greens to the waves with a brush. Then I layered on the primary red and magenta glazes. I used a rough bristle brush to apply the glaze. I removed some of it with an old gift card and a rag.

IMAG1289

Smooshed Books

I spent the majority of yesterday reading stuff for school. I’m trying to get a lot of the reading I have due done so I can move onto the papers I have due. I finally took a break and decided to dive into something, a project of sorts that has been sitting on the back burner for awhile now. After a lovely series of emails with a friend I decided I had to get some work done.


I picked up a pair of “smash books” over the summer. If you have been reading my blog for any time you know I'm not a huge fan. They were on clearance for $4 each. When I finally started testing them out, I was disappointed in them. The paper isn’t very nice for fountain pens or liquid inks. But does okay with other things. A quick test with acrylic shows a lot of wrinkles, especially in the style that I work. Needless to say, they aren’t really for me. I have worked with worse.

BUT.

IMAG1287I have them and I want to do something with them so I started to go through and glue in some collage elements (personal ephemera) and layering some scraped acrylic paint over the top. Any pages with words- well they have my own stuff on them, dark pages? covered in white paint. I’ll add some colors and more collage pieces in today.

I think I’ll draw with sharpies on the pages. Or anything else that will write on acrylic paint.
IMAG1283
IMAG1283
IMAG1283
IMAG1283
IMAG1283

Getting Out

I forgot to snap a picture of my drawing from the second Drawn2gether sketching event at the Gulu Gulu in Salem, MA. It was created by the lovely AJ ning member Sheryl.

It was good to get away from the computer, the books, and highlighters for a few hours to sip a beer and nom some tasty food.  After llibations I got to doodle away on an automatic drawing as I got to know a new art friend.

It was good to have a small patch of fun in among writing heavy papers.

Also, I felt much more relaxed than I did with my last automatic drawing. So there is that, the power of not only art but good conversation.

But for now, back to this paper.

School Stuff: How I Use Those Notebooks and Pens

So how do I use my notebooks? I used to take notes on both sides of every page of my notebooks. I did a little research on the Cornell method and attempted it during my summer class but it didn’t fit with my style of note taking and reflection. It really didn’t fit with the composition books I chose. The comp books were simply too small to effectively use the Cornell method. My method uses color coding, post it notes and tabs, codes, and headings.

I take class notes, reflect on my readings, and journal about classes and experientials on the right side page. Any ink color can be used on these pages, but I usually avoid red. Each page gets a “code” in the upper right hand corner to indicate what is on the page:

R= Reading reflections

C= Class notes

J= Journal

G= Group work
E- Experiential

At the top of each page, in the larger line I add a subject line and date. If the class that day is a about CBT Therapy then that is the subject line. If the page is reflections on a reading then the title and author go on the top line of the page. If I’m journaling about an experiential paper, or particular idea then the name of the experiential or idea is indicated on the top “subject” line.

IMAG1252

While I’m reading I don’t take notes but highlight. If I think something is of particular importance I will write it down on a post it note or put a tab next to the area in the book. I’ll write in the margins of books I plan to keep or of printed articles. The post it notes are stuck on the right side page opposite of my reading reflection pages. I time my reading reflections to 5 minutes and try to keep the reflection to one or 2 pages. The goal in the reflection is to get down my ideas about the article, any criticism I had, and to get a general idea of the contents. I also make note of what I think the professor is hoping I get out of the reading. This timed method was suggested during a workshop about managing the readings for class, and thus far it has worked really well for me.  I’m not filling up a dozen pages per reading, and I’m not wasting a lot of time focusing on information that is not pertinent to the class.

The left hand page is generally left blank during notes and journaling. If a professor gives out specific information about an assignment, I’ll make note of if on the left side. This acts as a call out. I use the left side to reflect on things that come up during class, experientials, journaling, and readings. These are specifically my ideas and differentiated from journaling that I do on experientials. These can be spontaneous ideas that pop into my head as I read and reflect on articles. These reflections are always done in red ink to differentiate it from any specific info given out by the professor.

If I am going to use a particular page for a paper it gets a blue post it tab. These are removed after the paper is finished. My current page gets a green or yellow post it flag mostly so I can flip to it quickly when I get to class or I need to reflect on a reading.

Occasionally when I have a paper coming up for class I’ll sit down and do a mind map of all the ideas that come up from the questions the professor asks, I will then use the mind map as a launching point for any journaling I do for the paper. The mind map will span the left and right side of the pages.

On the inside front cover of each of these notebooks I’ve made a pocket so I can stuff in any handouts or art made during class. This has been working pretty well so far. Though most of my classes do not have hand outs but a few of the workshops I’ve attended have. The pockets have proved useful.

This is an evolving method. I’d abandoned some things- like highlighting within my notes and simply moving to whatever ink color I’m using that day and red. In some of my notebooks I remembered to leave a page blank at the start, and wish I’d done it for all of them, this will allow me to index the notebook when I shelve it. When I do shelve it I add a label to the spin indicating what class the notebook was for and what dates I used it. The idea is that I’m able to quickly go back to class notes and refer to them as needed. The other really positive thing about this method is that it is cheap. I’m using a 50 cent notebook, a pack of colored post it tabs, some post it notes, and several colors of pens. It could be done with only 2 ink colors if you really wanted to pair it down.

Anyway, that’s how I use all those notebooks and pens I wrote about in my last few posts. I should probably stick the school stuff on one particular day of the week but it is my life right now so, yeah, my blog reflects my life. 😛
Grad School Tools

Grad school requires that I write, a lot. I’m not a computerized notetaker, I prefer pen and paper because it helps me to learn and remember. I thought I’d write up a post about what I’m using for notes as well as drawing. Yes, drawing! The great thing about getting a graduate degree in art therapy is that art is part of the program.

First, notebooks.

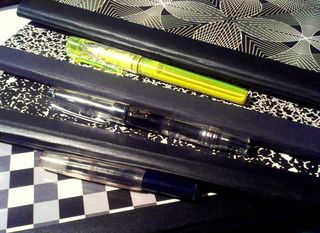
I’m almost exclusively using Staples brand composition notebooks that are made in Brazil. I purchased a bunch of these when they were on sale for 50 cents. 20 of them to be exact. Why so many? After being burned on the Staples Sustainable Earth composition notebooks, I really didn’t want to get into the depth of the semester and have to search out another decent composition notebook. Once I did the work in figuring out what composition notebook I liked with the inks I planned on using, I didn’t want to be frustrated with notebooks. It looks as though I’m going to fill one per class and more for classes where I’m doing more reflection. I’ll have to write up a post about how I use my notebooks, because it’s different than how I thought I’d use them. I also carry a no name sketechbook from Artist and Craftsman that I need to review at some point. It's heavy, but the paper is great.

IMAG1247Writing Pens

I’m almost exclusively using one of 4 pens, depending on my mood, color desired, and what I’m writing.I take 2 of these with me to school as well as an assortment of pens to draw with.


First I have a TWSBI 530 medium nib, I change the ink up as I feel like I want to change it. Right now it’s loaded with Diamine Chocolate. I love this ink and pen combination. The flow is just amazing, the color is like writing with semi-sweet chocolate, and it has lovely shading with this nib. Awesome.

Second I have a TWSBI 540 fine nib that I have loaded with my Scribal Workshop blend of Siren Blue. Now that I have this ink flowing well, it’s just awesome. It flows well, looks great and has nice shading, plus it’s not a boring blue. I also use this for margin notes on my readings.

Third I have my Kaweco Sport Classic in clear with a medium nib. I’ve converted it back to eyedropper since the sack conversion left it leaking into the cap, which it doesn’t do when eyedropper. I’ve got it filled with Private Reserve DC Supershow blue. I love this ink, even with it’s long drying time. I use this for my short reflections on my readings.

Fourth I have a Platinum Preppy medium converted to eyedropper loaded up with a 50/50 mix of Noodler’s Nikita and Red Fox. The Nikita lends it’s bloody red color and the fox gives some water resistance. I use this for reflections for classes on the opposite side of the page. (This is where I need to explain my note taking and reflection  method. I’ll get  a post up about that soon.) I also use it to reflect on my reading notes, again on the opposite side of the page. I will also use it to circle or underline stuff in my notes.

Highlighters

I exclusively use refillable highlighters. I’ve written about my Platinum Preppy highlighters and my mix of ink previously, so I won’t here. I’ll just point out I have 2, one that I take to school with me and one that stays on my desk at home, so I always have one filled.

I’ll get to the pens I use for drawing tomorrow.

Part 6: Workshops and Classes

This is a begining list of instructors that have technique based instruction. If you know of another person who does online technique based instruction, add a comment and I'll check it out and add them to the list. Just because someone is on this list does NOT mean that I personally endorse them. If I've seen their instruction before I'll make note of it.

Daisy Yellow Clear easy to follow instruction, bright photos, interactive online, thriving FB group.

KellyKilmer Has done a lot of classes. Friendly online, what instruction I've seen is clear and easy to follow. Does reasonably priced online and in person classes.

iHanna Loads of online instruction, clear easy to follow instructions, pretty pictures.

The Land of Lost Luggage I have taken 2 classes with Julie. Instructions are clear, easy to follow and technique based. Videos are a little long and and include every step of the image made with a voice over. It can get boring. BUT the instruction is clear and understandable. After you finish a LoLL course you will know how to recreate the technique.

Joggles (I know nothing of this site, just when I looked it's all technique based mixed media classes.)

 ArtJournaling.ning.com This is my site. There are free and fee based workshops run by a variety of instructors. These are all technique based. The forums are loaded with artists and journalers sharing their personal techniques. Lots of pictures of art journaling.

Diana Trout Her blog is ful,l of arty goodness and I love her YouTube videos. Her book Journal Spilling is one I suggest to many people when they are looking for a good place to strat with art journaling.

Roben-Marie Smith teachs many technique based classes. I have not personally taken her classes.

Part 5 Take Away

What can we as instructors do to help potential students make the proper choice? After all happy students mean more happy students.

#1. Accurately describe classes.

#2. If you say you are going to cover something, do it!

#3. Don’t confuse potential students with a lot of fluffy descriptions. A concise description will tell us more about the class than a lot of TV infomercial style writing.

When I was teaching my supervising teacher had me write lesson plans. These plans included a brief statement of what I wanted to accomplish in the class, how long the class was going to last, what I’d cover in the class, and what part of the school and state’s learning goals I was going to meet. Then I’d do a step-by-step plan of the actual classes. I’d include notes on what I would say to students and when. These were serious business, it allowed me to maintain my licensure. If I skipped on these, she’d make me do them again. They were  a lot of work. The thing is, they were so important and helpful for me to be able to accurately teach my students. It was so useful I have made them for all my online classes and classes I hope to teach one day.

If #1 and #2 are too hard, maybe a lesson plan would help. Summarize each lesson into a brief description. If you can’t summarize it, break up the class, add another day. A class can’t be all expansive. Teaching everything is impossible. This was the hardest thing for me to learn as a young teacher. I had each class for about 50 minutes each day. I had to be able to summarize my lessons into something my supervisor could figure out in a moment.


What I’ve learned from this discussion is that there is a viable and lively group of people looking for honest, in depth mixed media and art journaling instruction online. What this group wants is safe classes with art and no diving deep into the subconscious, no mind-body connection, no promises to jumpstart creativity, just honest-to-goodness mixed media and art instruction.We can all hold dear the idea that art heals, but we can all also find that in our own personal practice of art journaling if we want it.

I also get why some teach the healing they have learned. It’s natural to want to show this thing you’ve learned with everyone. It’s awesome and we should be proud of the deep internal work we’ve done. That is some powerful stuff. When we have spontaneous healing of wounds we’ve dug out of “the deep” of our subconscious, it’s mind blowing and even life altering. Personal revelation does not necessarily make a good class. Nor does self healing qualify us to take others on that journey. We need to modify what we teach so that it is safe for anyone who takes a class with us. I’m advocating for us to care more for each other, and with that to be careful with the possible hurts that people may feel.

I'm going to make a brief list of the instructors that I know who only do technique based classes but I'll post that in another day or two. If you would like to shoot me an email with a class you tink should be listed feel free. You can also add it in the comments of the post tomorrow.