I don’t know where I first learned of making ink wash images. High school probably. We did a lot of work with pen and ink, it seems directly up Ms. F’s alley to use an inexpensive and yet extremely satisfying method to teach us about shadows.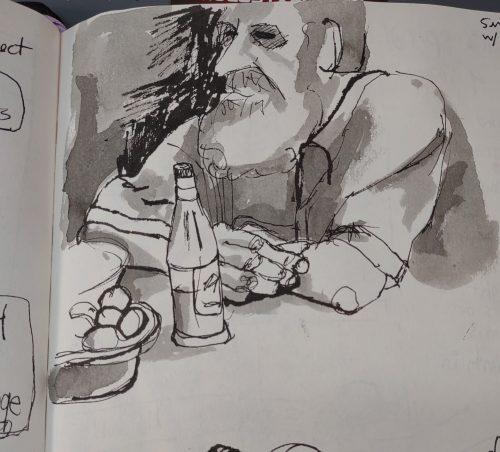
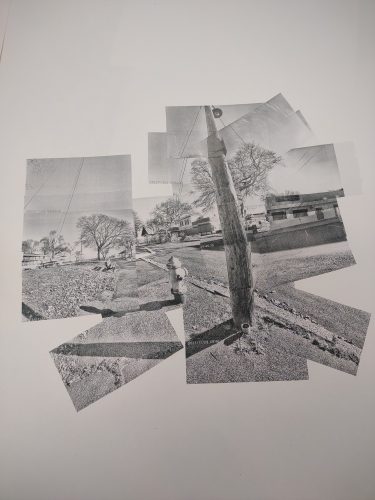
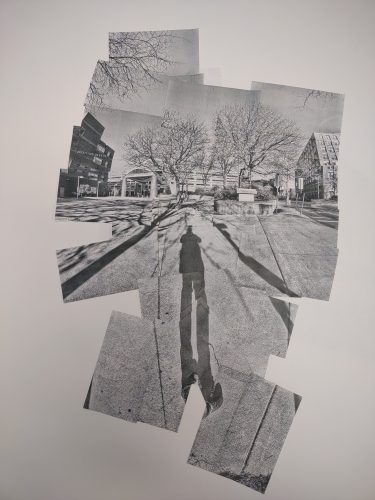
It lends itself to portrait, landscapes and urban sketching. It’s a great method for fast loose images but also more detailed realism as well.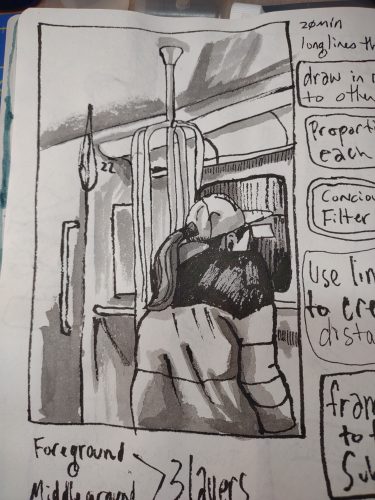
The look of ink wash is easy to spot, it looks a lot like watercolors but in black and white. The warmth of the ink flows through the image and on the right paper has a touch of granulation, depending on the quality of your India Ink.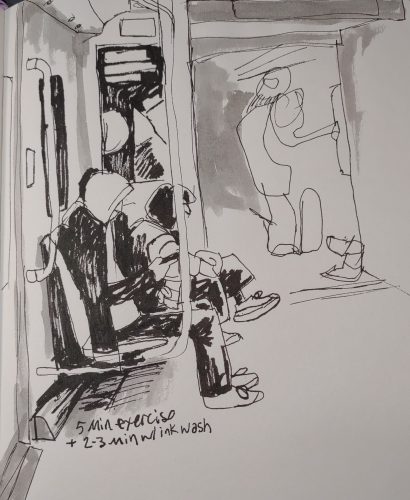
It has a look to it that I love and have loved for years.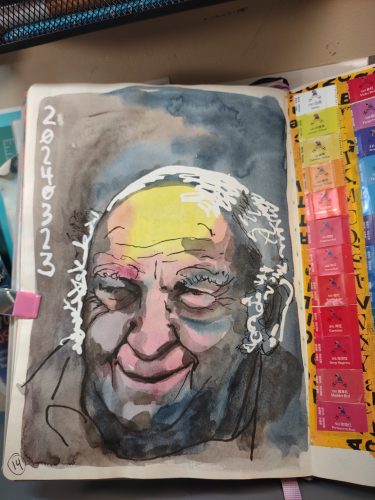
It’s easy to do- put water into bottles (I did 40 ml in a 60ml squeeze bottle from Dollar Tree) add in drops of India ink to the level of darkness you desire. I did 40drops in the 1 bottle my light wash. Then 70 drops in the 2 bottle my darker wash. Generally speaking, you double the amount of ink ink in each subsequent bottle of water. You can range this out to have greater gradation, but at a certain point the gray wash looks black.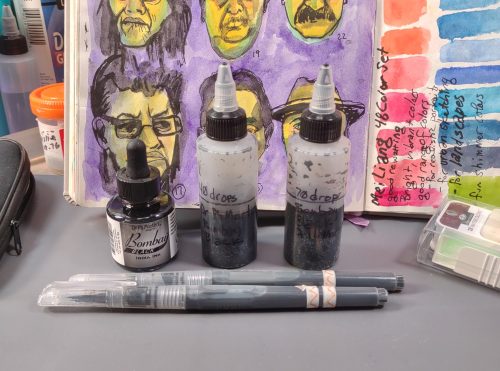
I do 2 level of darkness because I can layer my washes to get more range of dark but I can never get the lights back. When I first learned about ink wash we did 3 levels of wash. I’ve seen people do 5.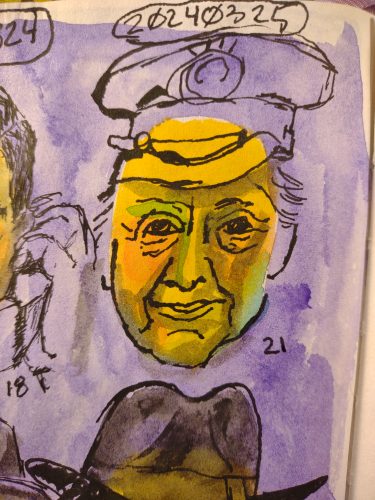
Two is enough for me.
At this point you have a large amount of wash mixed up. You can decant it into smaller containers, dollar tree makes small glass jars that I use for dipping pens and small brushes into, they hold about 10ml of liquid. These are great for carrying around small amounts of wash.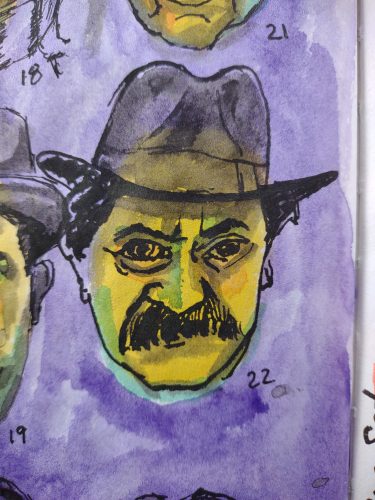
Or you can pick up a cheap set of water brushes- I’m using Making Memories brand from Michaels, which are the single worst water brush I’ve ever used- they suck color and water up inside the brush and mold!* Gross. BUT for filling with color? That is where they excel. Because we don’t care if they suck some of the ink wash back up into the handle, these are perfect for ruining with ink wash.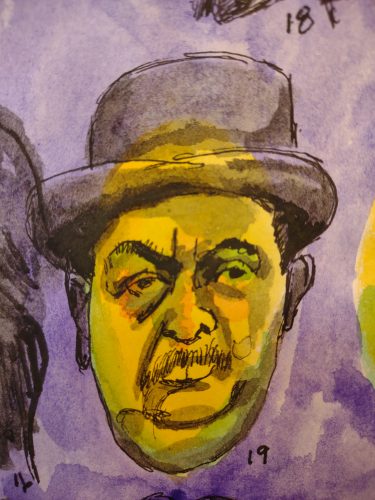
And yes, putting ink wash into a good water brush WILL likely ruin it. It can also stain brushes.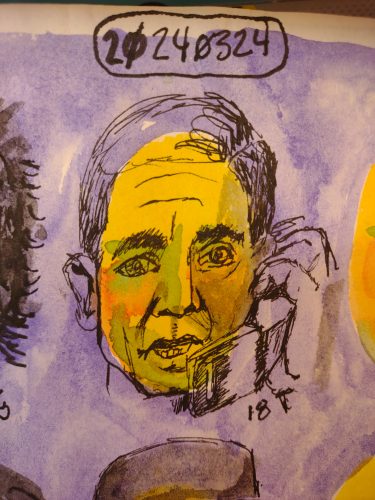
The good about ink wash- the shade of gray stays put, once it is dry it does not move. It is permanent. It does NOT lift or move. You can layer watercolors over it. Once dry you can draw on top of it.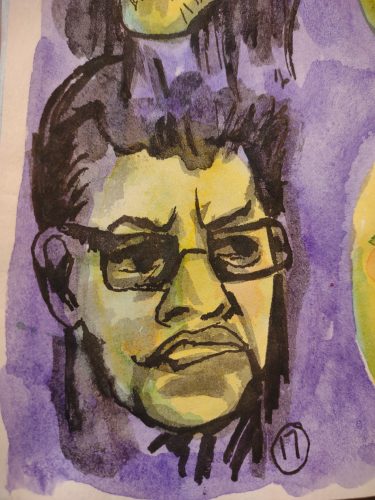
Making art with this works in two ways for me- in the more traditional manner, I sketch with a pen first then I go back in and use the brush and ink wash to layer in shade. I use my lightest wash first then add in the darker wash. I can layer my lighter wash over itself to create more gradation. I can deepen the shadows through layering my darker wash.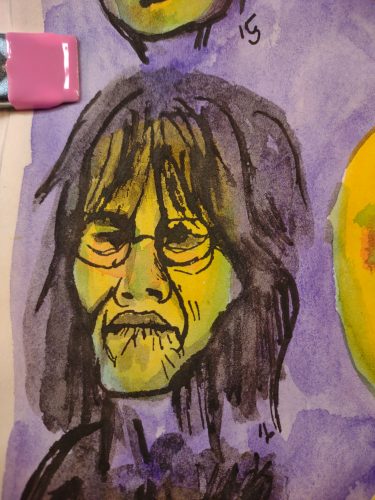
Once each layer of wash is dry it’s set in place.
I also use it on top of my random watercolor backgrounds.
Ink wash is a great tool to have in any art journaling tool kit.