Tag Archives: fauxdori

Fauxdori Traveler’s Notebook System, Fiscally Responsible?

A classmate took note of my fauxdori a week or so ago in class. After some discussion, she brought up something that I’m really surprised I didn’t think of, or consider about these things, she asked me if I saved money with the fauxdori over new notebooks/journals/sketchbooks. I had never thought of it that way.

I considered my sketching and journaling method previous to using the fauxdori. I either made or bought a Moleskine pocket sized sketchbook. These have 60 pages and around here cost about $10. As for written journaling I usually did that within the moleskine or in a separate moleskine Volant ($4.50 each) or Cahier ($3.30). * The Volant has 56 pages and the cahier 64. My daily carry cost was between $12 to $15.

 My current sketchbooks are BanditApple Carnet (BAC) PeeWee. These have 64 pages each. These cost between $3- $3.50 each depending on where I purchase them. For writing I use a Field Notes book and these run about $3.30 each. So I’m spending about $7 on inserts. Clearly there is a savings in just one bundle of inserts. fauxdori

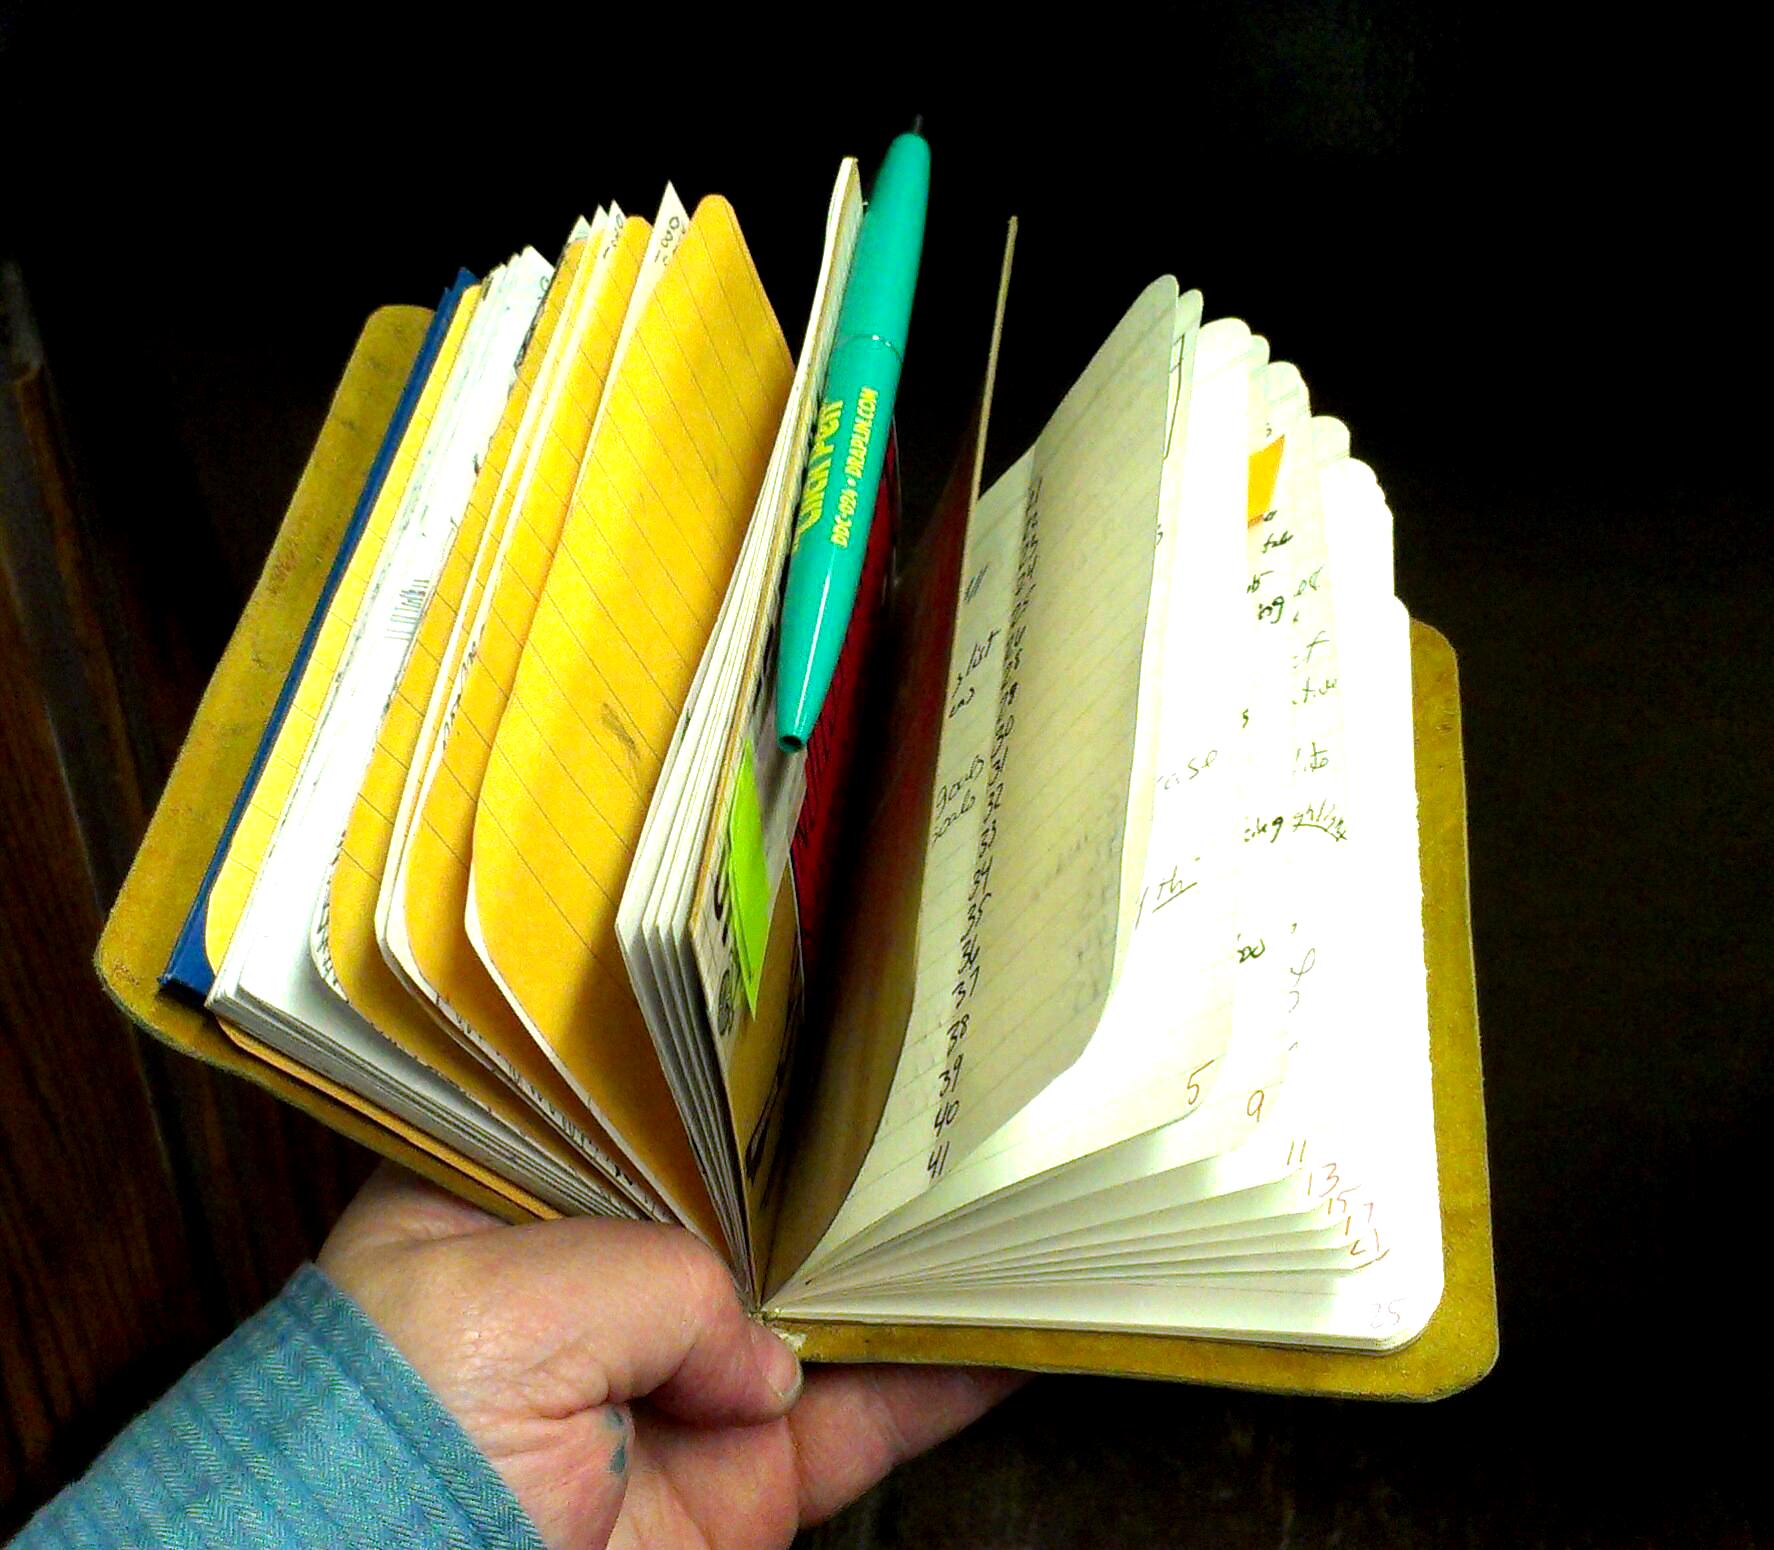
My current rate for filling a BAC is 1 a month. Considering that they have a few more pages than a Moleskine Sketchbook. I’m already saving. If I were purchasing one Moleskine or HB a month  I’d be spending $120 to $144 on sketchbooks alone in a year. I’m filling a Field Notes every 16 to 20 days, depending on to do lists, journaling, and assorted school type stuff. A Field Notes is only 48 pages compared to the volant’s 56 or the cahier’s 64. that being said I always had issues with the last pages of my cahiers falling out and the spine of the my volants tearing and needing repair. I’ve yet to damage a Field Notes to that degree. Part of that is I’m not carrying them around outside of a cover but also, they spend less time in my pocket due to the fewer pages. I’d call this aspect even.

The answer to my classmate’s question of a fauxdori being fiscally responsible is, yes, it is. I save about $80 by not buying a moleskine/handbook every month. I also save myself a lot of aggravation. The cover allows the books to really be treated quite roughly. I’m able to carry both books in my back pocket, sit on them and generally abuse them more than I would be able to otherwise. So I’m saved from gluing up spines, falling out pages, and other nuisances.

It’s probably humorous that I turn around and spend that saved scratch on other things, like sketching pencils and pens… Right?

Continue reading

Chip off the old Midori Traveller

I liked my large sized Midori Traveller Notebook knock off (TNKO) so much I decided to make a pocket sized version to hold a few jotters. Once I made it I realized I could wedge my Canson Blue Book into it and make my art and not taking need marry into one refillable slab of leather. And it works, marvelously, perfectly and addictively. I’ve sketched, journaled and made notes in nothing else* since I made this thing. Oh baby. I took the leather from the first incarnation of the 6×9 inch TNKO and recolored it with artist grade artist paints in a couple of shades of brown. Then impregnated, that sounds dirty, it’s not but it is kinda messy, the leather with cold wax and then straight up bee’s wax and heat. This leather is waterproof and so soft and smooth it’s awesome. I’m pretty amazed at how well it came out. I didn’t know what to expect when I hit it with some wax and light heat, I knew it would take it and take it well but I was shocked to see how well.
P4074027
I also stitched a pen loop and a pocket into the back, a pocket may end up in the front as well. I’ve started to stuff random things into the pocket- business cards, receipts, stickers and scraps of paper that I acquire throughout my days. Under the elastic my iPoo is comfortable along with a pen. It’s really allowed me to pare down my on the go journaling needs to a journal, a jotter and a pen or 2. I’ve got more to write about concerning pared down journaling and how it’s really opened my mind to possibilities.
P4074030

Continue reading

UStream Monday: Midori Traveler Knock-off Supply List

I’ll be streaming this live on my Ustream channel Monday 1/10/11 at 6pm EST.

If you want to follow along here are the materials:

  • A 9x12inch piece of 4 ounce or heavier leather.  Don’t get upholstery leather unless you want to back it.
  • Ruler
  • Hole Punch or Awl
  • Exacto or Click Knife
  • Hammer
  • Eyelets and setting tool (not absolutely necessary
  • Thin elastic cord- 2 pieces one 33 inches and one 12 inches
  • Sharpie for marking where to cut.

You’ll need to cut a 9×12 inch piece of leather. If you have a leather shop in your area most likely they can cut a chunk for you. You can also look for heavier leather on eBay. I’ve seen a few sellers on there selling exactly the kind of leather you’ll need for this. Try looking for latigo leather or Leather 4 oz. You’ll find something. You can also contact a shop and see if they will cut a piece to size for you.

Find the center of each long side. We’ll be punching a hole at the top and bottom of the piece as well as a hole in the very middle of the leather. Then 2 more holes 1/8th of an inch from the first hole. Then one to lace through.  This will make sense in the video.

After that we’ll use a few eyelets to support the holes and then thread the cord through the holes.

The 9×12 size is perfect for a moleskine cahier in the 6×9 size or my handmade jotters. I’ve also successfully carried the manuscript for my book stapled in a corner, folded in half then threaded under the elastic. Protects and holds it all together. It holds 3 elastics to hold notebooks.

Now keep in mind I’ve never seen a midori traveler in person, this is my version of their product from looking at online images. I use it primarily to hold all the handwritten notes in the various notebooks together in one place as well as my planner. I don’t know how their threading works.

Some ideas to add to this: if one wanted a stiffer back cover, a pocket could be sewn in and a piece of stiff card stuck in it. Backing the leather could add to the stiffness. I like the raw leather I’ve used as I can run acrylic paint into it to get a nice color change. The size of this can be adapted to ANY size notebook. Want one for a pocket sized? Measure the cover size, double then add an inch and a half  to get the long side. For the short side add a half inch. (3×5 would get a 5.5×7.5 cover piece)

Anyway tune into the show tomorrow night, or if you can’t make it watch the video!

See the video here:


Faux Midori Traveler

<p>So this weekend (or was it last week) I made a Midori traveler knock off. Essentially I really liked the idea of the Traveler system but hated the idea of being tied into weirdly sized notebooks; also the price tag of $40USD was a tad to steep for me. So I took a look at the system- a sheet of stiff leather, hole dead center for the closure and 2 holes at the center of each long side with a piece of elastic cord threaded through the holes. Easy to replicate.</p>
<p>For my first UStream show in January I’ll be showing you just how to replicate this thing, it’s ridiculously easy. You’ll need to buy some leather to follow along. You’ll need to get a square foot of leather. There are loads of sellers on eBay selling all kinds of leather. You will want a stiff cow hide for this. Latigo is great because it’s been stiffened and colored. It’s also very expensive. You can get away with buying cheaper leather in the 5 to 7 oz range, mine was 4 oz and pretty stiff. If you get thinner or softer leather you’ll need to back it and we’ll discuss that in my show. Goat hide is also stiff enough to use for this project though usually pretty thin. Pick a color of leather you like and realize that its color will change over time- both as it ages but also from you handling it. However if you buy a tan color or even a chocolate brown color and you find you don’t like it when it arrives, don’t fret, you can change the color easily with acrylic paint.</p>
<p>Sheep hide is super soft and really nice to hold, but it’s not stiff at all and you will have to back it to make this cover usable. The same goes for deer hide, lovely stuff but again you’ll need to back it.</p>
<p>By backing the leather I mean that you’ll need to glue a sheet of paper or fabric to the back side of the leather. The glue and paper/fabric will stiffen the leather enough that you create a usable cover.</p>
<p>If someone is selling a “split” it is suede. Again, lovely stuff but not suitable for this project, not to mention that suede is a beast to work.</p>
<p>The first cover I cut was about a half inch too short, so I made myself another. I’ve got to say for a project that comes together in about 20 minutes start to finish that it’s really quite presentable and useful. My little notebooks get knocked around in my bag all day long and frankly I can see that this is protecting them. Having the 3 notebooks inside gives it some weight but also adds additional stiffness to the whole package. I could if I wanted to fold the pages over and write in it in my hand. The 6×9 size would be a little awkward but still easily done.</p>
<p>With the elastics properly tightened I can write on both pages, both sides without issue when sitting at my desk. It’s comfortable and the margin doesn’t get in the way. Even if the fold did get in the way I’d easily be able to remove the current notebook and write.</p>