Tag Archives: planner

First Look: Baron Fig 2018 Planner

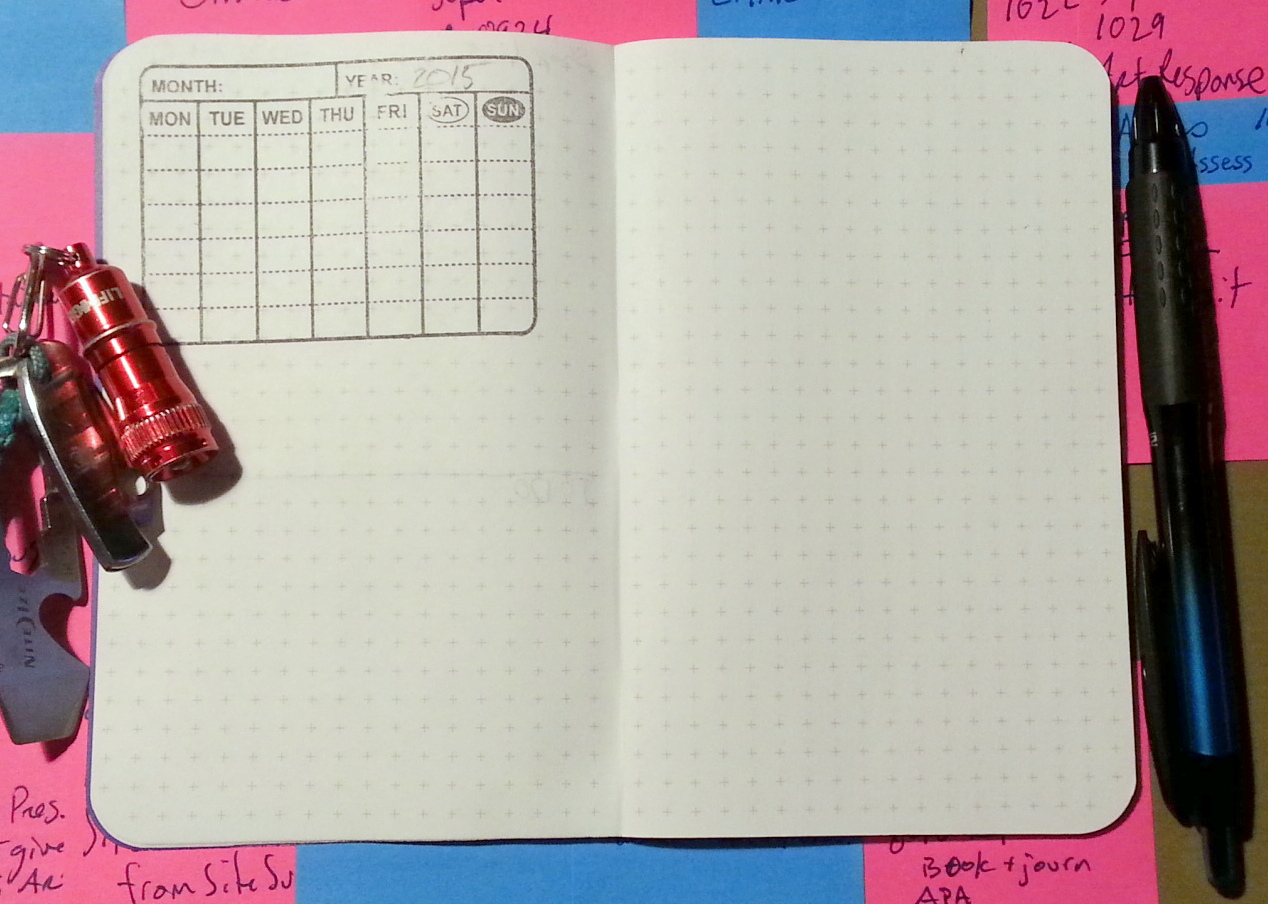
This planner begins with a Baron Fig Confidant base- a solidly built grey notebook. In this case medium, or flagship size, with a charcoal gray cover. Flagship size is 5.4×7.7 inches or 137x196mm with 192 pages of toothy but fountain pen friendly paper. The paper is off white. All ruling is light grey.

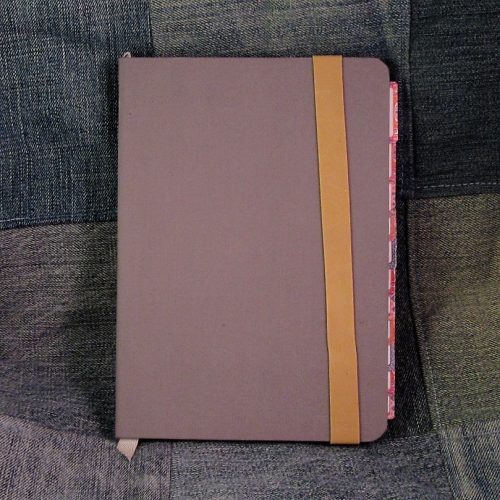
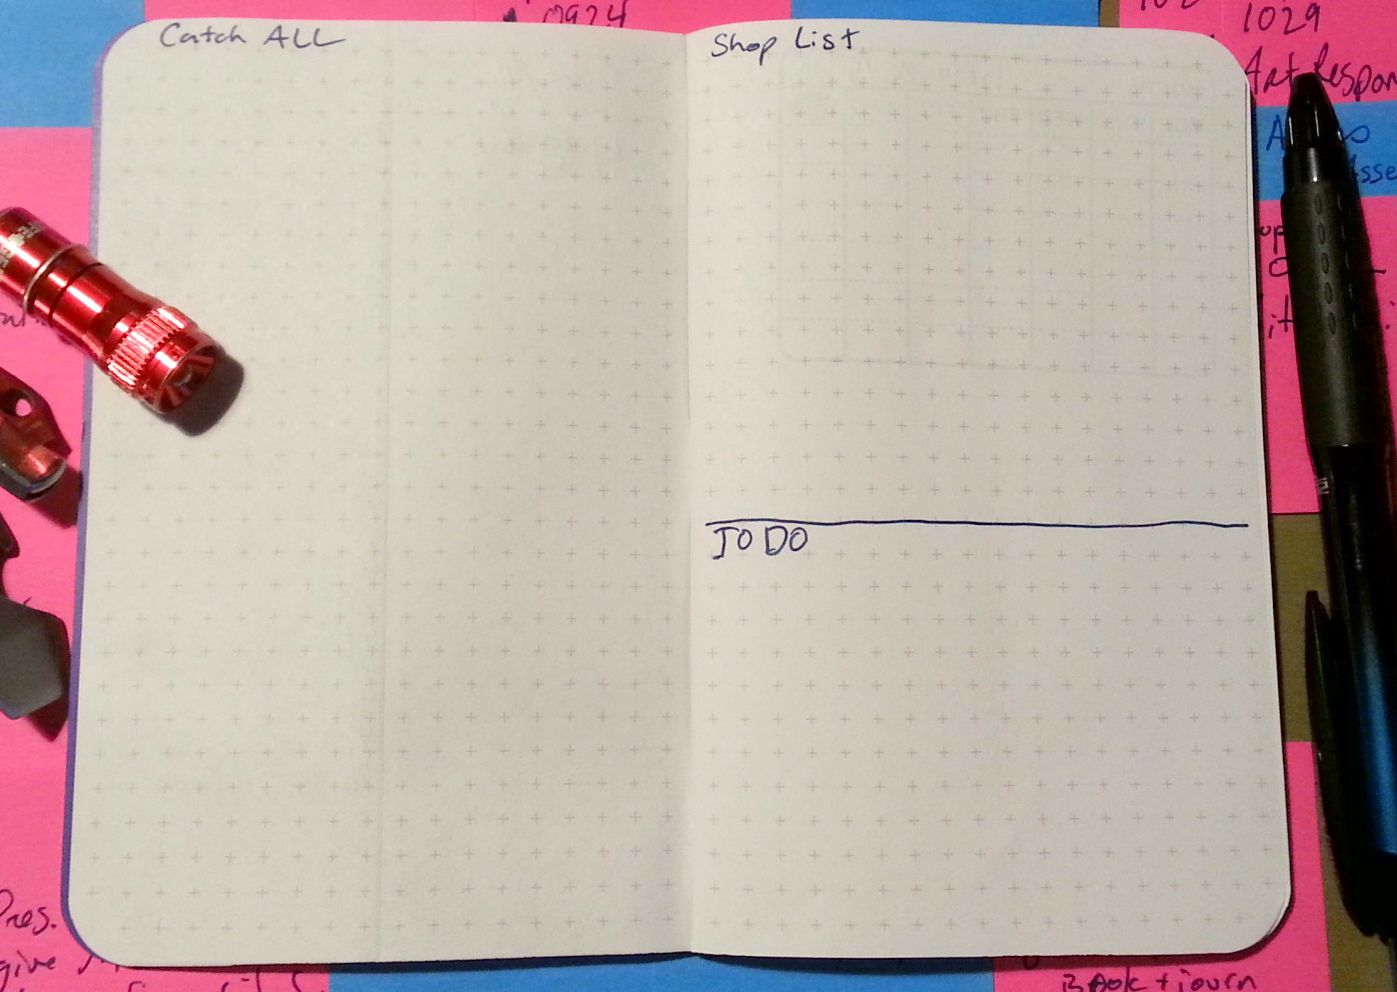
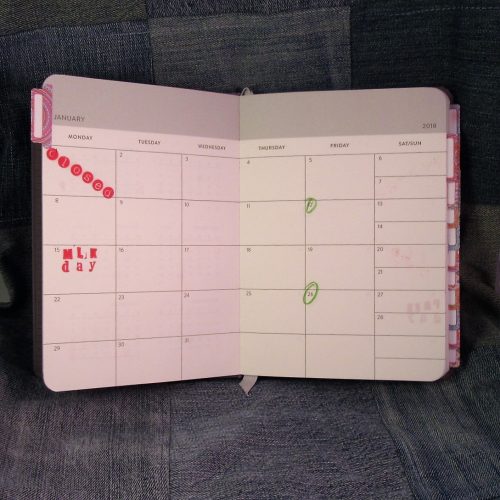
Inside the planner is where it differs from the Confidant. There are different sections, starting with a year overview, followed by month at-a-glance, then week + day view, and finally a notes section with dot grid ruling. As I’ve mentioned, the ruling is all light gray. For me, it is perfect- it disappears behind the inks and pencils I use most often, while being completely visible in regular light.

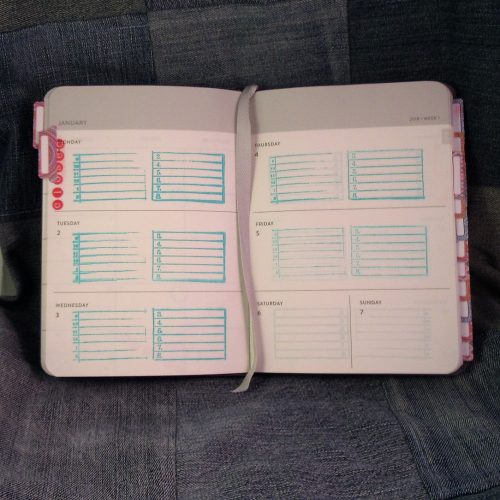
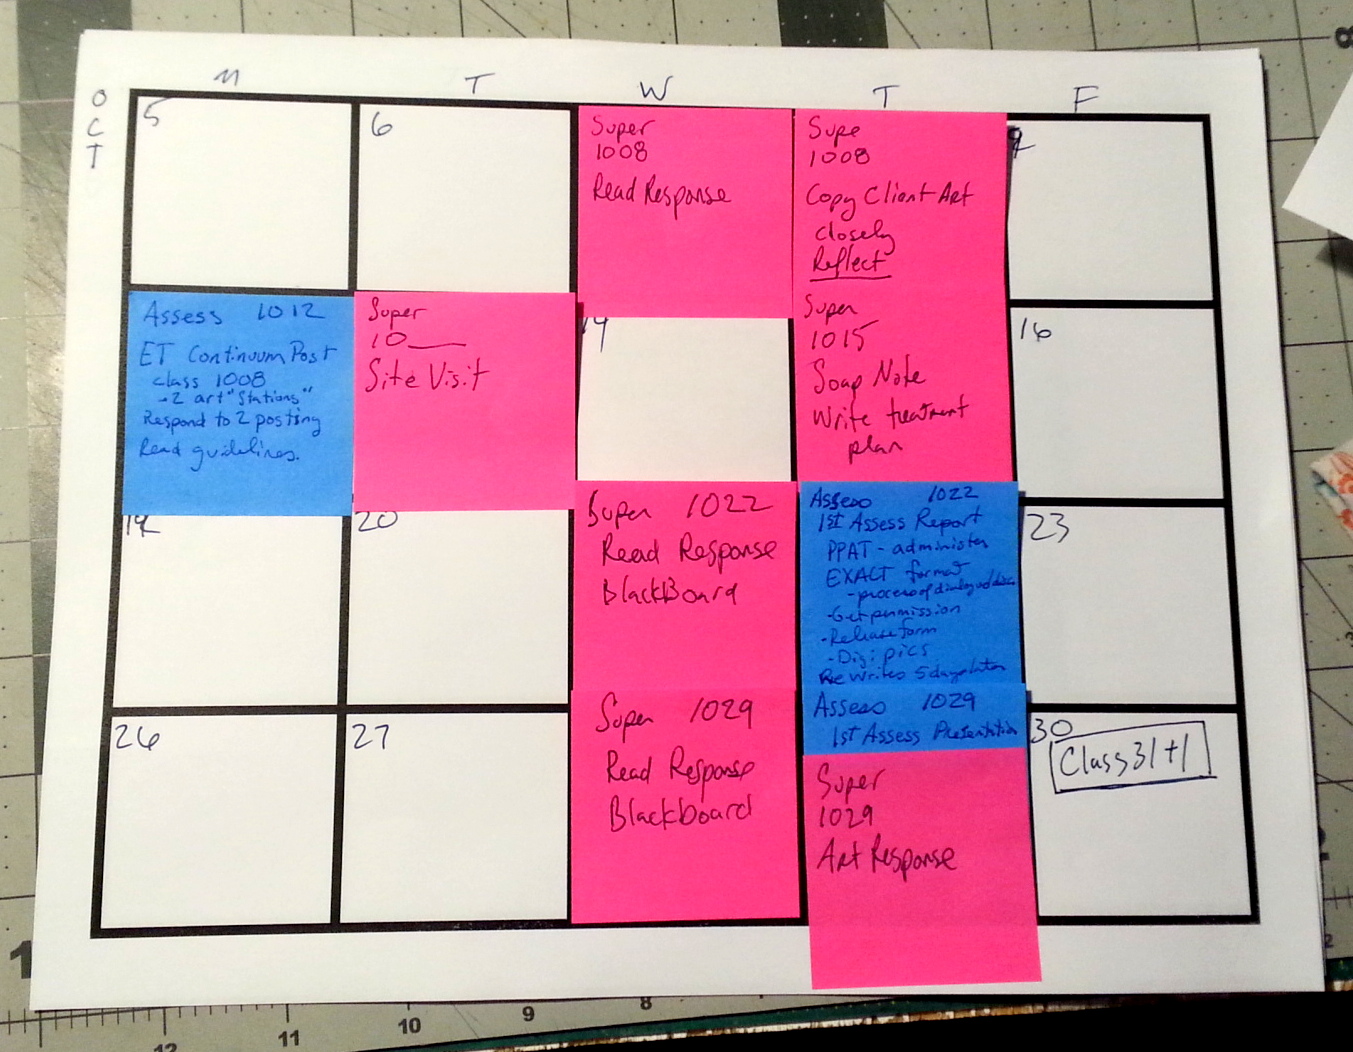
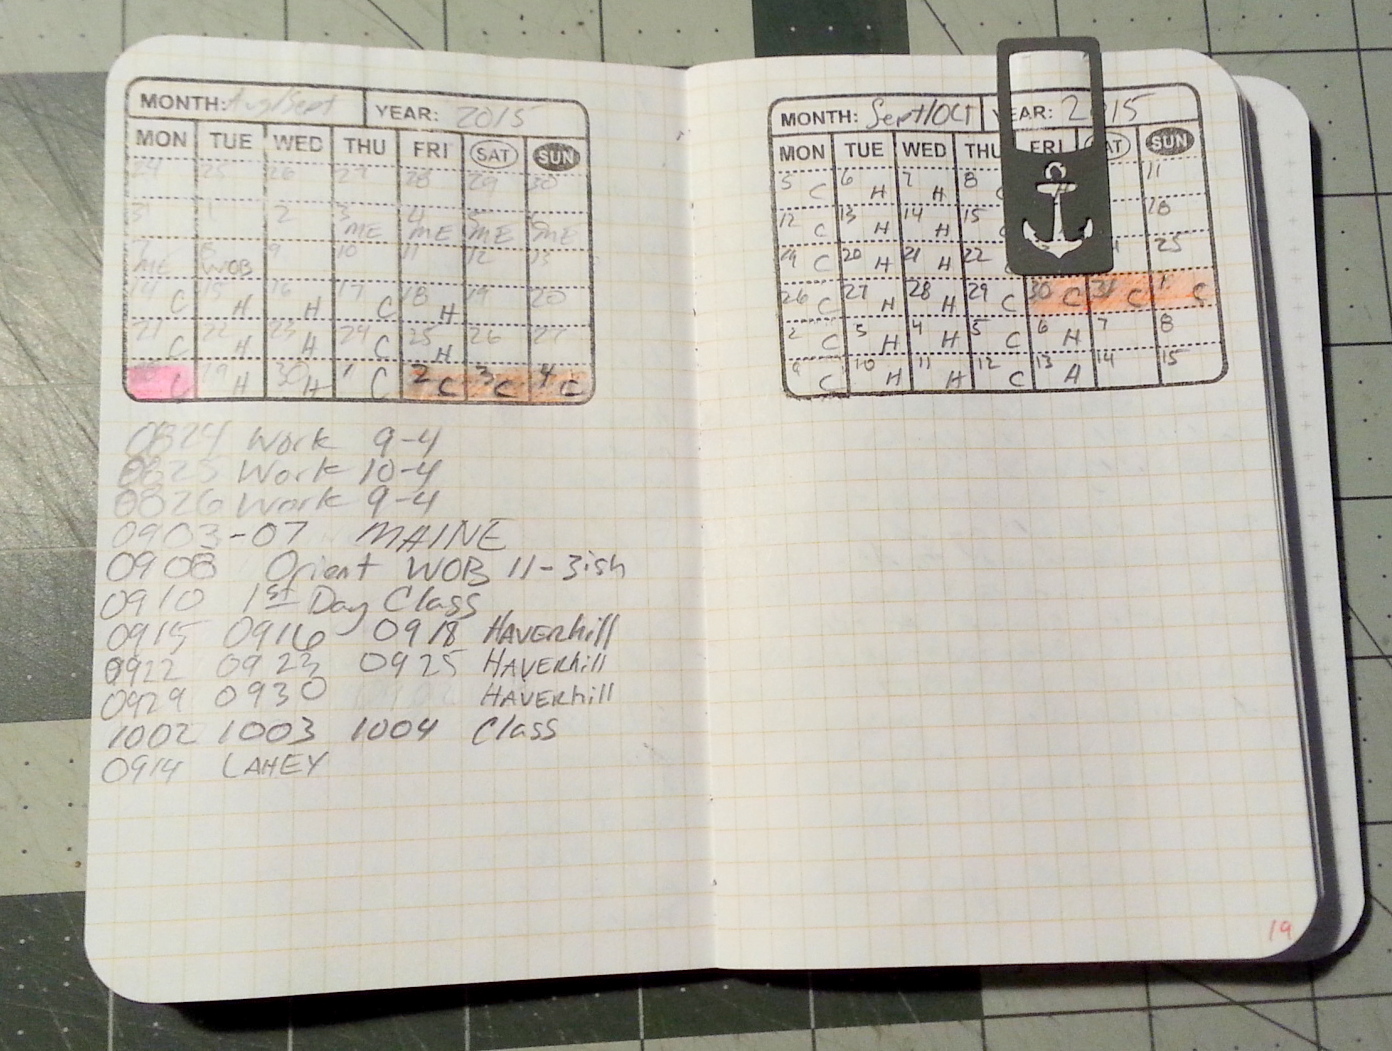
Depending on your use- the week + day view might be perfect. I’m in a profession where I need to schedule myself by the hour on the hour- so I needed to add in times to each day. I looked for self inking stampers but found none that would work for the available space. I picked up (and was gifted) a few number stamps as well as to do list stamps. Combined with an acrylic block I am able to stamp each week and day with 9am-7pm along with lines. This lets me schedule clients and easily see which times are open. In the past I didn’t need to have the hour marked out and this planner would have worked really well for me. I like the generous openings for each day with smaller spots for weekends.

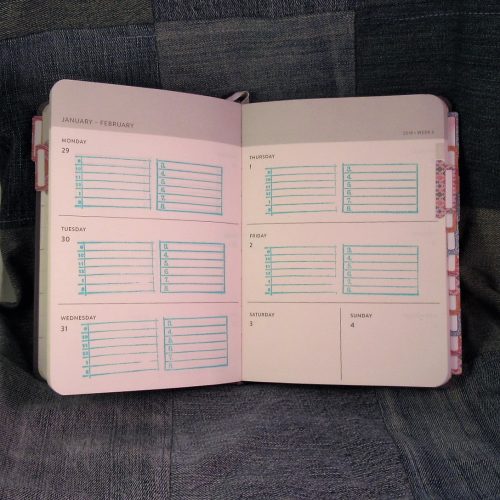
The month at-a-glance is useful for planning vacations, paydays, and other activities. I also found the year overview useful to track vacations and days off. In the monthly section I used rubber stamps to label holidays and days the office is closed. I then used these to easily find the same dates in the weekly planner section to also easily label those same dates. This way when it comes to scheduling, it’s easy as can be.

I had never used rubber stamps in a Confidant before, and there are some important things to be aware of. First if you are stamping something with a lot of “black” area and you are using a REALLY juicy wet stamp, it will soak through to the verso. It stops short of completely soaking through but it is visible. Because the paper is good for fountain pens, it does take a really long time for pigment in to dry. I used a blotter sheet while I was quickly working, and even after an hour, the in was still wet. Use of a heat gun to dry pigment ink is totally necessary. Stick to fast dry ink pads or keep your heat tool handy.

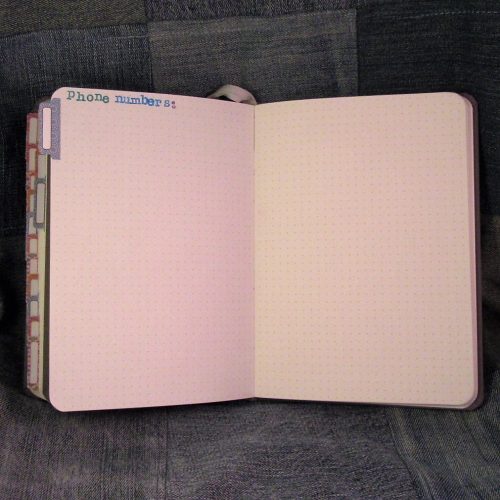
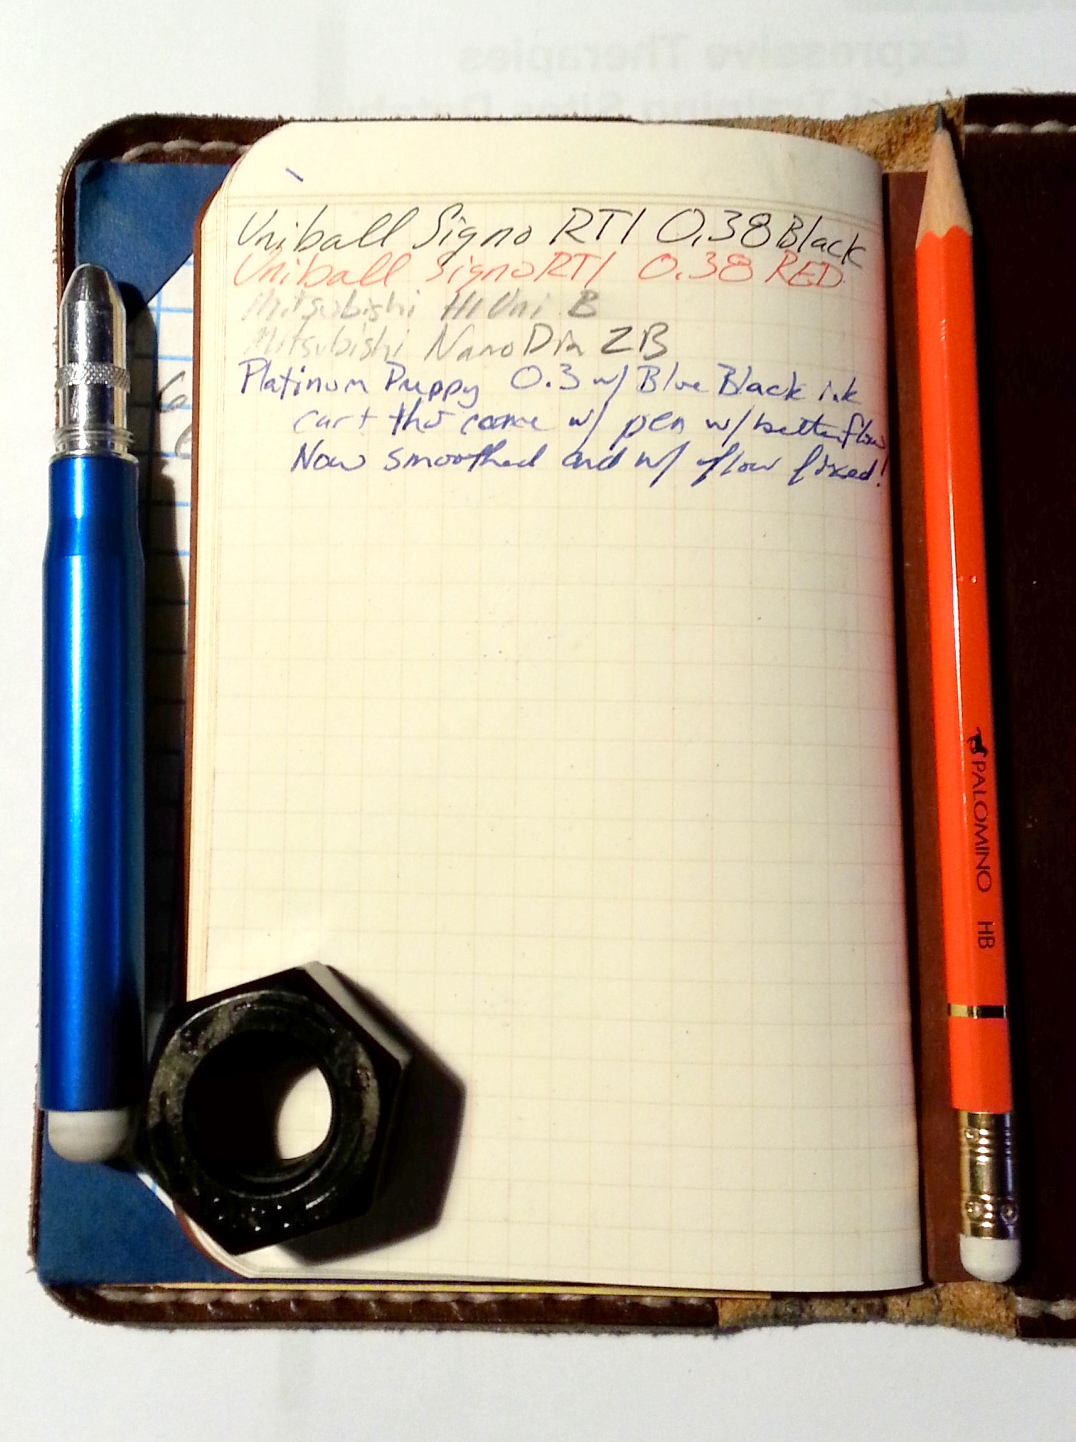
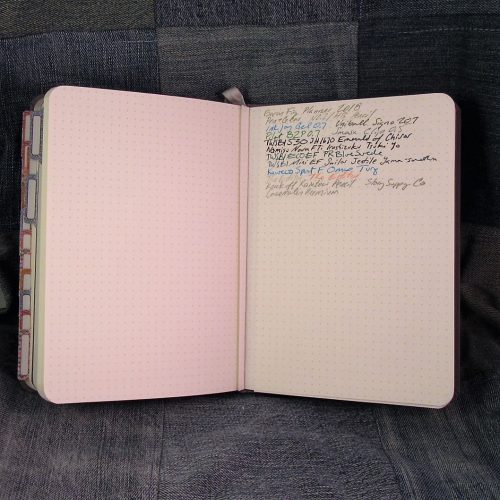
Because the paper is so good for ink, ink looks amazing on it’s creamy surface. I have been very pleasantly surprised by how nice the stamp inks look. I’ve used red, teal, indigo, and pale teal and it all looks wonderful. The cream paper does darken everything by a shade or two. But it looks great. The stamps are crisp and edges neat, except where I used too much pressure. I’m able to write names into the lines easy as pie, and the ink looks great. Pencil also fairs well enough. Once the stamps are set pencil erases off the page and the stamp is still strong and vibrant.

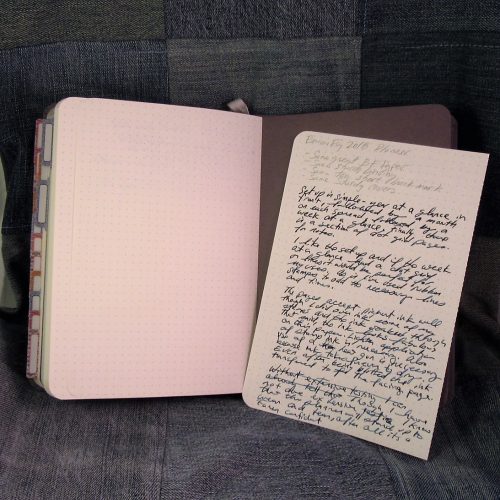
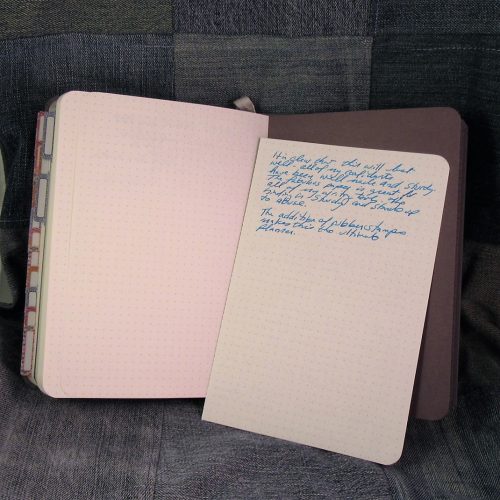
Overall, with just a first look at this, and basically setting up the planner for use next year I’ve found it to be pleasant and well built like any Confidant. A year in my bag will tell me how well the cover stands up to abuse and coffee, but based on my use of other Confidants I suspect it’ll fair just fine. As with any planner if it will work for you is really based off the week at-a-glance layout as the bulk of the planner. I suspect I’ll be using the Saturday and Sunday spots for to do lists as I keep my outside-of-work life separate from work.

You can find the planner here.

Continue reading

Highly Visual Calendar

Because I am a visual person, I’ve always used some manner of large wall mounted calendar to keep track of the things I need to do. When I had a nifty office for my job, I had it mounted right next to my monitor and wrote in stuff as far in advance as I knew it was going to happen. I’d also add in a variety of things that were reoccurring. I attempted at one point to use a fancy Palm Pilot but it didn’t get my visual nature as well as a simple calendar.

Then I left my job and I used pocket planners alone, but I found that stuff would slip my mind. Last fall I started out with a simple piece of cardstock in a Trapper Keeper folder with a clear pocket on the front. Each class was assigned a color and I’d write out each assignment and the due date onto a Post-it  of that color. I used the small 2×2 cube Post-its.

Not only was this visual, but when each task was accomplished I was able to rip the Post-it off, crumple it, then toss it into the trash. I’m telling you the feeling of tossing the Post-it was better than a gold star.

Enter this fall and a slightly fuller class load than the previous semesters, plus the looming possibility of having to write a thesis, and my  simple piece of cardstock isn’t BIG enough. Yup, I’ve only got 2 of my 4 syllabi and the single sheet is full. Some of the notes are redundant- Blackboard responses to readings, ongoing art responses, etc… But for the most part, if I subtracted those, I’d still have a metric ton of Post-its. Plus, 2 more classes need to be added.

To accommodate the additional course load I decided to make a 5×4 landscape table in publisher, with a super thick grid. (PDF here.) Notice that there are no labels. I just write above the grid M-F. I omitted Saturday and Sunday because the grid was too small with them, and those days will simply be days for reading and writing, with the exception of weekends where I have class. I’ll have special Post-its for those weekends… Probably.Visual Calendar

What this gives me is a flexible and HIGHLY visual calendar. I can see at a glance that the week of October 12-16th is going to be busy while the week of September 14th through 18th is going to be pretty quiet.Visual Calendar Visual Calendar

You can buy this already printed and with all 7 days from Post-it themselves. Or make one that works with whatever sticky notes you happen to have on hand. The grid was easy to set up in Publisher, but would also be just as easy to do in any word processing program like google docs.*

I also use Google Calendar to remind myself of reoccurring items like my Blackboard assignments. I tend to forget about things like that. though the due date is the day of the class, I tend to not have time on the day of the class and self impose that those assignments are finished in advance of the actual due date.

Continue reading

Revision: Pocket Notebook Set Up

Every successful system and tool must be reviewed periodically to assess its usefulness. Case in point is my use of pocket notebooks. I’ve been using a little card with a 3-month calendar taped to the front of the book. This has served me pretty well, but requires transfer from book to book.

I’ve also pretty much stopped using the 2-page “To Do” list pages. generally, when I move to my next book the pages are nearly empty. Now this could partially be due to this being the summer or just because I’ve slightly outgrown the list.setupv

I’ve been on the lookout for a one month rubber stamp with blank month/year/etc. I finally found one from this seller on etsy. It fits perfectly onto a half page of a pocket notebook and leaves room below for making notes for important dates. This will go on what was my blog to do page and will replace my calendar card, as I’ve found in my last few books the washi tape tore the cover. Which annoyed me more than anything.20150827_175119The new set up is as follows:

  1. index
  2. catch all page
  3. shopping list/ to do list
  4. Calendar pages (2)

The shopping list and to do lists will be combined onto one page with the top half being the shopping list and the bottom half the to do list. If I need to make a large list of stuff to review for the blog, I’ll make that within the notebook at a random location. I can find it quickly due to the index page.setup  setup


Organization: Pocket Notebook Set Up

I often refer to  how I set up my Field Notes on social media, but I’ve never done a full blog post about my set up. I keep waiting for a time when I have just set up a new book but not written much yet. I am finally at the perfect moment- I have just started a new book and have only filled a few pages.FNindexedI start by numbering each page, preferably with a red Uniball Signo 0.38. If I can’t find the red I’ll use a black ultra fine pen. I use the Signo for it’s waterproof ink and super fine writing capability. It also does not feather or bleed on any paper.

The first page becomes my index. I fold the page in half and write 2- 48. Each line represents a page in the book. As I fill the page, I log it on the index page. I try to stick to simple one or two word descriptions. This lets me find pages with ease. On books with a large top margin (Ambition/Word.) I’ll write an expanded description on this line, otherwise, nothing.FNindexedI have a few set pages that I put in each book. Page two is always a catch all page. This page captures quick info; phone numbers, passwords, websites, words, page numbers, and the like. Specifically info that is ephemeral and I may not need to dedicate a full page. Page three becomes my shopping list. Generally, this isn’t for things like bread and milk, but larger items we run out of less often; light bulbs, laundry detergent, or things like staples, glue, etc… The things I might forget to buy when I’m in a store like home despot or target.  Pages four and five are my to do lists. Four is usually dedicated to my blog while five is my school and life. Page forty-eight, the final page of the book, is always my pen and pencil testing page. This lets me test out pens or pencils in store to see how they will work on this particular paper. Then page forty-seven is where I log the types of brews I’m using for my coffee.  How much coffee to water was used, how did the brew turn out, etc.FNindexed FNindexedFNindexedThe final addition to the book is a 3 month calendar. You can find them online or as a word template. I print one off and then cut out 3 months. I use washi tape to stick it into my book over my address section. I cross off the days as I remember, but this has become very useful when I’m planning things for classes and meet ups with friends and I don’t want to drag out my planner.FNindexedAfter that the rest of the book is a free for all.

When the book is filled I log it into a master index book and file it away. The master index is another field notes book where each page looks like the index for each book. Each book is logged on it’s own page. The descriptions are expanded slightly to be more descriptive, but only if they need to be. If the index states “paper,” it is expanded to state, “Theories F14,” so that I have a better idea of which paper it refers. However if it’s logged as “journal,” there is no need to expand upon that , unless the journaling deals with something specific that I may need to refer to later. This system lets me grab my index book, flip to about where I think I logged something, scan through quickly and find that “Theories F14” entry and pull the right book in less than a minute.

Of course this system works because I’m only searching through an index of 20 or so books. (I did not go backward and index my older books, I’m not quite that neurotic.) As my index, and number of books, grows searching will become more difficult and more time consuming.While I was a wiz with the card catalog when I was a kid, I don’t relish the idea of combing through multiple index books. At some point I will need to digitize my collection of notebooks. I’m resistant to this now, but I do see the need for it later, as I amass more and more books. I’m not sure what application I’ll use to do this- Evernote, OneNote, or some other platform. Who knows what will be available when I do finally decide to digitize.

Fauxdori Traveler’s Notebook System, Fiscally Responsible?

A classmate took note of my fauxdori a week or so ago in class. After some discussion, she brought up something that I’m really surprised I didn’t think of, or consider about these things, she asked me if I saved money with the fauxdori over new notebooks/journals/sketchbooks. I had never thought of it that way.

I considered my sketching and journaling method previous to using the fauxdori. I either made or bought a Moleskine pocket sized sketchbook. These have 60 pages and around here cost about $10. As for written journaling I usually did that within the moleskine or in a separate moleskine Volant ($4.50 each) or Cahier ($3.30). * The Volant has 56 pages and the cahier 64. My daily carry cost was between $12 to $15.

 My current sketchbooks are BanditApple Carnet (BAC) PeeWee. These have 64 pages each. These cost between $3- $3.50 each depending on where I purchase them. For writing I use a Field Notes book and these run about $3.30 each. So I’m spending about $7 on inserts. Clearly there is a savings in just one bundle of inserts. fauxdori

My current rate for filling a BAC is 1 a month. Considering that they have a few more pages than a Moleskine Sketchbook. I’m already saving. If I were purchasing one Moleskine or HB a month  I’d be spending $120 to $144 on sketchbooks alone in a year. I’m filling a Field Notes every 16 to 20 days, depending on to do lists, journaling, and assorted school type stuff. A Field Notes is only 48 pages compared to the volant’s 56 or the cahier’s 64. that being said I always had issues with the last pages of my cahiers falling out and the spine of the my volants tearing and needing repair. I’ve yet to damage a Field Notes to that degree. Part of that is I’m not carrying them around outside of a cover but also, they spend less time in my pocket due to the fewer pages. I’d call this aspect even.

The answer to my classmate’s question of a fauxdori being fiscally responsible is, yes, it is. I save about $80 by not buying a moleskine/handbook every month. I also save myself a lot of aggravation. The cover allows the books to really be treated quite roughly. I’m able to carry both books in my back pocket, sit on them and generally abuse them more than I would be able to otherwise. So I’m saved from gluing up spines, falling out pages, and other nuisances.

It’s probably humorous that I turn around and spend that saved scratch on other things, like sketching pencils and pens… Right?

Continue reading

Moleskine Give Away Contest

About a month ago I was contacted by Chronicle Books about hosting a give away on my blog of products from the new Moleskine line of products. Unable to say NO to anything free, I accepted. I expected a small amount of products, one or 2 sets of books. Instead I received, via Fedex, a large box. In it were several colors and sets of the 5×8 Volants, a set of the pocket sized volants, a desk calendar and the hottest thing in there, several Color A Month Planners.

Continue reading

Business Card File

Here’s another one for the GTD and planner crowd. Like I
wrote previously staples has these fancy new business card wallets. I bought
one I couldn’t resist. I see how they can be useful in a number of ways.

In my
new position I’m striving to make contacts that are useful, I won’t go into it
too much here but I’ve found in this new position that I’m getting business
cards from people. Like I’ve said in my previous posts business card are the
best for quickly passing off contact info. So as I’ve picked up a few cards
here and there I’ve realized I like to keep them on me.

Since I don’t have a
fancy cell phone and I’ve already maxed out my 12 number phone book, I need to
keep the cards on me. I figured I’ll have the card file on me at all times. So
I needed a way to organize it.
Post-it tabs are my solution. It turns a card file into a
portable rolodex. I’ve divided it up into personal and work numbers. My boss’s
card is the separator for the work cards and my significant other’s card is the
divider for the personal cards. I keep cards to my website and art in the back
and work business cards in the front. Cards as I collect them are stored in the front pocket

One additional item that I made for this is a card of
post-it tabs. I used an old starbucks card, put large tabs on the front and
small tabs on the back, 2 of each color and then a small stack of notes on
there too. That way I always have post-its available at all times.

Img_4800

Img_4801

Img_4802

Img_4803