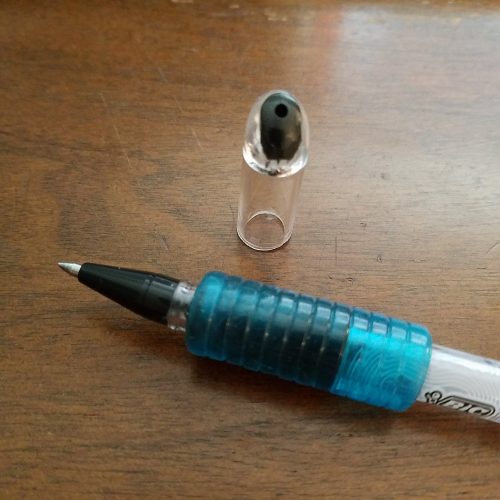
I’ve been deep in art play mode lately. I apologize for the lack of pen posts and overwhelm of printmaking play posts. I do have a review partially completed for a great pen that I should be posting soon.
Printmaking has been a passion of mine for a long time but lack of a press and interest in other art making has taken up much of my time over the last few years. I think that the last time I posted here about printmaking was when my friend Jane and I made gelatin plates over ten years ago! (Just writing about them makes me want to make more gelatin plates!)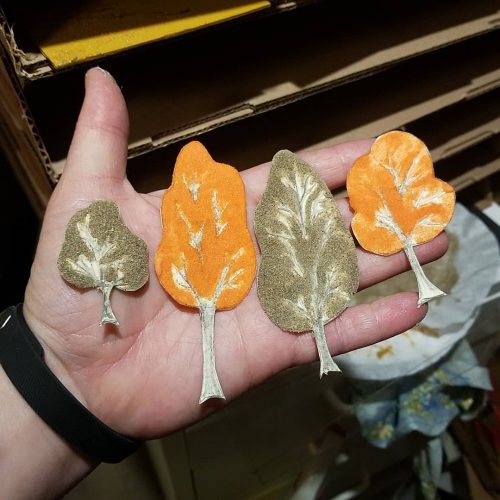
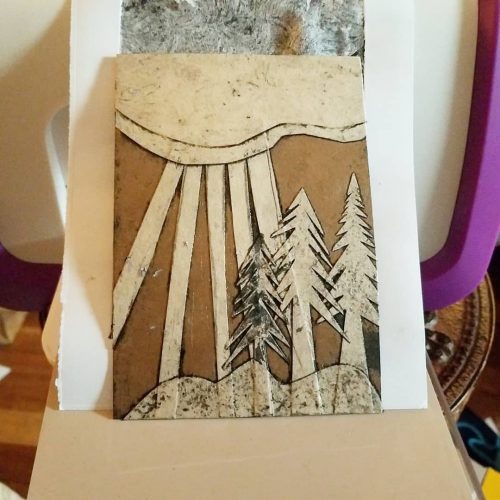
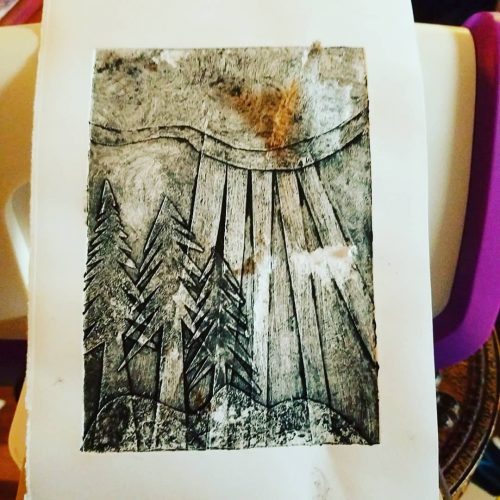
I’ve been testing out how different materials collagraph- what they look like and how they stand up. I also purchased a pot of Speedball SuperGraphic Black and a tube of their fabric ink in brown. The SG Black is taking forever to dry, but it’s also been incredibly humid and cold here. The fabric ink started to set up as I rolled it out. But both inks look great- on paper and fabric!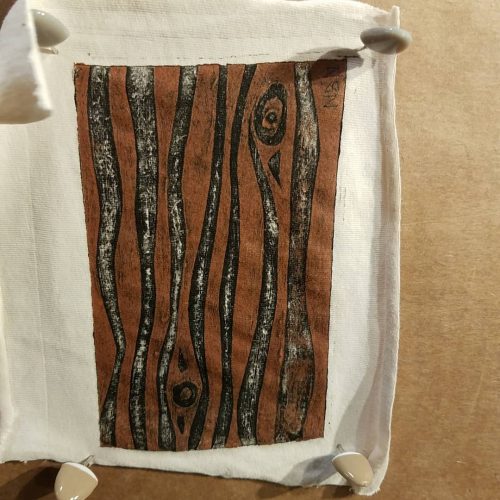
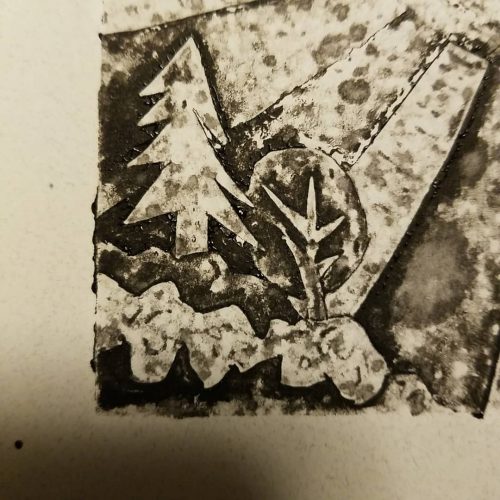
With collagraphs building the plate is just one part of making the image, inking is the second part, but the most important is wiping. In this final last part of the process, like etching, the printmaker controls how much of the ink is left on un etched areas of the plate and how much wiping will occur, also, if any texture is left in that ink. Changing one aspect of the wipe can almost completely change the image!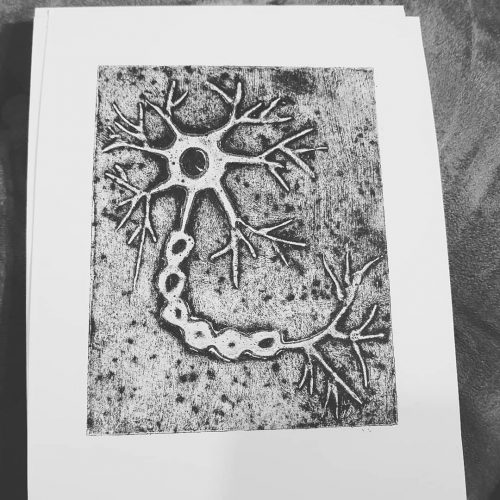
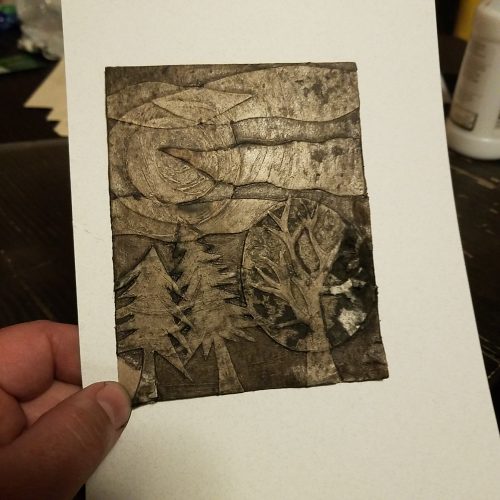
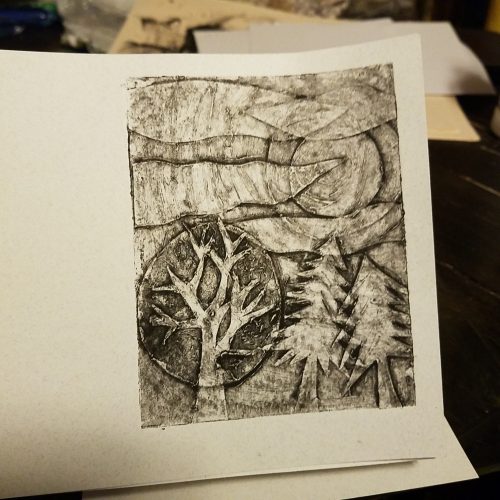
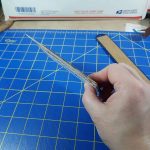
The fun little mini press aka embossing tool that I purchased allows me to play around not only with lino, wood, and collagraphic prints but etchings too! ‘
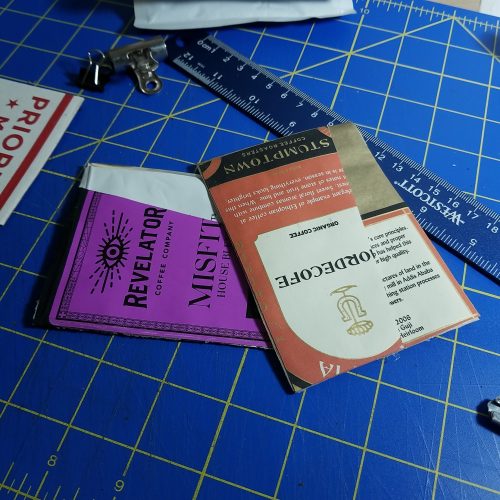
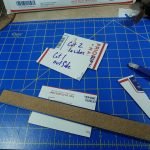
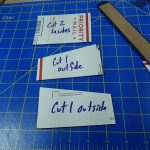
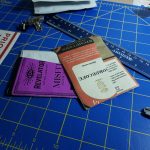
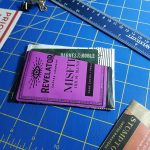
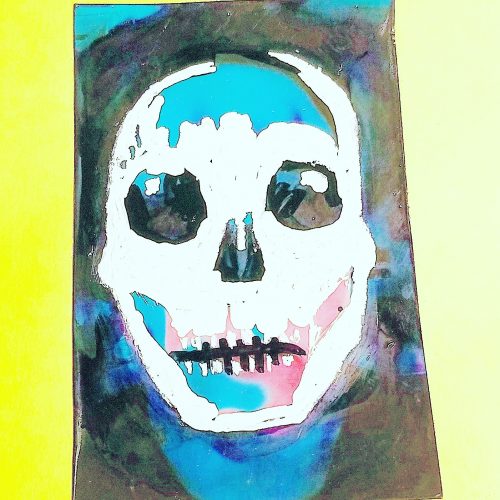
Many people make etchings into aseptic packaging- soy milk packages and the like. Any plastic lined multi-layered item will work. I managed to get my hands on an assortment of old advertising items- mini white boards with old calendars, decks with missing cards, and old advertising posters. All of these things have a plastic layer over cardstock and work great for mini etchings. 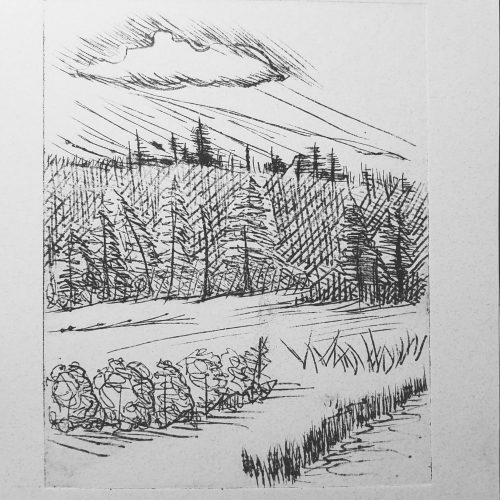
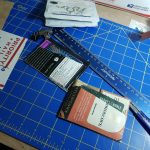
I did a few tests of prints and use of different materials for etchings and I’m really pleased with how they came out. This of course leads me to more ideas for the process.