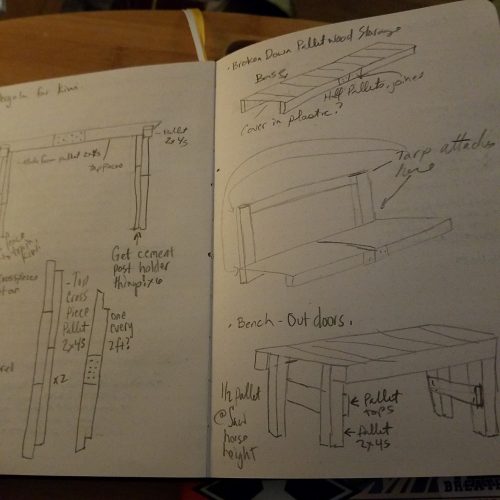
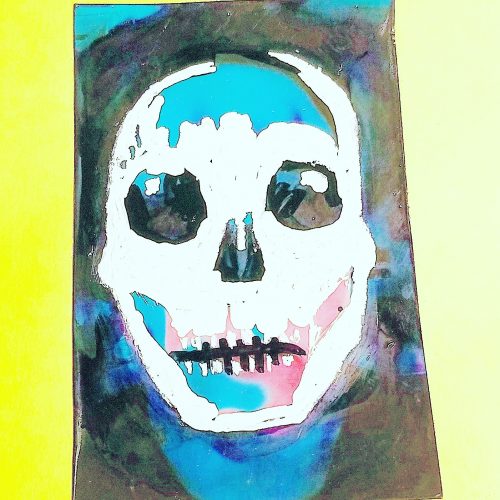
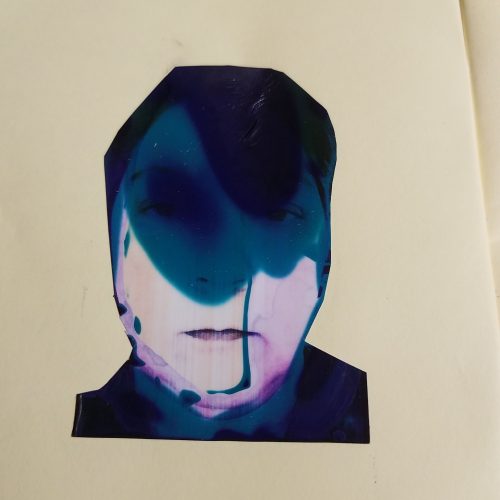
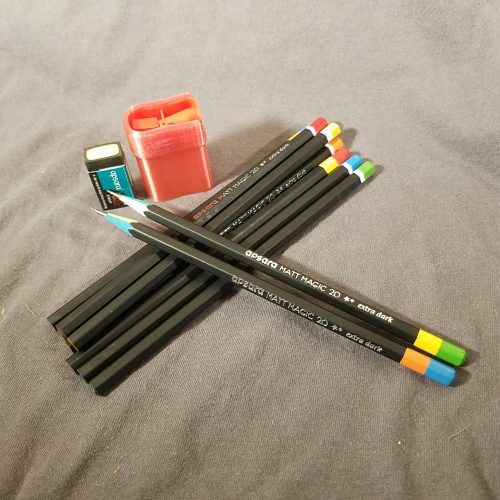
One of my art loves is print making, it combines well with bookbinding and allows the artist to make many copies of the art work. What isn’t to love?
A few years back my friend Jane and I spent a weekend setting up and making gelatin plates, and shortly after I read Linda Germain’s post about plasticizing the gelatin for longer lasting plates. Her blog has stayed on my Old Reader and Feedly feeds since then.
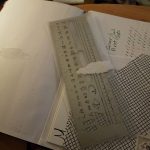
Recently she wrote about pressing flowers in a little die cutter and embosser tool. She linked to an old post where she wrote about using it as an etching, litho, and all around mini press.
MIND BLOWN.
I immediately took to the inter-tubes to see if I could find one of my own. The brand she suggested is hard to find and very expensive now. Instead I found a similar model by a different brand on clearance. It should arrive this week and I hope to play with it a bit when i finish getting my garden ready.
Most of the brands seem to have a press bed of 6 inches by 12 inches. Perfect for half of a standard American letter sized sheet of paper. This is a good size for my use- I like to work small anyway, and the small portable size means I can stash it just about anywhere.
If you decide to make a purchase of one of these presses for yourself look for a die cutter/embosser with adjustable pressure. Either on the top or the side opposite the crank handle there will be a knob. Most companies will have this emblazoned on their boxes. You can use one that is not adjustable, but you’ll have to adjust pressure with addition blankets and shims, which is annoying.
Anyway, check out Germain’s blog, it’s excellent.
No links to the ‘zon on this one.
If you enjoy my posts, hit the ko-fi button on the sidebar and buy me a coffee, it helps to get stuff in for review and fuels my art habits. 🙂