Ester Wilson’s Sketchbooks

Lines and color, color and lines; if that’s something you like check out Ester Wilson’s blog. I’m in love with her sketchbooks. You can read her blog and then head over to her website and check out her sketchbooks on a page where you can flip through the books pages. Incredible. These 2 images are only examples of the artists work, she’s got a lot more at her blog where you can see her use of color and line.

Purpleester
Redester

All images propertly of the artist, Ester Wilson.

Make Your Awl the Charles Atlas of Awls

In a discussion on the HedgehogsForever list the topic of awls came up. I’ve got several, all work different purposes for me, but the basic is to put holes in stuff. One I use for cardstock pages, another for softer paper, and another still for the custom journals. I made my first awl, bought another and made another; then had my brother design and make a hand turned awl for me.

I love the one my brother made for me, hate the one I bought and use the 2 I made regularly.

Some awl tips-

  • Keep them clean. It might seem kind of anal retentive but a more useful suggestion I can’t make. I use my awls for lots of stuff- piercing paper, picking up junk off my table, and lifting bits of glue covered paper. Wipe clean with a damp cloth and any cleaner you like. Allow to air dry before storing. Wet and damp metal will rust.
  • Keep them sharp. There is nothing worse than a dull awl. Seriously, have you ever tried to pierce through paper with an awl that is dull? UGH! I bought a super fine grit diamond stone at HD to sharpen my awls. I grind all my awls to an easily sharpened 45 degree angle, just like a chisel or a knife but you can also sharpen the awl in a rotating motion and keep a more typical needle point. That’s a lot harder than a 45 degree angle. Remember a dull tool is a dangerous tool. (That’s what my Dad always told us… And it’s a mantra I’ve found true- I’ve got scars to prove it.)
  • Polish them. Okay so I thought keeping them clean was going to top the list of anal retentivity. This does. Why polish? It allows the metal to glide through the paper with ease. It reduces the drag from the paper against the metal making it easier to push through a large and thicker stack. To polish you can do as I do and buy a polishing kit for a dremel or by hand. I’ll start with the dremel. Use the fabric wheel and add a little of the red fine compound. Turn the dremel onto a medium speed. Put the length of the awl needle against the spinning wheel with the point in the direction of the spin- DO NOT go in the opposite direction. I tell you this because I like my eyes and I’m sure you like yours too. Turn the awl in your hand. You’ll see a little gray begin to appear in the red compound. This step only takes a few seconds. Switch over to a felt tip. I prefer the small wheels but a bullet tip will work too. Here you can switch over to a white or super fine compound OR you can just put a little bees wax onto the tip. I run this until I see no more gray coming off into the felt. It takes only a few seconds. After doing this the needle will shine like a mirror.

You can polish buy hand with a commercial polishing compound and felt. Or you can polish with a little beeswax and baking soda. You need a little grit to get the polish going. Rub some bees wax onto a piece of felt or soft cloth, sprinkle a small amount of baking soda onto the cloth. Hold the cloth between thumb and forefinger and fold it over the business end of the awl and rub. It takes a little long and it will shine like a slightly older mirror, but it gets the job done.

I’ve found the combination of these 3 things make my awls cut through stacks of paper like butter. In short you can go through pushing through 20 sheets of paper to 40.

Ghostly Pencil Sketches and Bright Colors

Here’s another blog that subscribes to my favorite sketchbook style- pencil, ink then color. I particularly love the image below of the yoga poses with the ghostly pencil sketches in the background. I love the lively lines of the pencils sketches and yet how simple they are. Following that is a sketch of a coffee maker… It’s a great layout of a page, well designed and a small blurb for journaling. I like it a lot!

Yoga29sept
Coffee


All images property of the artist, Shirley L.

Expanding Pocket Hedgehog

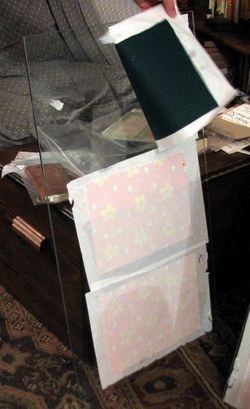
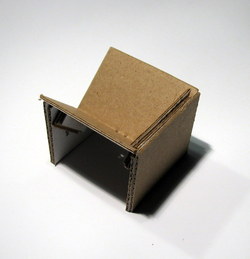
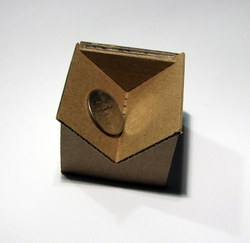
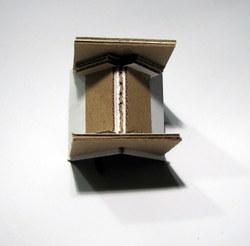
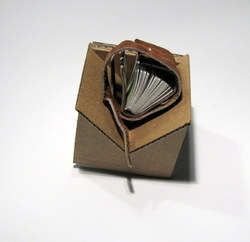
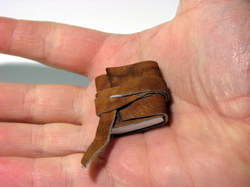
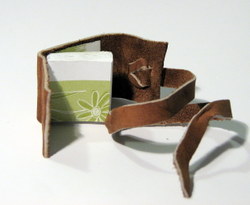
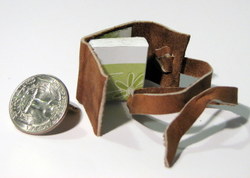
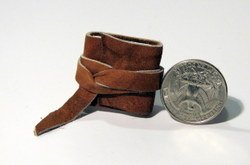
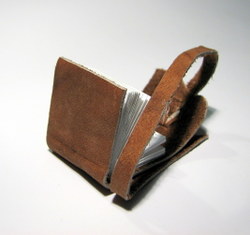
Based on a recent discussion thread on the HedgehogsForever group I decided to try my hand at making a hedgehog with expanding pockets inside instead of pages. It went reasonably well.

The  experiment with the expanding pocket notebook was to see how hard and how long it would take me to make one. The results are cool but they take forever and are complex to make as well. There are a lot of steps one could foul up. And of course the one I made is good, but I fouled up in 2 spots- first I trimmed the cover too small and secondly I made the pockets a smidge too small for what I wanted to do with it- keep my jotters in it in my bag. I forgot to add ¼ inch to the dimensions to make it work correctly.

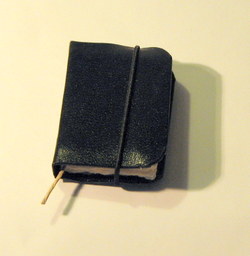
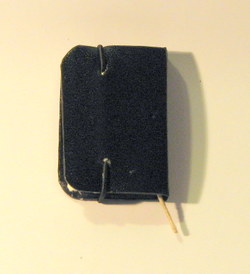
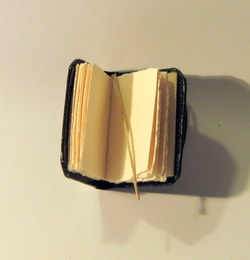
I used stiff cowhide for the cover, backed it with my favorite paper of all time- a green Japanese paper with a screen print of clouds. I love it. I used cardstock for the pockets, folded and scored them to open out to a pocket ½ in wide. It worked well. From the outside the pockets look just like a regular hedgehog. I made the pocket 3 inches deep instead of 3.5 to keep the size of the pocket true to a hedgehog.

IF I were able to fit my jotters in it comfortably I would certainly use this experiment, but as it won’t fit them I’ll keep it kicking around for awhile. I’ll figure something out for it.

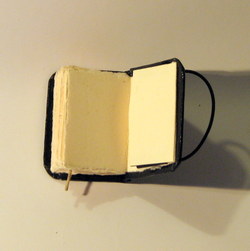
Img_4856

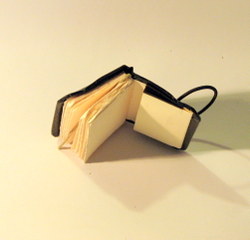
Img_4858

Img_4859

Img_4860

Img_4862

recap of this week in the studio

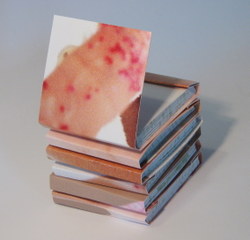
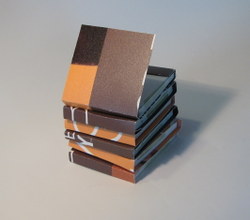
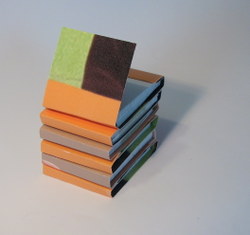
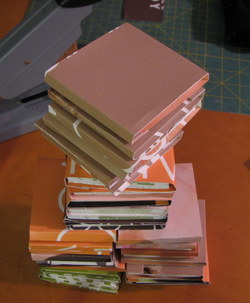
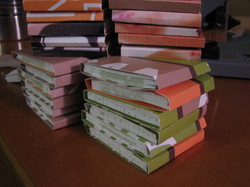
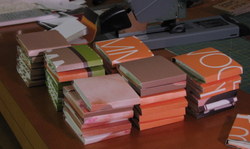
Phew it’s been a busy week here at Comfortable Shoes Studio. I’ve been crazily busy with the DayJob as well as in the studio. Yup, fresh new books. I’ve got a stack of graph paper jotters, a group of cardstock hedgehogs, a couple of kraft paper hedgehogs and a 100% cotton hedgehog all headed for etsy.

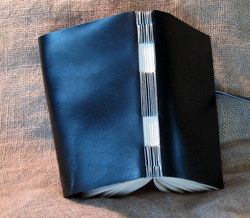
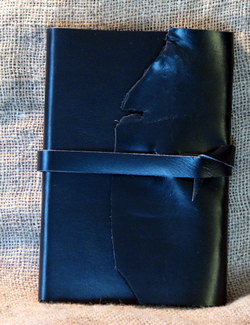
I’ll post links to etsy when I get them loaded up. I’m pretty excited to get some leather books back up to etsy, it’s been awhile and the recycled notebooks seemed to be taking over my shop. While I was in the studio I cut several large notebook sized covers from this chunk of sleek black cowhide I’ve got, they will be fantastic with either white or red stitching…. Keep an eye out for those too. I’m going to work on designing the spines today.

Here are some pics to occupy you until then:

Img_4826

Img_4831
Yes, that is graph paper
Img_4837

Img_4850

Check Out Sketches and Drawings

Check out these sweet little sketches on Linda T’s Sketches and Drawings blog. She clearly spends a lot of time drawing and coloring those drawings. I’m a big fan of this style- lines drawn in ink and then watercolor or color applied after. However the activity of her black and white lines is what makes the images come alive. Either way these are some fantastic sketches- lively colorful and enjoyable. What a  great way to spend an hour!

Golddome

Bostonsketchcrawl4_2

All images this post Property of the artist Linda T.

Use of a notebook from the horse’s mouth

I occasionally get feedback from people who buy my books on how they like them, use them and things I could do better. I got one a few days ago from someone who buys my books on eBay and uses them as I do on a regular basis. Here’s what he had to say:


Leslie: I worked Saturday till
3AM, then tonight till midnight. A GREAT HELP was one of your jotter
notebooks. I was formulating a new *** ****** product our company
already has orders for. Moving between the lab and the warehouse,
applying the stuff, making observations and changes, and with all the
junk sitting around, it was impossible to use a full-size notebook to
write in. The jotter was perfect, and everything involving the new
chemical that arrived on Friday is in that little book–which would be
worth a pretty penny to a few people I know of.  — D

I love getting emails like that. First it tels me I’m doing something right with my books and tells me that I’m not the only one who uses my little notebooks regularly. OKay so I use it like I’m addicted to it, but I’m okay with that.

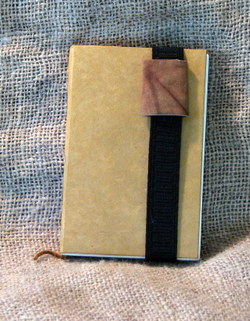
He’s using one of these:

Img_4738

But maybe in a different color.

Staples Paper Review

I decided that I would do some testing of the new Staples brand paper, which I have from a reliable source is manufactured for them by a major paper brand. (I’ll do a post on that soon.)
So I tested the 3 papers I wrote about in my previous post here.

The first paper I tested was Staples brand 65lb coverstock. It’s thick, stiff and smooth. It’s quite enjoyable to write on, accepts all inks well without noticeable feathering or strikethrough.


Img_4808

The next paper was the Staples brand 5 squares per inch graph paper. As much as I don’t like to sew it up into a book I was surprised at how much I liked writing on it. The paper is very lightweight, very smooth and takes ink well. I noticed a little feathering with the fountain pen and the Staedtler liquid point. There was also a lot of strike through with most pens, however the following pens showed little to no strike through- Uniball Jetstream- all colors and the space pen. The thicker pens with more liquid ink had more strikethrough.


Img_4809

Img_4810

The next paper was the Staples brand 20lb paper in cream. I found little strike through on the paper with the exception of a red liquid ink pen in .7mm. I should check it out with a thicker fountain pen and see what happens. Again I was pleasantly surprised at how nice this paper was to write on. While not the same experience as a Strathmore 100% cotton it as a very nice feeling paper with all the pens. The fountain pen ran smoothly over the surface and the more fluid inks didn’t feather, with the exception of the red ink, which gives even the thickest of papers trouble.

Img_4811

Img_4812

I was pleasantly surprised at the quality and enjoyability of the Staples brand paper. I found the coverstock to be more pleasant than some of the other cardstock I’ve used for hedgehogs. All papers were listed as acid free on the package.