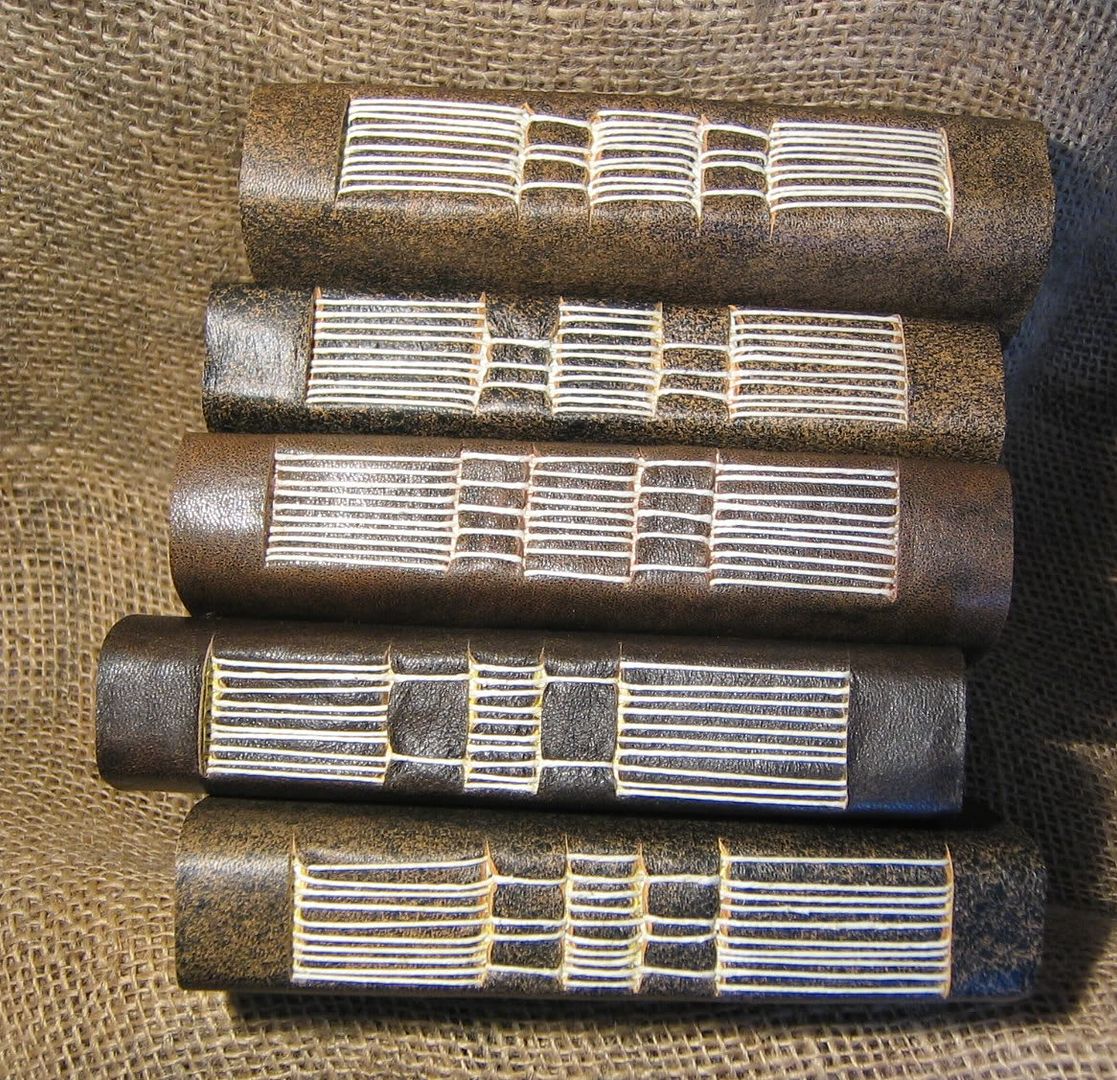
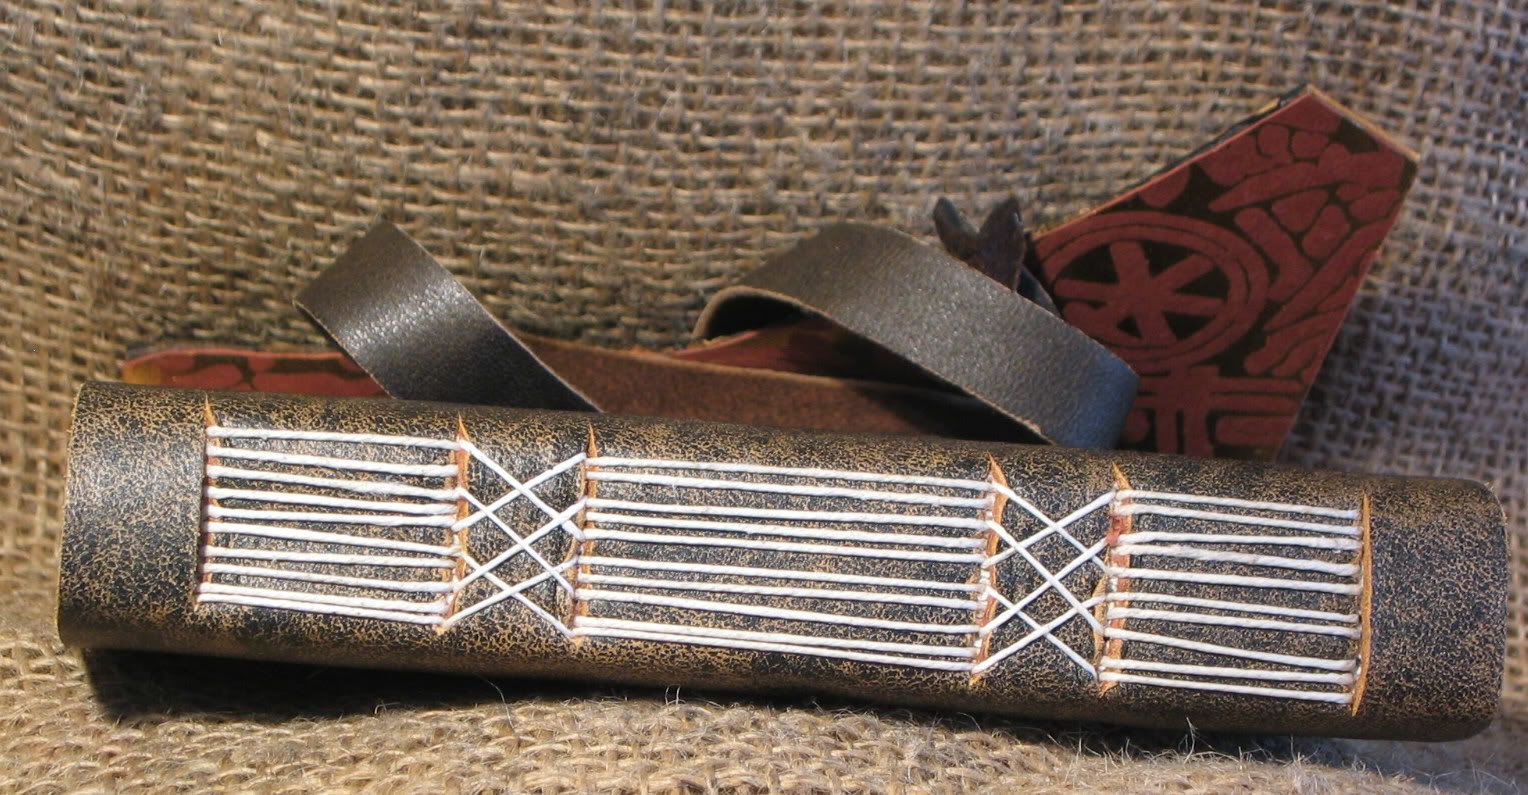
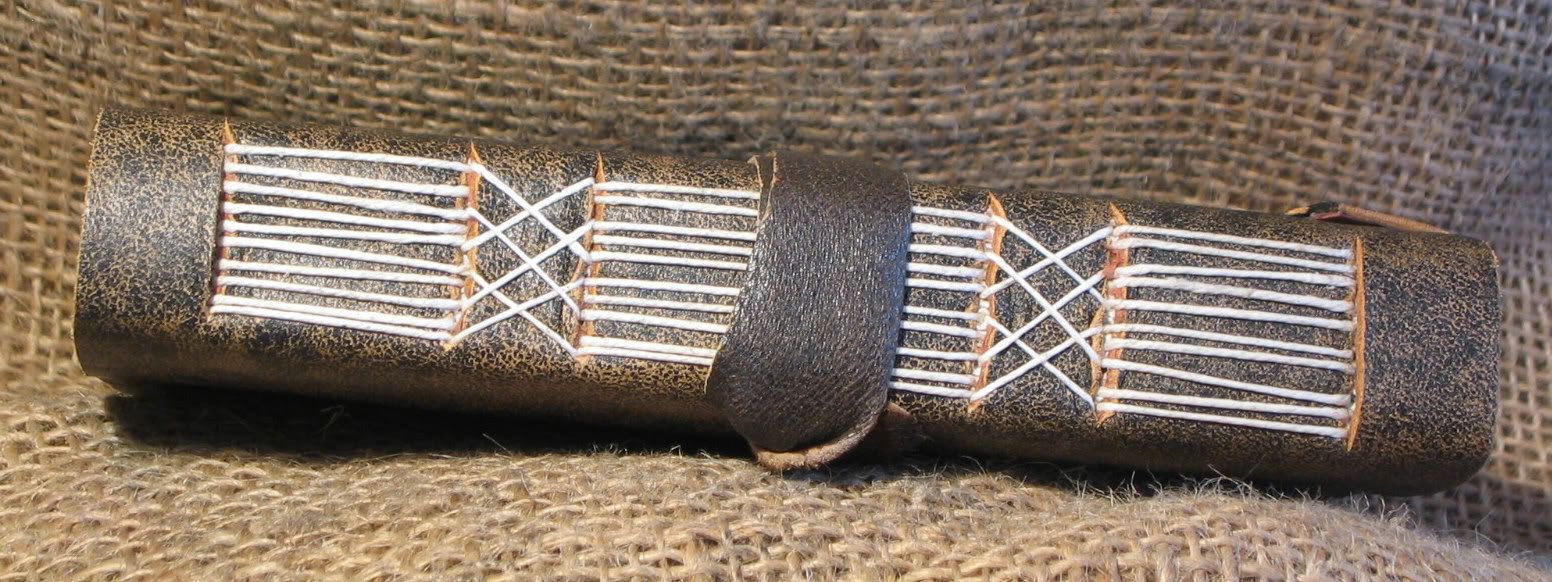
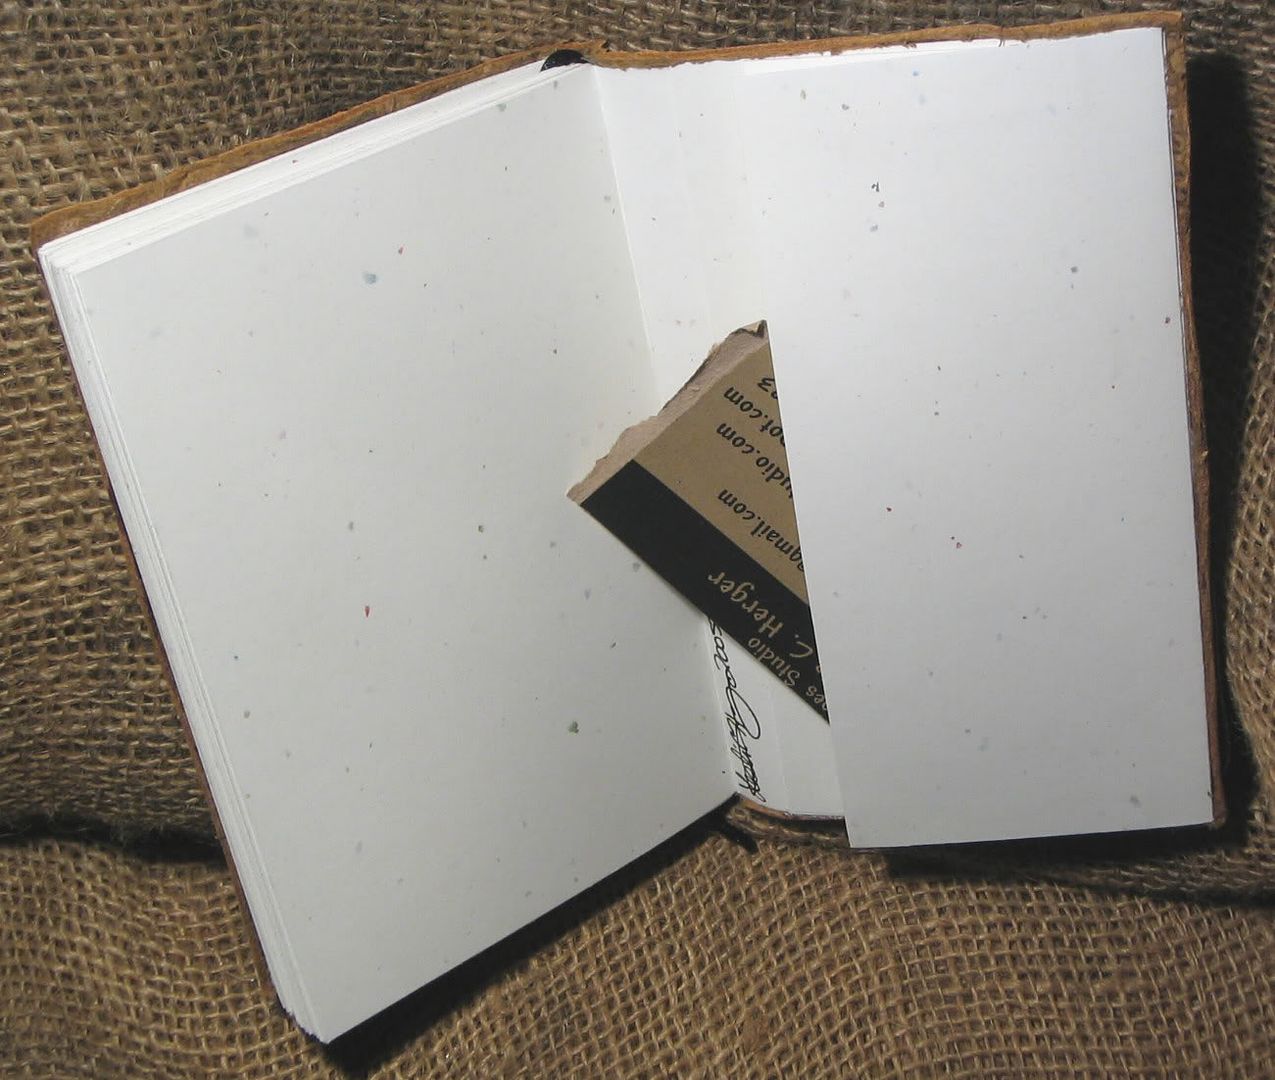
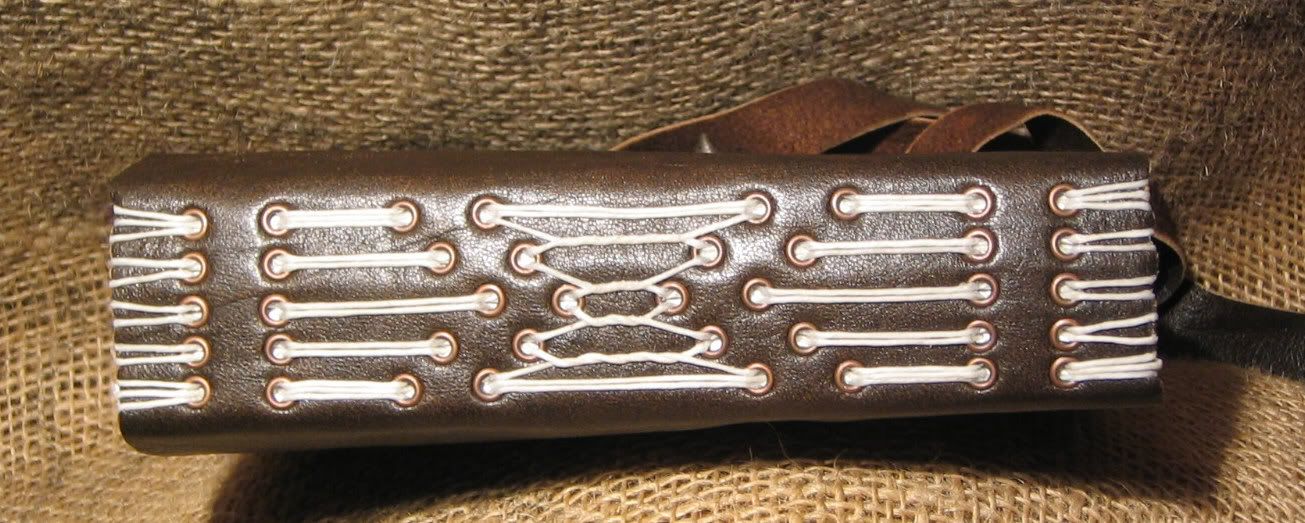
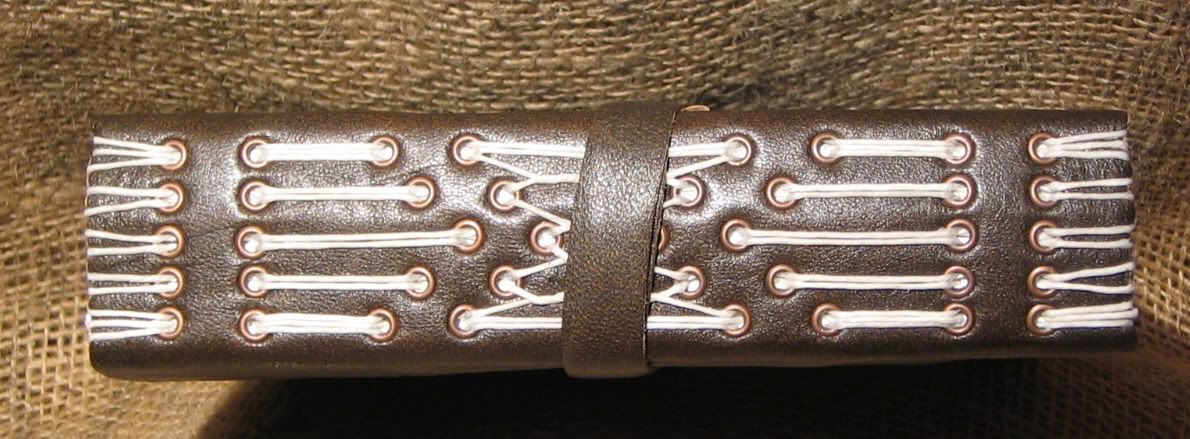
I’m deeply invloved with this hedgehog style of binding. I tend toget like this- obsess ov er a new binding. I might explain this by the fact that I never do any glue based bindings, and this binding style, while a sewn binding is super string because of the glue. I hate that the sewing is almost completely hidden, but at teh same time I do like how tough the finished book is.
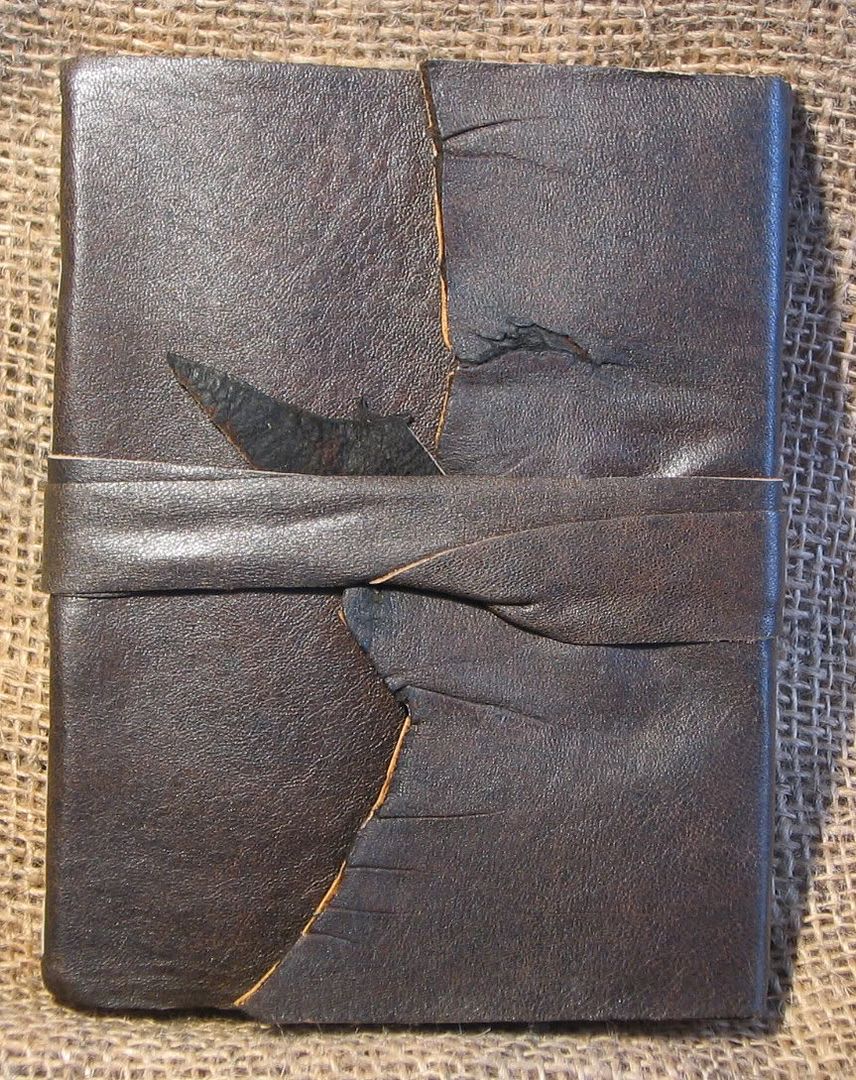
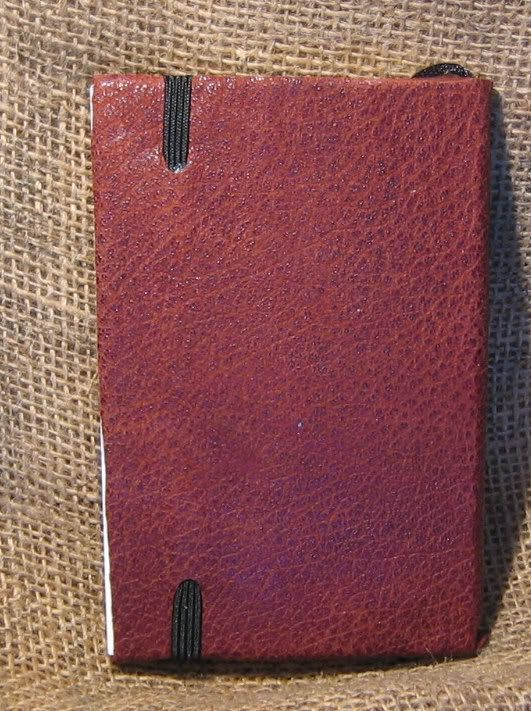
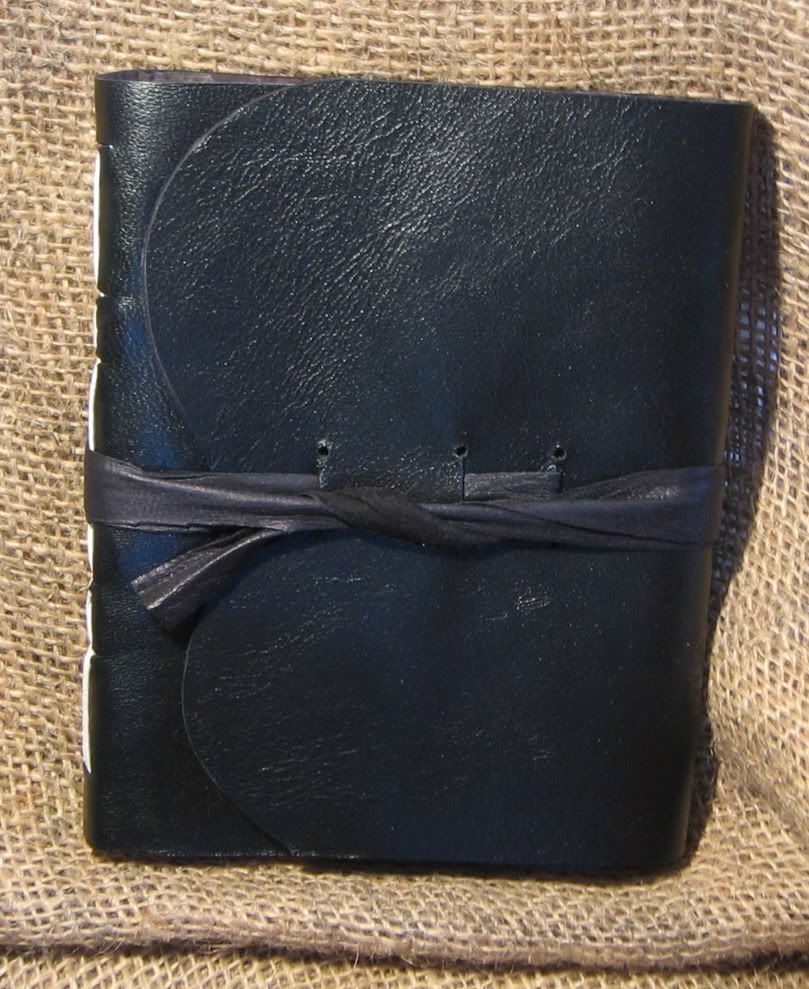
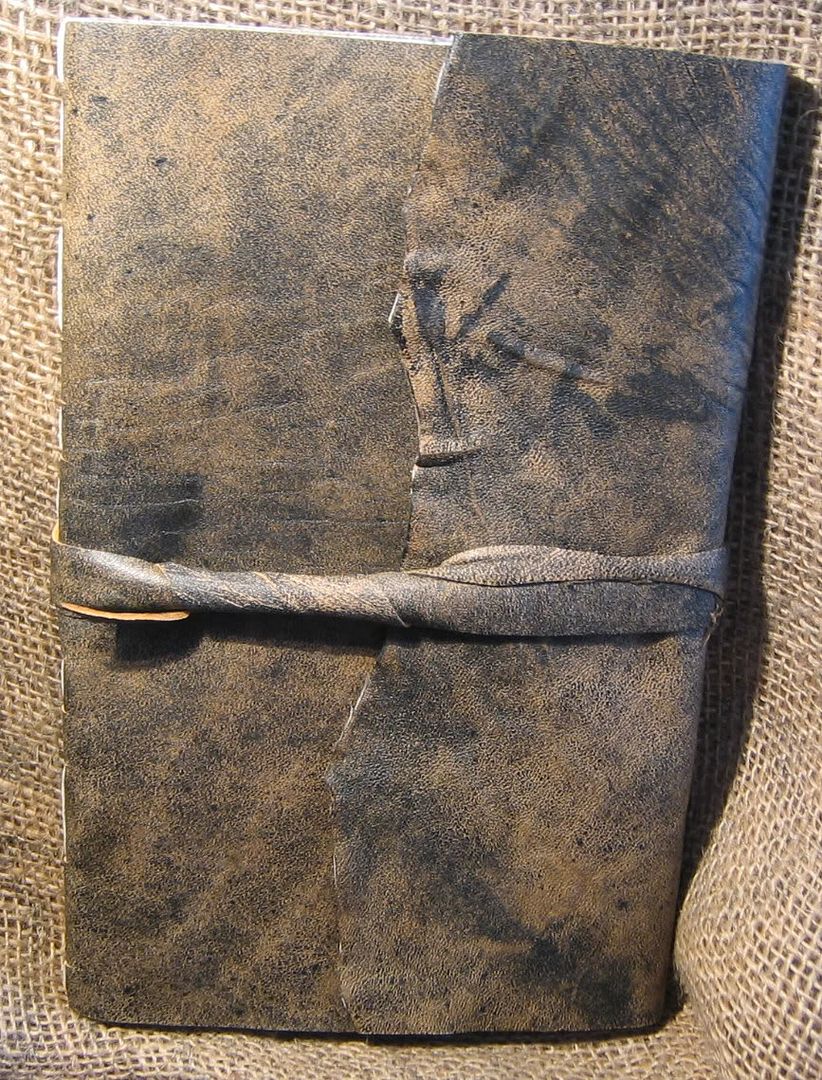
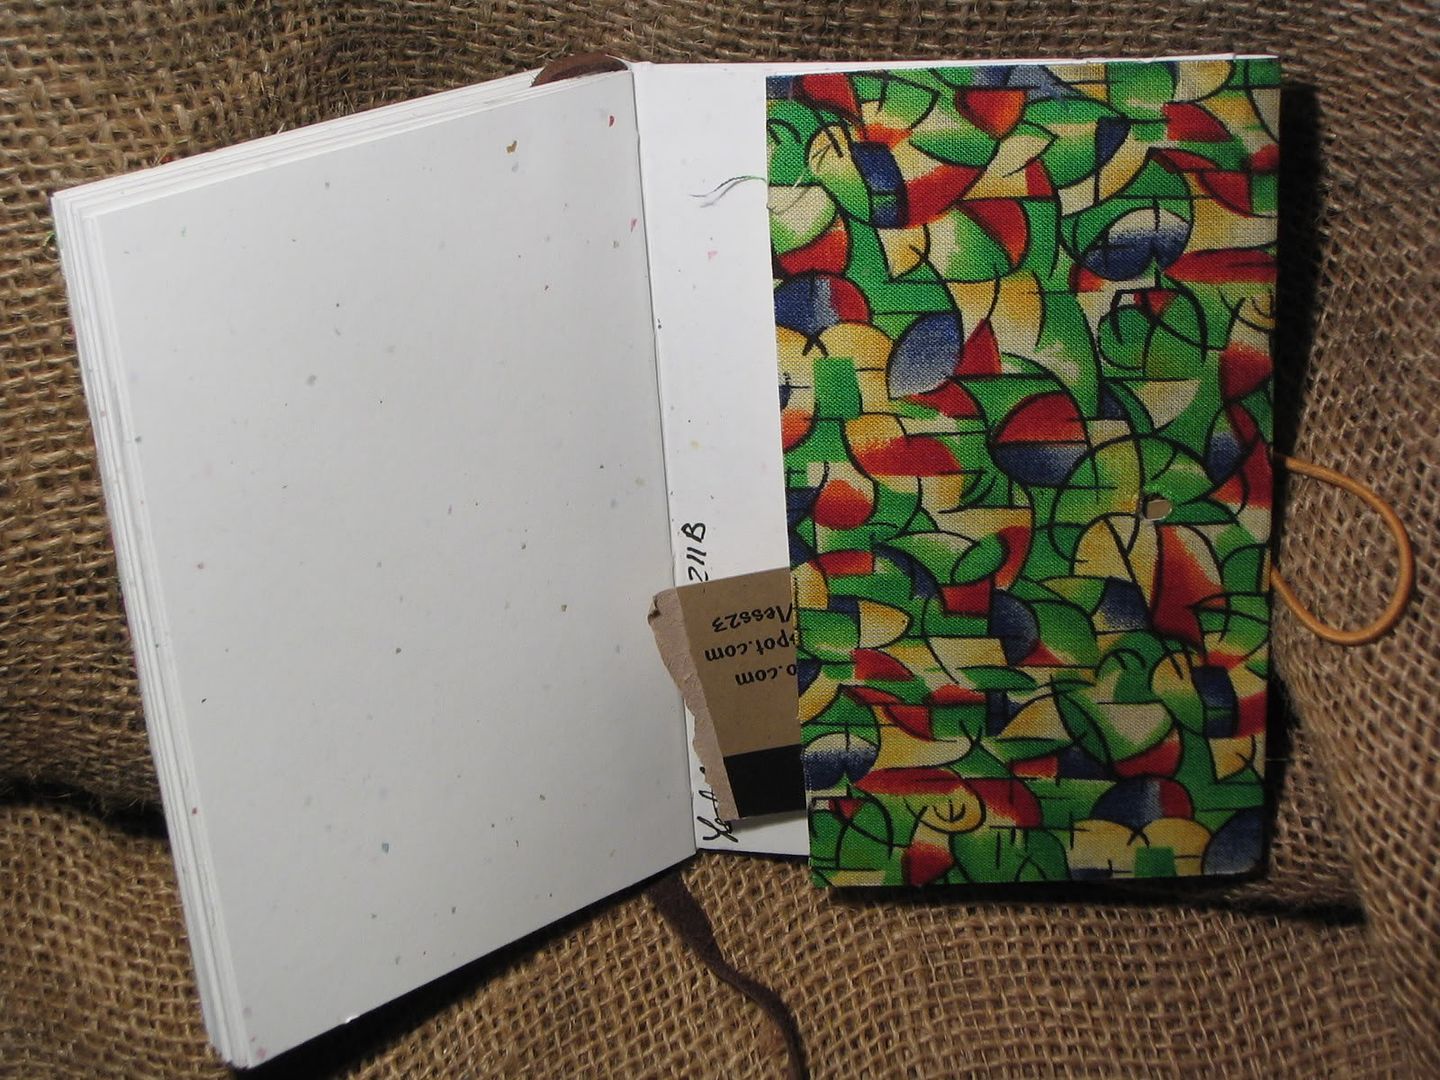
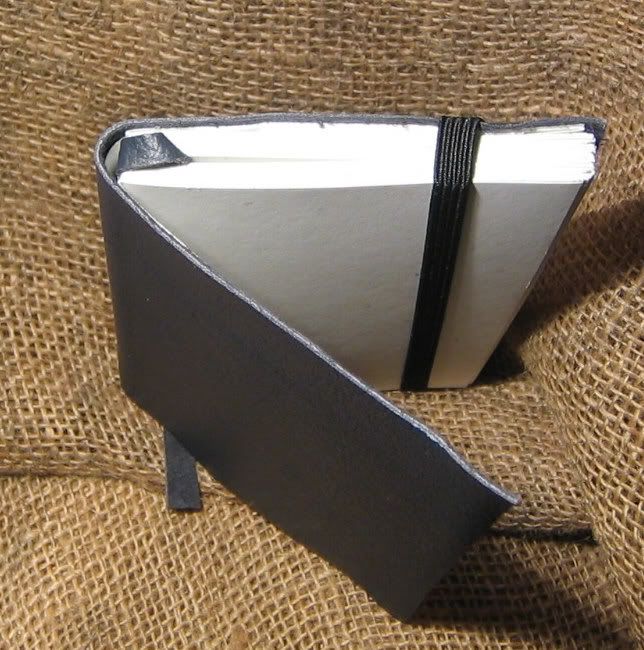
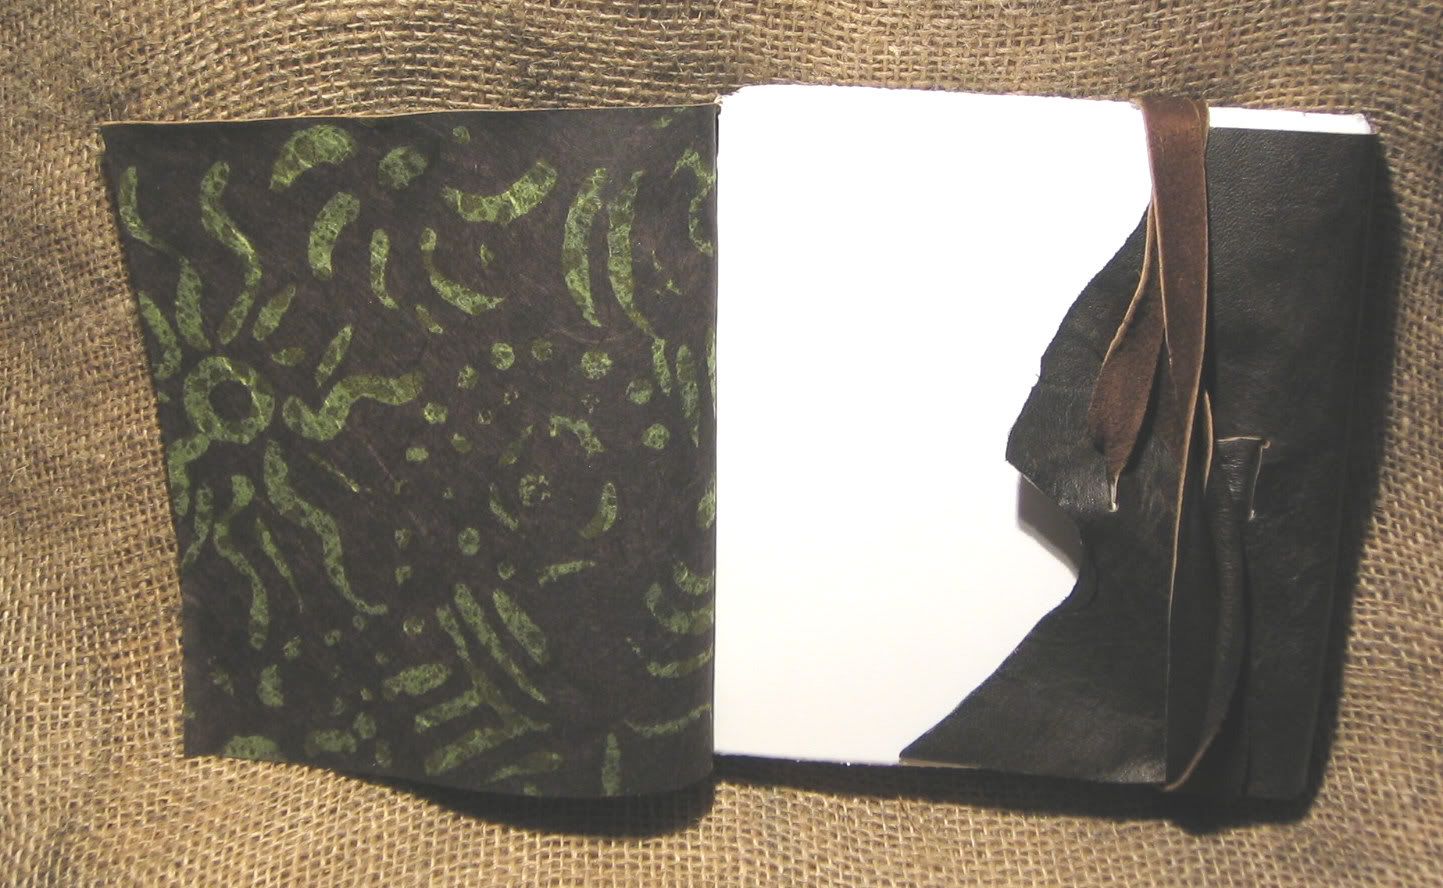
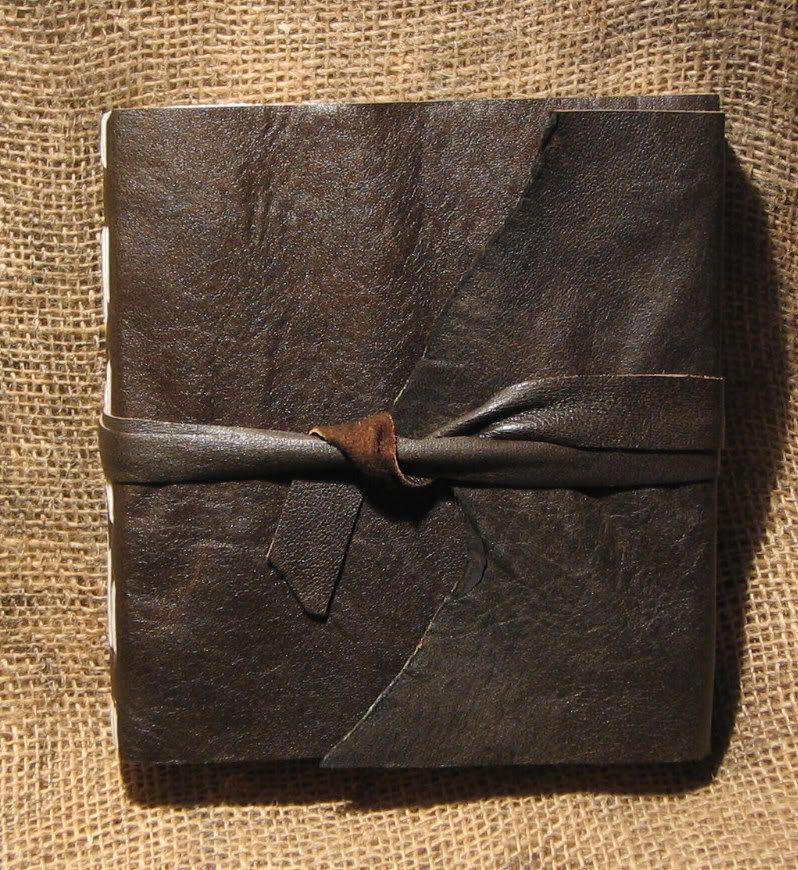
I’ll post some pics later but I made some with LEATHER covers. I’m pretty excited at this possibility. It takes it one step ahead fo the moleskin in my opinion- leather is super tough. The only difference is that the cover is much softer than with paper or the originial. If I do offer these for sale it will be in limited quantities and maybe just special editions? I’m not sure how to handle it.
What I do like is that it lets me use leather pieces that I normally wouldn’t have been able to have with my previous sizes. what’s great about this is that I”m going to be able to use more of the leather than I would have been able to before. I’ll have less scraps.
I’ve got 16 covers to glue up and back tonight, as well as some of the paper for that. I’ve already got a load of pre-cut paper from ages ago. I’m planning on Setting aside half the small sized journals for GM for her special order. I’ve got a few more journals that I can offer her, but for her purposes the Wausau paper is just not going to cut it. There were several journals in her last grouping that had the wausau paper, and I’m pretty displeaqsed in general with the paper. It’s great for writing journals, lined and unlined but it’s not so great for anything else. I should say that it’s good for general use sketching, but not for washes.
I foudn a deal at Charrette on paper- some clearance on large sheets of lightly colored drawing paper and also on 80 sheet reams of Eaton paper- 25% cotton, laid texture and 24lb. It’s great paper right up there with the Strathmore that I’m so in love with.
I ordered a load of thread from JohnNealBooks.Com- a great little website of bookbinding do dads and tools. i can’t wait for it to come in. I’ve pretty much had it witht eh overwaxed thread I’ve been getting. Where I’ve been using so much thread lately the differing quality of the different threads has been astounding. The thread from ACMoore being of decent quality 90% of the time, the thread from Michaels being way too waxed and good about 60% of the time and the thread from Joannes being of questionable quality 80% of the time I’m pretty fed up. There are only so many knots one can put up with. the joannes thread has been the worst- 4 or 5 knots per spool and wax balls all over those knots making it impossible to work with it. And the Michaels thread has been fibery- I’ll sew somethign up and flip it over only to notice that there are loose fibers all over the spine of the book.
So anyway, my exacting standards are going to be tested by the John Neal thread- if it’ half the quality of the “pro binder’s” thread I bought in Boston, I’ll be stoked beyond all compare. That thread I’ve onlybeen able to use with the hedgies- it’s too thin for my usual use, but it’s so nice- stiff, it doesn’t require heavy waxing and it doesn’t tangle easily because it’s nice and stiff.
pics later- coffee and work first.