I just listed a bunch of recycled sign vinyl journals to etsy, 7 total; 4 with snow white covers waiting to be decorated and 3 with harvest orange covers. I also listed 2 more sets of matchbook notebooks. You can see them here.
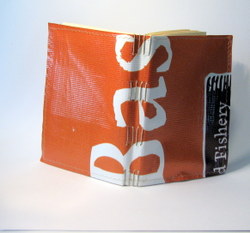
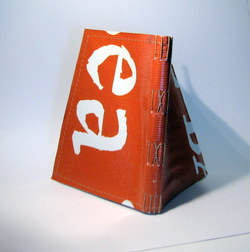
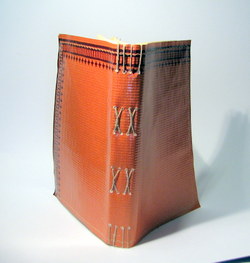
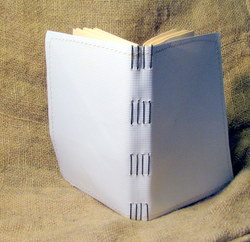
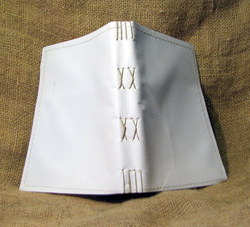
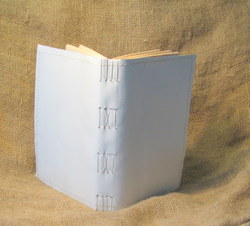
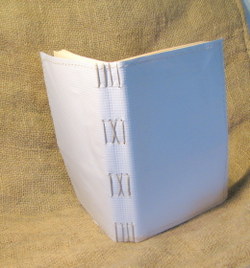
I just listed a bunch of recycled sign vinyl journals to etsy, 7 total; 4 with snow white covers waiting to be decorated and 3 with harvest orange covers. I also listed 2 more sets of matchbook notebooks. You can see them here.


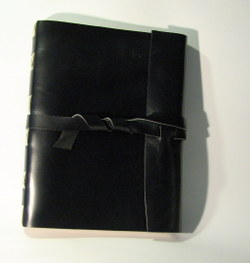
Take a look at this book. It measures 9×12 inches and has 192 pages. The paper is 60lb drawing paper and will handle just about any media. The cover is stiff smooth black cowhide. Features a flap and strap closure. The binding is a longstitch with linking and a keyhole cut into the spine. I have a lot more pics on my flickr page. This one is sold (custom order) but I’m working on another in golden yellow deer hide.
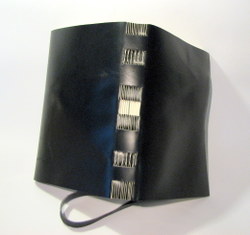
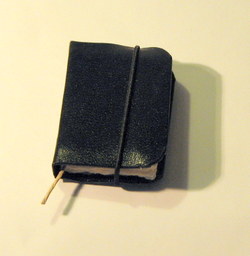
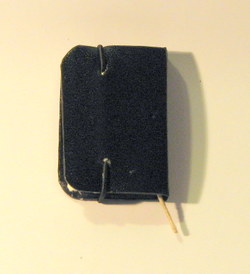
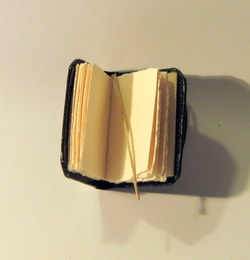
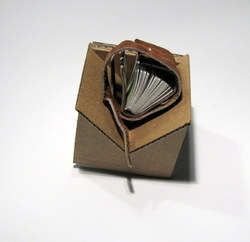
So this little beauty is a miniature moleskine. It’s stitched with hand waxed cotton thread. The spine was clamped and glued by hand with acid free flexible glue. The cover is a vinyl plastic coating just like a real moleskine. Inside are 32 pages of cream colored heavy paper. The bookmark is naturally colored hemp and in the back is a pocket. Holding the whole thing shut is an elastic.
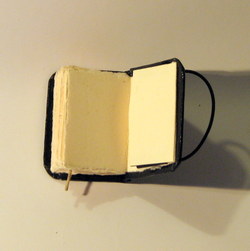
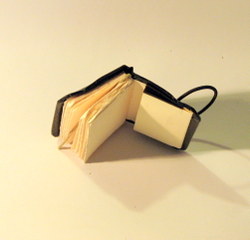
Sometimes when working in the miniature sizes you can use your full
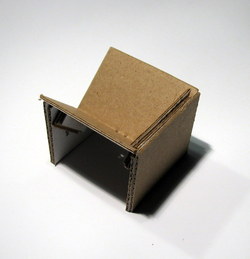
size tools and sometimes they just don’t work, case in point-my sewing
cradle, when I Was making the mini books in the previous post the
signatures slid through the slot in the cradle, so I needed
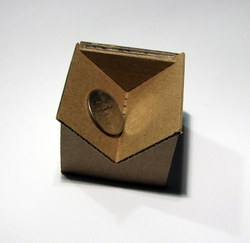
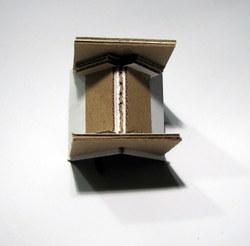
something…. smaller. So I made a mini cradle. It measures about 1.5
inches long, and each side is that size. It’s about 2 inches or so high
and surprisingly sturdy. It’s surprisingly stiff and rigid. I’ll be
making a small sized awl to go with the set and make punching the
stations easier.
I am a firm believer in making book cloth the old-fashioned
traditional way: paste, thin paper and fabric. It’s been done for, well,
centuries and it works and it’s not too hard.
First you need a starch paste. I like wheat paste. It’s
cheap and easy to find. All you need is pastry flour or wheat starch and water.
Pastry or cake flour is available in any grocery store and wheat starch is
available in specialty stores. You can also buy “real” wheat paste. Mix a 1:4
ratio of flour to water. Mix it well, no lumps. Now cook it, whisk constantly
over medium low heat until it becomes glossy and translucent. This amount of
paste will make a lot of book cloth and paste paper. I would suggest using
distilled water it won’t have any funny chemicals in it that will discolor
later. If you are an acid free freak add a ½ tsp to baking soda to the water it
will neutralize any acid content.
Cut your fabric to the size you would like. Use pre-washed
and ironed fabric so that it doesn’t shrink when you are gluing it. Cut your
thin paper 1 inch larger all around than the fabric. I really like washi paper
best but student grade sumi painting paper is more than perfect.
Now you need to spread your glue. There are lots of
differing opinions about how to do this, some people like to use a rubber
spreader and other like glue brushes and others like cheap chip brushes or
gesso brushes. I’m a brush woman myself. I used to use a 2-inch wide chip
brush. It worked great, but now that I’m working with a smaller size of paper I
use a medium glue brush. I suggest you try a variety of styles and see what
works for you.
I hold my paper down with one hand in the center, spread
glue allover the edges- generously. And then start to work the center. Work the
glue around until the wrinkles relax out of the paper. With thin washi paper it
takes 20 seconds or so for this to happen, constantly move the brush and glue,
work fast and loose, spread the glue generously. Don’t skimp on the glue. When
you see the paper relax, start to move excess glue to the edge and off the
paper. You don’t want a ton of glue on there when you put the fabric on the paper;
you want a thin EVEN layer.
Now your paper is relaxed with a thin even layer, you need
to drop your fabric to the glue covered paper wrong side down into the glue.
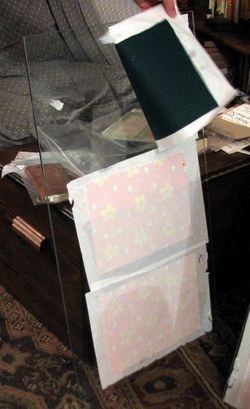
Gently rub the fabric into the glue. Now you need to pick the fabric, glue and
paper sandwich up and take it to a window and place the sandwich to the window,
fabric side to the glass, the extra glue covered paper will hold the paper and
fabric taught while it dries keeping it for the most part flat and keeping
tension on the fabric. (If you are lucky to have it- old window panes work
great for this- I was lucky that when I bought my house there were several large
pieces of plate glass in the garage.) AS it dries the paper will peel away from
the glass, if it doesn’t it cleans easily with soap and water.
There are many reasons to back your cloth with paper. First it
makes the fabric very easy to work with when binding, you fabric won’t stretch
when you glue it to you board. Secondly it keeps the color of the cloth true to
the fabric. Third, it decreases glue seepage. Fourth it makes a strong durable
bond of fabric to paper to board. There are several tutorials out there for
making book cloth with wonder under or other fusible interfacing. While it’s
fast and easy to use its more expensive and unknown in terms of it’s being
archival or acid free. (Let it be known here that I’m not an acid free freak.
There are books and paper out there that were made long before PH was
understood so my philosophy is that you can do what you want and most things
are going to outlive you and probably your children.
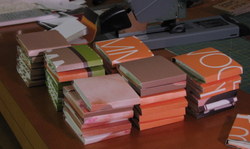
I finished taking pictures of the matchbook notebooks this morning and I posted 3 sets to etsy. I just got done with it a few minutes ago. I decided last minute to put a set up on eBay and I’ll have that up ASAP. It’s always fun to put stuff up for auction and watch the bidding.
Here are some pictures of the items on etsy:
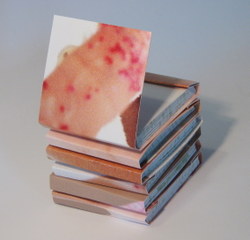
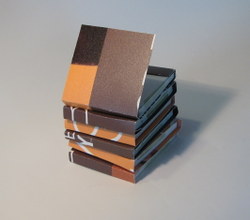
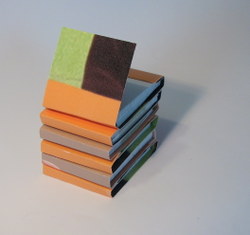
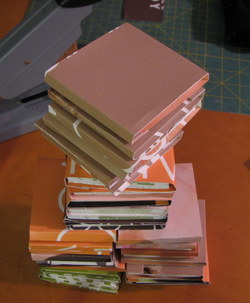
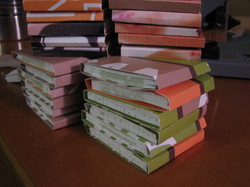
Holy cow. I call this the mad matchbook binding project of ‘07!
Over the last 3 days I’ve cut paper, cut covers, stapled and folded 36 matchbook
notebooks all are 2.5×3 inches and .5 inches thick. I cut myself through a 2-inch
thick stack of recycled fliers printed on one side and blank on the other. It’s
really thick nice paper, about 50 sheets per notebook. I’ve been using a few of
these from my last batch and I’ve got to say that they are really handy on a
number of levels; great for lists, notes, and passing phone numbers as well as
numerous other things.
36 of them, my hands are sore form cutting so much paper, a definite
nod to the fact that I need a paper sheer if I’m going to continue to work with
recycled paper.
Anyway, enjoy the pics, these will be headed to etsy tomorrow
or Sunday.
Friday’s are on of my favorite days of the week. It’s the start of the weekend and usually means that I’m going to have 2 days off in a row (not this week but we don’t have to talk about that!) But something new that I’ve found are d’blogala and the blog’s Art Journal Fridays! Every Friday the blog features a new writing prompt, and they are GOOD. THey start with a basic premise- suck as "draw a grid on paper." Then the prompt turns to mroe specific, us whatever you want to decorate the grid with whatever you want. I love that kind of prompt.

I wanted to write a little bit about originality. The topic came up on a discussion group I’m in because someone made a book with an unusual cover and someone else asked a related question using a related material. In this case the book was made with a cassette tape cover and the question was if one could use the actual tape to bind a book. Someone in the group responded immediately with the response of “Don’t make a cassette tape book, someone else in this group is already making one.”
First off I think the purpose of being in a group online is to gain ideas, learn new techniques and for inspiration. This person became INSPIRED by the previous poster’s materials and was using that as a springboard for their inspiration; in my mind exactly why one might join a group. Secondly, in terms of originality, we’re talking about a centuries old art/craft that is gaining a revival but that means that in some terms it’s all been done before. This wasn’t the first time I’ve seen a cassette tape book and I’m sure it won’t be the last. It’s been done before but that doesn’t mean that it can’t be done again in a new and original way. In this case- the 2 halves of the cassette were taken apart, attached to board and decorations placed on the board, original.
If I got my undies in a knot every time I saw a limp leather long stitch book, my feet wouldn’t have any circulation; ya know what I’m saying? The simple fact is that when working with a centuries old art/craft you can’t get upset when you see something similar on the net. I’ve been putting my work online for over 6 years now and I’ve seen blatant rip offs of my patterns and designs, and I get pissed momentarily and realize that’s the permeability of the web, one of it’s great features. If I don’t want someone ripping off my design I shouldn’t put them up on the ‘net. When I gain inspiration from someone I try and give them credit and I think that’s simply courtesy.
My main point is here is that bookbinding is a centuries old art/craft and essentially with the exception of a small handful of us, it’s all been done before. Even if you’re attaching something unusual to the covers of a book it’s been done. So can we all untwist our undies and get back to making and enjoying books?