Tag Archives: drawing

Technique Today: Drawing and Sketching

No joke, I love to draw in my art journal. Sketches, doodles, all sorts of neat stuff can go in there. But what to sketch, how to sketch? Hopefully, these videos will help give some guidance.

If you have an issue watching the videos here on my blog you can click the title of the video (top left of each video) and it will open up in youtube for you.


Continue reading

Review: Sharpie Brush Markers

I purchased a few Sharpie brush tip markers to play around with after trying the prismacolor brush markers a few weeks back at the Sketchbook Project. For $1.50 each they were a great way to get my Jetpens order over the $25 mark for free shipping. YAY!

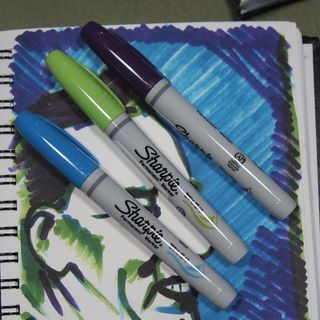
Out of the envelope they look a lot like any other Sharpie, a little chunkier and with some grooves on the cap. The end is hollowed out and there is a ring around the end of the marker. This lets the cap click onto the marker when you post it. Smart. Without posting the marker I found it a tad short to use. Posted it was just right. The markers are light weight.
P8104693
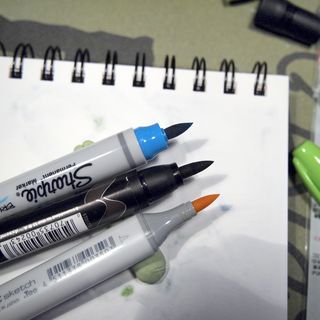
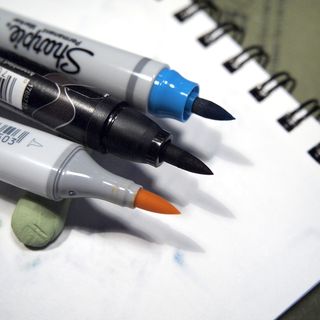
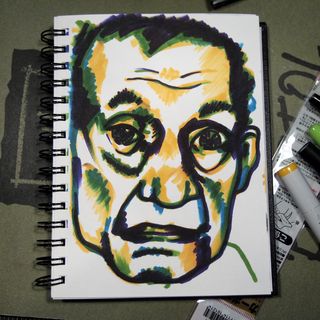
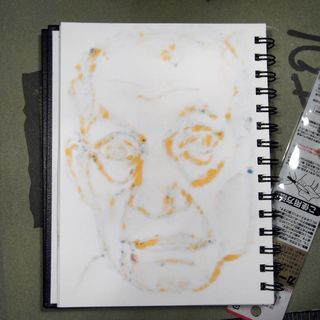
The marker tip is short, relatively stiff, yet pretty responsive at the tip. It’s not as springy as a Prismacolor or Copic brush tip but it does the job. I did a few quick sketches with the markers in my Stillman and Birn Beta sketchbook. The paper is a slight cold press finish. The Copic and Prismacolor handle this paper without complaint, the Sharpie is already looking fuzzy. I will admit to being less gentle with my brush tip markers, but in my opinion that’s exactly what these cry out for. Instead of drawing with brush tip markers I try to paint with them.
P8104698
P8104698
So that brings me to my next round of inspection, layering. Copic and Prismacolor markers are designed to layer over one another to build up color, so it’s much like working with watercolors. Sharpies tend to stand on their own. Each layer of color turns the tone darker and darker, without subtle shading. Sharpie brush markers are best for bold expressive shouts of color. Finding a Sharpie brush marker in yellow proved to be an impossible task, unless one buys the set of 12. *sigh* So I bought a Copic sketch in yellow.
P8104694
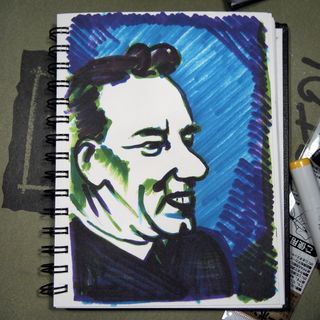
These will write on just about anything, just  like a regular Sharpie. They do seem a tad juicier than regular Sharpies, so might be a good choice for acrylic paint. Just be aware that if you write over gesso with these you’re pretty much going to scrub that brush tip. I found these really fun for fast observations and sketches. The 2 sketches I’ve shown here took all of 10 minutes each. These brush tips really allowed me to lay down a lot of color fast. You’ll notice there isn’t a lot of subtlety though. Sharpies lay down bright bold lines and lots of ink.
P8104695
P8104695
These are a great choice for someone who doesn’t want to invest in Copics or Prismacolors but wants that brush tip marker experience, they just need to be away it’s not going to be quite as good. Keep in mind they are probably not lightfast and are certainly not archival. Get them online at Jetpens.

Midori Traveler Style Notebook

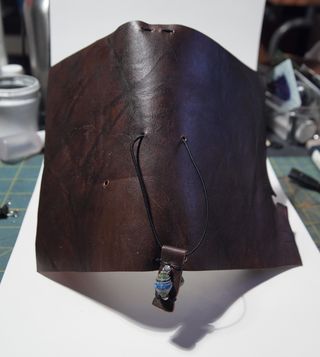
I've been using a knockoff of the Midori Traveler notebook system for about a year now. I decided to make one for a friend and while I was working on it  I tried a few things and really liked how it turned out. I then decided to make myself  a new one and a pocket sized version.

P4074033
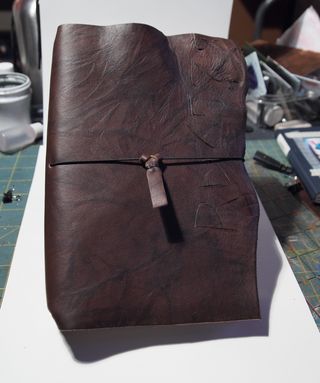
I really like how deep and dark the leather is and how supple it's surface is while remaining stiff. I can't wait to put these through the ringer! For the large I used an edge of the hide that had numbers and letters cut into the surface. I buffed a ton of cold wax into the surface, which I used a light iron to heat into the leather, to really deeply impregnate it with the wax

P4074027
P4074027
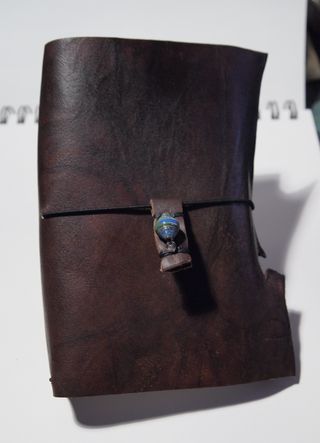
This time instead of punching a hole directly through the center of the cover I made 2 holes, one on either side of the "spine" area. This lets me use a smaller knot and I like how it holds things together.

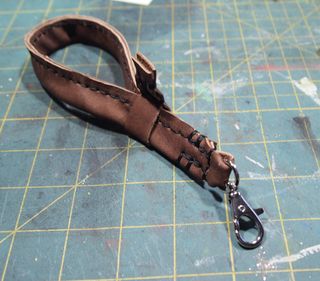
While I was at it, I figured I'd make myself a strap for my camera. I made it a touch too long but  I do like it. The hardest part was finding a heavy duty clasp to hold it to the camera.

P4074021
Some construction notes: For thelarge notebook I started with a 9×13 inch sheet of leather and then trimmed it once I had the cover constructed. For the small I started with a 6×9 inche sheet of leather, which I again trimmed down excess once I had the elastic installed. In both of mine I'm using my own notebooks but the small would hold any 3.5×5.5 inch notebook, like a Moleskine Cahier, Doane pocket notebook, Bandit Carnet, field notes etc… Any of the small pocket sized notebooks would fit in the small size, and likewise for the large, any 5.5×8.5/9 inch sized notebook would fit.

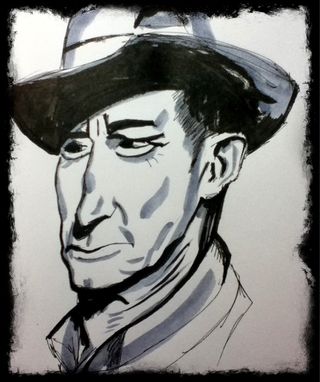
Another Cowboy

Another Cowboy

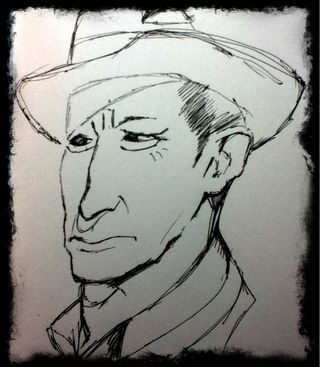
I thougth I'd show you another cowboy drawing. I started this guy the same as the last- with the Pilot Technica .04, quickly scratching out the basic lines. This image is about 5×7 inches just a little larger than the last few drawings I've loaded up.

Another Cowboy

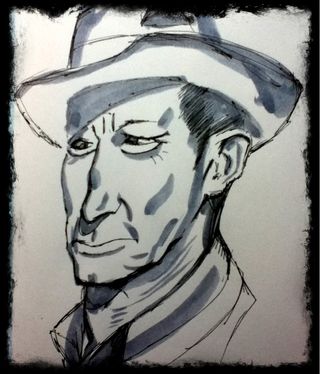
After that I added the shades of gray, using layers to get darker shades of gray.

Another Cowboy

Finally I added black with the brush pen.

Obviolsly I'm totally digging these brush pens. I've found a figure drawing class and I think i'm going to go and draw with this pen combination. Additionally, I've used the Loew Cornell pens I reviewed here with this technique and it's pretty cool when they bleed into the gray ink. Also the pens are way more comfortable when used for drawing than when writing.

Review: Loew Cornell Simply Art Fine Tip Marker 4 Pack

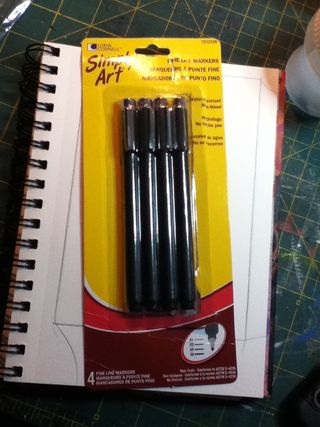
Loew Cornell Simply Art Fine Tip Marker $5.99/ 4 pack @ Joann's


IMG_0667


IMG_0667

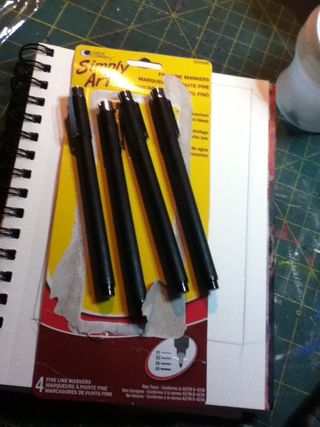
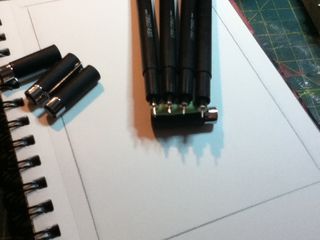
I was doing some comparison shopping for my upcoming class on pen and ink drawing and I stumbled upon the Loew Cornell Fine Tip 4 pack at Joann’s for $5.99. They claim to be water resistant and non- bleeding. One look at the package and you can tell they are clearly a knock off of Pigma Micron pen put out by Sakura. The short cap, metal clip, and cap post on the end of the pen gives it away.


IMG_0669

The markers are sold in a blister package with some claims and suggestions. The first claim is that they are water resistant. The second they won’t bleed. The back of the package suggests that you can use them with watercolors and other markers. I’ll get to these claims shortly.

IMG_0670

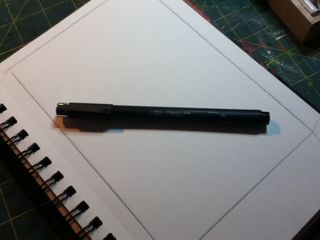
The pens have a matte black barrel that is comfortable to hold. The pen is very lightweight. The cap posts securely to the back end of the marker with a satisfying click. While writing with the marker I found the ridge where the nib section meets the barrel to be quite sharp and uncomfortable. I suspect that this will be the main reason I stop using these markers.


IMG_0674


IMG_0674


IMG_0674


IMG_0674

While writing I found the fiber tip to be quite smooth on all pens but the largest, .08, and that nib was dry, as if it had dried out in it’s packaging or was out of ink. The sketching experience was not bad at all, the line was smooth and consistent for each tip. There is no line variation unless you switch pens. The ink is black but seems to gray out as it dries, leaving behind a dark gray line rather than a black line.


IMG_0677

An additional flaw is that the cap is the only part with a size designation and it’s easily missed so caps could easily be put on the wrong pen. The barrels are only marked with the Loew Cornell name.

As for the water resistance, they are, sort of. I found that a lot of the ink lifted with a fast brush over with water. Leaving behind a strong gray area in any spot that was damp. There was a LOT of bleeding that would discolor any watercolor wash applied over it. This also washed out the lines. I went over my test area with another brush load of water and worked the area with the brush, nothing that would be called a scrub, and with a soft brush. The thinnest lines lifted almost completely and black lines were left grayer than before. The gray that is left is a very nice color. Knowing that these create a wash like this is actually pretty useful, one could throw these into a sketch kit with a waterbrush and get some pretty nice sketches with a wide range of tones of gray.
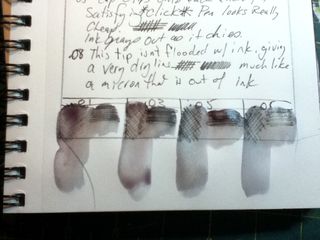
IMG_0678

All in all these aren’t a bad value for $6 as long as you take the negatives into consideration- the grip itself, that one of the 4 pens I got wasn’t working properly, they are kinda water resistant, and that only the cap is marked for size. On the good side of things, you get 4 markers that write a lot like a Micron for a lot less, make wonderful washes, are all black and write pretty smoothly.

I’d recommend these for anyone who is interested in trying out this style of pen- very fine fiber tip. I don’t think these will sell you on the style though, they are too uncomfortable to write/sketch with for long periods of time…. Though a nail file might take the sharp edge off the grip area… Might try that, if I do I’ll let you know all about it. I want to suggest these for kids, but I don't want people to assume that I'm saying they are only for kids. I guess I'd say these are good for older kids- teenagers who are sketching for art class, or are writing or for someone who wants to test this style of pen out. you won't get the same performance as you would with a Micron but it's a good point to start.

 UPDATE: I have been using these in SOME of my cowboy sketches and I've found them far more comfortable to sketch with than I'd have expected. We're not talk ing 2 hour long drawing sessions, more like 15 to 20 minute drawing sessions. I amend my previous statement about them being uncomfortable to being mostly comfortable for sketching. Add to that the blending capability when water or ink is added really adds an other level of darks to my gray ink brush pen. I'll need to test it and see if it's lightfast before I suggest it for anything other than sketching.

Continue reading

Some Observations: On Paper and Frisket

Iv'e been working on a variety of papers, settling on Canson's XL Watercolor paper, for a variety of reasons- it works well with the watercolors I'm using, it's cost is nice and it has a relatively smooth surface that my pens rather like. It's also got 2 sides, a right and a wrong, ot a front and a back; which ever way you prefer to call it, but I like the judgemental aspect of right and wrong… In this case. Any how.

One side has a little more tooth an grab to it than the other, this is the right side. The reverse side AKA WRONG is smoother. It also has less sizing… This affects a number of things- how ink and paint react with the surface. Less size means it's more absorbent.

This is good and bad.

It's bad when you use a mask. I applied a liquid frisket rather heavily to the surface of one of my paintings and the frisket grabbed to the paper so strongly it ripped when I removed it. Quite badly. It was crazy frustrating.

I went ahead with the mixed media piece anyway, knowing my paint would adhere the ripped pieces down and it would be okay, but I had to change my plans for color and other ideas for the image, and I know that the torn piece could come back to haunt me.

Additionally in my frisket/mask adventure I've found that the frisket REALLY doesn't like the spray inks. If the frisket is too thin the spray ink "leaks" through it. A total pain in the ass. So I've learned to put on one thin coat and then a heavier coat to seal it all up.

Weekly Round Up: Videos

This week's videos are late because I had an Art Adventure on a super warm winter day! Cappuccino, breakfast sandwiches, walking around the city of Salem, and of course sketching. (Also planning for a new secret project or two destined to hit awesomeness this coming summer.)

So here you go this week's videos:


Drawing-a-Day: Weekly recap

I decided that after week 2's disasterous results of, well, not getting a lot done along with allergy attack I needed to regroup and rethink the drawing-a-day thing. (Traci was right when she said the upload was the longest part of it.) My initial decision to NOT tweet process pictures really threw me for a loop. Tweeting, facebooking and flickring process shots really makes my drawing time more interesting. Drawing is interesting with out the progress shots but… I like progress shots. So I'll be putting those back into my "process." I'm also taking the size requirement out.

Initially I focused on making the drawings in my Graf  it pad, which was all well and good, but for the fact that sometimes I want to draw on my lunch break and I don't take the graf it pad with me. Maybe I should just suck it up and BRING it with me. Instead I chose to change my "rules" to conform to how I actually work, and that is that the drawing-a-day can be in any format, ie in my webbie if I chose, or the graf it pad, or anything else.

So, there's that, and here are some of my drawings from this past week:


  • Ink mix0069
  • Ink mix0070
  • Ink mix0071
  • Ink mix0072
  • Ink mix0073
  • Ink mix0074
Ink mix0074