One of the things I knew I wanted to do immediately with these cameras and prints was add spot color and colorize the entire image. To do this, I tried several things. Let’s start with the dry and semi dry media. Like colored pencils, markers, pens and highlighters.
I started with a range of prints and adhered them into my journal. In this case I’m using a Yoobi Composition book. I used my favorite fat Staples glue stick, which may not be available anymore. (sad face) Once I had the image glued down I let the glue stick dry for about 15 minutes. I want to avoid shifting as I work.
I then hit the image with a gel highlighter. I did the background of the image. The gel highlighter went on smoothly and easily. It also dried over night.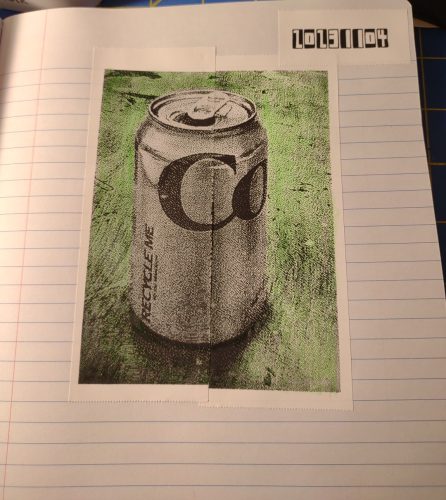
The next media I used was colored pencils. I used Prismacolors in transparent and bright colors. I used several layers of the pencils to get the color I wanted. I did notice that the color did obscure some of the darker areas of the image. Especially when I layered the color. I will note that the paper is very slick and doesn’t have a lot of tooth so colored pencils took some finessing to get to stick to the page.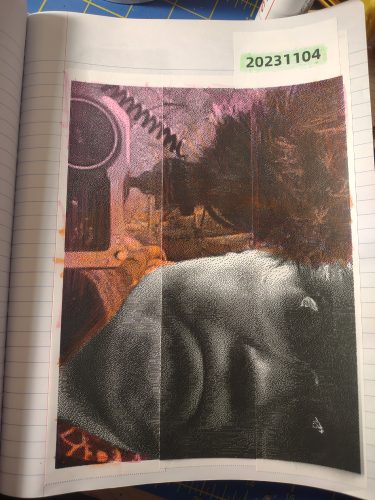
I wanted to add back some white areas that grayed out in the image when I printed. I used a GellyRoll pen to do this. It worked great. In some areas of an image I wanted them darker, so I used my favorite UniBall 207 in bold but the medium point would work well too.
This led me to wondering what would happen if I used regular colored gel pen on these images?
Currently the only colored gel pens that I own (at home) are the Uniball Signo DX extra fine 0.38 set I bought at Staples at the start of lockdown. This set is not ideal. While I like the extra fine point size for sketching in small pocket notebooks, it doesn’t have enough flow to lay down enough ink to grab on the super slick glossy paper of these prints. Also they tended to dry out on the coating which then caused them to dig into the damp areas of inky goodness. The coating would then chip in small amounts and leave pristine white blobs. No good.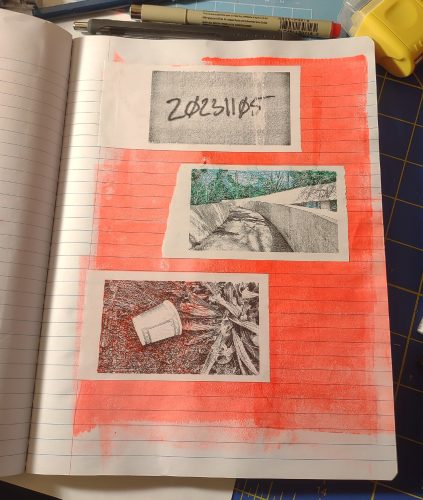
I do have a few other colors of gel pen- red, orange, and green. I had similar problems with the pen not getting enough traction on the page, though once it got going it laid down enough ink for coloring the image. Nice. The downside is the creation of larger ink blobs.
This paper coating is not absorbent. The ink really sits on the surface and takes a long time to dry. I know you are thinking about a heat gun… But uh, it’s thermal paper, it’ll turn black. It takes at least 15 minutes for a light coat of gel ink to dry, and I really found that thicker coats smudged hours later.
A pen that did much better was my Pigma Micron FN- the pen style fiber tipped version of the old Pigma Micron. The tip is quite small so it takes some time to add in the color but it does dry, eventually.
A pen that I hadn’t thought about, mostly because I forgot I had it on hand, is the Staedtler TriPlus Fineliner. It lays down an impressive amount of ink for a fineliner, but it would take forever to color an image with a thick layer of ink, so I think this is best suited toward scribbling in shading and cross hatching.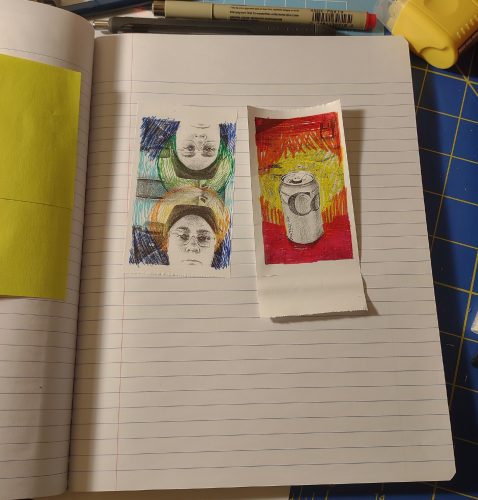
Most of the inks were still tacky after an hour. Though those that lay on the lightest coating were the least tacky- so the UniBall DX was the least tacky as was the Micron.
Some tips:
- Try to get the smallest amount of ink on the image to create the coloration and tone you are looking for and stop there. The less ink on the page the better.
- Keep an absorbent piece of scrap paper nearby. This will help you get the pen rolling again and clear off the tip of blobs and coating pieces.
- Use the absorbent paper to blot the image when you are done coloring.
- Use the absorbent paper as a shield to keep your hand off the images as you add color.
- Try a test image before committing. Each paper works differently. Some papers have less coating and are more absorbent. Receipts are great for coloring!
Next I’ve got to try alcohol markers- Sharpies and other brands.

This has been repubbed from my Ko-Fi page, if you have found this helpful or useful please head over and consider buying me a coffee so I can keep this blog useful. Want to buy art supplies and support me through affiliate links? It’s a great way to spend what you are going to spend anyway.
 Short answer is: yes, it will work, but you need to finesse it.
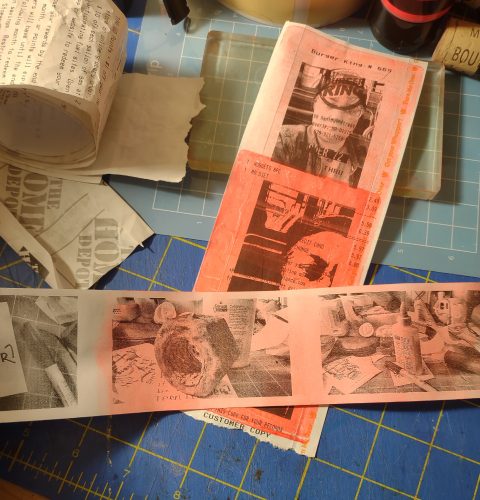 Too much paint and it obscured the image. Too light an image and details were obscured too much. To opaque a paint and you can’t see the image at all. Too much paint of a transparent color- image is obscured.
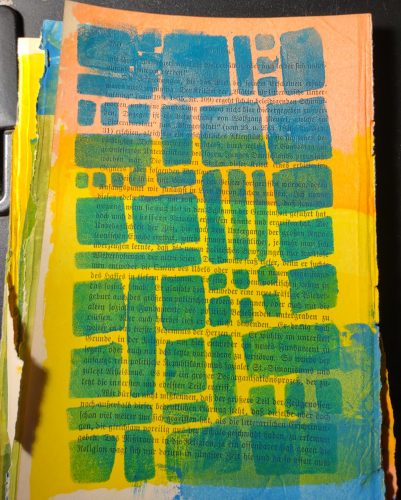
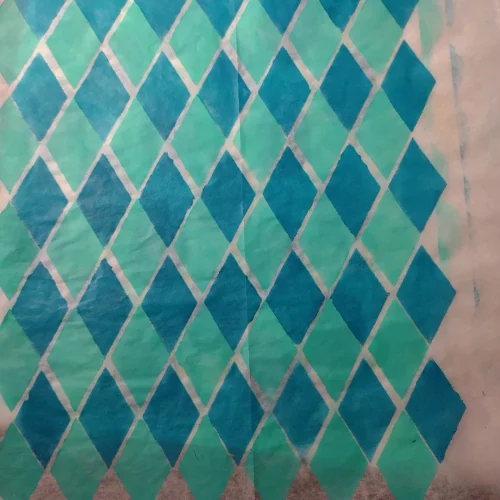
 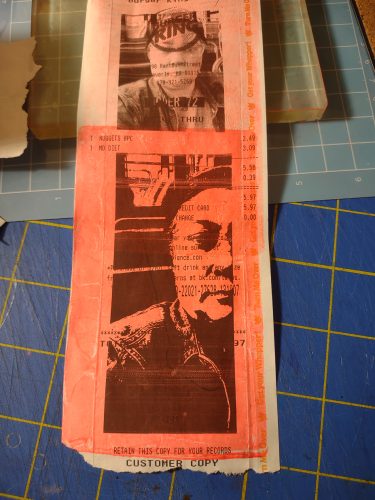 I started with an excessively thin coating of paint. This produced a very washed out color. I did layer on a second coat of paint and the paper did okay but felt weaker. This paper is pretty weak compared to sketchbook or even regular printer paper. Let it dry completely between coats from the gel plate otherwise you risk tears.
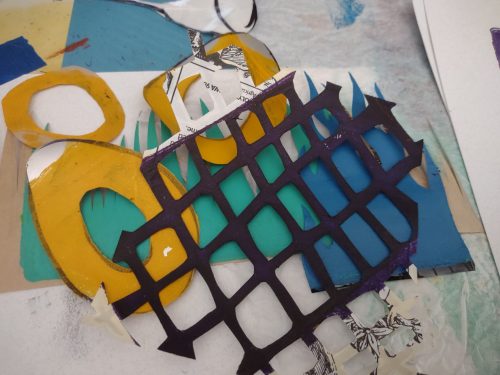
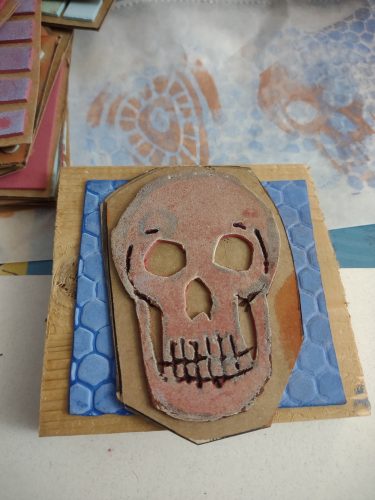
 I found this really let me get a nice lovely layer of complete color over the image. I’m thinking of the usual ways I use a gel plate to create images- masking and stencils…. I’ll get more into that in another post.
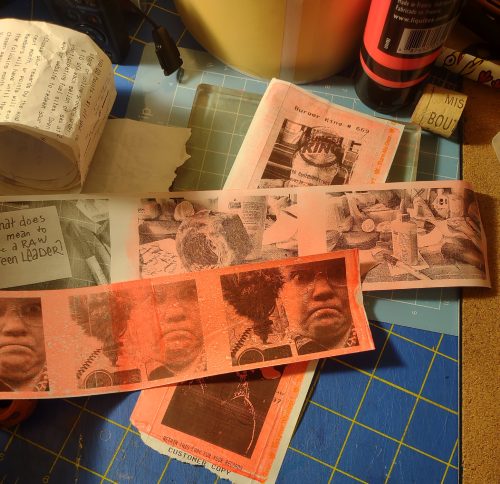
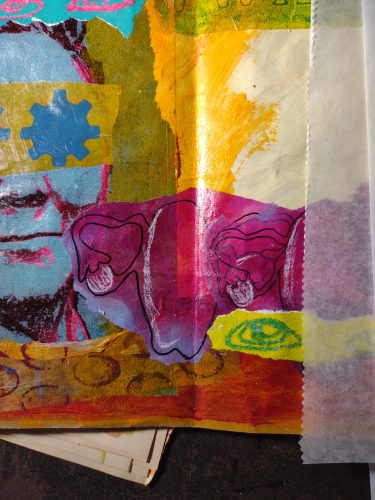
 I didn’t spend much more than 15 minutes on testing this idea out and I think it adds a lot to these images. There’s something about a pop of color that can really bring out an image. I can’t wait to play with stencils and masks with these.
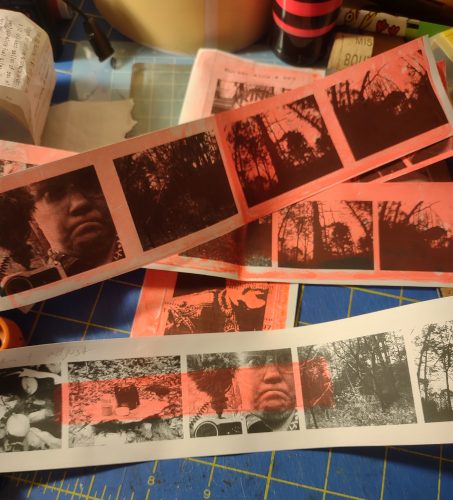
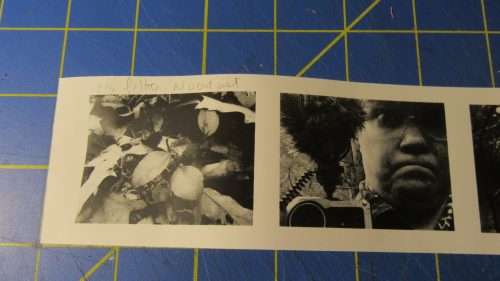
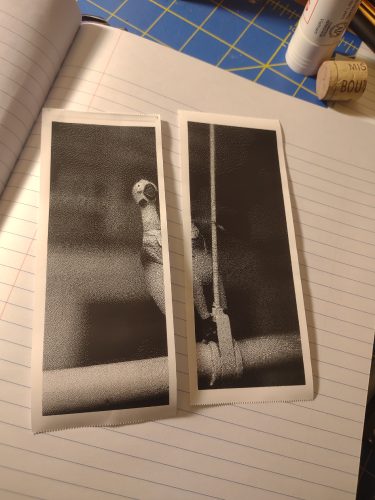 Then I had to decide how many cuts, and how large I’d like the image. 2 cuts keeps it small, 3 cuts makes it larger. The original shape of the photo will matter- the soda can is much large than the chicken because it was taken with an app set to 16:9 while the chicken was cropped to 4:3.
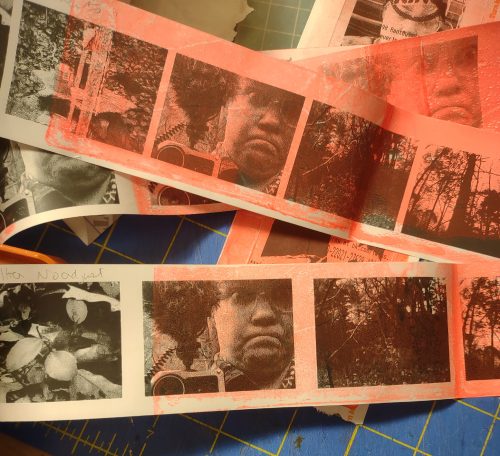
 Some notes: These images did not print exactly, that is to say some of my prints were longer than others and some shorter. They didn’t match up perfectly either, it was like there was a 2 or 3 pixel gap. I think the imperfections work perfectly for my uses- my journals.
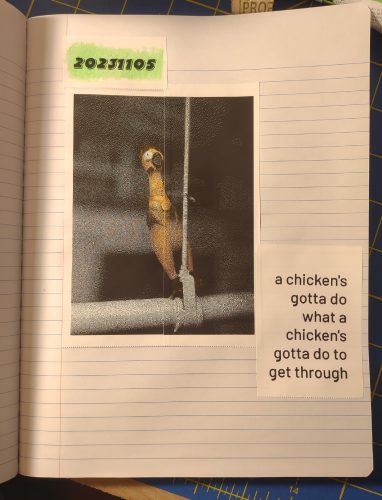 Notes:
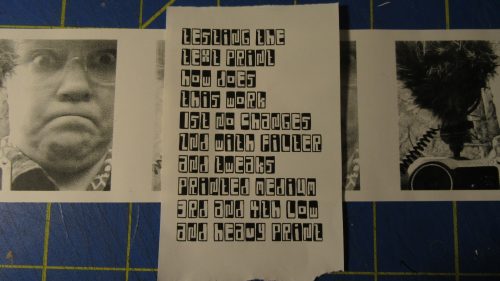
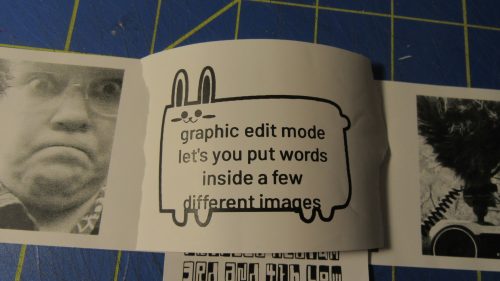
 I suppose some of this is a minor quibble. The prints are fantastic, it’s just I want more control and you know I like to print a lot of photos all at once. I want to print 10 or 20 in a reel to create my crankies. Having to print one at a time is annoying. I can print more than one at a time in the graphic edit mode, but I cannot adjust the contrast or exposure.
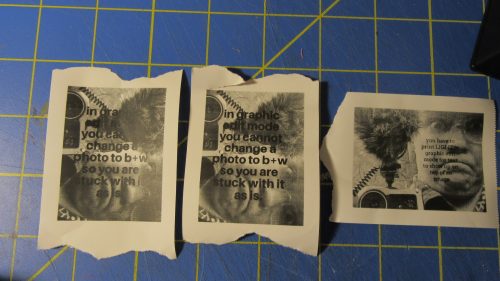
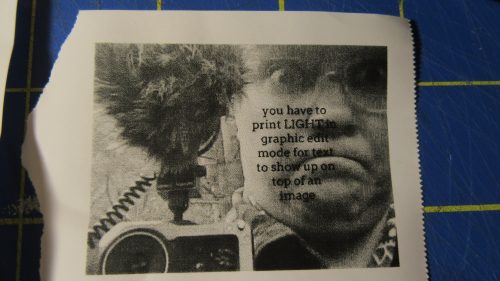 I like this. I didn’t test this, but I have printed and then reloaded the image into the printer and printed over it. I’ve also taken a reel of images from my toy cams and printed words over them. It can be really cool.