My new DayJob allows for blue or black ink* and I’m in search of inks that work well in my various pens, look good on nice as well as crap paper, and photocopies well. I’m looking for professional looking black and blue inks.
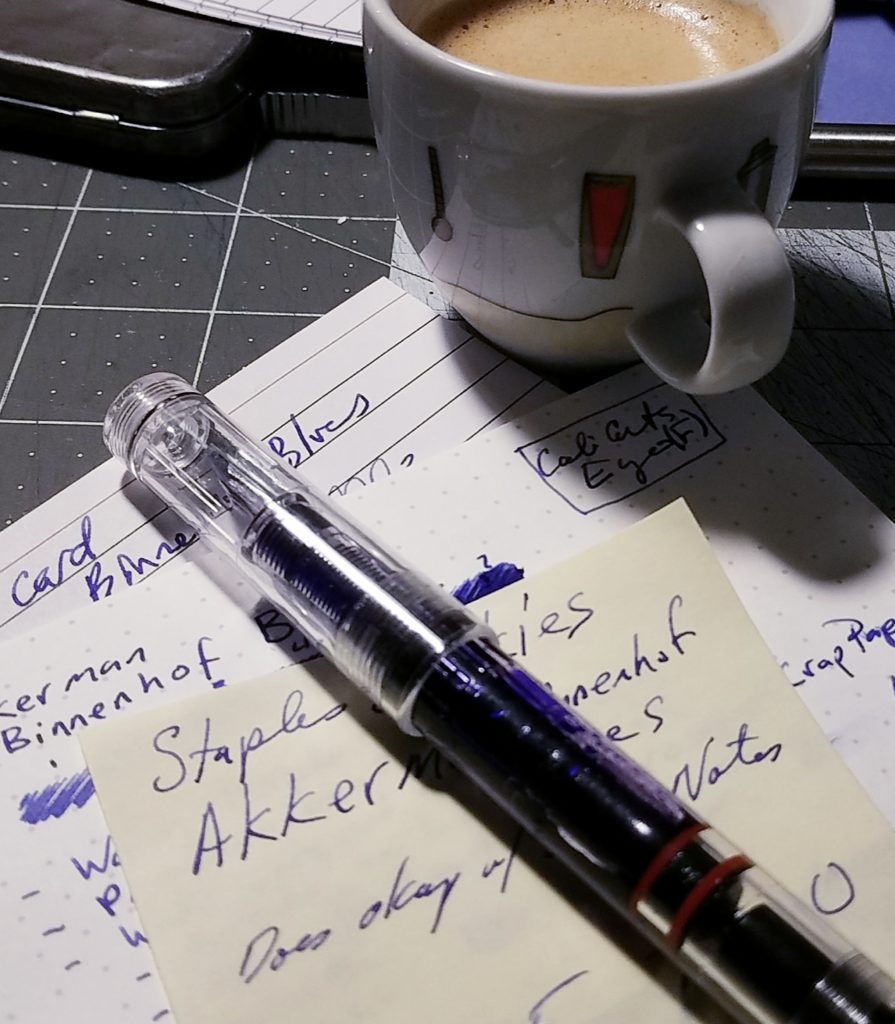
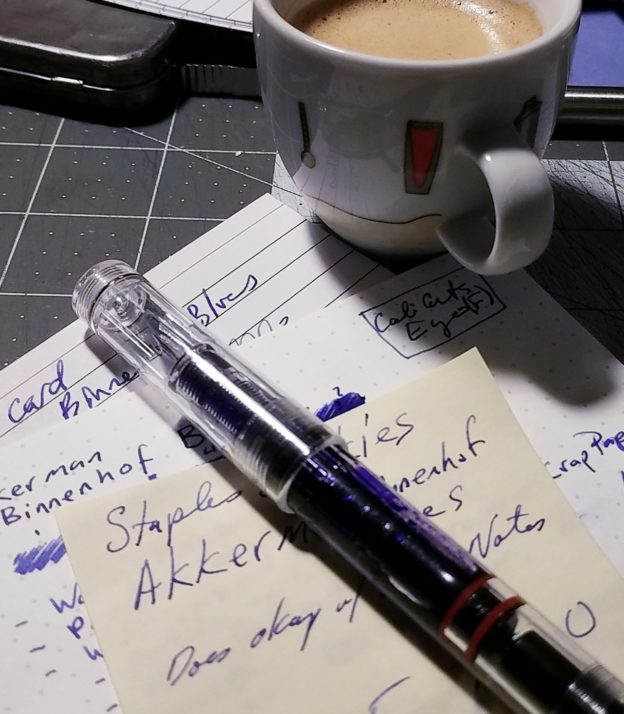
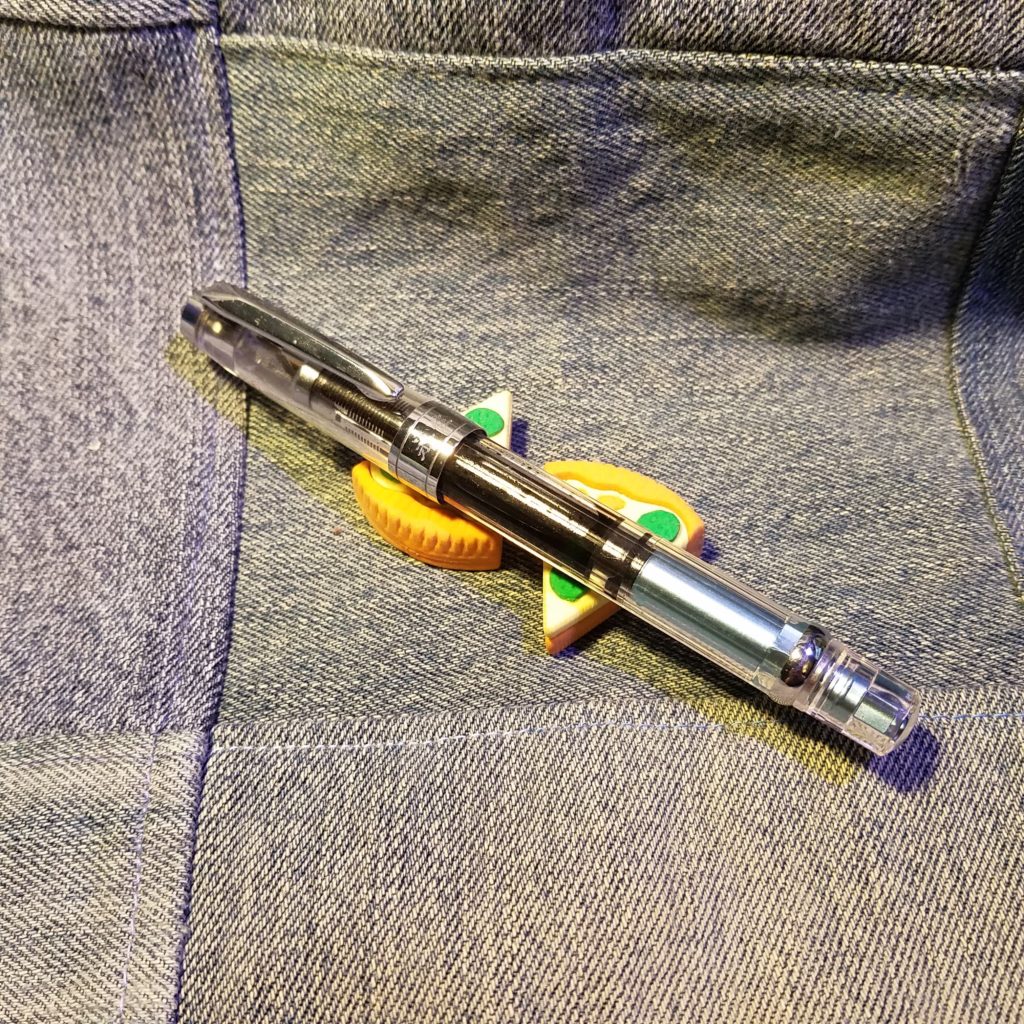
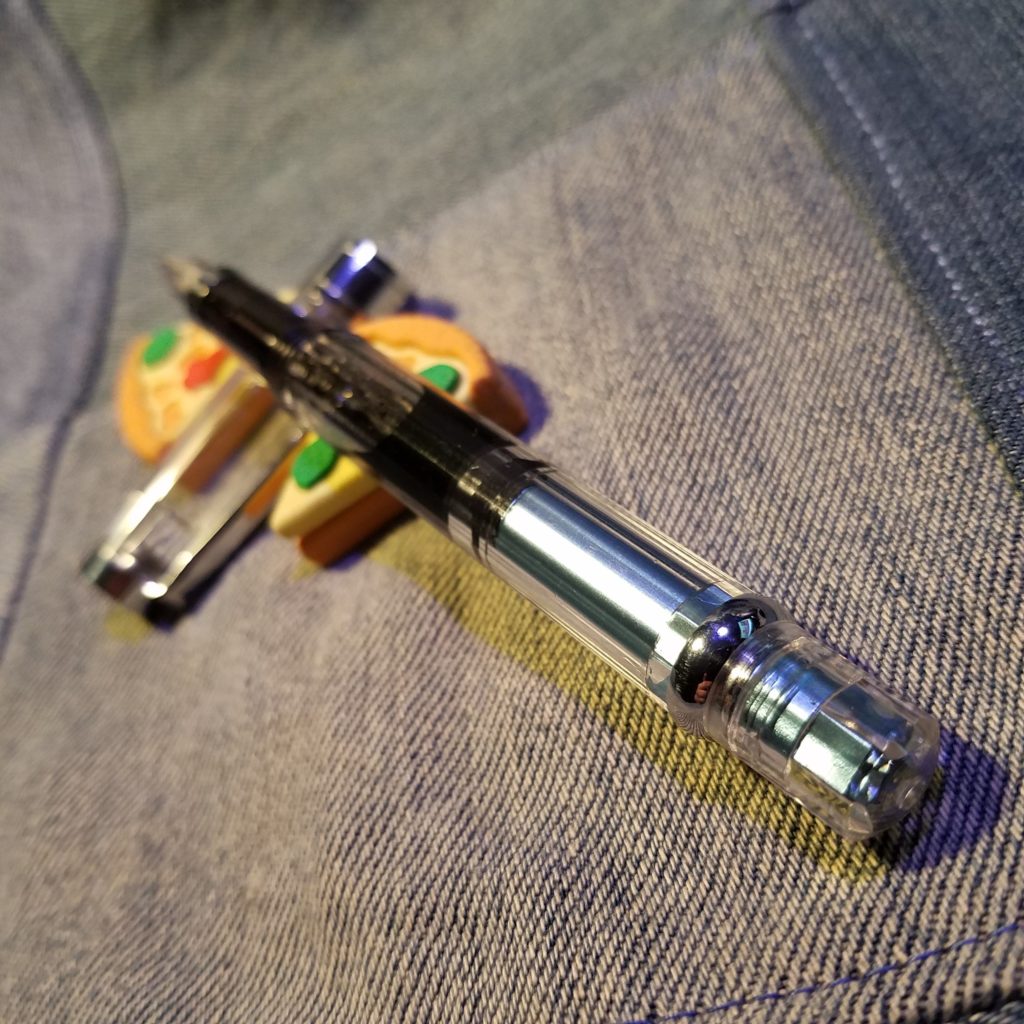
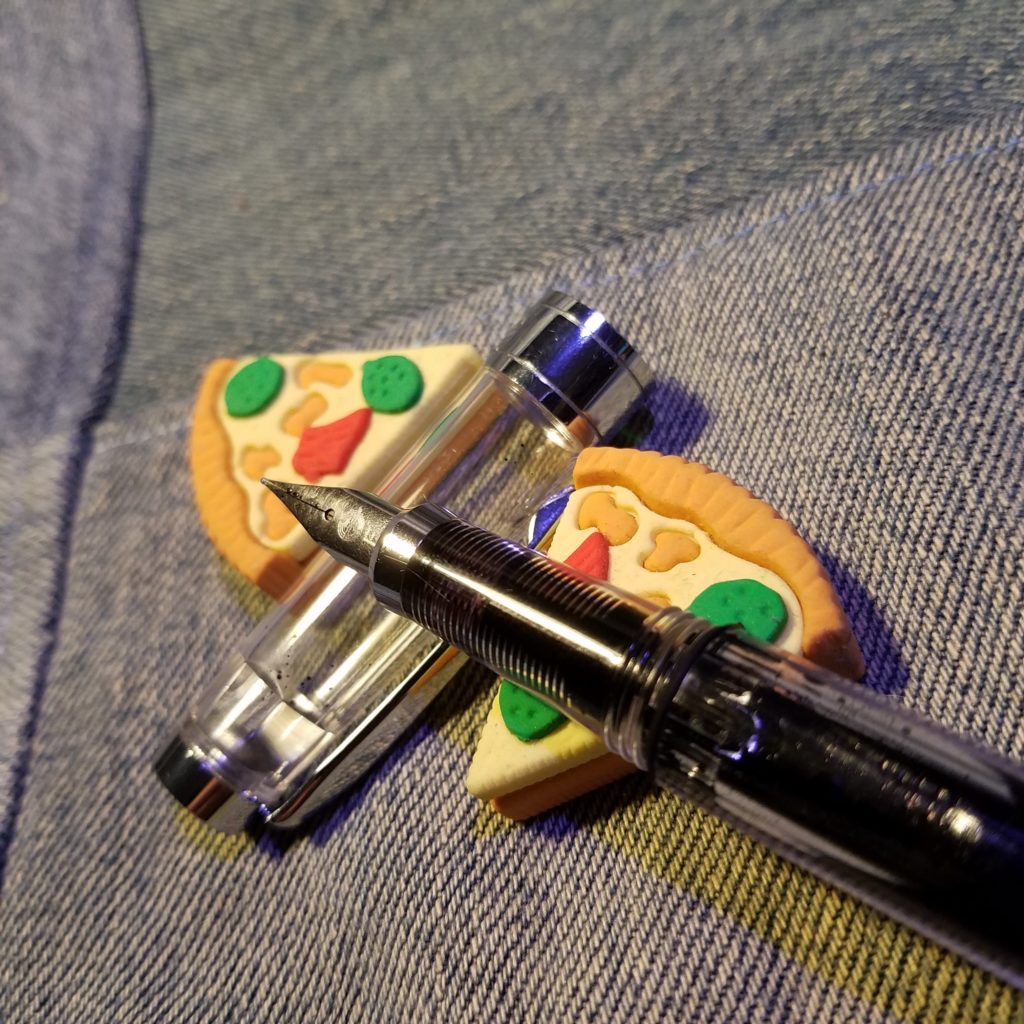
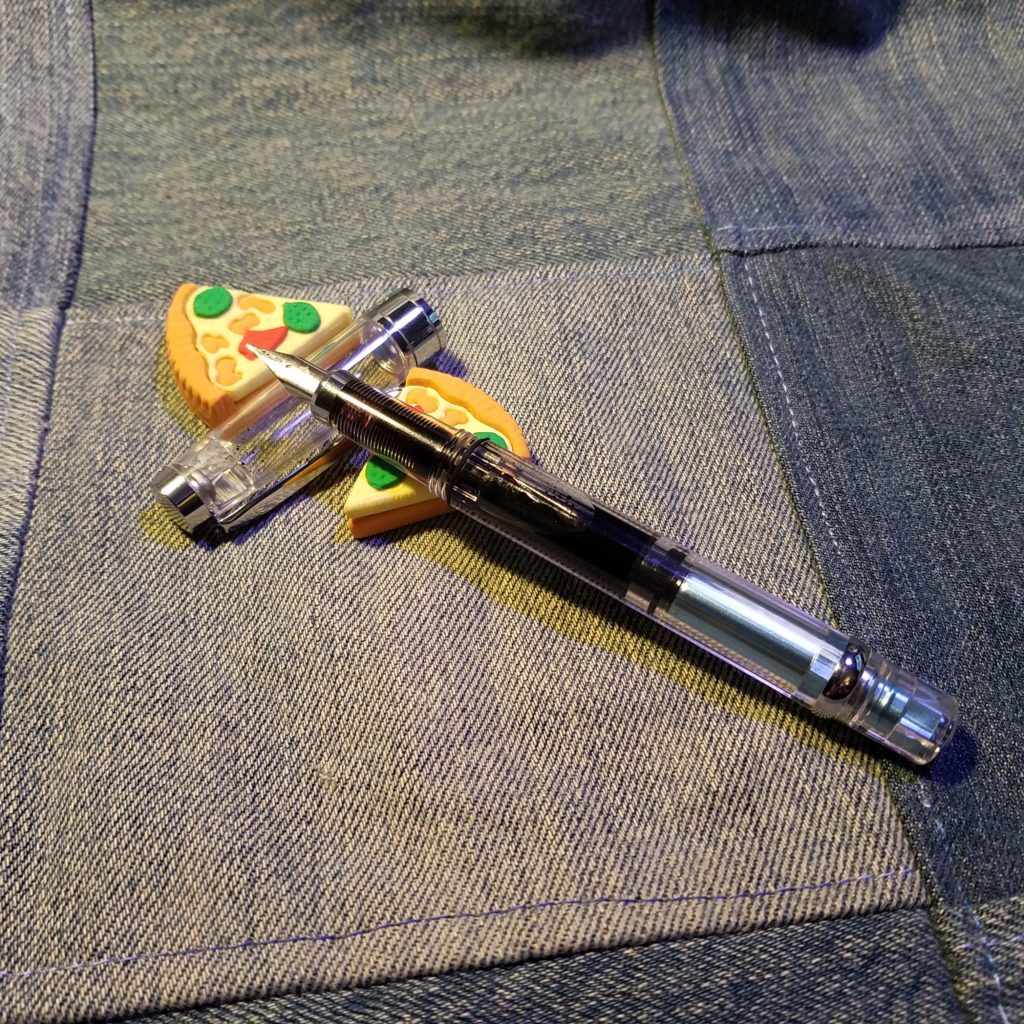
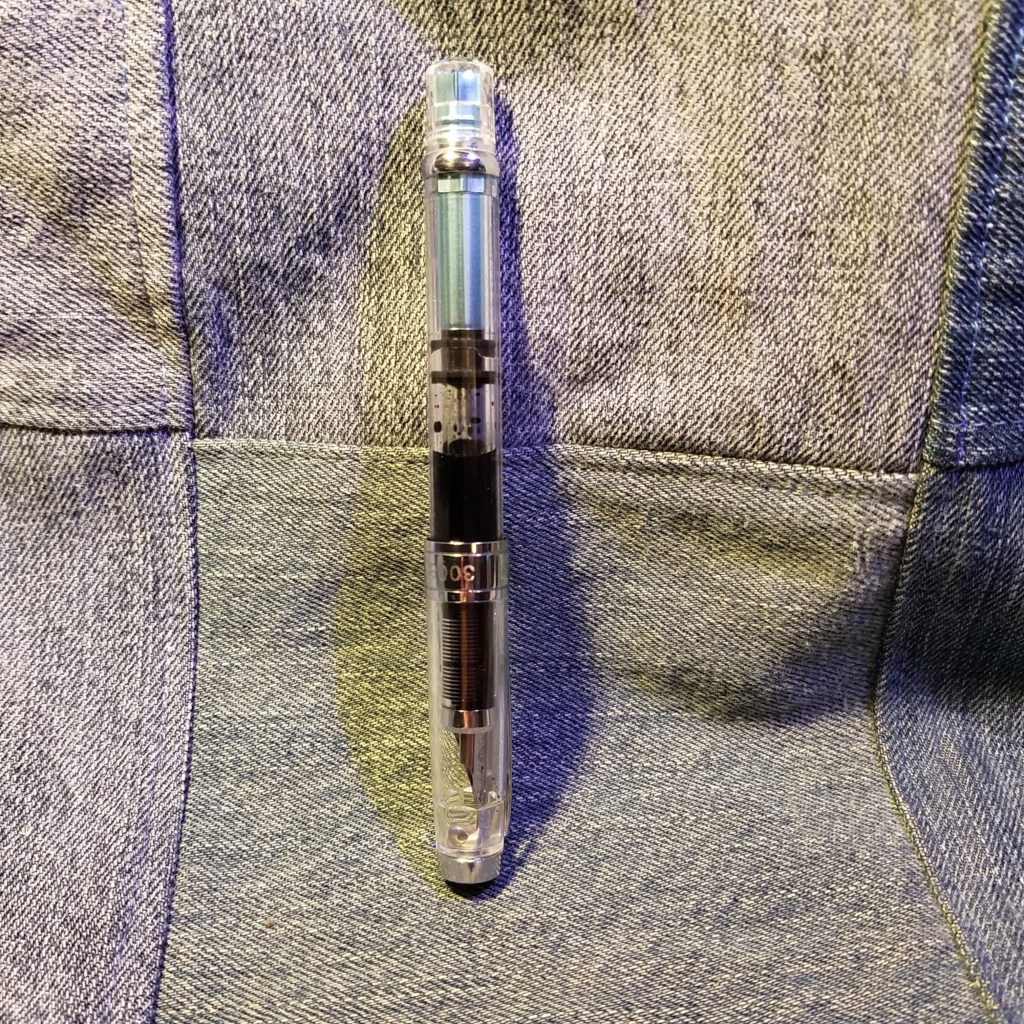
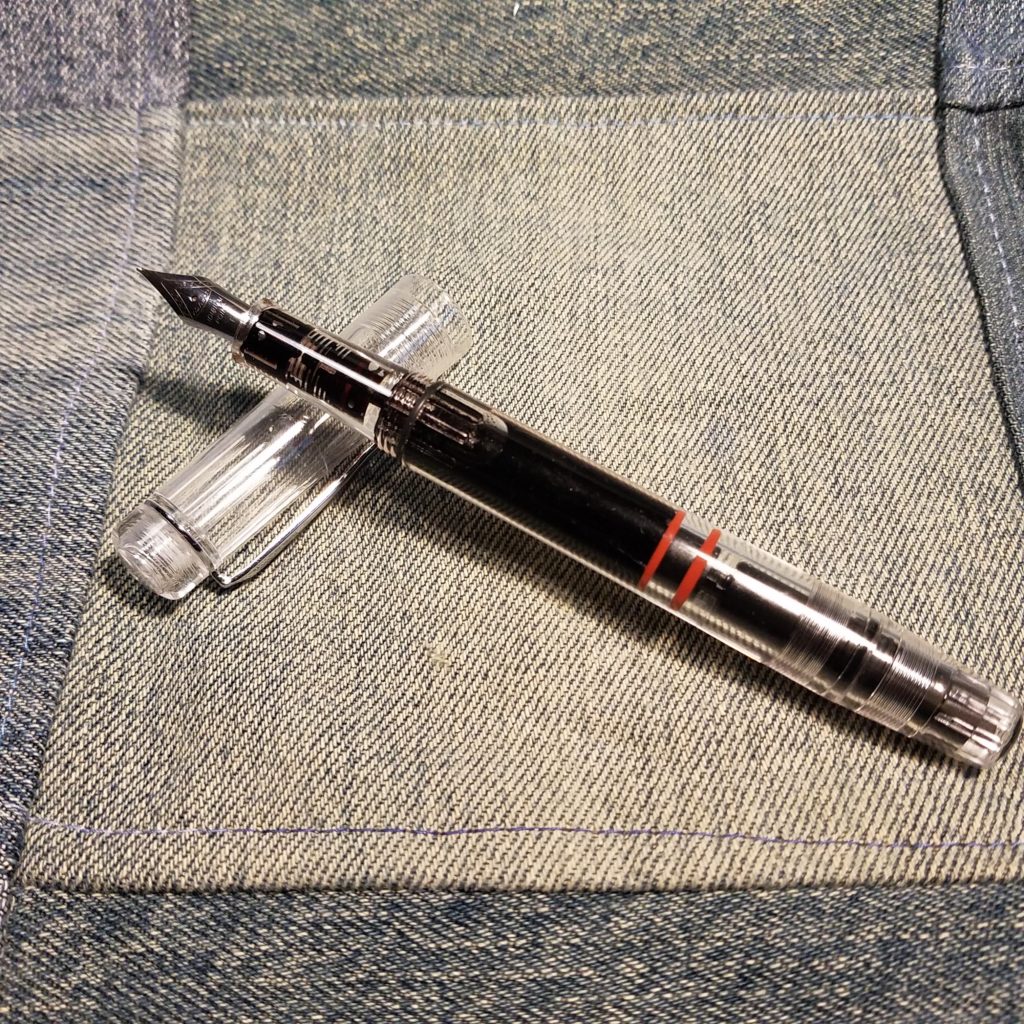
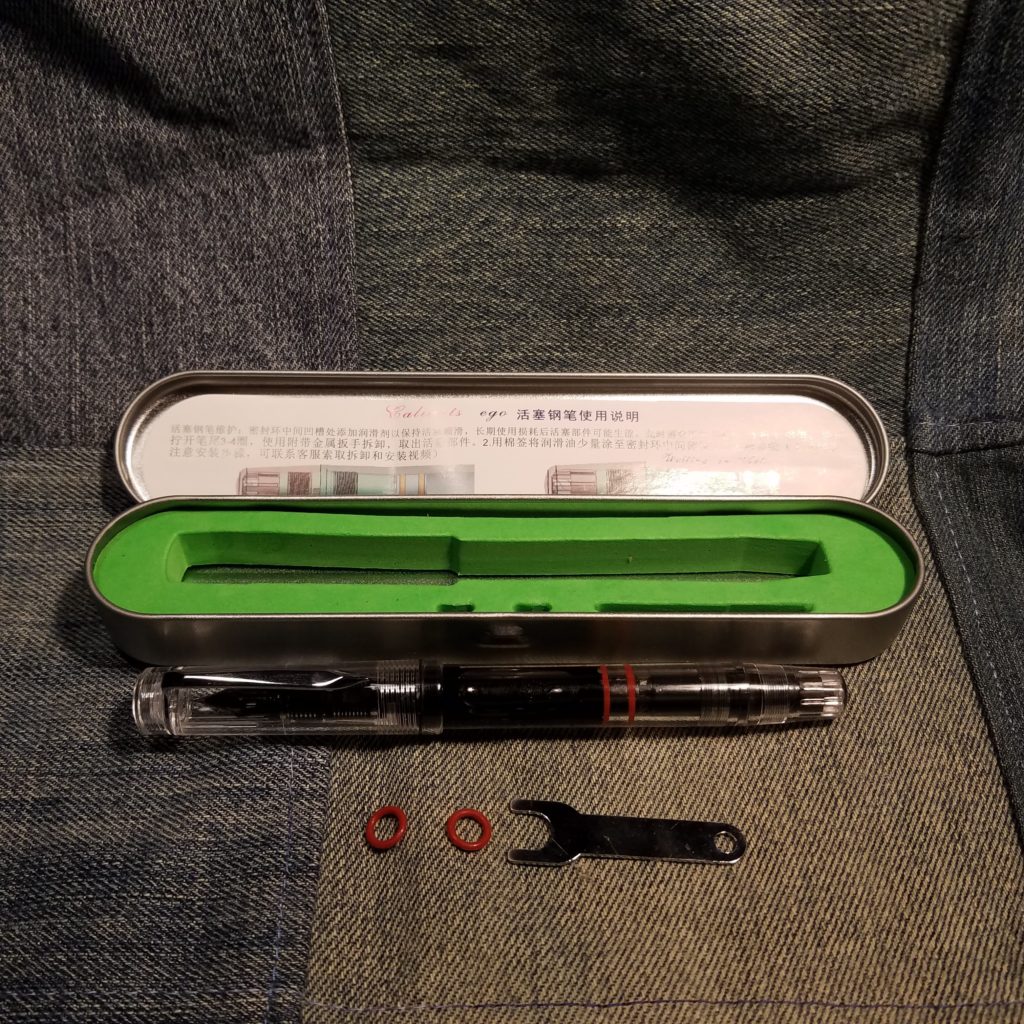
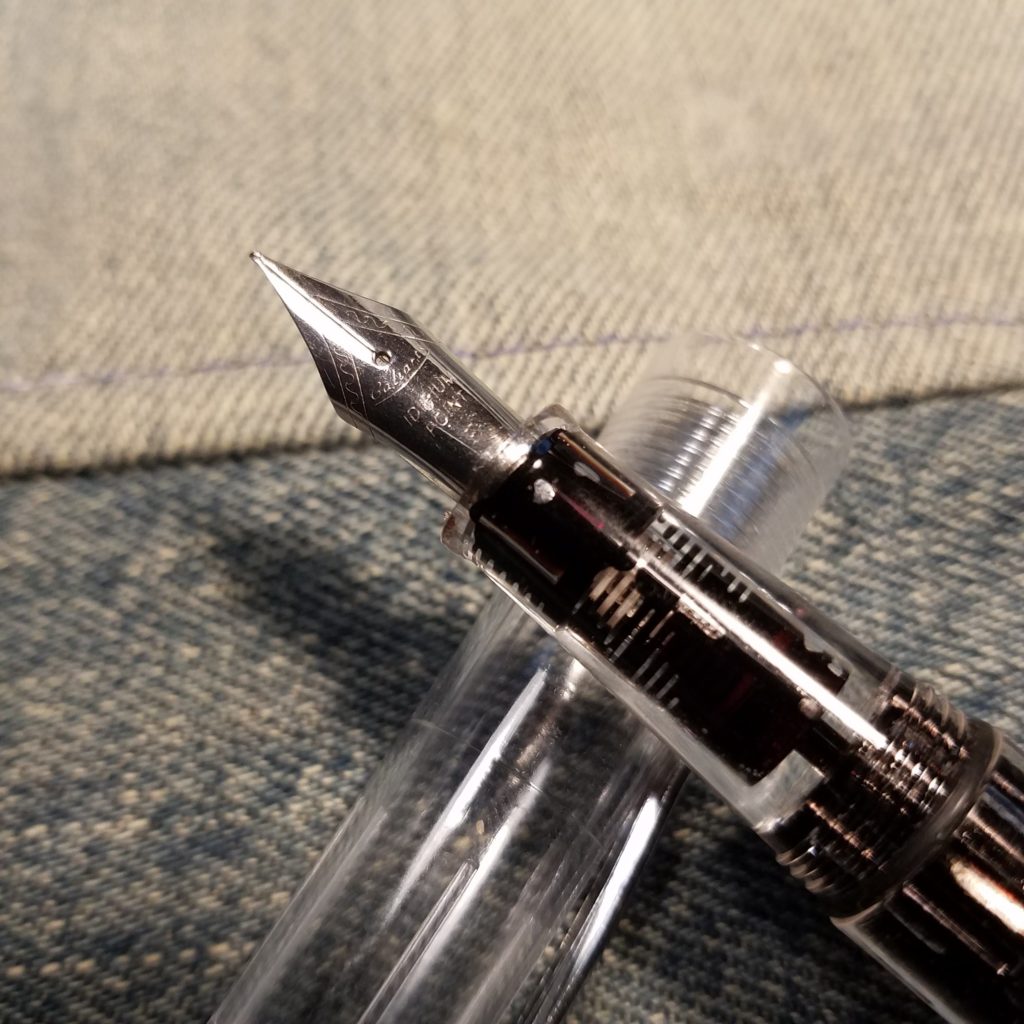
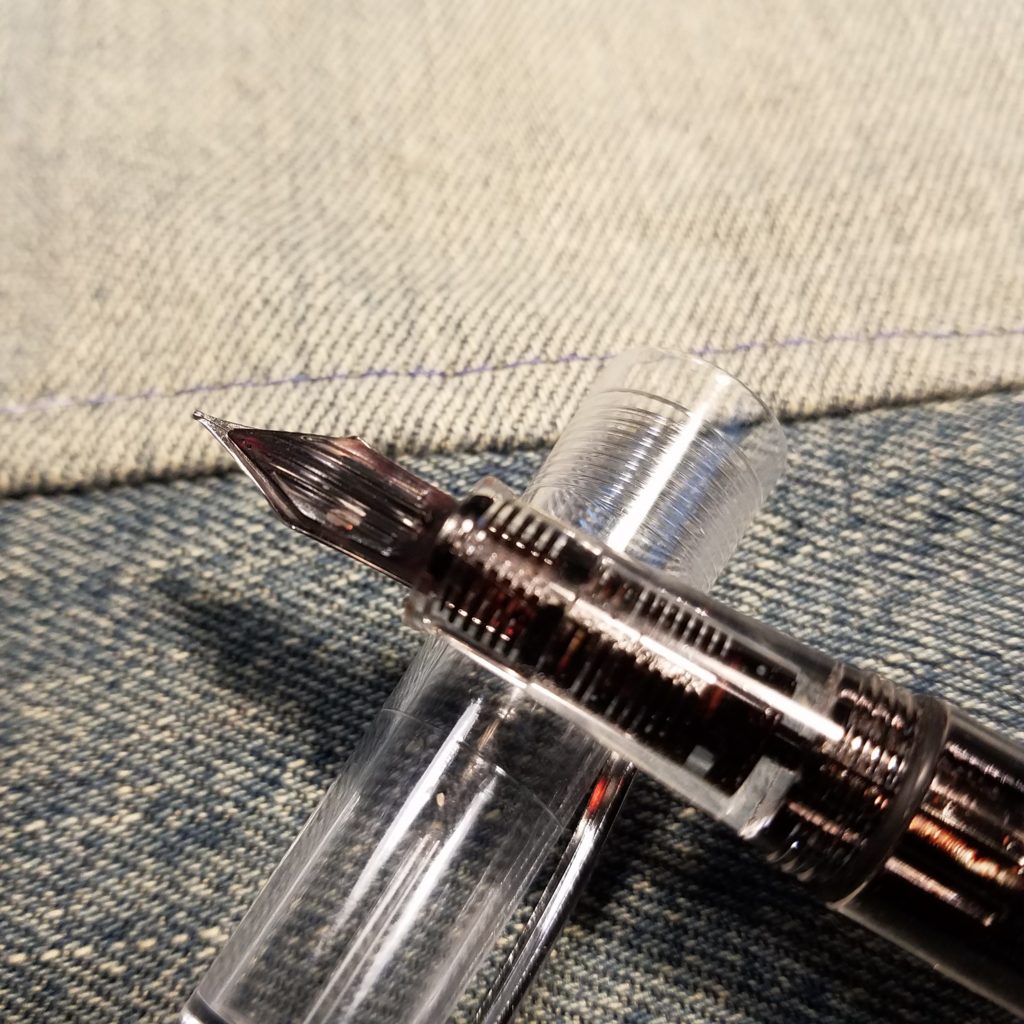
My RSVP Co-host, Lenore, sent me a package with a bunch of Akkerman ink samples and a few other inks. I’ve used a bunch of the inks for doodles and writing, but the Binnenhof Blues was a color that I hadn’t touched, until now. I filled my CaliArt Ego with the sample. I used it during my first full week at the new job. While in training I used it on the unknown paper** the main office uses for photocopies, my Baron Fig Vanguard, and my pocket notebook. The ink performed well on all papers*** with minimal feathering and bleed through.
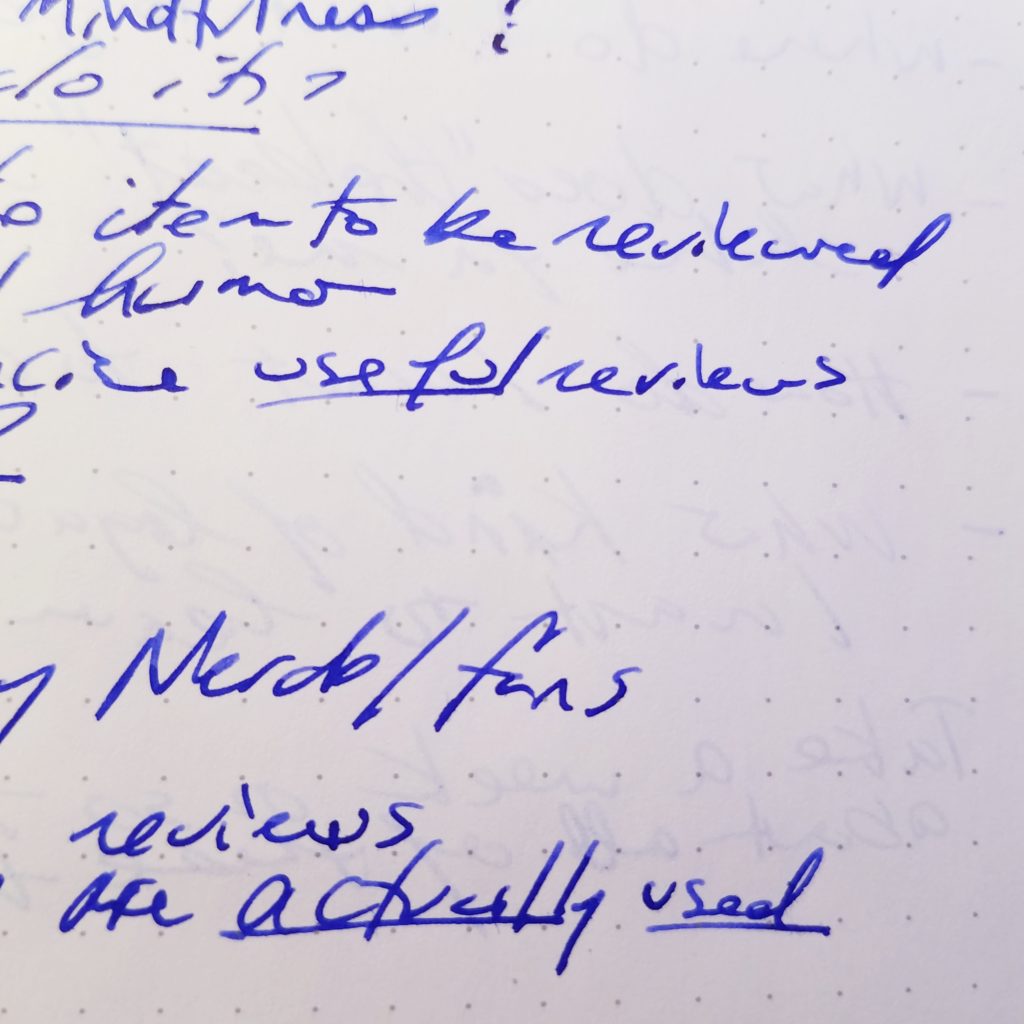
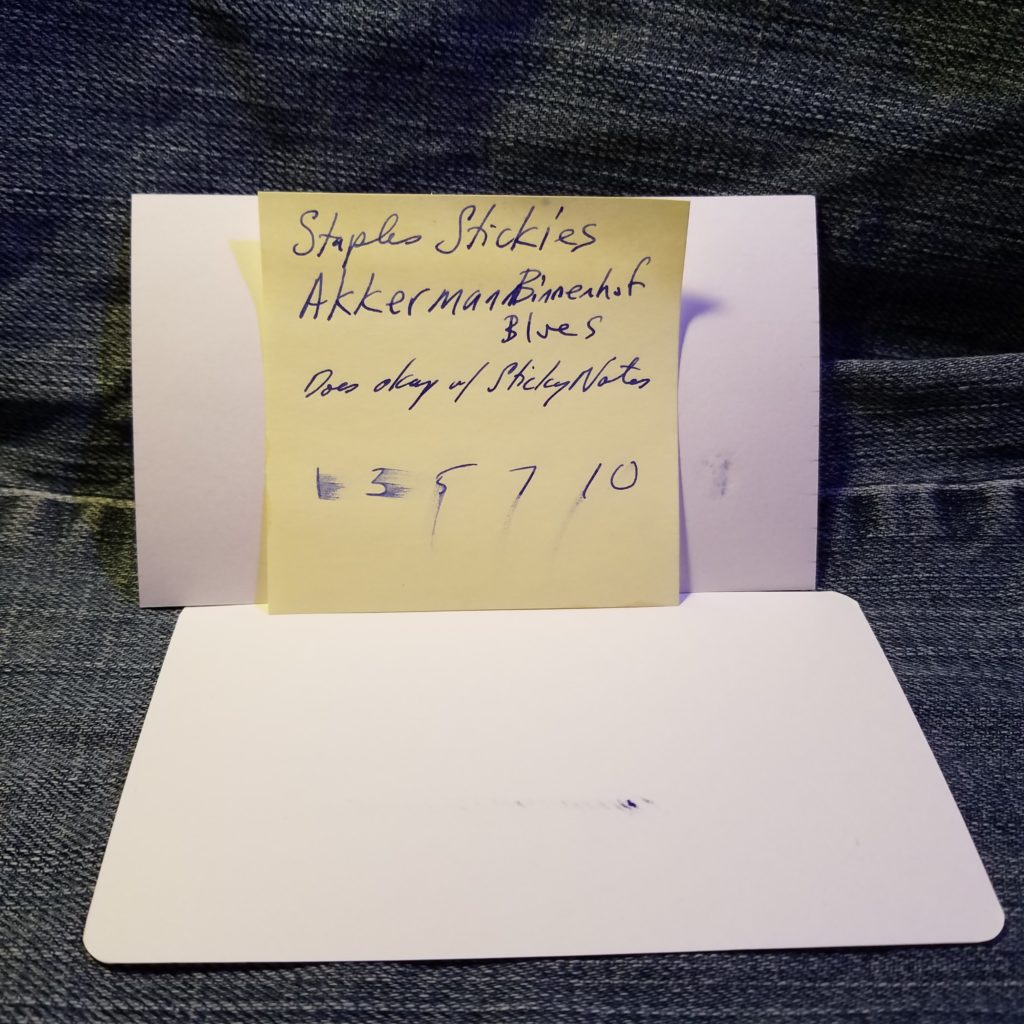
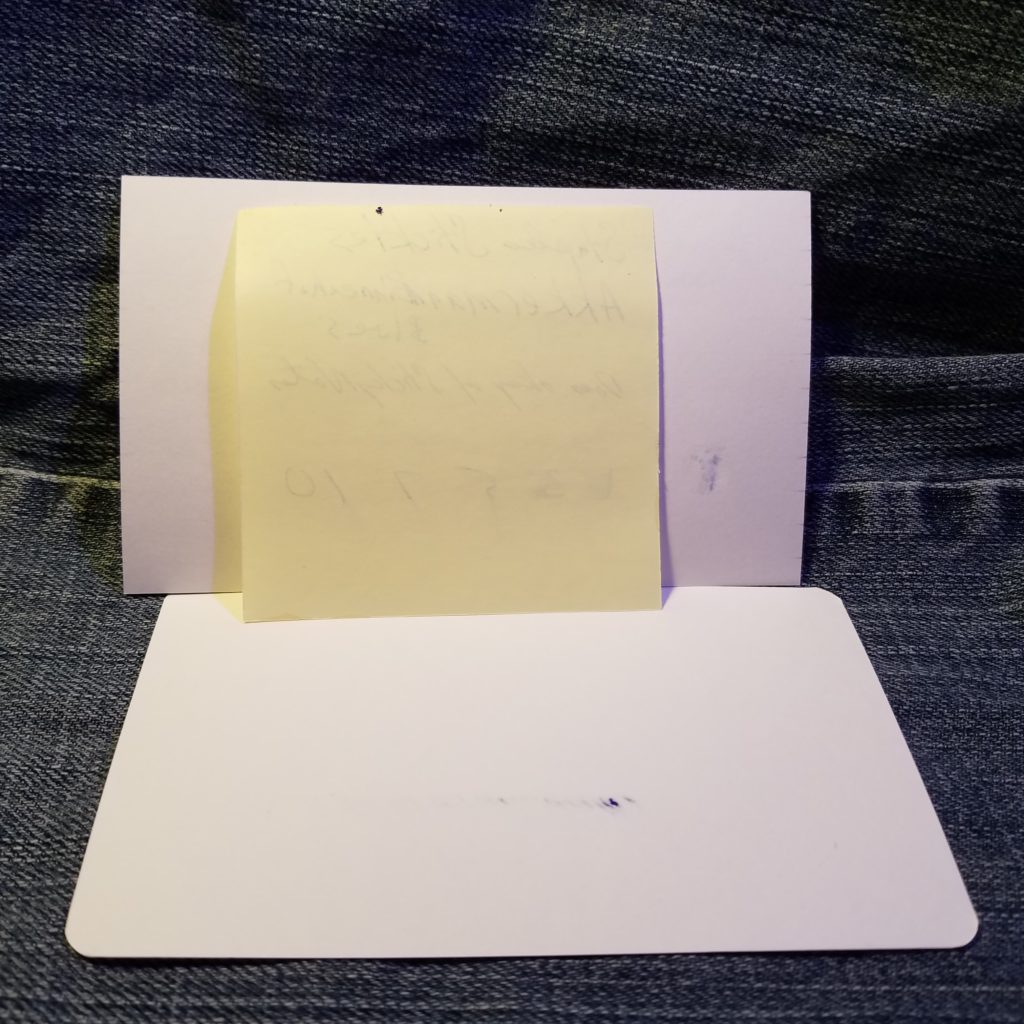
For purposes of photos for the blog, I used the ink on a Baron Fig Strategist 3×5 card, Yoobi 3×5 card, and a Staples Stickies note. I’ve included an image from my Leachturm 1917. The dry time on good paper is slow but on copy paper, it was around 3 seconds, so not bad. I don’t do swatches but I did several layers of ink with a pen. It took 7 layers of scribbles for the ink to soak through. Though fibers lifted from the Strategist after 4 layers. On cheaper paper, it does have a tendency to bled through, though not badly. Thinner papers have some show through, but I didn’t have an issue in my L1917 or Confidant.
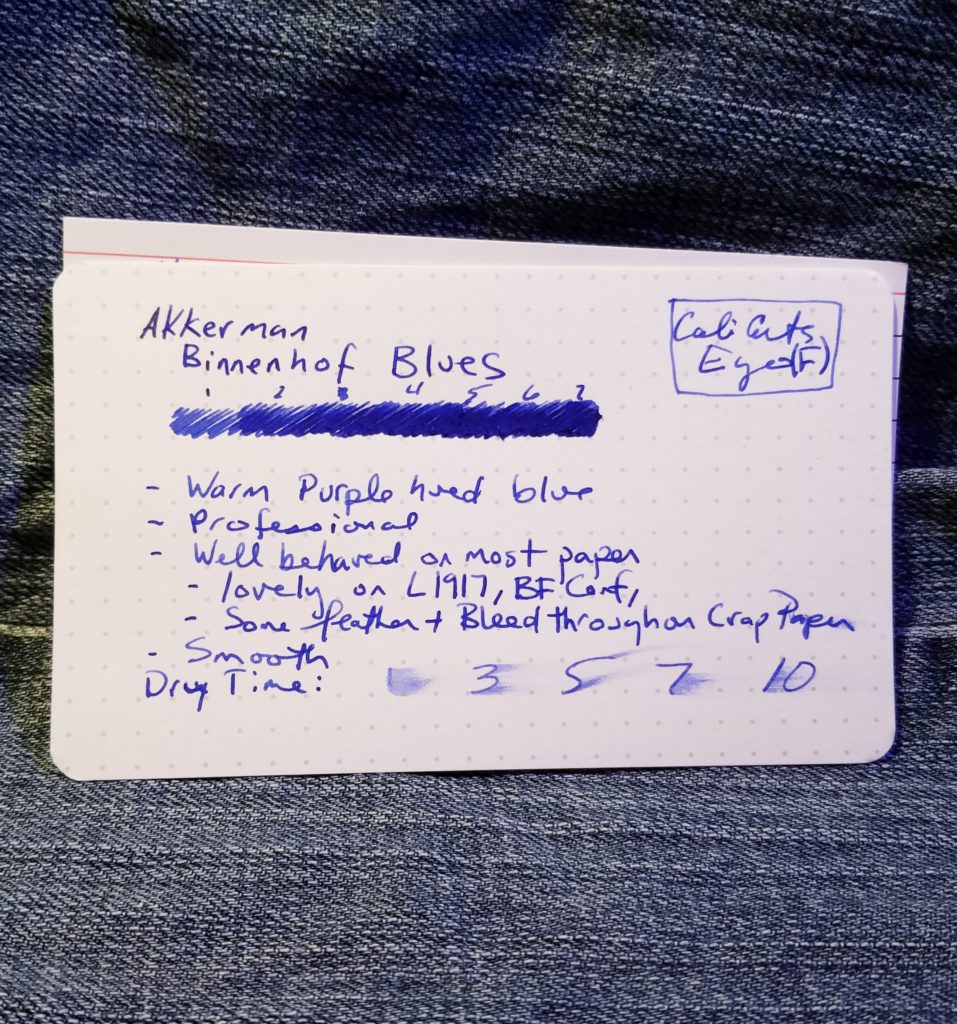
Performance of this ink is good on most papers. It photocopies well enough. I quite enjoyed this in my bullet journal and my work planner.
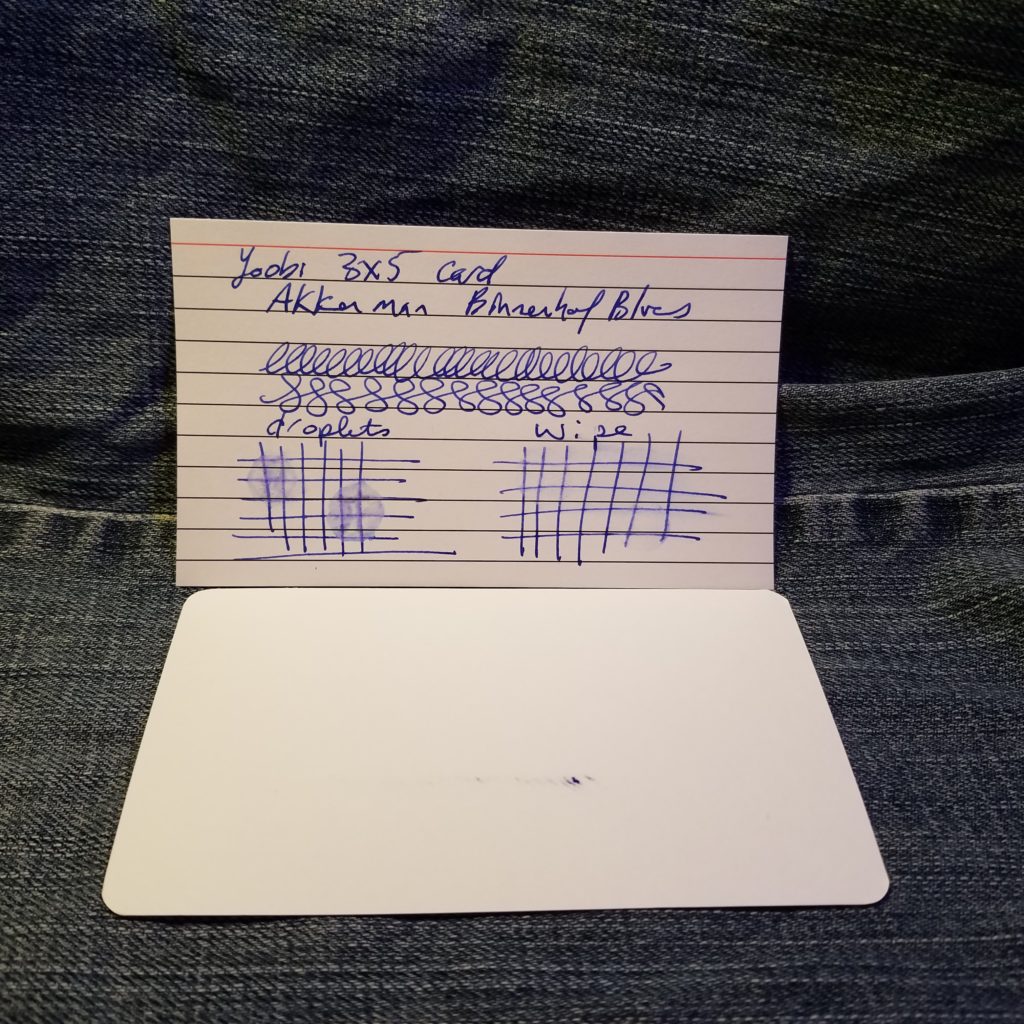
It isn’t waterproof though it does show some resistance. I did a droplet and wipe test. The wipe test showed some smearing but the lines are legible both after the wipes and droplets have dried. With the soak/droplets, the ink showed significant migration. I have no doubt that this ink would not survive the washing machine.
This isn’t a unique shade of blue. It’s been noted by many other and better reviewers that this is Diamine Saphire ink in a fancy bottle. It is a lovely shade of blue-ish purple that reminds me of most blue inks out there. If you want a sedate well behaved blue ink that doesn’t stand out- Akkerman Binnenof Blues is a great choice. Despite the fact that it is a shade of blue available in many forms- from ballpoint to gel to other brands of ink, I like it. There is something about blue-ish purple that I really enjoy. While it is obviously blue it is also warm-ish and in the right warm light could read as purple.
If you are looking for a nice, well behaved blue-purple ink this is a good choice. Maybe buy the Akkerman for the fancy bottle then refill it with Diamine?
