Tag Archives: pocket

Review: Pentalic Traveler

Let’s just cut to the chase, the Pentalic Traveler is a fabulous sketchbook or journal. Let me tell you why.

The cover is made of soft touch vinyl. It feels really nice for vinyl. I purchased a softcover version. The covers are held shut when in transit by a sturdy elastic the same color as the vinyl. Mine is red, bright cherry red. Inside there is a lengthy satin red ribbon, in the same shade as the rest. I heat sealed mine.

The end sheets are cream. In the back there is a pocket for assorted loose bits and bobs you might add to your sketchbook as you are traveling. THe pocket is roomy. The soft cover allows you to stuff even more into the pocket than a hardcover.

The book block is smythe sewn, sturdy and flexible. The paper itself is fabulous. It’s smooth but with enough tooth that pencils fair very well. Fountain pens and dip nibs glide across the pages. Surprisingly the 74 lb recycled sketch paper accepts watercolor washes with ease. The paper cockles a bit but in the end looks better than most sketchbooks in this price range.

Overall I was very surprised at the performance of this sketchbook. Every media I used performed well and looked great on the cool white page. At $7.49 and 160 pages it’s not a bad price for a pocket sketchbook. It’s sturdy and full of great paper.

Review: Moonman Pocket Mini Fountain Pen

My Instagram feed has been full of pics of Moonman fountain pens for ages. I pushed down the FOMO for months, finally I found a version of the pocket mini on eBay for less than $13 and I pulled the trigger, and almost a month later it arrived.

The packaging is a simple white box with a glossy embossed image of the closed pen. Inside, the tiny pen is sheathed in a tight plastic sleeve and set into die cut foam. In the box are 2 pipettes and a package of 6 international short ink carts. The most difficult part of the packaging is getting the pen out of the snug plastic sleeve.

I always wash my new pens with some plain water to clean out any machining gunk left behind from the manufacturing process. I disassembled the pen to its bits and bobs- body, section, nib, feed and the screw in bit that holds the nib and feed into the section. Each of the parts that screws into the other has a small white o-ring for sealing. I added some silicone grease to further seal the pen as I intended to use it eyedropper.

Closed the pen is tiny. Smaller than a Kaweco Sport. It disappears into my pocket. Even filled with ink it is incredibly lightweight. The pen holds just over 2 ml  of ink when eyedroppered. Which is a ton of those short international short carts or 3 international long carts. The pen will only hold international short carts. I immediately inked my pen up with Iroshizuku Tsuki-yo.

Ink flow is good. It’s not wet nor is it dry. My nib out of the box was smooth, but not silky smooth. I ran it over a buffing stick to get it to the smoothness I prefer. I then manipulated it a bit to get some line variation, it’s not quite an architect grind but similar. The nib can be replaced with a (I think) number 5 nib from any of the standard sellers of nibs.

I really enjoy the seaglass green color with the slight frosted look inside the cap. It combines with blue inks to look really lovely. The overly thick body size is nice. I find that it feels pretty good when I write. The section is small enough that the pen doesn’t feel overly fat. The drop from body to section is steep and a tad sharp. Because it is a $13 pen I won’t feel bad if I file and sand this down to something that works better for my hand. As it is the step doesn’t sit on an awkward place in my hand.

This is not going to be a pen for everyone. If you have large hands you will probably not like this pen. If you don’t like the Kaweco Sport you probably will find this too small. It is a stubby tiny pen with a decent nib and feed.  We’ll see how it holds up over time I’ve only had it for a couple of weeks. I’ve certainly let it bang around in my pocket over these few weeks and it’s done okay. I’ve noticed a few small scratches in the plastic after keeping in a pocket with my work keys. Oops.

Home Brew Pocket Notebooks

I intended for this post to come out BEFORE I introduced No Brand Notebooks, but alas I left it in draft form and forgot about it. That said, I’m a huge fan of open sourcing information and  I’ve offered up patterns for a bunch of my products to others for free in the past. I’ve done tutorials on many of the books I’ve sold in the past, and frankly, I think being open about the process of binding brings more people into the hobby than being closed about info. Sharing is caring and all that fun stuff. I’m a maker not a great salesperson.

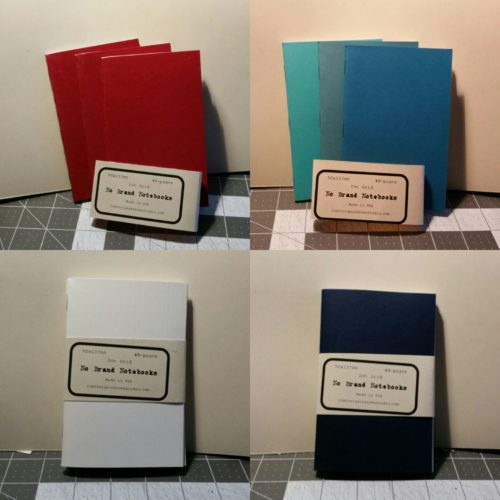
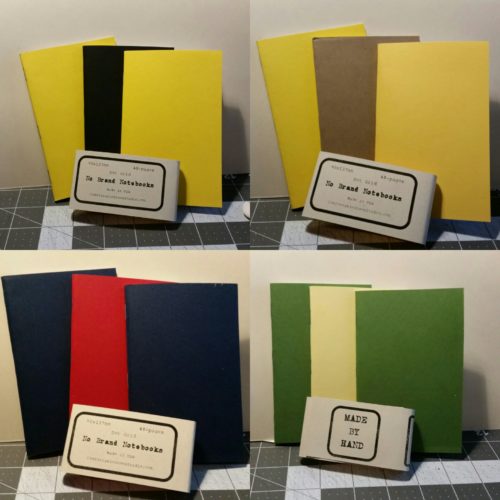
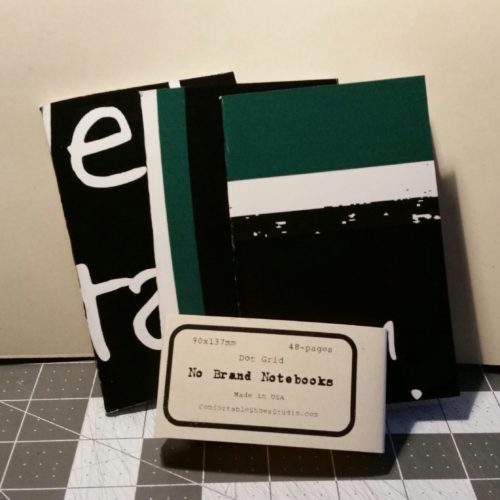
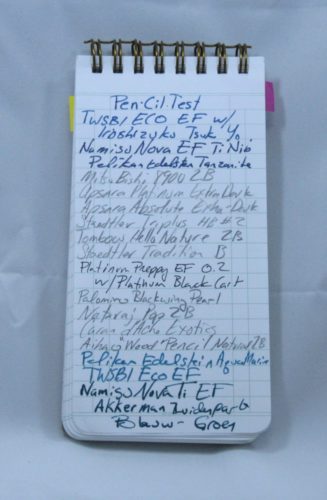
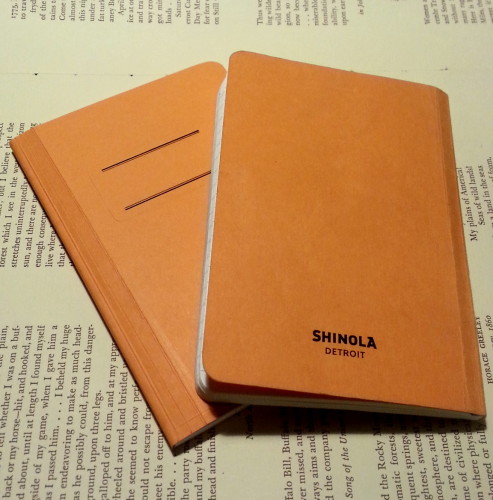
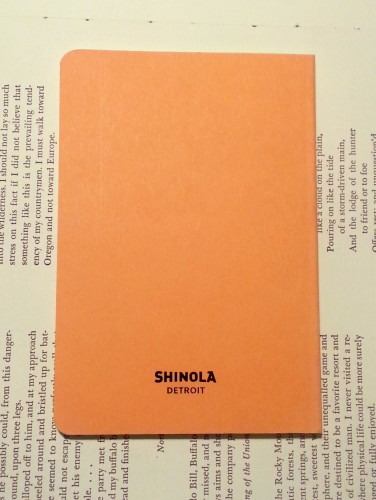
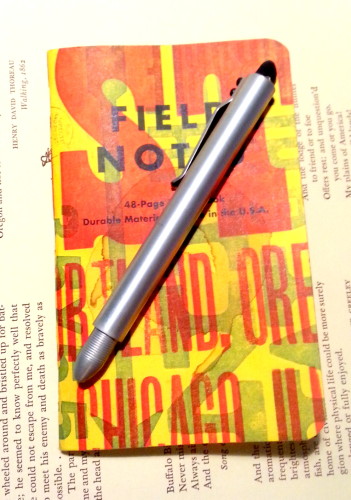
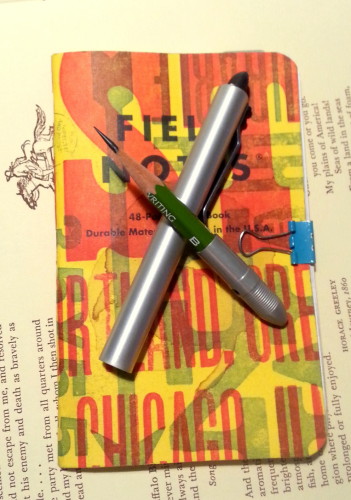
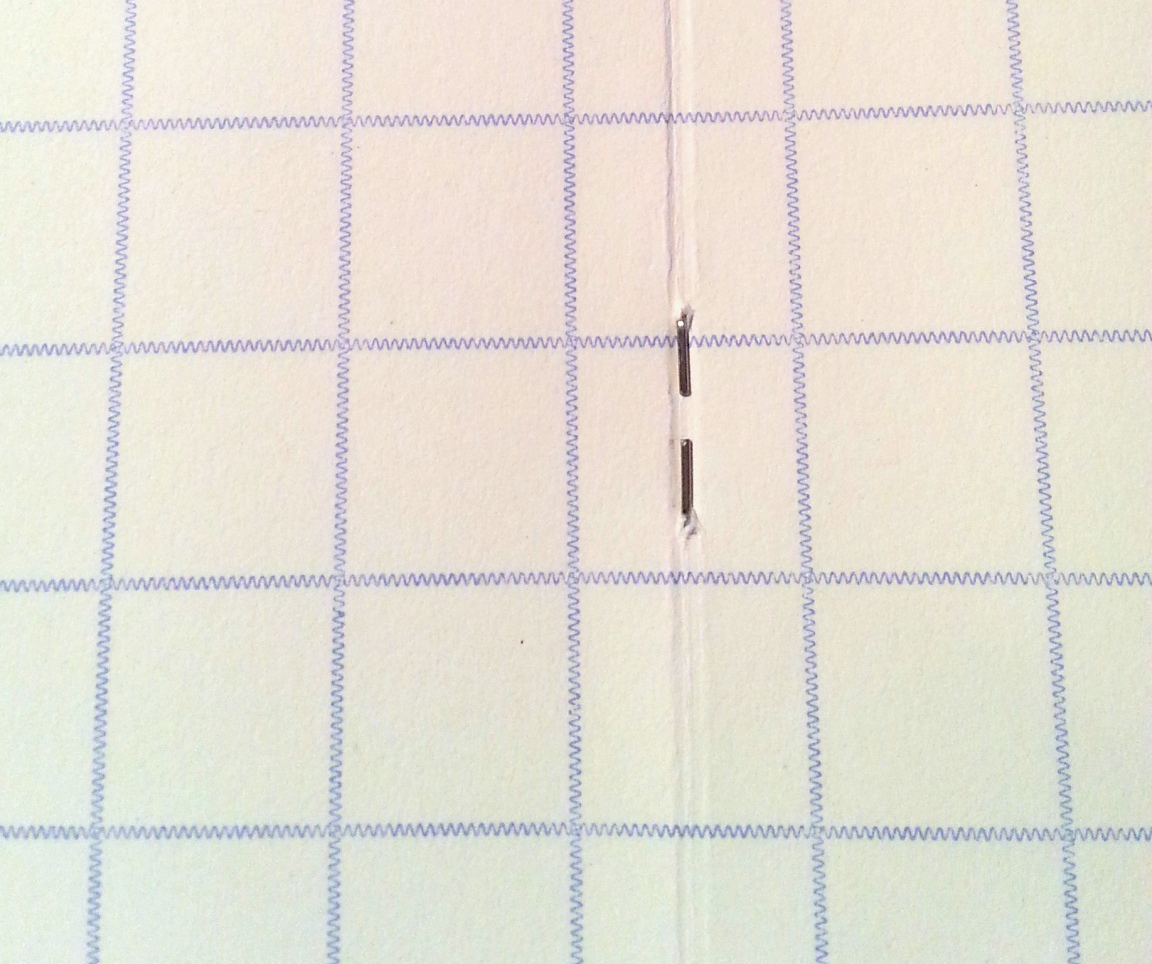
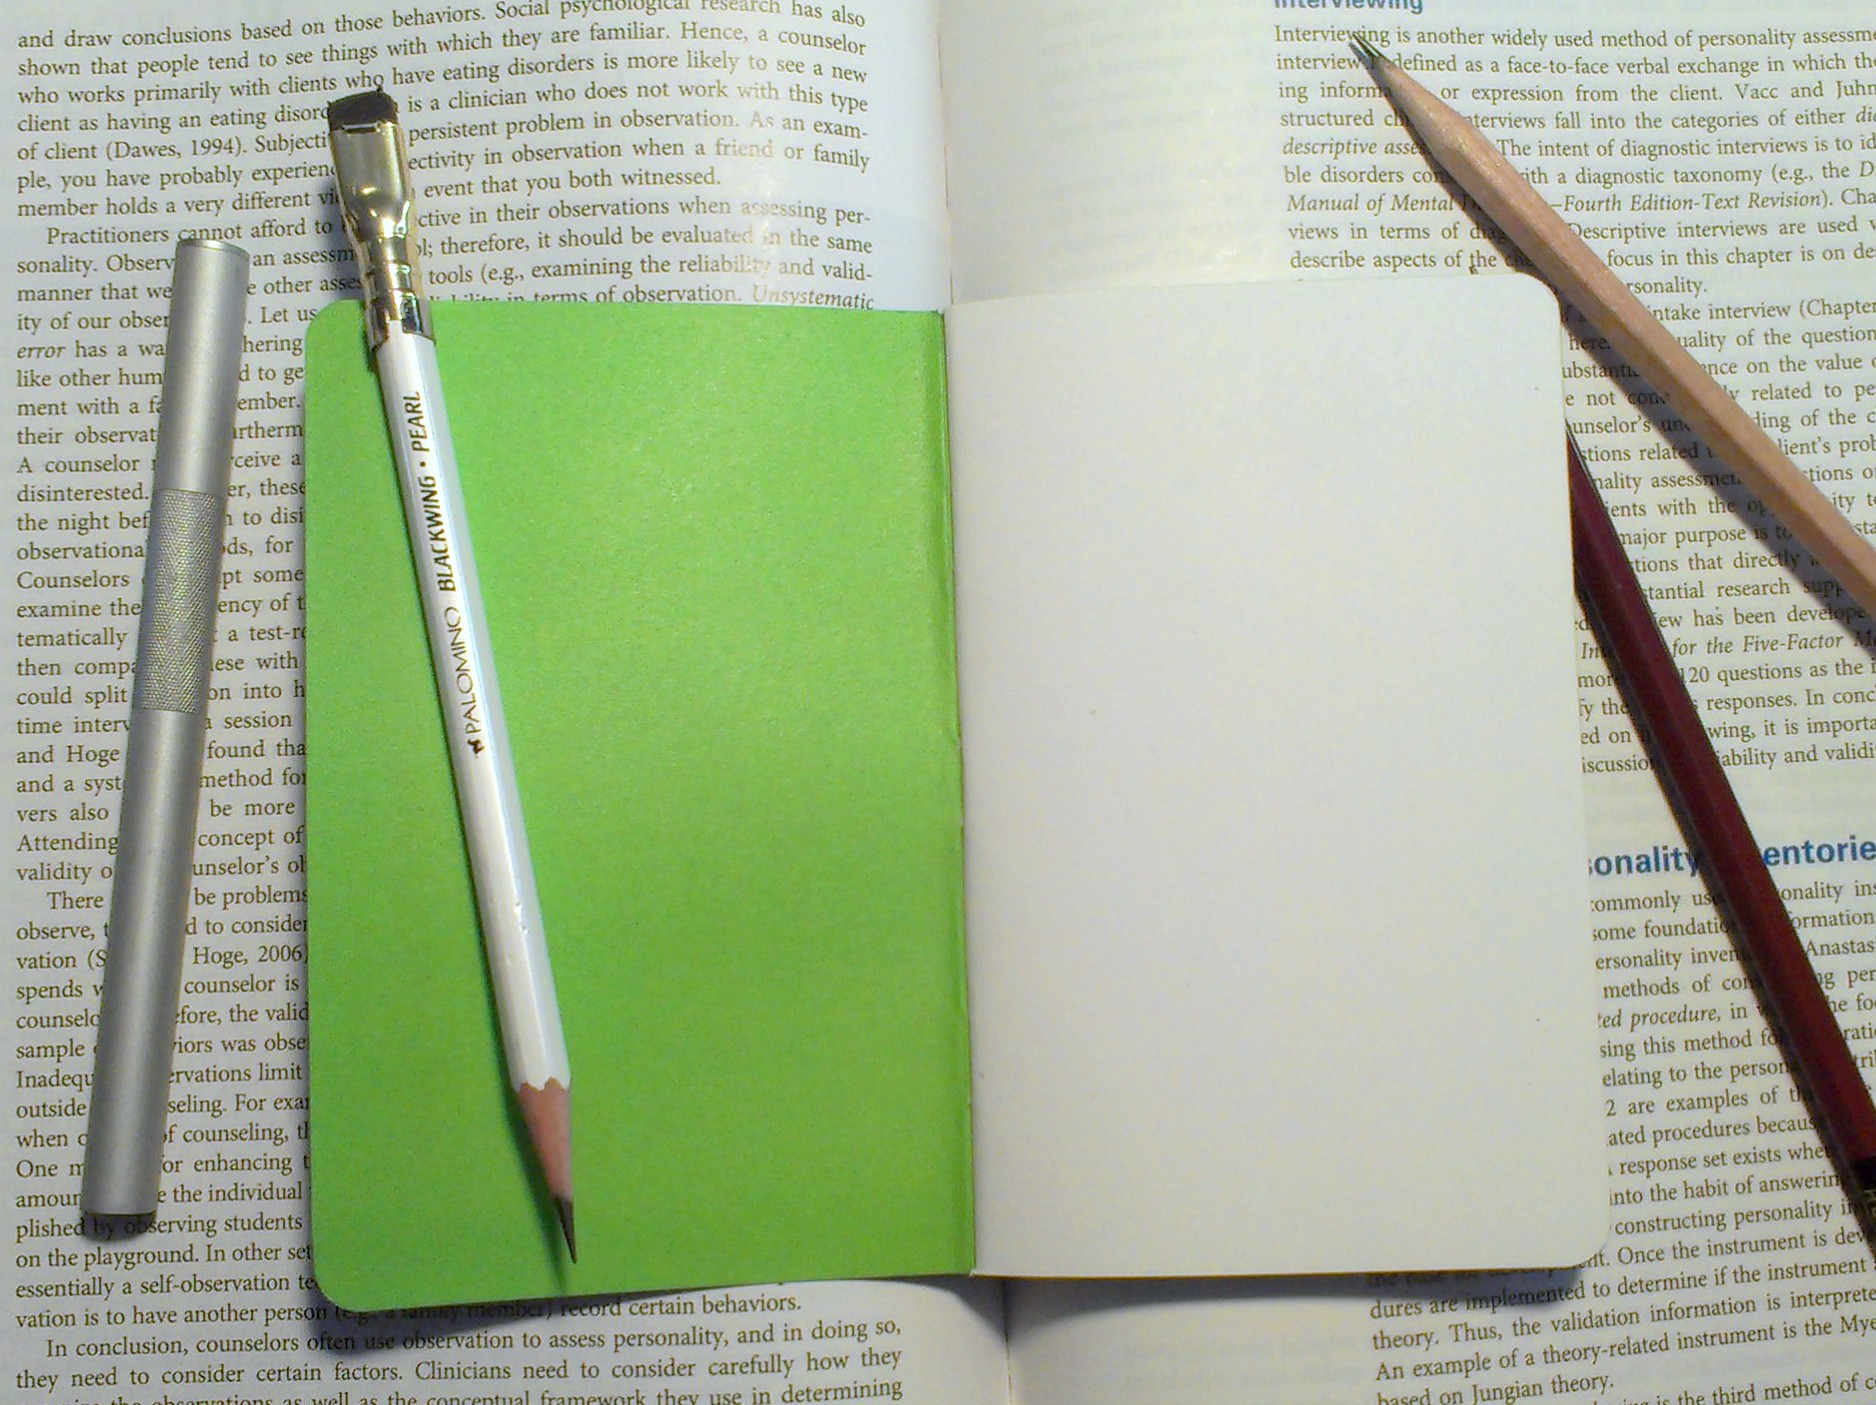
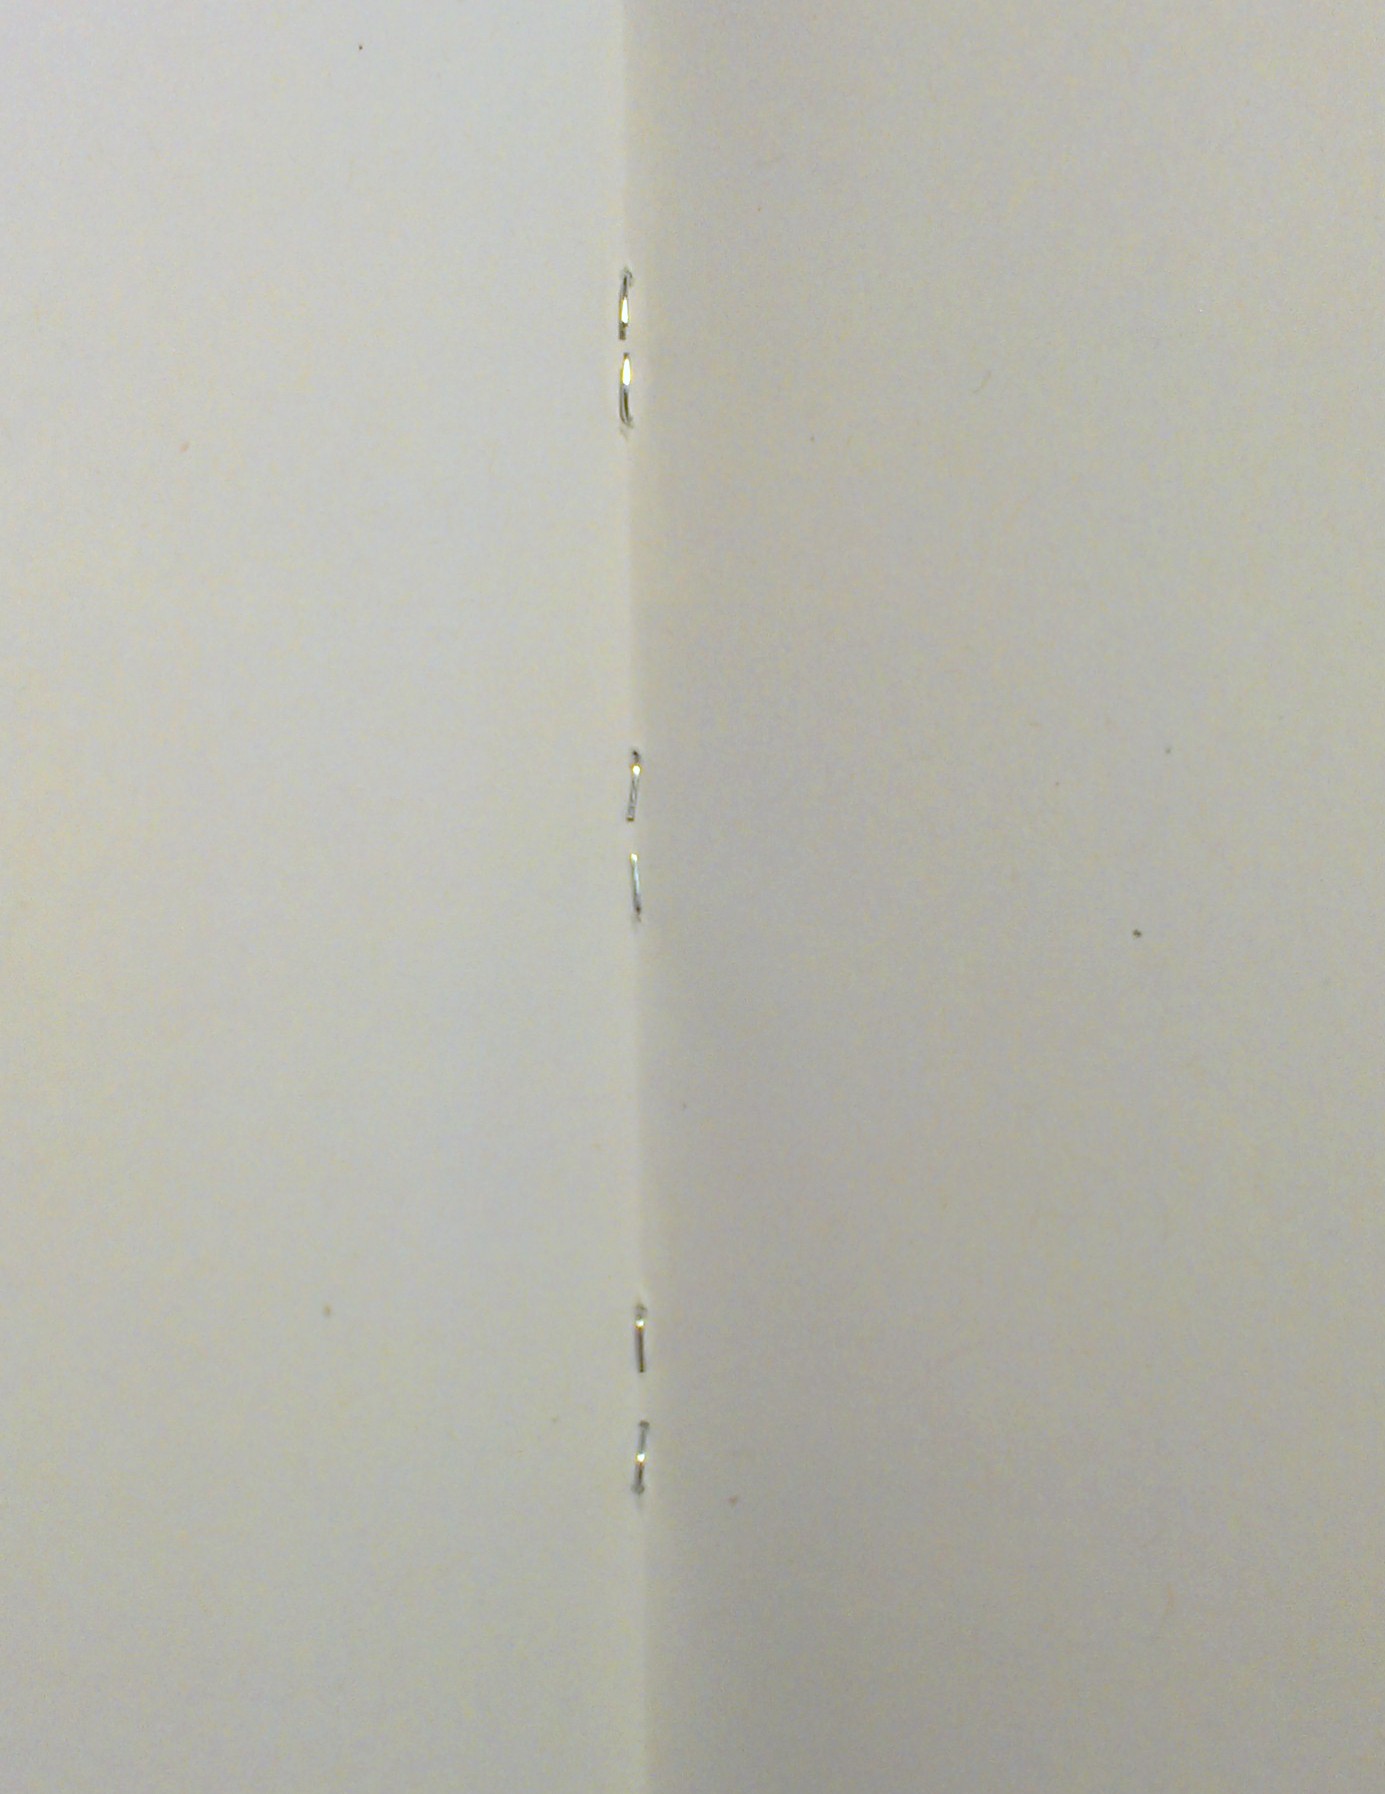
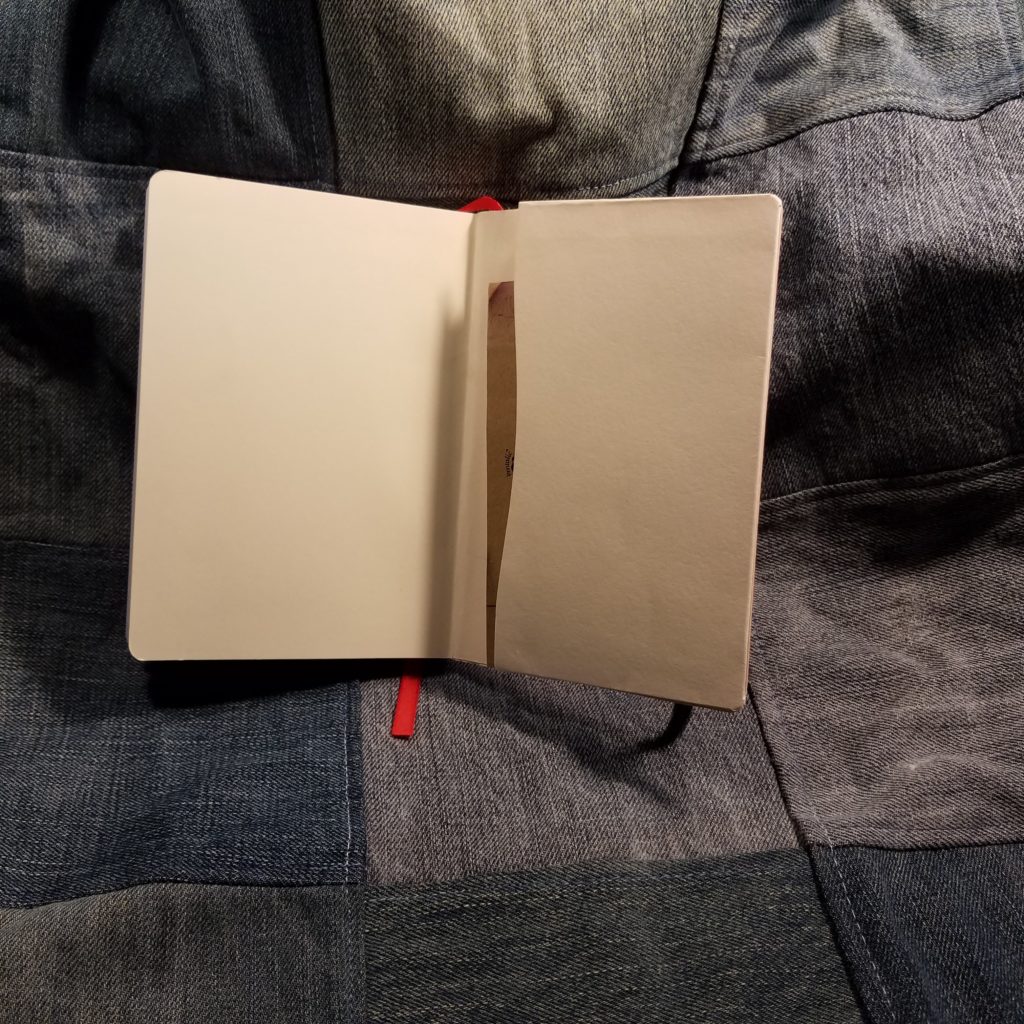
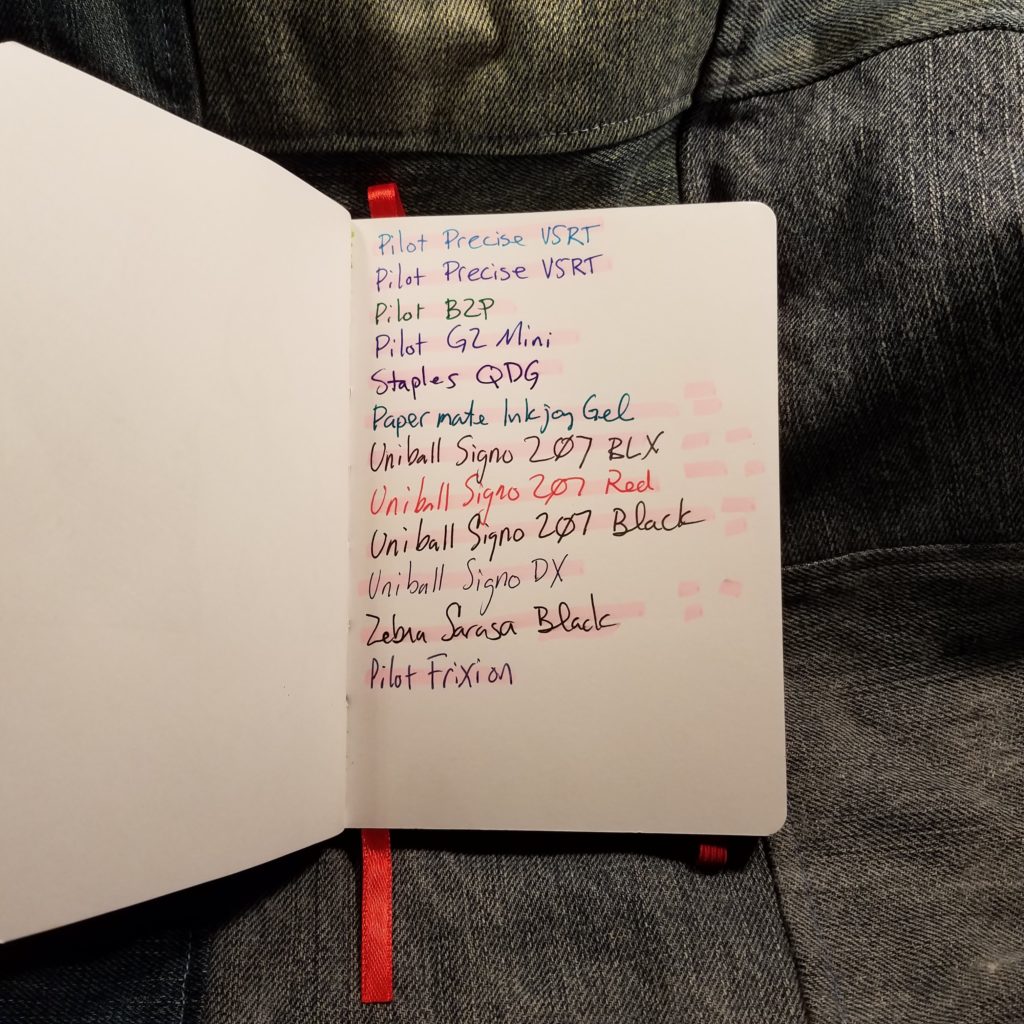
Also, before anyone asks, no I will not make diagrams or take photos of the process. The images  provided should give you a good idea of where staples should be placed. Experiment and you’ll figure it out.

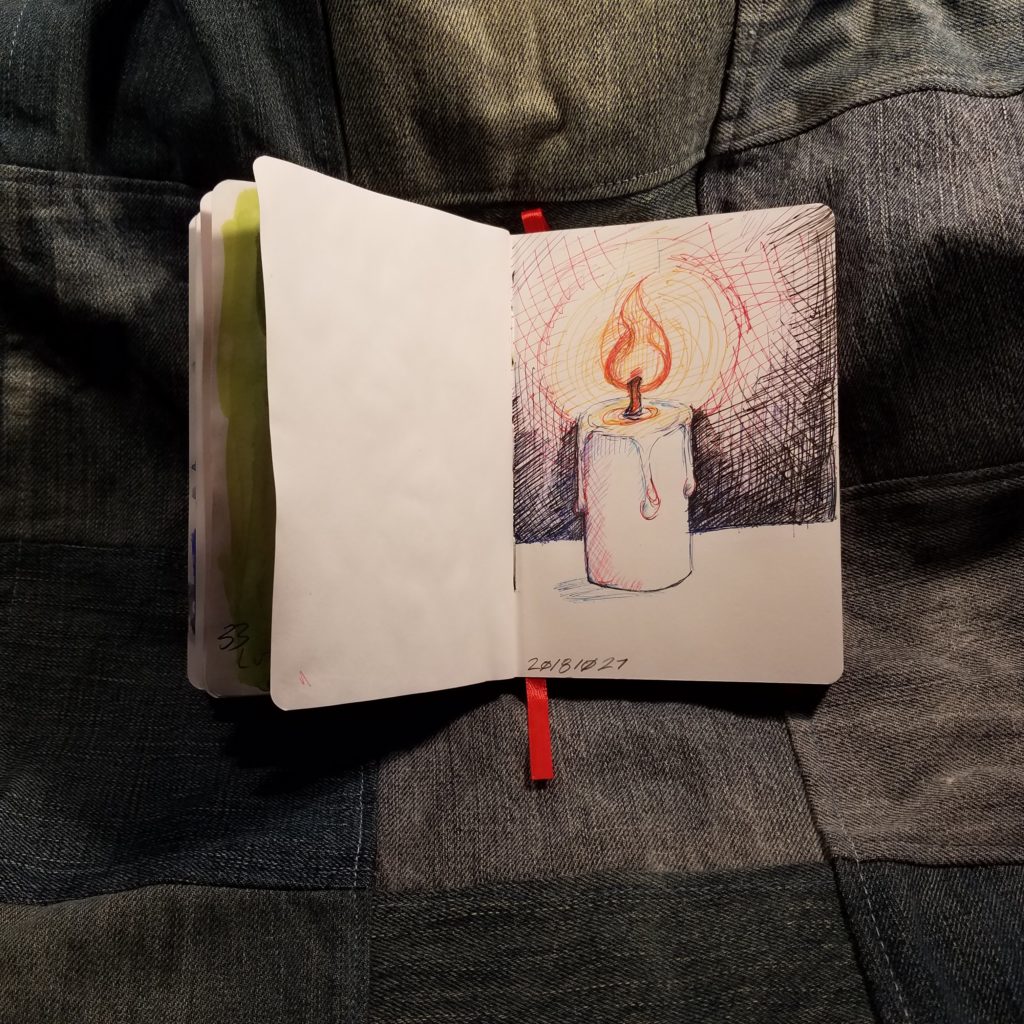
Any of you who have read this blog for any period of time know that my obsession with stationery started young, but was really pushed to new heights as I attempted to find a sketchbook that worked for me. As a young artist I tried sketchbook after sketchbook, flirted with altered books, used loose paper bound by rivets or contained within handmade binders. In short I used every paper I could get my hands on, destroying bindings, scrapping books with bad paper, until finally I said, “Screw it!” and started to make my own sketchbooks. Simple single signature notebooks made of junk paper from work were bound one after another after another. I acquired book after book after book on binding books. I graduated from simple single signature books with limp covers to complex hardcover tomes sewn onto cords, and intricate coptic stitches. Leather was soon added to my arsenal, and I made thousands of books filled with paper for writing, art journaling, sketching and all kinds of art making. Those were the days.

The thing is, binding books is as much an obsession as any other hobby and I miss it dearly. I miss the gathering of sheets, folding of signatures, punching of stations, the smell of beeswax as I pass linen thread through the block of wax. The feel of the stiff waxed thread as it passes through paper and card. These days I don’t get to feed the sensory bit of binding, but I have started to make my own pocket notebooks and Traveler’s notebook refills. It’s dead simple, and you can do it too. Since I’m a fan of open source, feel free to share this info or just use it yourself.
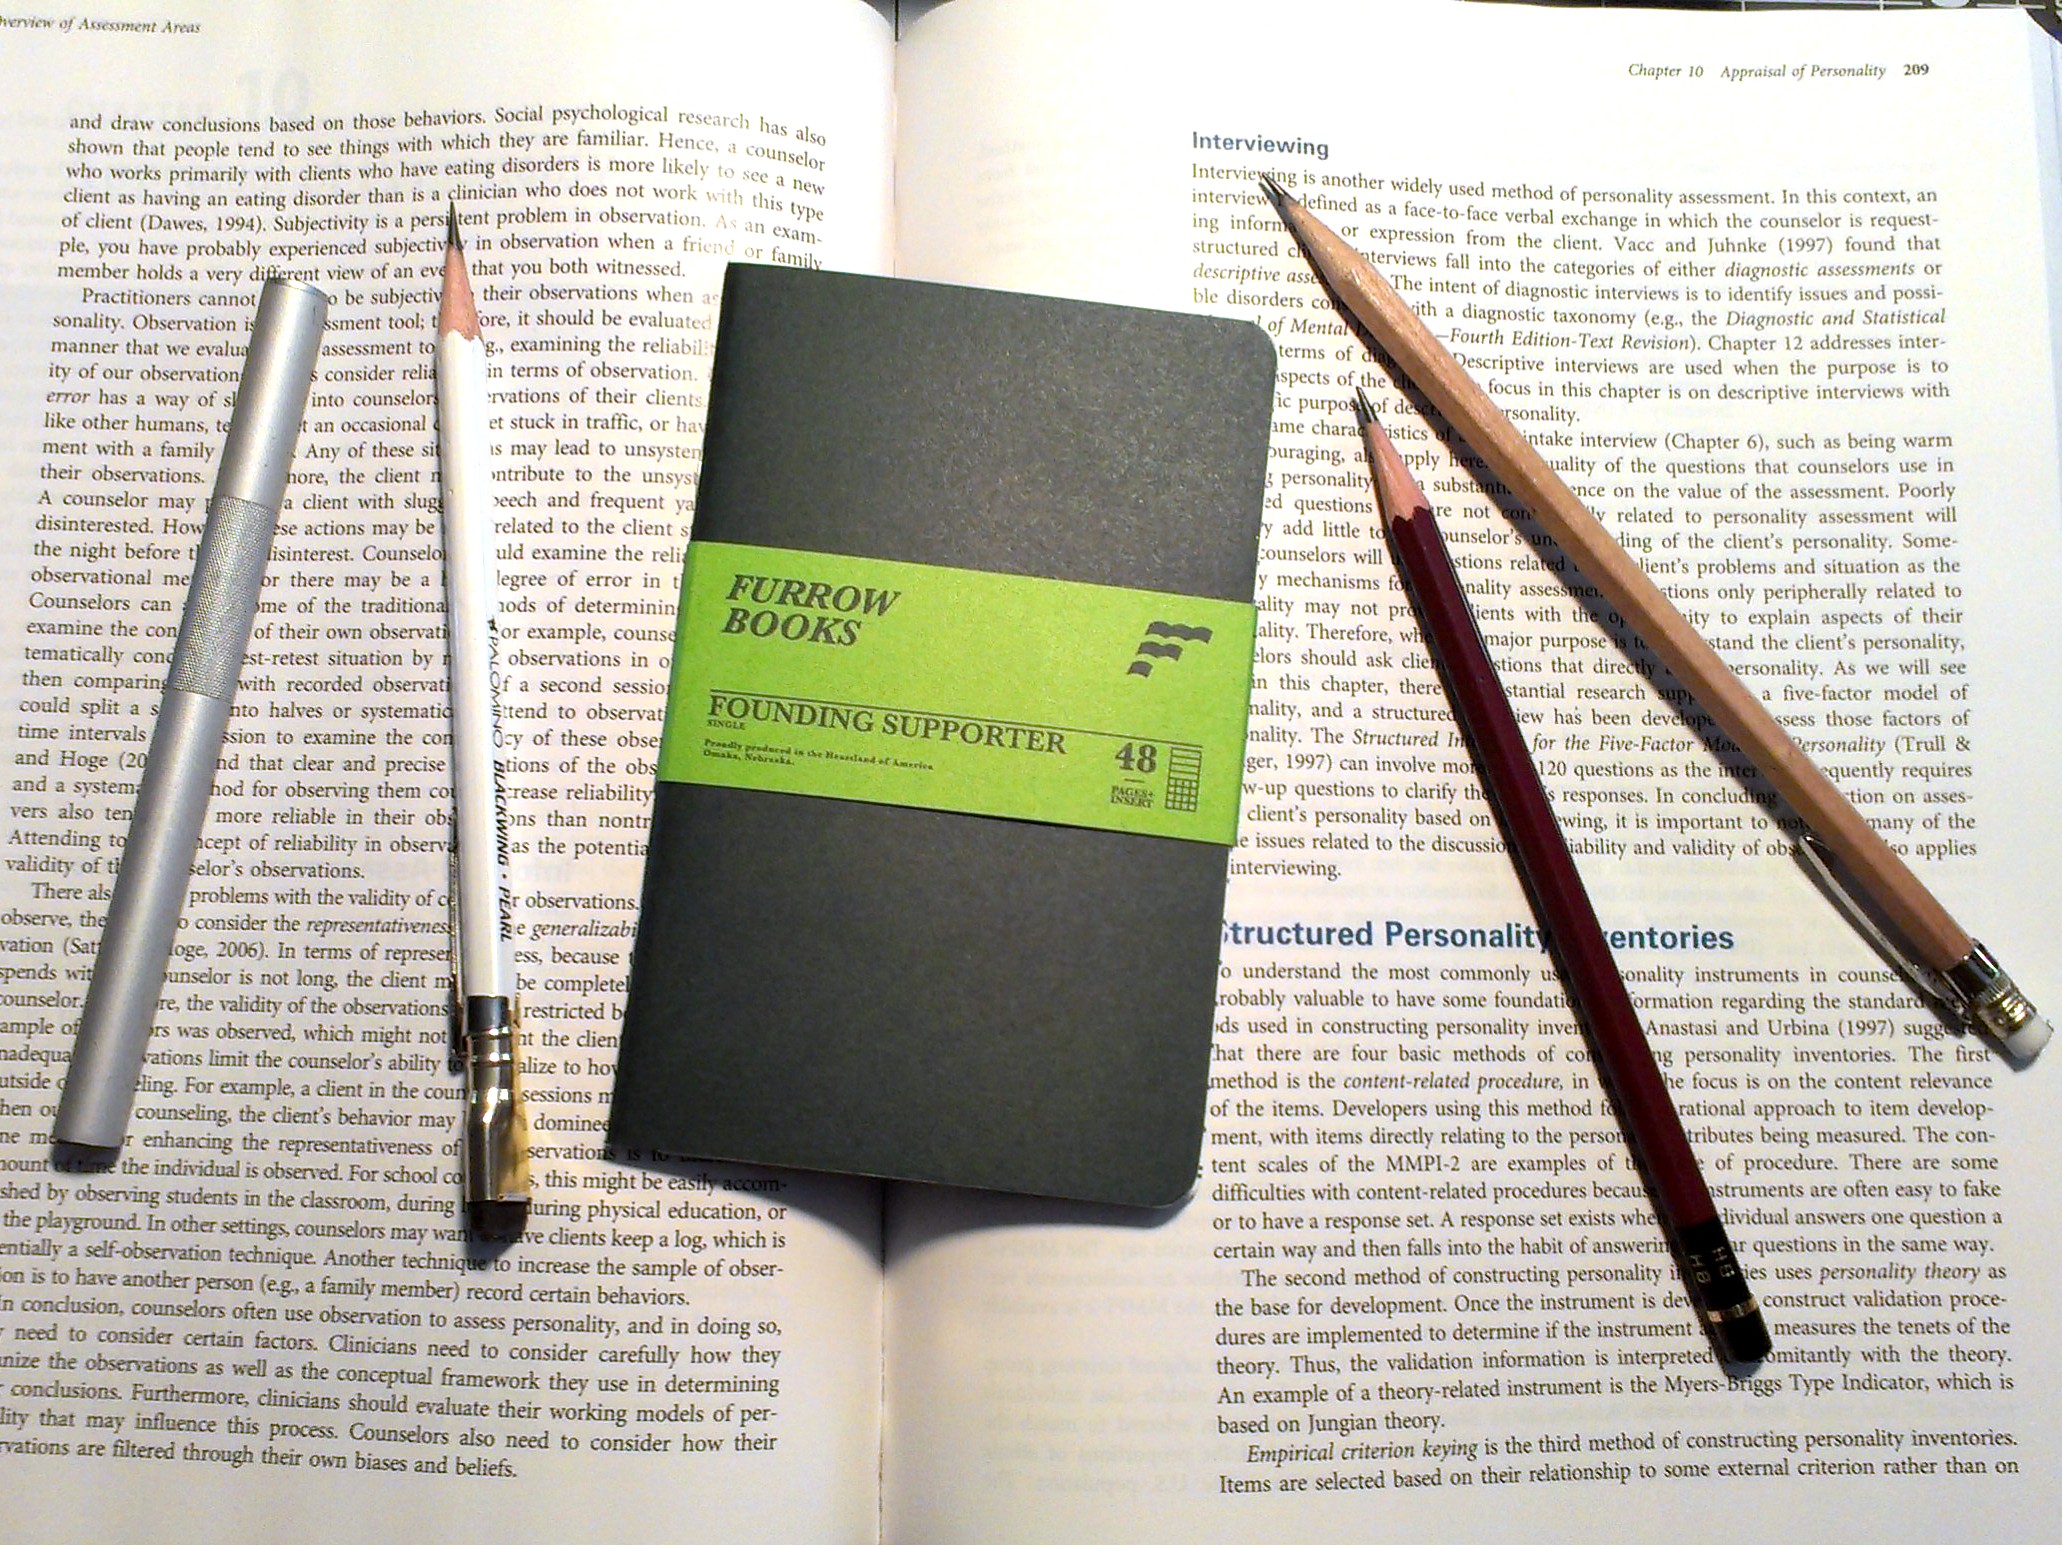
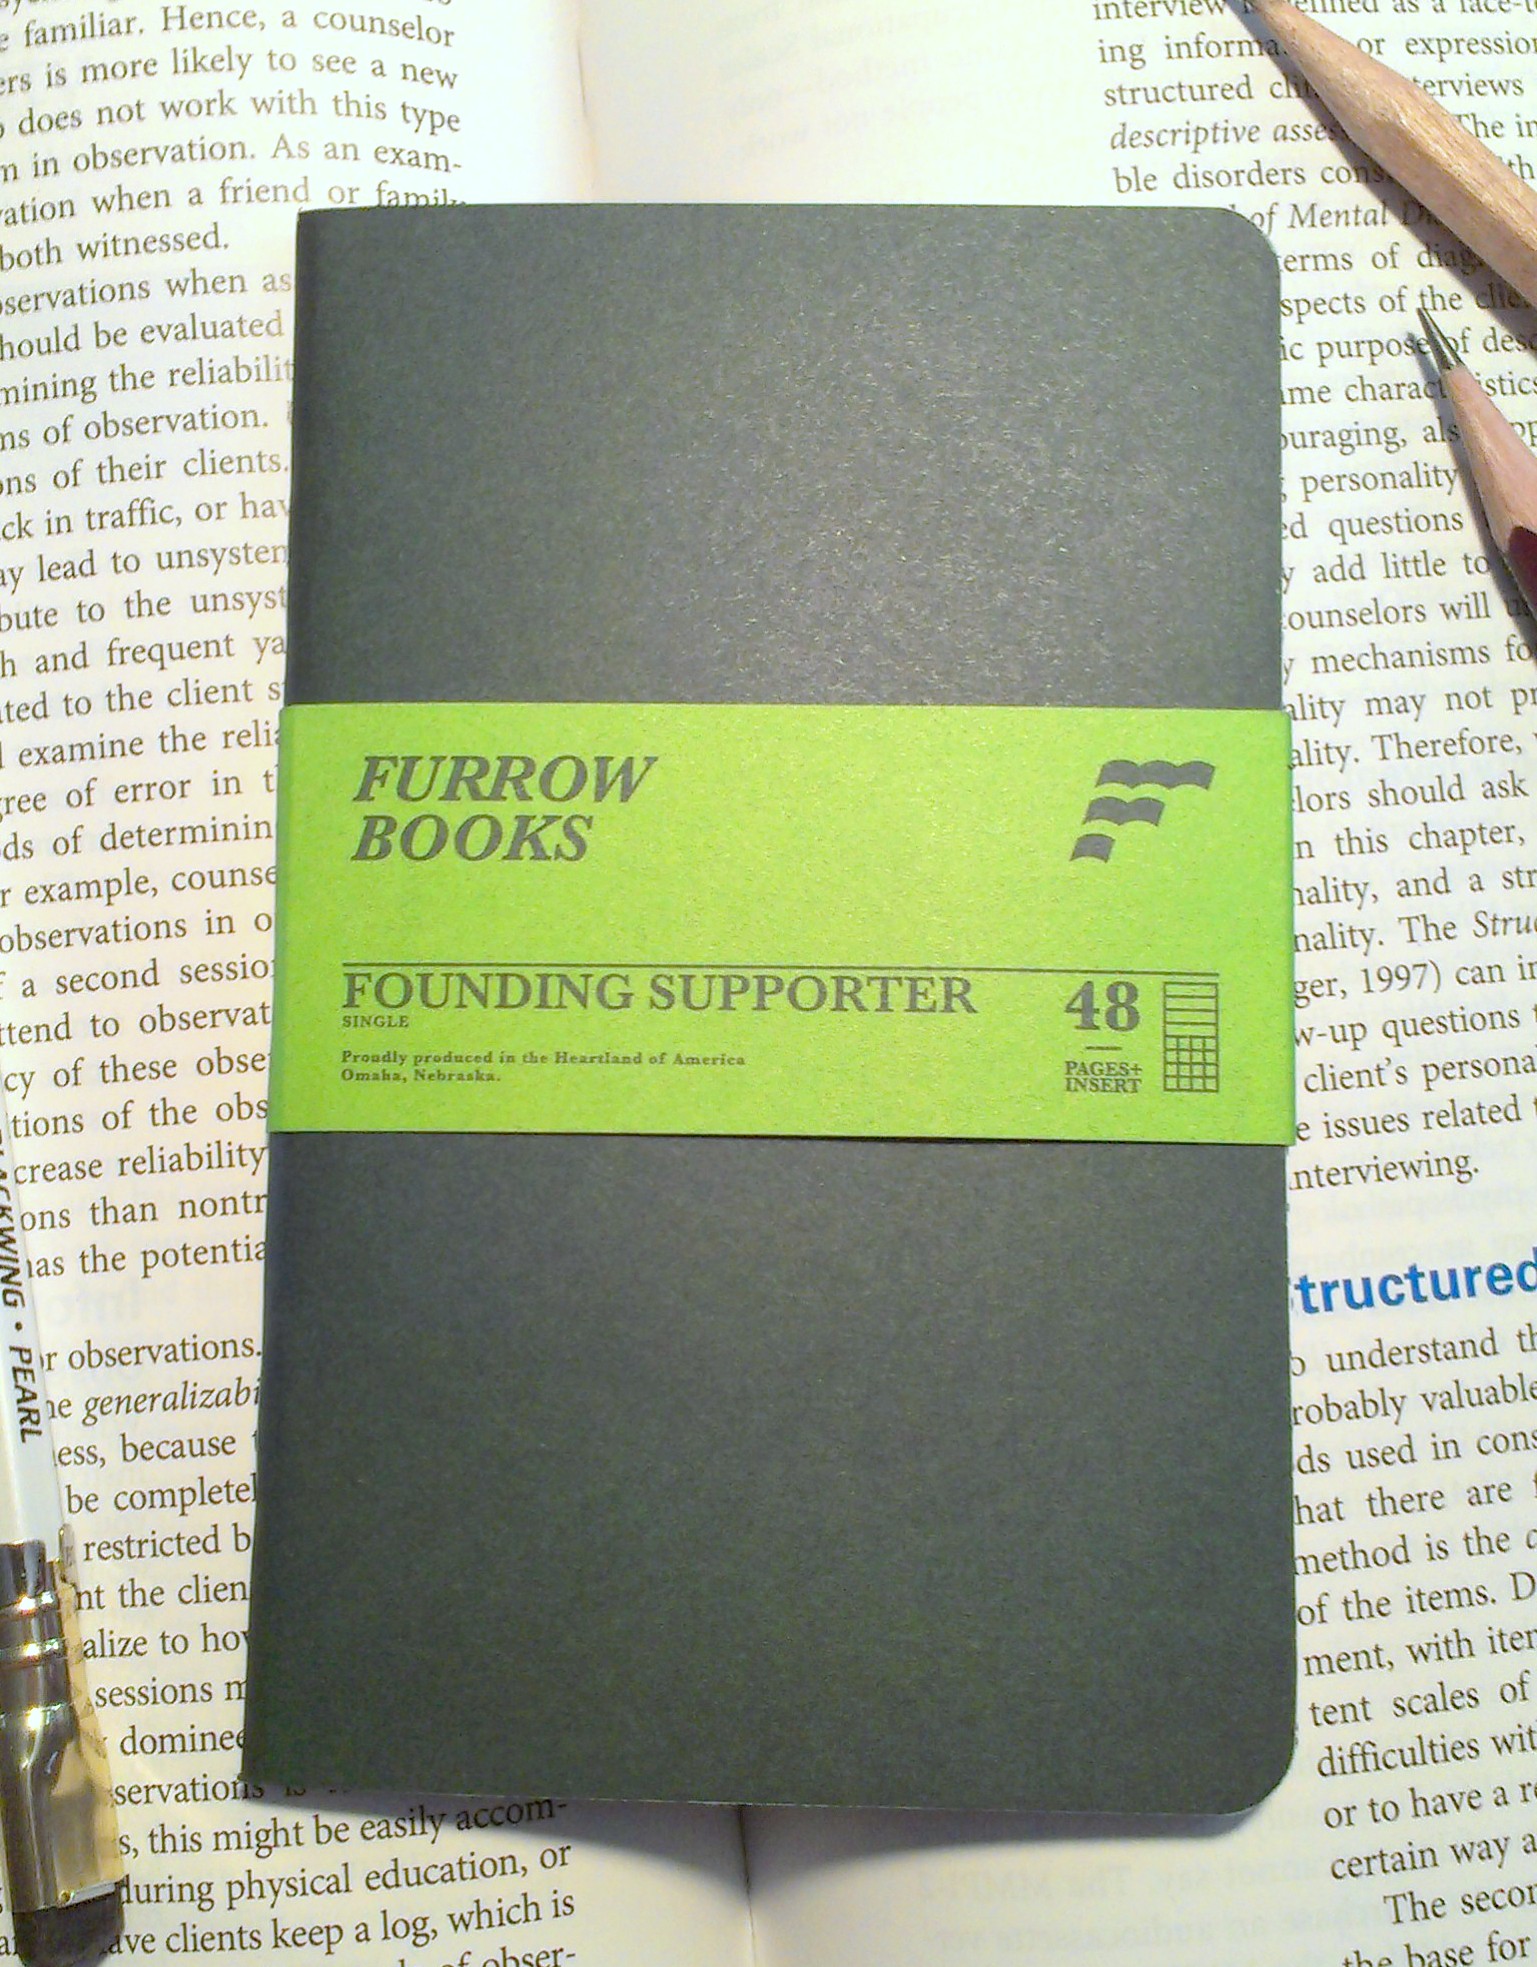
Materials:

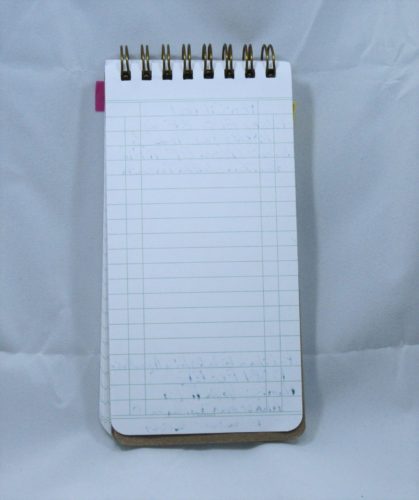
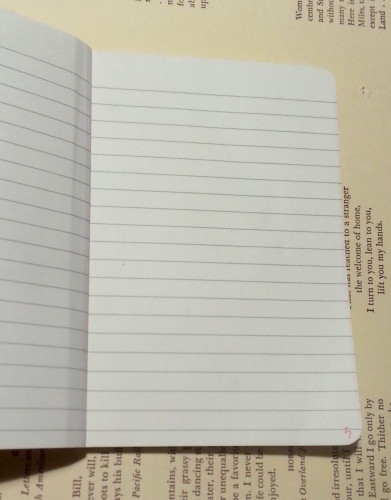
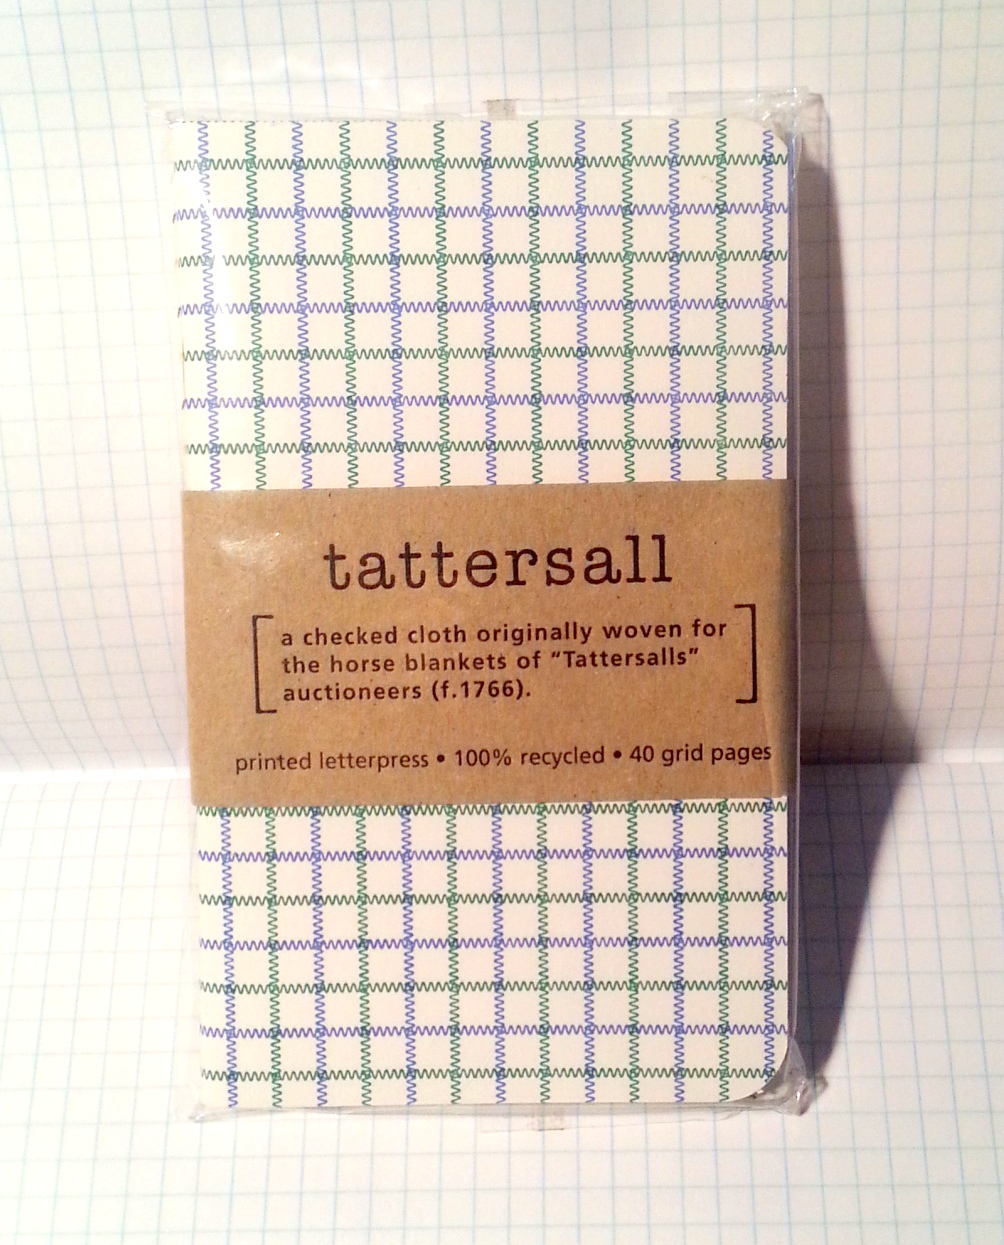
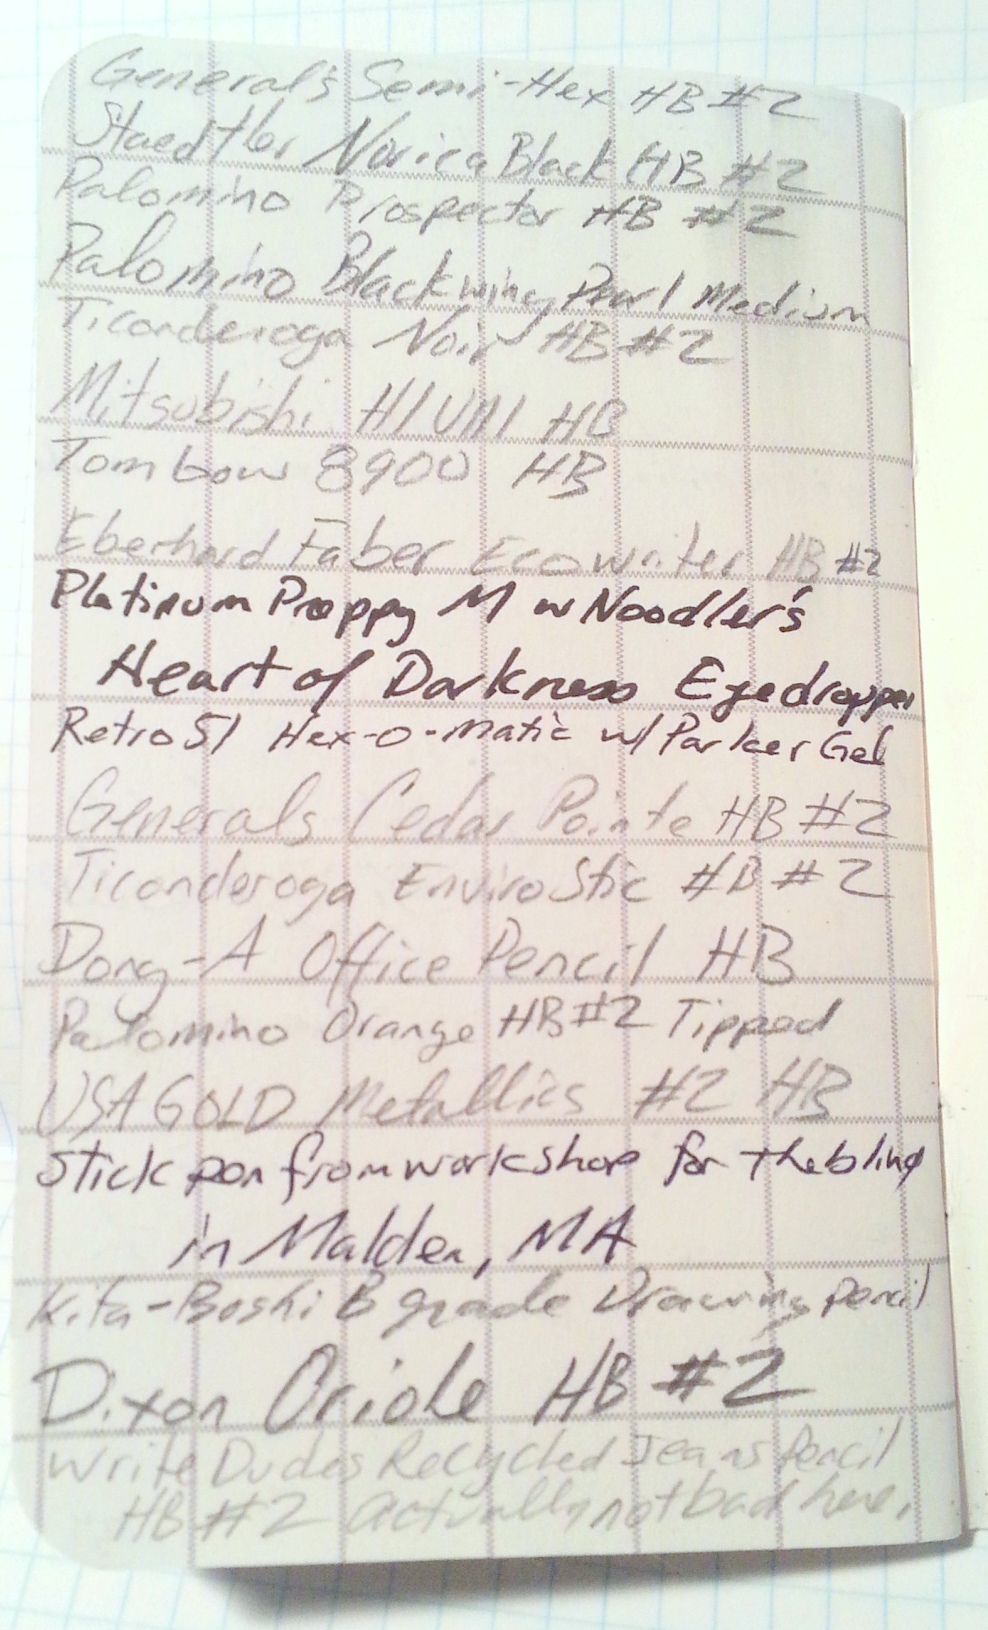
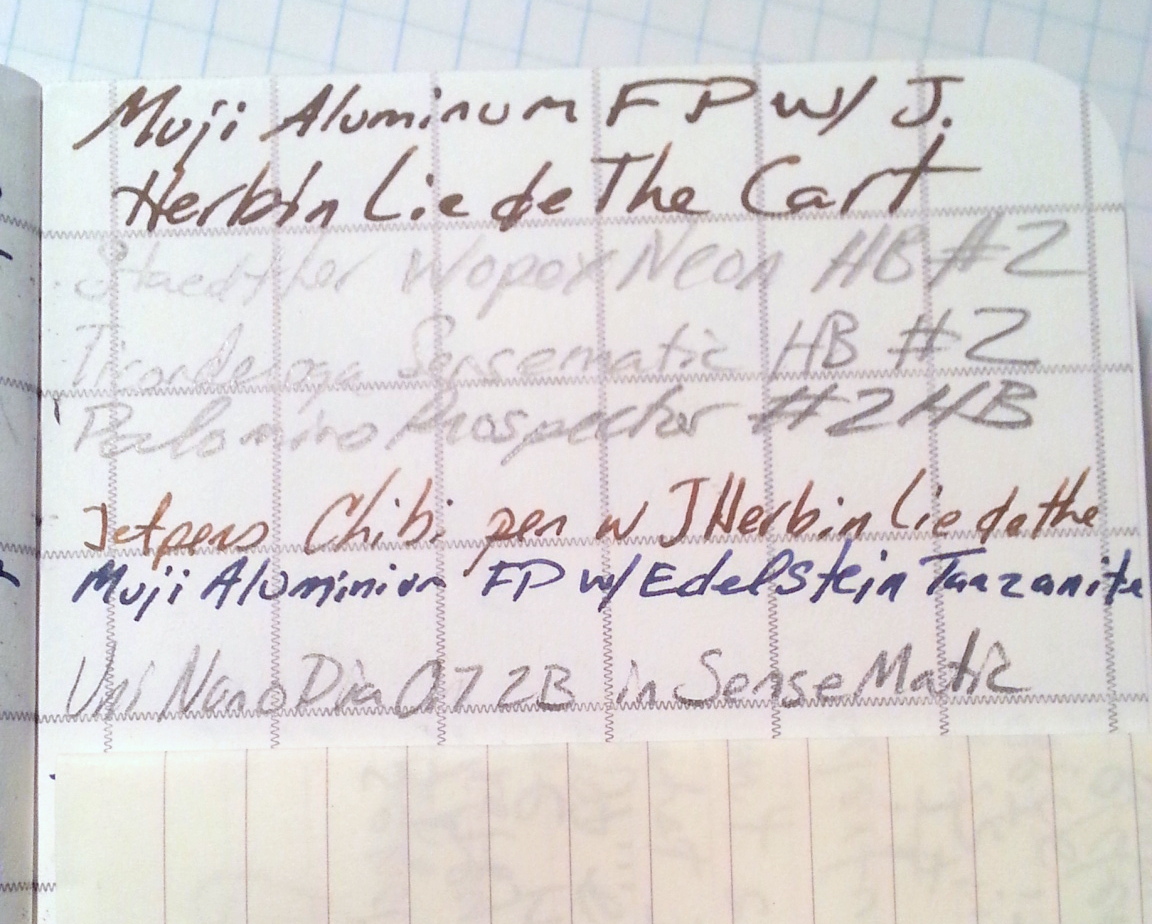
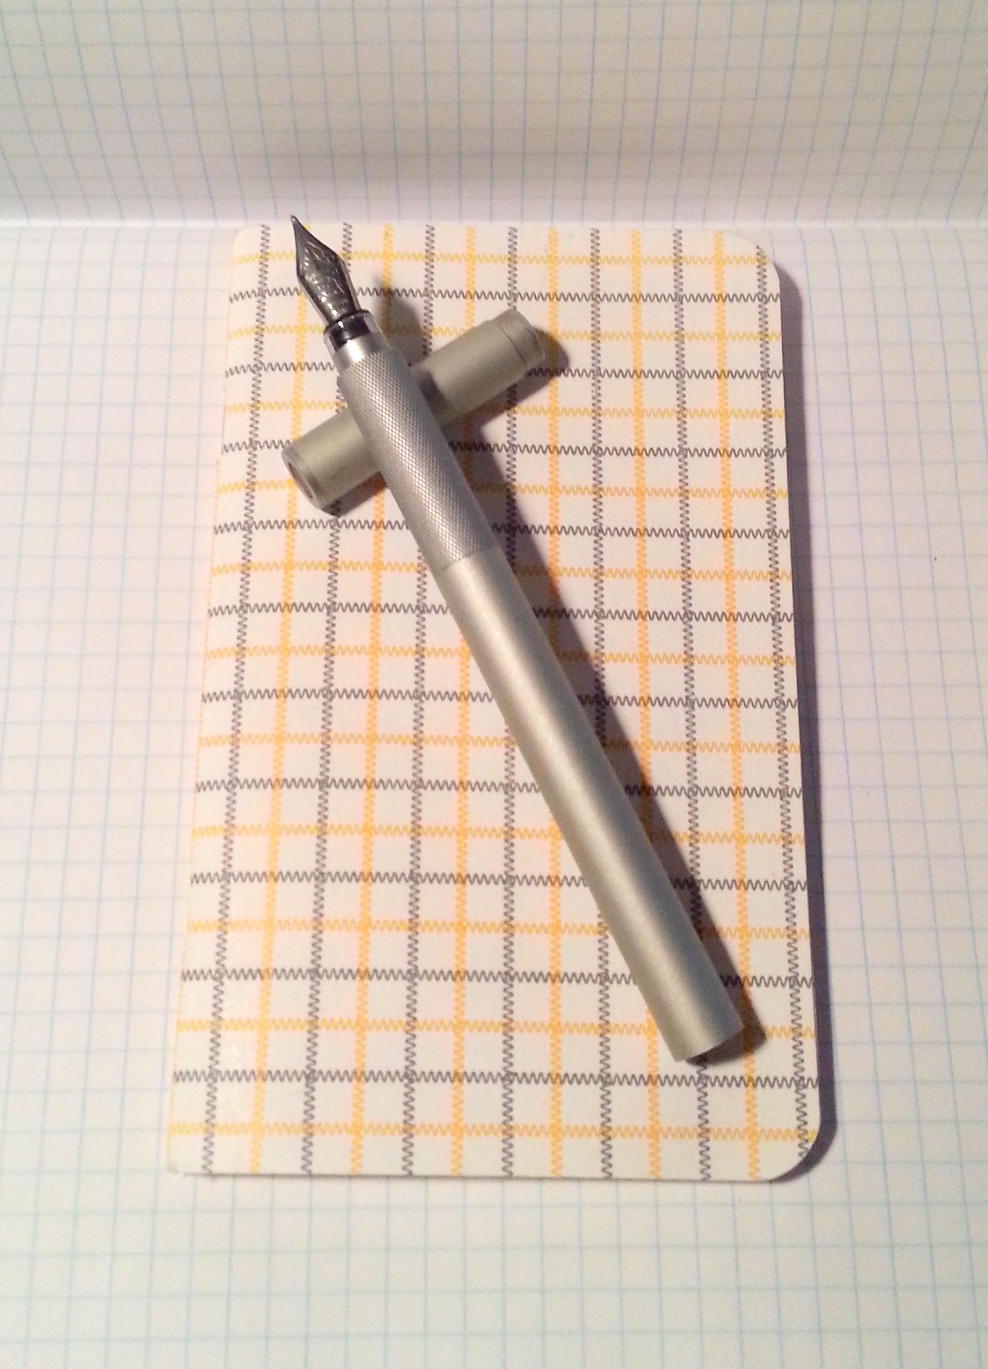
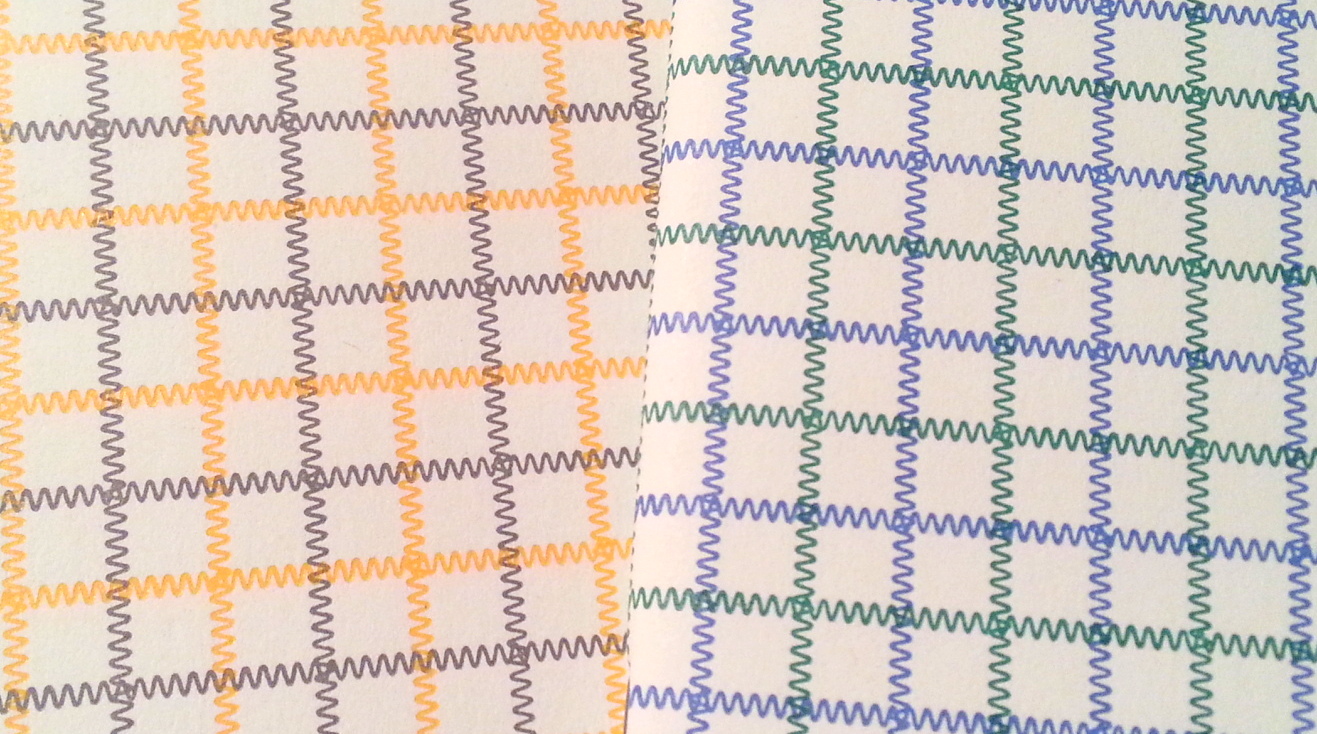
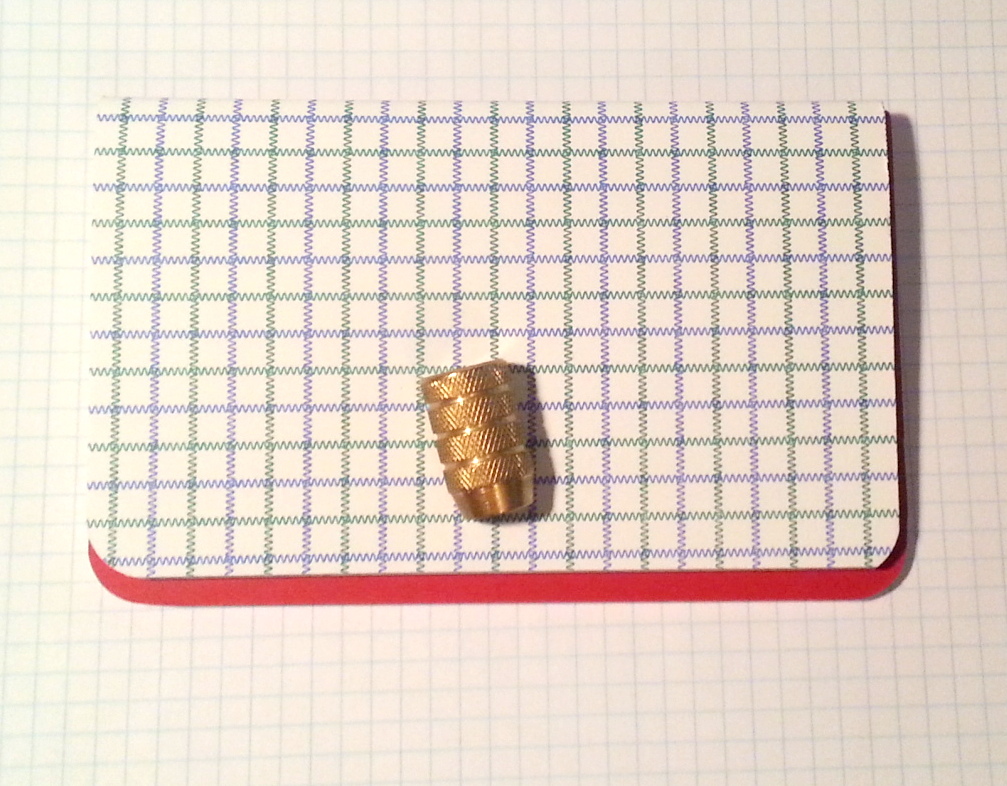
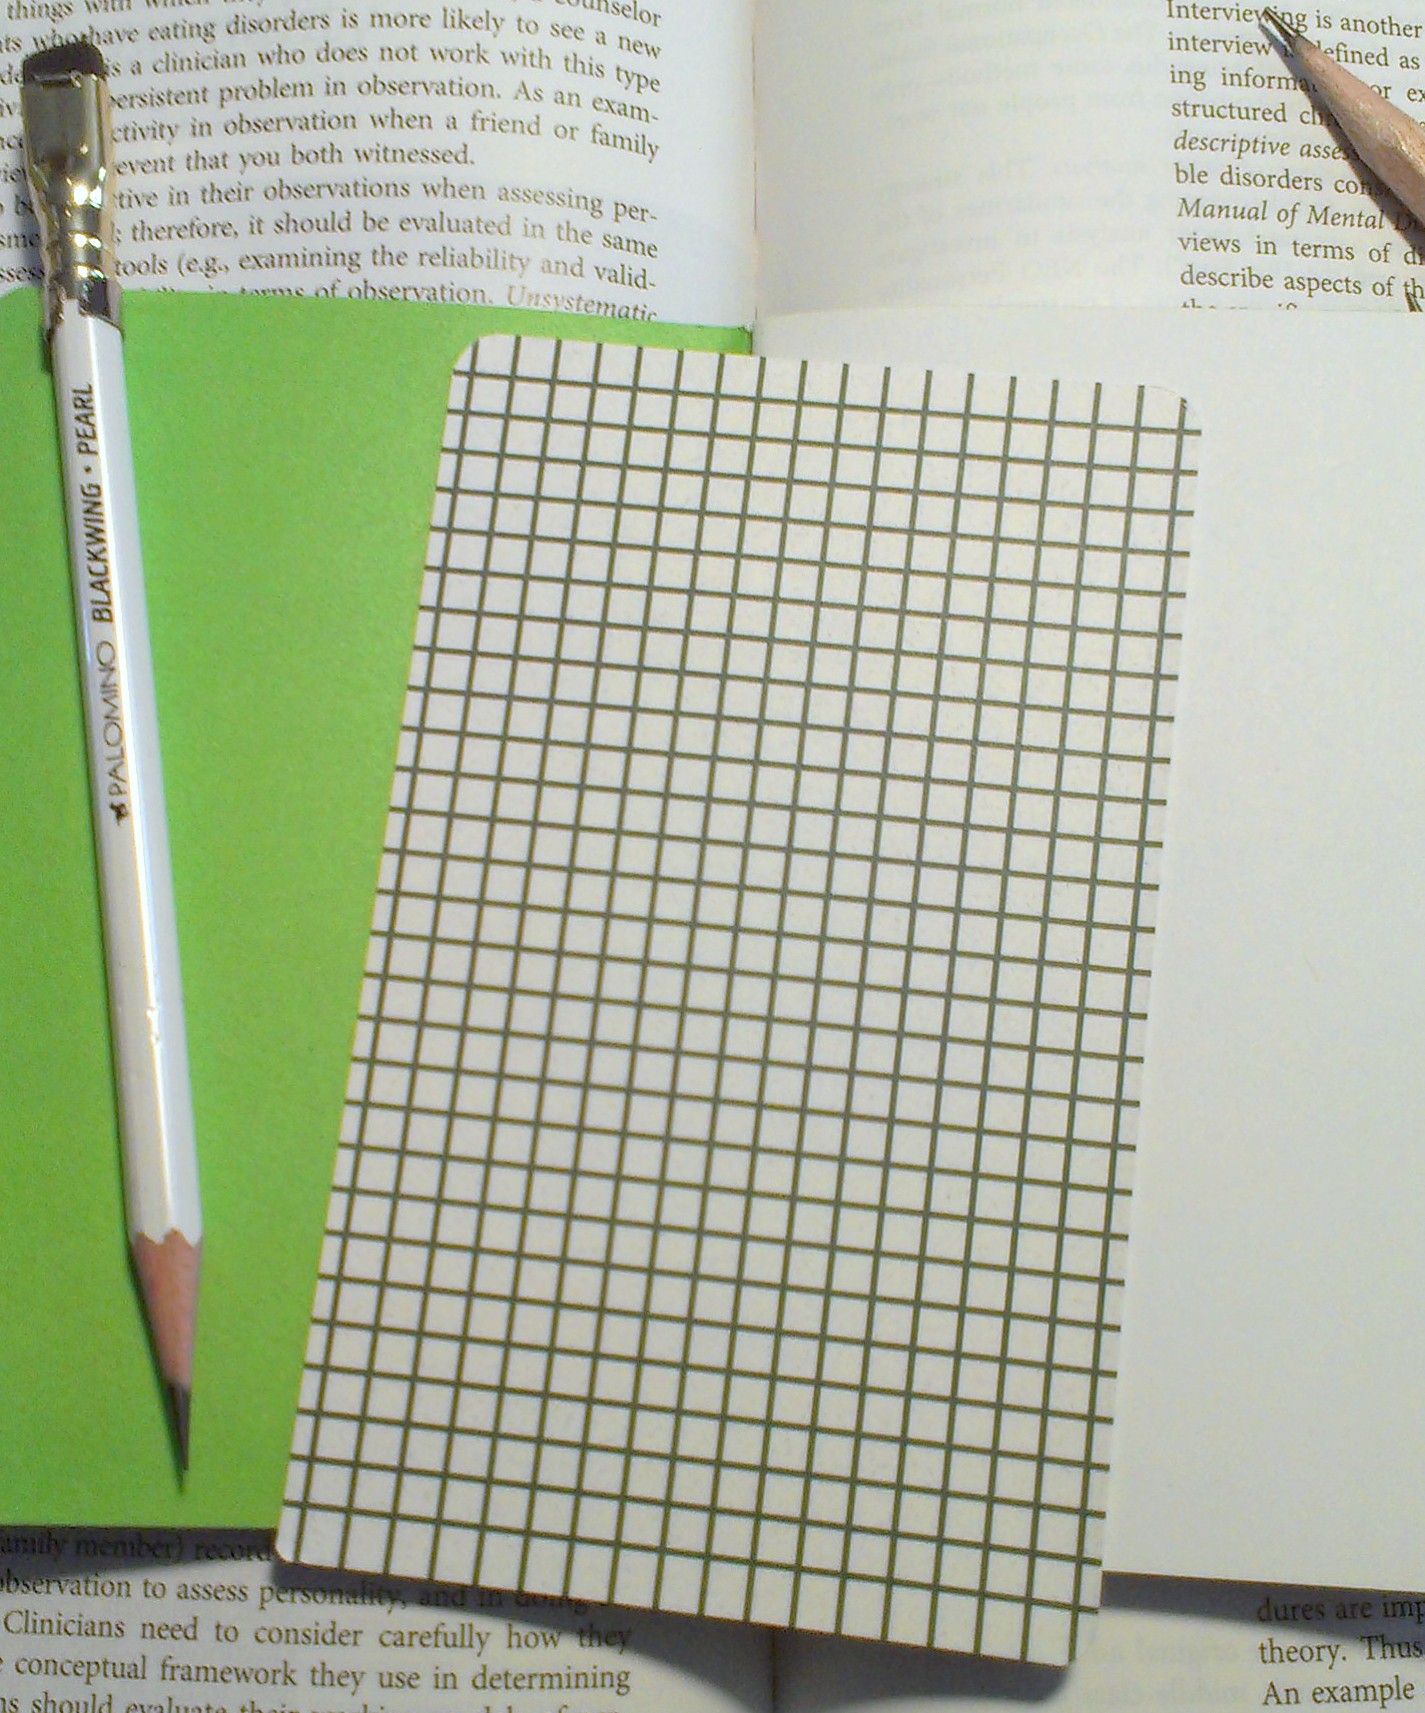
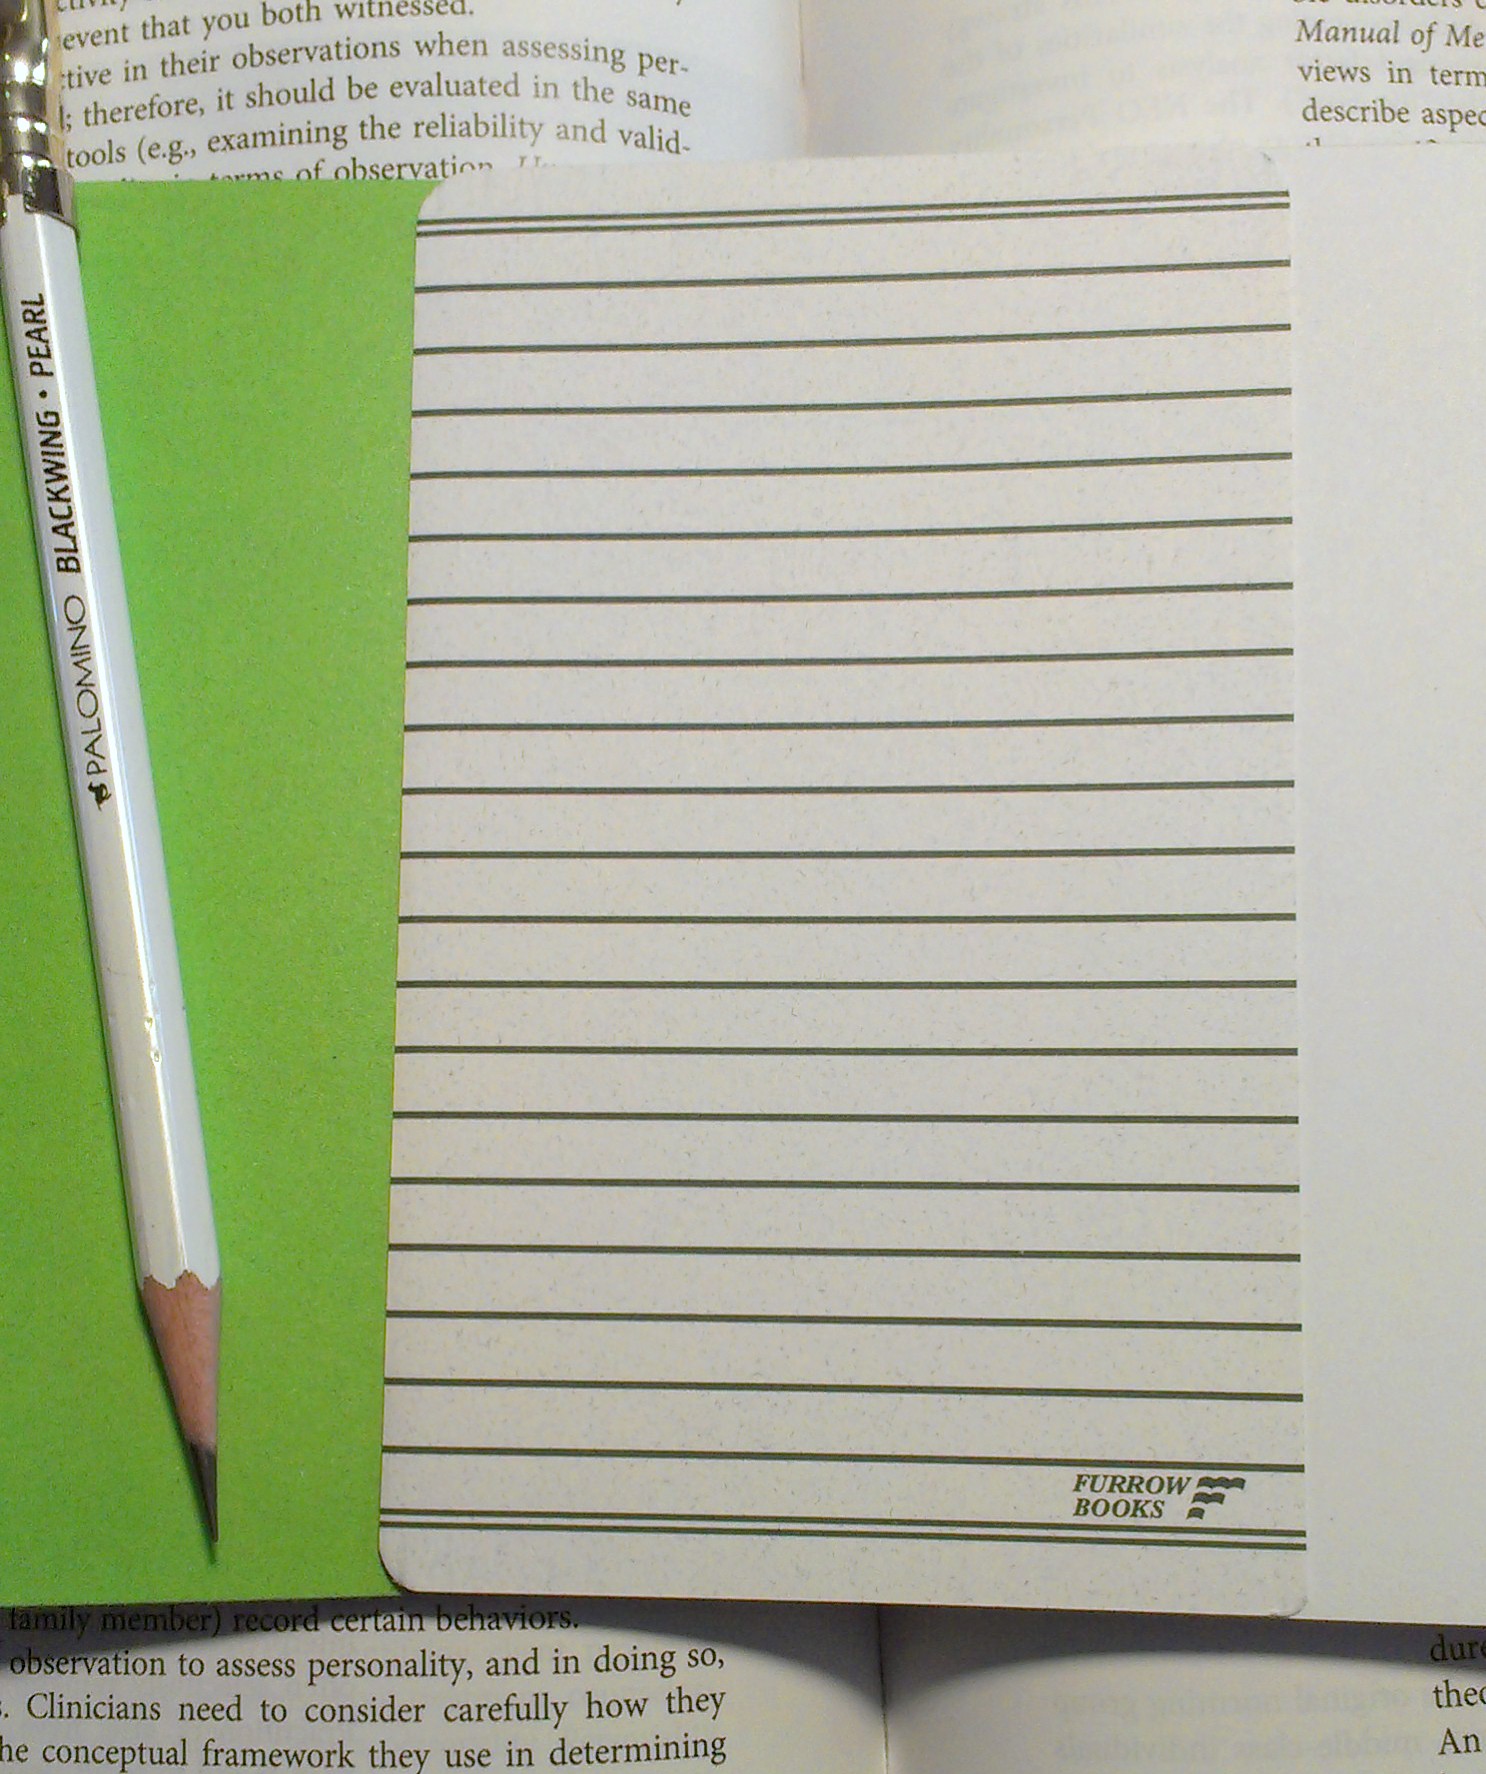
First, start off by loading 12 sheets of your favorite paper into your printer. Head to gridzzly.com and play around with the settings. I like lines and dot grids for my notebooks. I like dot grid at 5mm and lines at 7mm. Why? Dunno, those settings work for me. I also move the slider to about ¾ of the way to the right for darkness. The lines will not come out as a true black but more of shades of gray. Test out the site and see what you like. Start with mine and go from there. For my notebooks I work the printer setting to print without margins on any side. The printer can’t flood print, so I get a .25mm border with no printing no matter what I do. I deal with it. Print the lines/grids you like on both sides of the 12 sheet of paper.

Utility yellow… dot grid interior. #notebooks #maker

A post shared by LC Harper (@originallcharper) on

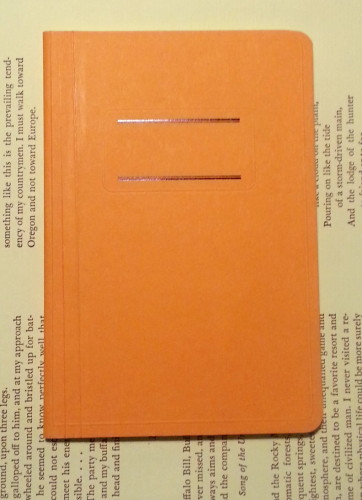
Stack your 12 sheets of paper and add a piece of cardstock as a cover. Use paperclips or binder clips to hold everything in place. If you are making pocket notebooks set the guide on your long arm stapler to 4.25 inches or 11cm. Starting from the center of the paper, place a staple at 4.25 inches, another at 6, another at 8, another at 9.75, now return to the other side and place a staple at 2.5, and one at .5 inches. You will  have a total of 6 staples.

Soon to be made into notebooks. Warm Neons, QUILTBAG, and midnight. #maker #bookmaking #booknerd #dotgrid

A post shared by LC Harper (@originallcharper) on

Cut the stack in half at the 5.5 inch mark, now fold the half along the staples, letting them guide your fold. Use a bone folder or butter knife to tighten this fold. Using a straight edge, trim the fore edge of the book at 3.5 inches. I have successfully used a rotary cutter as well as a craft knife so long as I’m slow and careful. Round corners if you so desire. Placing the books under weight for a night or two will help keep the spines creased. Several large textbooks serve the purpose well, while a board with a brick or two will also work.

If you are making a Traveler’s notebook, you will place 3 staples, one in the center of the book and one at each end, .5 inch away from the edge. Fold the notebook along the staples, letting them guide your fold. Use a bone folder or butter knife to tighten this fold. Trim the fore edge at 4.5 inches. Round corners if you’d like, then place under weight for a night. I do not trim the excess off the height of my TN, the proper height is 8.25 inches.

It is ridiculously easy to make your own notebooks with a minimum of investment. A long reach stapler is now only $11 on Amazon, while years ago they cost well over $30. If you keep an eye on thrift stores you can find them for less. Often offices toss them out when the person who did the office booklets quits or retires. I kick myself for turning down an old school cast off of a booklet stapler. Oh how I regret that choice. The investment for making notebooks is minor, but the reward is well worth the effort.

If you make some notebooks I’d love to see them. Hit me up on instagram with pics.


Enter No Brand Notebooks

For those of you who have been here since the start, you own’t be surprised when I tell you that I’m making books again, specifically pocket notebooks. This was, after all, my bread and butter for a good long time. Hell, it’s why I started the blog- to discuss my nerdy interest in all things bookbinding. Well, age and labor caught up with me and I have carpal tunnel as arthritis runs in the family. There are times when I can’t pull a needle though a signature of paper. The act of making stations in my signatures can be excruciating. The last time I made a serious number of books, well my wrist was in pain for days and I realized that I cannot make books in the same manner that I once did, so I put away my awl, sign vinyl, and stopped hoarding reams of paper. 

Anyway. I picked up a long reach stapler off the clearance rack at staples a few years ago. I let it gather dust until recently I wanted dot grid in a notebook and none of my hoarded Field Notes, Word Notebooks, or Story Supply Company had dot grid. I had some 24lb HP laser Jet from my experiment making my own planner books (still do this, still need to write a post about it) so I printed off some dot grid and pulled out that stapler and started making books.

For the most part this is not bothering my wrists. Which makes me so happy.

that said. I’m happy to begin offering my notebooks again. You can find them on etsy here.

Continue reading

Review: Write Notepads Pocket Ledger


Given my usual disdain for spiral bindings it might be considered unusual for me to put up yet another positive review of another spiral binding, but I am. So for those of you who need no other info, I like these so read no further.

Let me get into WHY I like these notebooks so much.

Let’s start with the insides. These notebooks sport 120 super thick eggshell colored pages. The paper is smooth yet toothy. The ruling is a pale shade of green that melts into whatever is written. The combination of warm paper with pale ruling just gets me. The paper isn’t so warm or off-white that it interferes with ink color or pencil has difficulty showing on it’s page, rather it compliments everything I’ve put onto the page. Everything simply looks good on this paper.Write ledger

As for what I’ve put onto these pages. Well I’ve used Akkerman Zuiderpark Blauw-Groen, Sailor Yama-dori, Platinum blue black, and every grade of graphite available to me. I’ve been sticking to fine and extra-fine pens so the paper works okay with fountain pen ink with a minimum of show through and bleed through. Larger nibs, well they are out of the question. Ink spread out to a bit more than nib size, and the wetter the nib, well that just invites disaster. Pencil, on the other hand, oh mama, that might be what this paper was chosen for. Pencil slides onto this paper without grinding the tip down quickly. Yeah a large amount of graphite is taken, but tips seem to last well.My favorite grades were HB and B. Which were plenty dark and were complimented by the cream shade of the paper.Write ledger Write ledger

While I adore the paper inside the covers, the covers might be my favorite part of these notebooks. The chipboard is heavyweight and perfect for writing in hand. There is just enough flex in the chipboard that it conforms to my hand as well as to a pocket. Over time the cover also gets softer with use, not just in stiffness, but in feel. I’m a fan of the worn in and well used look and these covers get that look oh so well. Yet, they don’t look like the dog chewed on them either. This notebook has been with me for about  a year and it’s gotten better looking with age.Write ledger

Now, my least favorite topic, spiral bindings. I’ve come to terms with the fact that I don’t despise them as much as I thought I did but rather, I like them for some uses. It seems I like them for some small pocket notebooks. Which makes sense, the way I got into pocket notebooks was through the free 3×5 pocket notebooks we were given at my old DayJob to keep track of things. I must’ve used hundreds of those things. For journals, I hate spirals, for day-to-day notes, ideas etc… spirals are a-ok. The good thing about the Write Notes spirals- they don’t crush or smush in my bag- they stay strong. I can get behind that.

I think it’s worth examining the size of these ledgers. By modern standards it’s weird at 3×6 inches; bigger than a 3×5 notebook and too small to be a reporter notebook. That said, it is a perfect size- it fits in the hand just right and is easy to write in.

Continue reading

Review: Shinola Small Notebook Paperback, Ruled

During my last visit to Artist & Craftsman I purchased a few Shinola notebooks on a whim. The small paperback notebooks are available in a variety of colors and are displayed in a neat spinning display made of dark stained wood and plexiglass. For the paperback books I snagged the orange color but they also have a nice pink, tan, navy, teal and black. They were out of the teal or I’d have gotten that*. Orange is a great color for a notebook because it can easily be found in a bag and in among crap laid out on a desk.Shinola Papercover

The notebooks are covered in a stiff cardstock that is sturdy, and the one I’m using has survived some seriously rough use. Yes, it has achieved and nice wabi sabi worn in look, which will offend some of new “brand new look” purists but, I love me the worn in look, and this is starting to get a good patina. The cover also has some nice embossing and debossing details. The name plate has a nice rounded rectangle embossed around it as well as a series of double lines at the top and bottom, which I think it could do without, but look okay. There is an embossing around the edges of the front cover. The back cover is adorned with simply, “Shinola Detroit.”Shinola Papercover

I’ve made my way through 3/4ths of the book and the spine is surviving well. The spine is not stitched rather it is perfect bound with embedded cords. While this is a sturdy sort of perfect binding, it won’t last forever. Eventually the rubbery glue they have used on the spine will give out, it might take 10 or 20 years, so if you use these for notes you want for posterity, because you know your thoughts are really THAT important, these might not be for you. So yes, perfect binding is generally the devil’s tool, but this is a good one, and has survived my rough use thus far. Also, for even more of a party foul, it won’t ever lay flat, nope don’t bother I tried. A final weirdness, these measure 5.5Hx3.75 inches, so you have to wedge them into your covers and they do NOT fit into a Fodderstack XL, again don’t bother I TRIED.Shinola Papercover

The paper is a delightful cream color with light grey lines. I love the color of the paper and the lines. the paper is smooth and lacks any sort of toothines that I like for graphite. I find the pages are prone to smudging when I use my usual B or 2B pencils on them. this is a great paper for HB or even *GASP* Wopex! Oh yes, this paper is DELIGHTFUL for the odd wopex pencil you have in your kit.Shinola Papercover

Anyway, you can ge a 2-pack of these 72 page lined notebooks for about $6.75 at Artist & Craftsman in Saugus, MA or you can go to the Shinola website, or a number of other sites.Shinola Papercover Shinola Papercover

Details:

  • Paperbacked
  • Perfect bound, NOT stitched
  • 72 lined cream colored pages
  • 60lb/90gsm acid free
  • 5.5×3.75 inches

Continue reading

Review: Bullet Pencil TT

Recently I purchased a used Bullet Pencil TT (BPTT) made by Metal Comb Works. It was highly funded on KickStarter and something I was not able to back. I heard some murmurs on the ‘net shortly after people received theirs that it was not well balanced when used as a pencil. Once I got the BPTT in  hand, I was able to see that the  BPTT is really well and  badly designed.BPTT

First, let’s start with the good about this pencil. It is amazingly pretty, simply a gorgeous modern take on the classic bullet pencil. It’s all sleek lines and perfect tolerances in how it is machined.* The bullet pops in and out of the tube smoothly and with a nice suction noise. The experience of opening and closing this pencil is fantastic. It feels awesome in this part of it’s use.BPTT

I also love that it uses the Palomino erasers. While the Palomino erasers really suck, they look great in the pencil, and are super easy to find if you use Palomino pencils regularly. They also work well enough for the occasional use one might need them for when using the BPTT.BPTT

Now  the bad. The balance on the Bullet Pencil TT is god awful. It is pretty clear to me that this was designed with the ST, stylus tipped, in mind. That is that when it is in hand and held as a stylus  it feels perfect. When it is used with the pencil deployed it is top heavy and strains the hand when used for more than a few moments. That is unless the pencil is very short. Which defeats the purpose of having such a lengthy tube- it holds a seriously long chunk of pencil, but that chunk is unusable at it’s full length for any period of time. It is kind of ridiculous if you want to use the BPTT as a pencil extender, a serious use for most bullet pencils.BPTT

The BPTT fails, spectacularly in its main function but it does so beautifully. I am very tempted to take a hacksaw to it and make it work but I wouldn’t want to destroy it’s oh so beautiful clean lines.BPTT

Of course I had to compare the BPTT to the BP Twist. The Twist looks like a classic BP and I love it. It wins in the comparison because it is usable for not only quick notes but also longer writing periods. The Twist only loses in one category and that is speed of deployment. The BPTT is ready to use in seconds while the Twist needs to be unscrewed and screwed in, while it only takes moments longer, it is longer.BPTT

Finally, let’s talk price. The BPTT and BPST ranges from $35 to $40 for US shipping and depending on the color. You have two choices- silver or black. I do not see tips sold separately. The Twist starts at $37.50 and you can buy tips and clips and caps separately.

Anyway, I know which BP I reach for over and over again, and it isn’t the BPTT.

Continue reading

Review: Koh-i-Noor Thermoplastic Eraser

In one of my last CWPE orders I added the $1.75 Thermoplastic to my cart. It was a whim, as if I needed another eraser. I ordered the teal, because I really like teal. Anyway, I was looking for a pocket eraser that would stand up well without needing protection from the wear and tear of pocket carry.KINH

Anyway, this hexagonal teal eraser is a nice size and shape for both pocket carry and using as a fidget and worry stone. It is a decent general eraser but it doesn’t do as good a job as the Sakura foam. It cleans well enough for writing but it is too hard and stiff to really get deep into the fibers of the paper, so a little bit of graphite remains. It does a decent enough job for quick notes and notebook use. I was happy with how well it did with the majority of my pocket notebooks.KINH

The hexagonal shape allows for many corners and edges for detailed erasing and getting into single lines for erasure. It wears well and for a quick eraser doesn’t leave a ton of crumbs on the page. It does leave crumbs though, so be aware you’ll be dusting off your page and desk after useage. It isn’t gritty so it is gentle on the surface of your page. It isn’t as aggressive as a Pearl or other silica containing eraser.

Overall, it’s not a bad eraser. It feels nice in the hand and is gentle on the paper. Granted it doesn’t remove all the graphite but that isn’t really needed for notes and writing. It is worth the price, plus it is a  really really pretty teal color.

Review: Tattersall Pocket Notebook

I picked up a 2-pack of OrangeArt’s pocket sized tattersall letterpress printed notebooks at Black Ink in Harvard Square awhile back. The 2-pack was $8.50, so pretty pricey.TattersallEach notebook has a cover and pages that are letter press printed with a  tattersall pattern. Basically zigzag lines in a large grid pattern. The covers are printed in 2 colors while the interior is a nice shade of gray. The interior paper is nice, toothy enough for pencils and smooth enough for fountain pens. Fountain pens perform reasonably well on this paper, with a little show through and hardly any bleed through but for where I rested my pen a second too long. I used 3 inks in my testing, Pelikan Edelstein Tanzanite, J. Herbin Lie de The, and Noodler’s Heart of Darkness.  All were in medium or fine nibbed pens that run wet. I had no feathering or widening of the lines. With the finest of pens the paper made them feel scratchy, but not bad enough to stop me from writing. Pencils performed admirably on this paper. I was able to use my soft dark Palomino Blackwing (“original”) as well as my harder lighter Mirado Black Warrior to good effect. The paper was toothy enough to pull off a decent amount of graphite but not so toothy it felt like I was writing on a cheese grater. Pretty much just right.TattersallTattersall TattersallThe book is held together with 2 standard staples. This works reasonably well. I did not subject this to a stress test as this book was my at-home journal and even there lived in a leather cover. The cover is letterpress printed in 2 colors on white. The cover paper is not much heavier than the interior pages and feels flimsy. It is the worst part of the whole book. While pretty, this cover simply isn’t going to hold up to much abuse or pulling in and out of a back pocket. This is a paper cover that necessitates a case for any use out and about.TattersallThe 40 pages take fountain pen and pencil well. This notebook has 8 less pages than other pocket notebooks that are cheaper. The ruling is also  odd. It is a gray version of the exterior printing but without the cool letterpress imprint*.  The ruling is super wide, about double the width of a Word notebook and most other ruling. It measures in at 13mm. Super wide. i was able to fit 2 lines of writing into one line. I find this annoying. the ruling is also thick about .5mm. even though it’s gray it shows up under all my writing and remains very noticeable. They are available without the ruling. If I were to buy these again I’d look for them with blank pages.Tattersall TattersallOverall these are very pretty pocket notebooks and wonderful if you use a case/cover for your books. If you use fountain pens you will be pleased with the interior paper, and likewise for pencil. They are higher priced than Field Notes or Word notebooks, but boast letterpress printed covers and interior pages. Worth it if you like letter pressed items and want something a little different from the standard fare.

Here you can see the Tattersall on top of a Field Notes Red Blooded, it's a tad smaller than the Field Notes.

Here you can see the Tattersall on top of a Field Notes Red Blooded, it’s a tad smaller than the Field Notes.

Continue reading

Review: Furrow Books Pocket Size Notebook

I signed onto the Kickstarter campaign for Furrow Books roughly 6 or so months ago.  I pledged for one of the founding member pocket sized notebooks. Its price was fair to help support the campaign.FurrowThe pocket sized notebooks are 3.5×5.5 inches in size and contain 48 pages. The pages are held to the cover by 3 silver staples. This is all pretty standard in the pocket sized notebook arena. The front cover is unadorned and is a nice dark shade of green. The back cover has some information about the company and the book. Because this was a limited edition of 1500, it sports a hand numbered 0044/1500. At the bottom of the back cover is the furrow books logo. The cover is made of stiff sturdy card. I really dig the logo free front cover.FurrowFurrowInside the covers are colored the original Kickstarter green* and they are blank. They don’t have a place to put your information but this is easily enough to be scrawling in with ink. The pages are blank. Furrow books schtick is that their pages are blank, but that they have a card with lines that you can stick behind them and use as a guide. The pages are just thin enough that you can see this guide well enough to, uh, guide your writing. In practice this works pretty well. I found shoving the card behind every page a tad annoying** but for specific reason which will likely not annoy anyone else (read the footnote for more info on this.) Using the notebook in my cover meant that the elastic pushed the card out of place. Outside the cover it worked pretty well.  I really liked the fact that once I was done there were no lines visible on my page and yet my writing was perfectly straight. Like lines? That’s covered. Like grids? That’s covered. The card is double sided to accommodate what you prefer.FurrowFurrow FurrowFurrowWhile using a pencil I found that my card got a little graphite transfer. This wasn’t an issue in use just a thing to make note of. It wouldn’t happen with fountain pens.FurrowAs someone who interchangeably uses fountain pens, pencils and cheap roller balls it’s important that I know what kind of utensil will work on my paper. I found that pencils worked the best on this paper, in fact they worked so well I found myself using little else. I did test out the Field Notes clic pen to good effect. I tested out a few of my fountain pen stash and the results were ok. I had a lot of show through  and a touch of bleed through. YMMV. I really liked it with pencil, and I would put it on par with some of my other favorite notebooks with pencils. Furrow FurrowOverall this is a pretty nice notebook with great paper that is made well here in the US. The aesthetics are significantly different than Field Notes and approach a classy simplicity in the choice of cover materials and treatments.  These notebooks would look good in an office, board meeting, or a meeting with nerdy professors. The branding is subtle and adult, sophisticated. Again,, comparing them to Field Notes, they lack the fun factor, but make up for it by being an adult notebook.

While I was a Kickstarter Supporter, I suggest that people keep an eye out for these notebooks and support them. MAde in the USA, quality construction (when compared to other notebooks of similar build) and a nice look. How can you go wrong?

Continue reading