Tag Archives: mini

Review: Pilot G2 mini

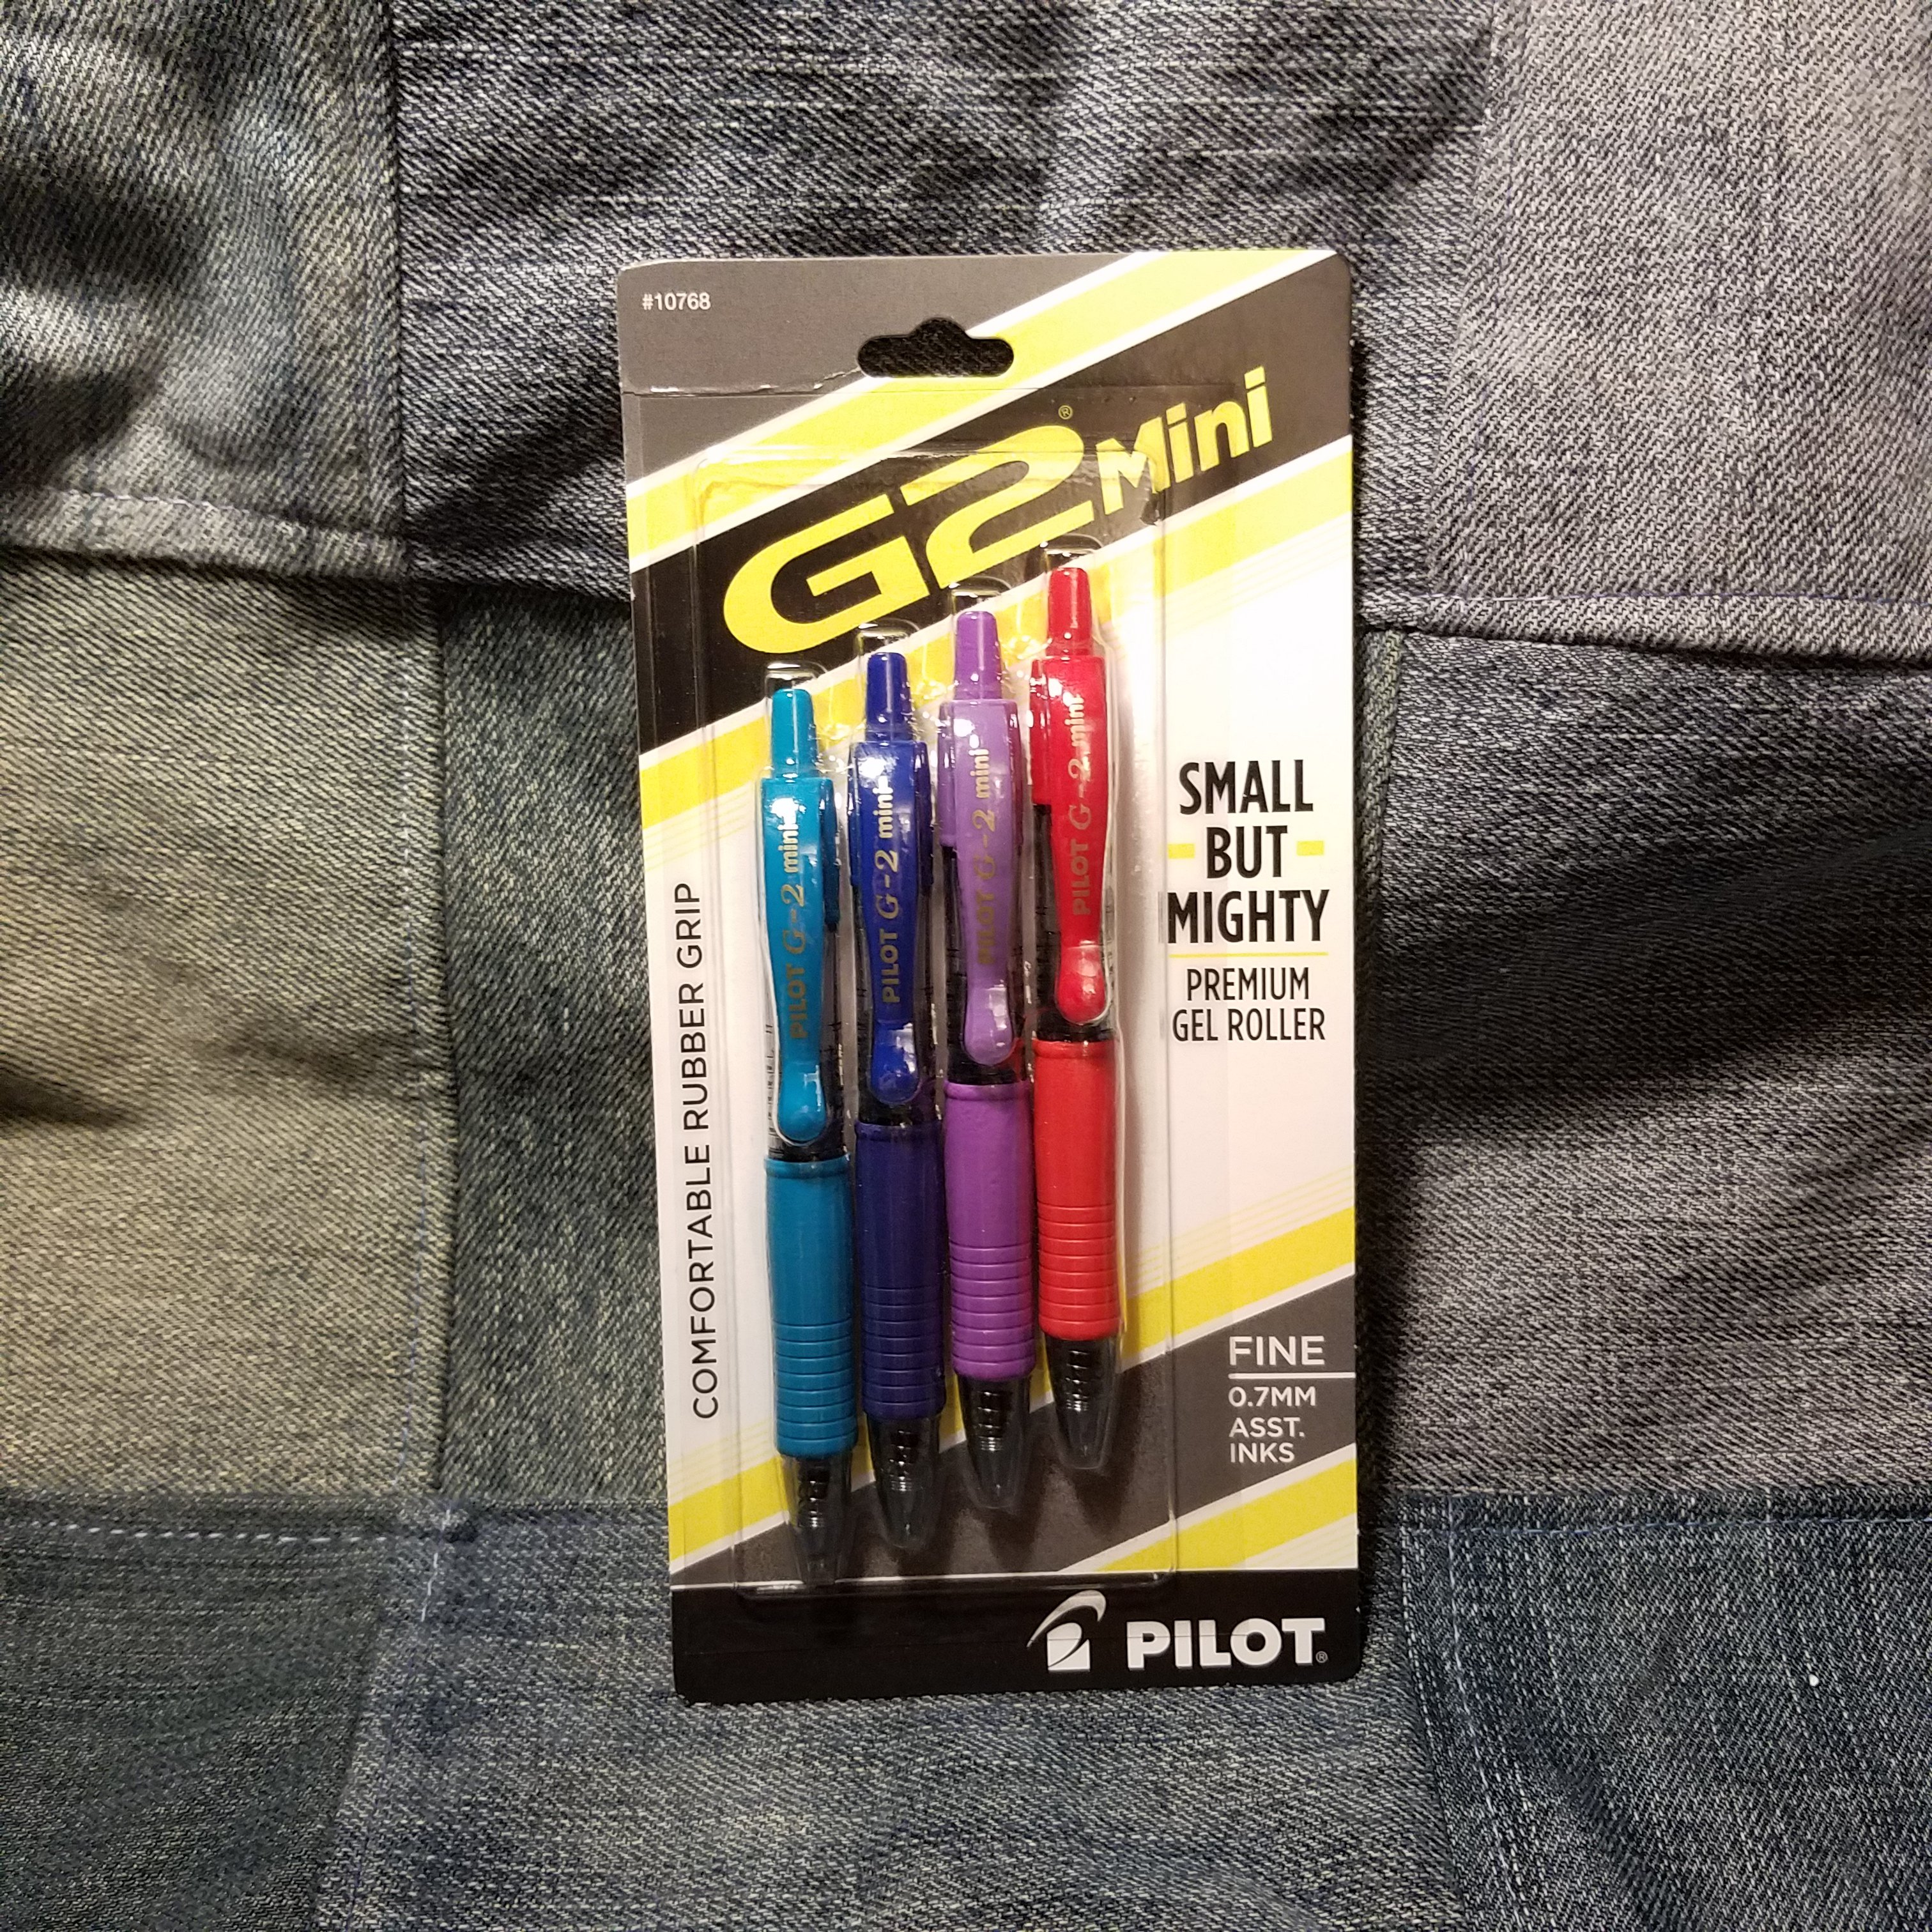
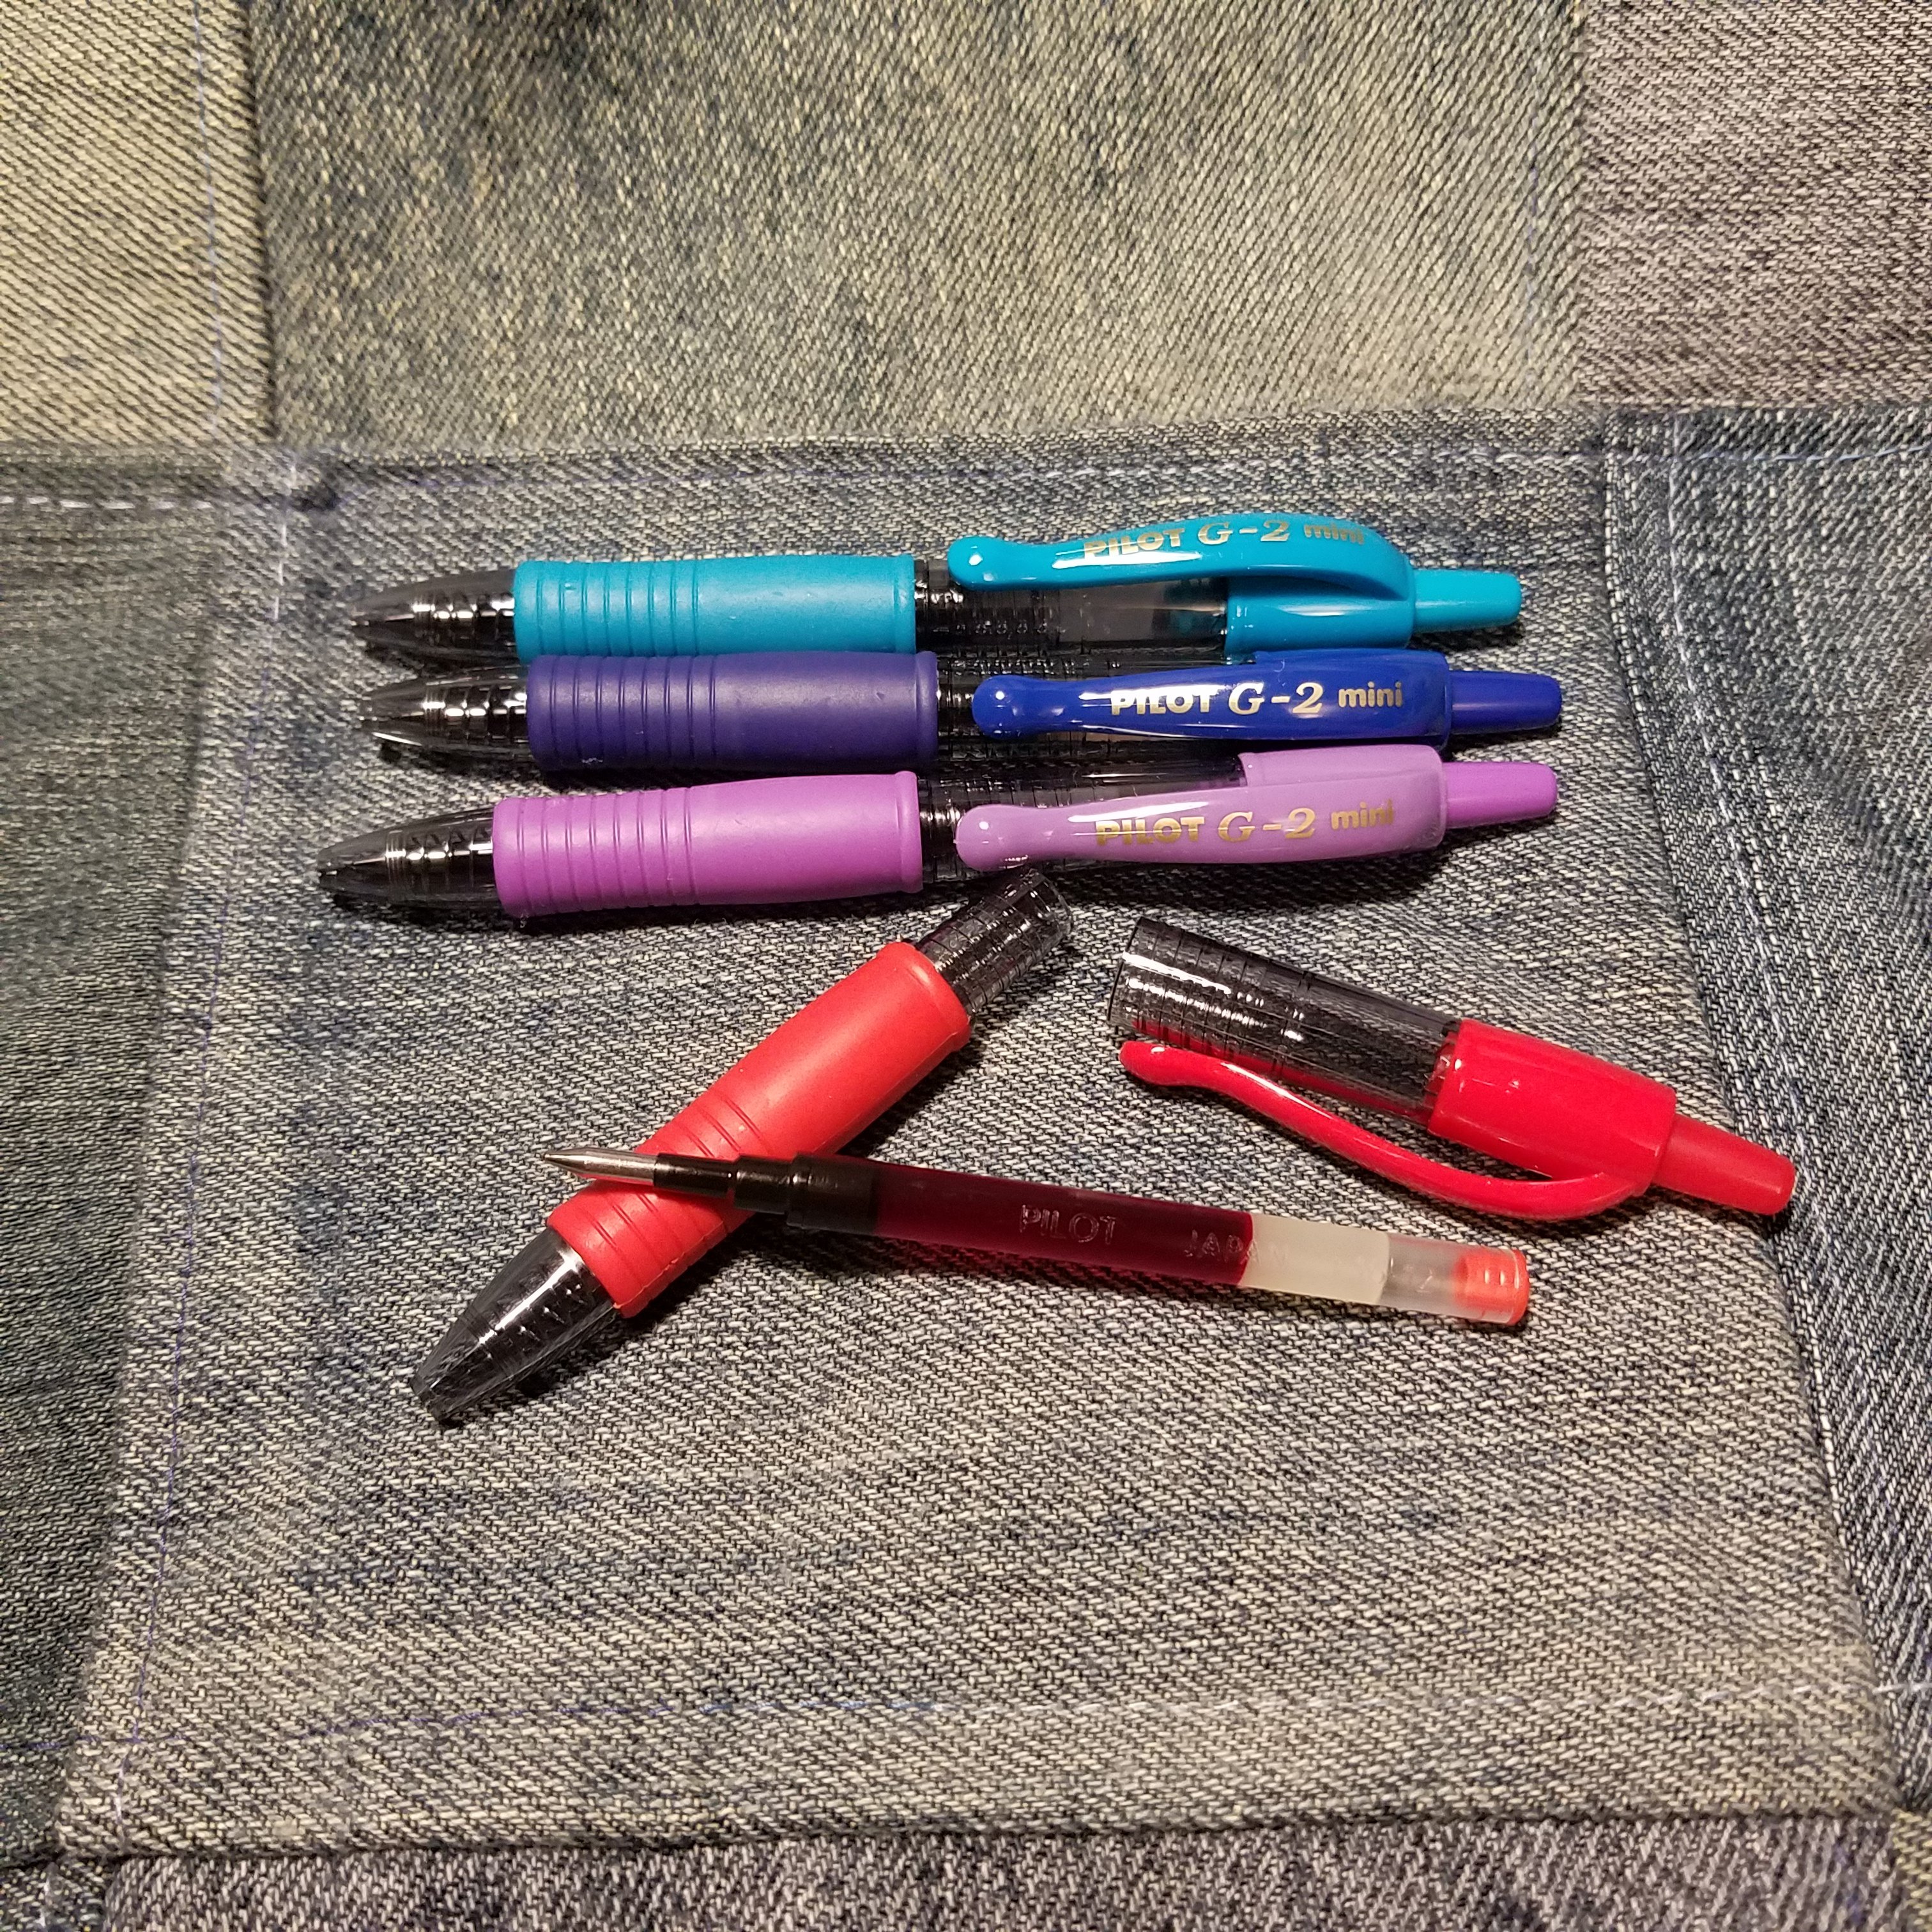
I picked up a 4 pack of the G2 Mini pens on a whim. The 4-pack was affordably priced and held regular blue, bright blue, red, and purple. The G2 minis perform just like their full sized counterparts- smooth most of the time and best on junky paper. On nice paper (Studio C, Tomoe River) it has a tendency to skip a bit and for the tip to feel rough.

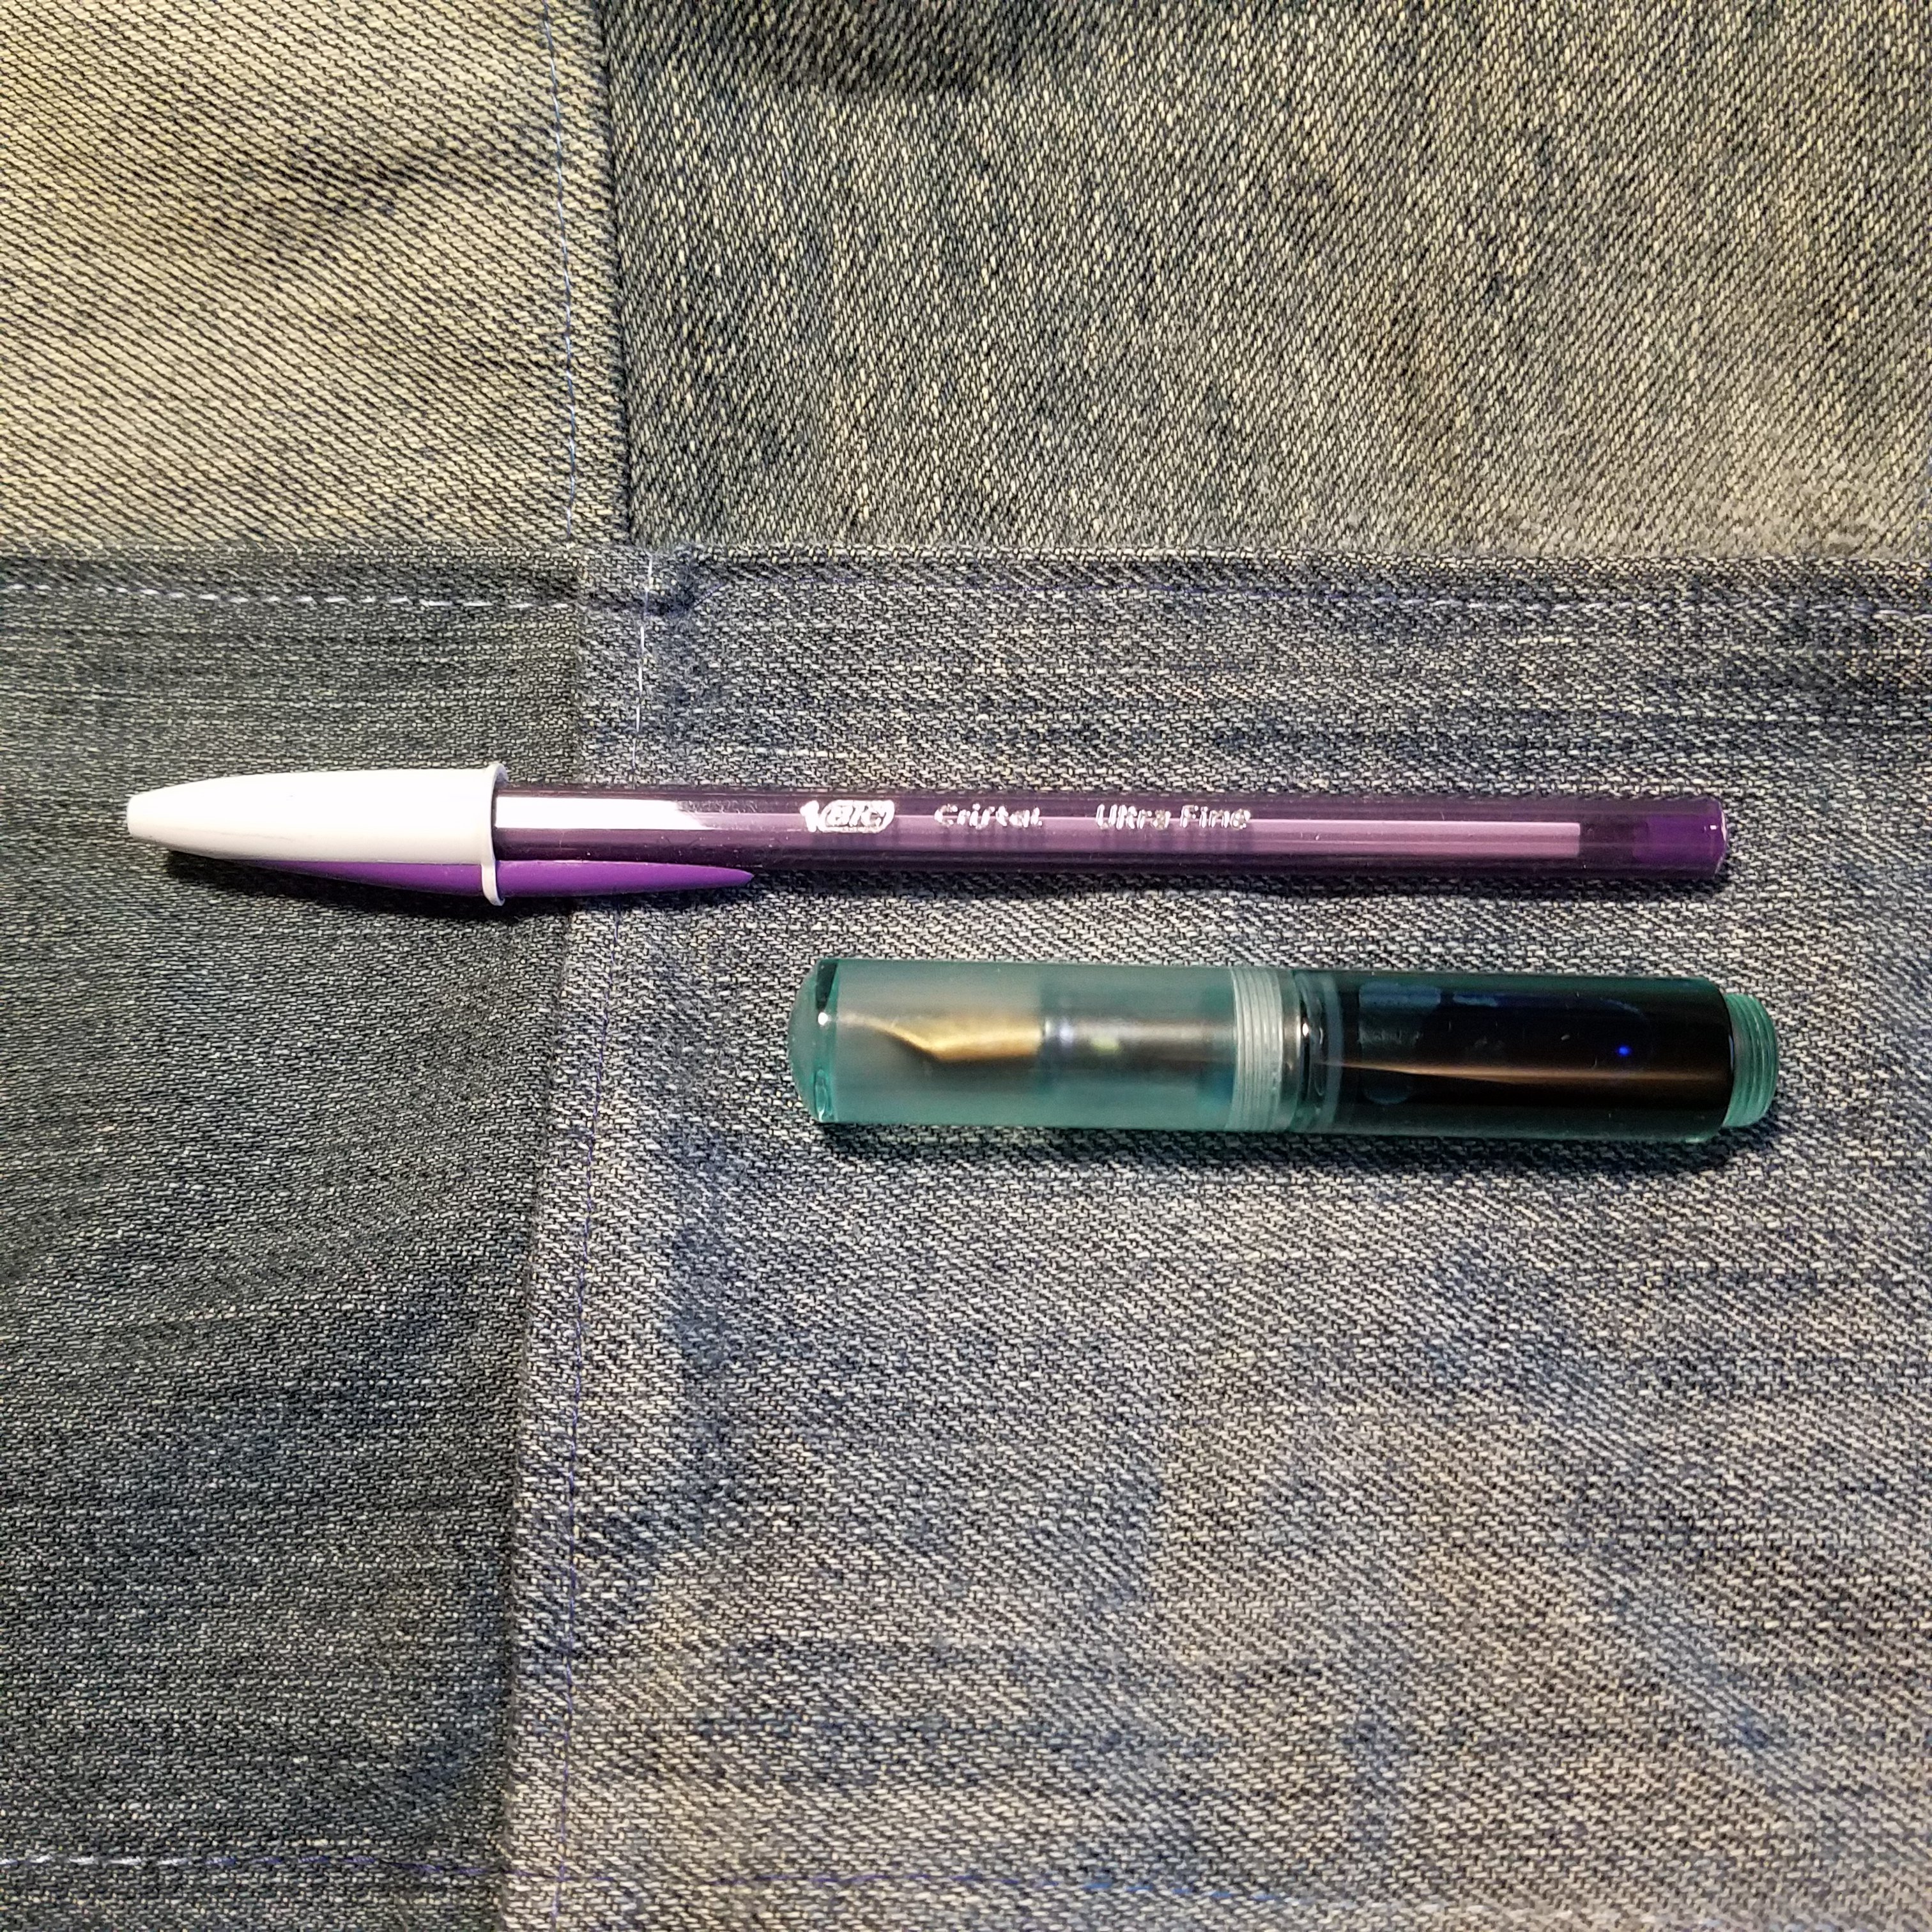
I find mini pens of this size to be just a tad too small for longer term writing. They are okay for filling a box or two in my bullet journal and a quick note here or there. Writing more than a page in a pocket notebook puts a great deal of strain on my hand and is tiring.

I think these are great pens to toss into a bag for occasional quick notes or for children. I’m using the bright blue and purple to introduce my nephew to better stationery.

Review: Moonman Pocket Mini Fountain Pen

My Instagram feed has been full of pics of Moonman fountain pens for ages. I pushed down the FOMO for months, finally I found a version of the pocket mini on eBay for less than $13 and I pulled the trigger, and almost a month later it arrived.

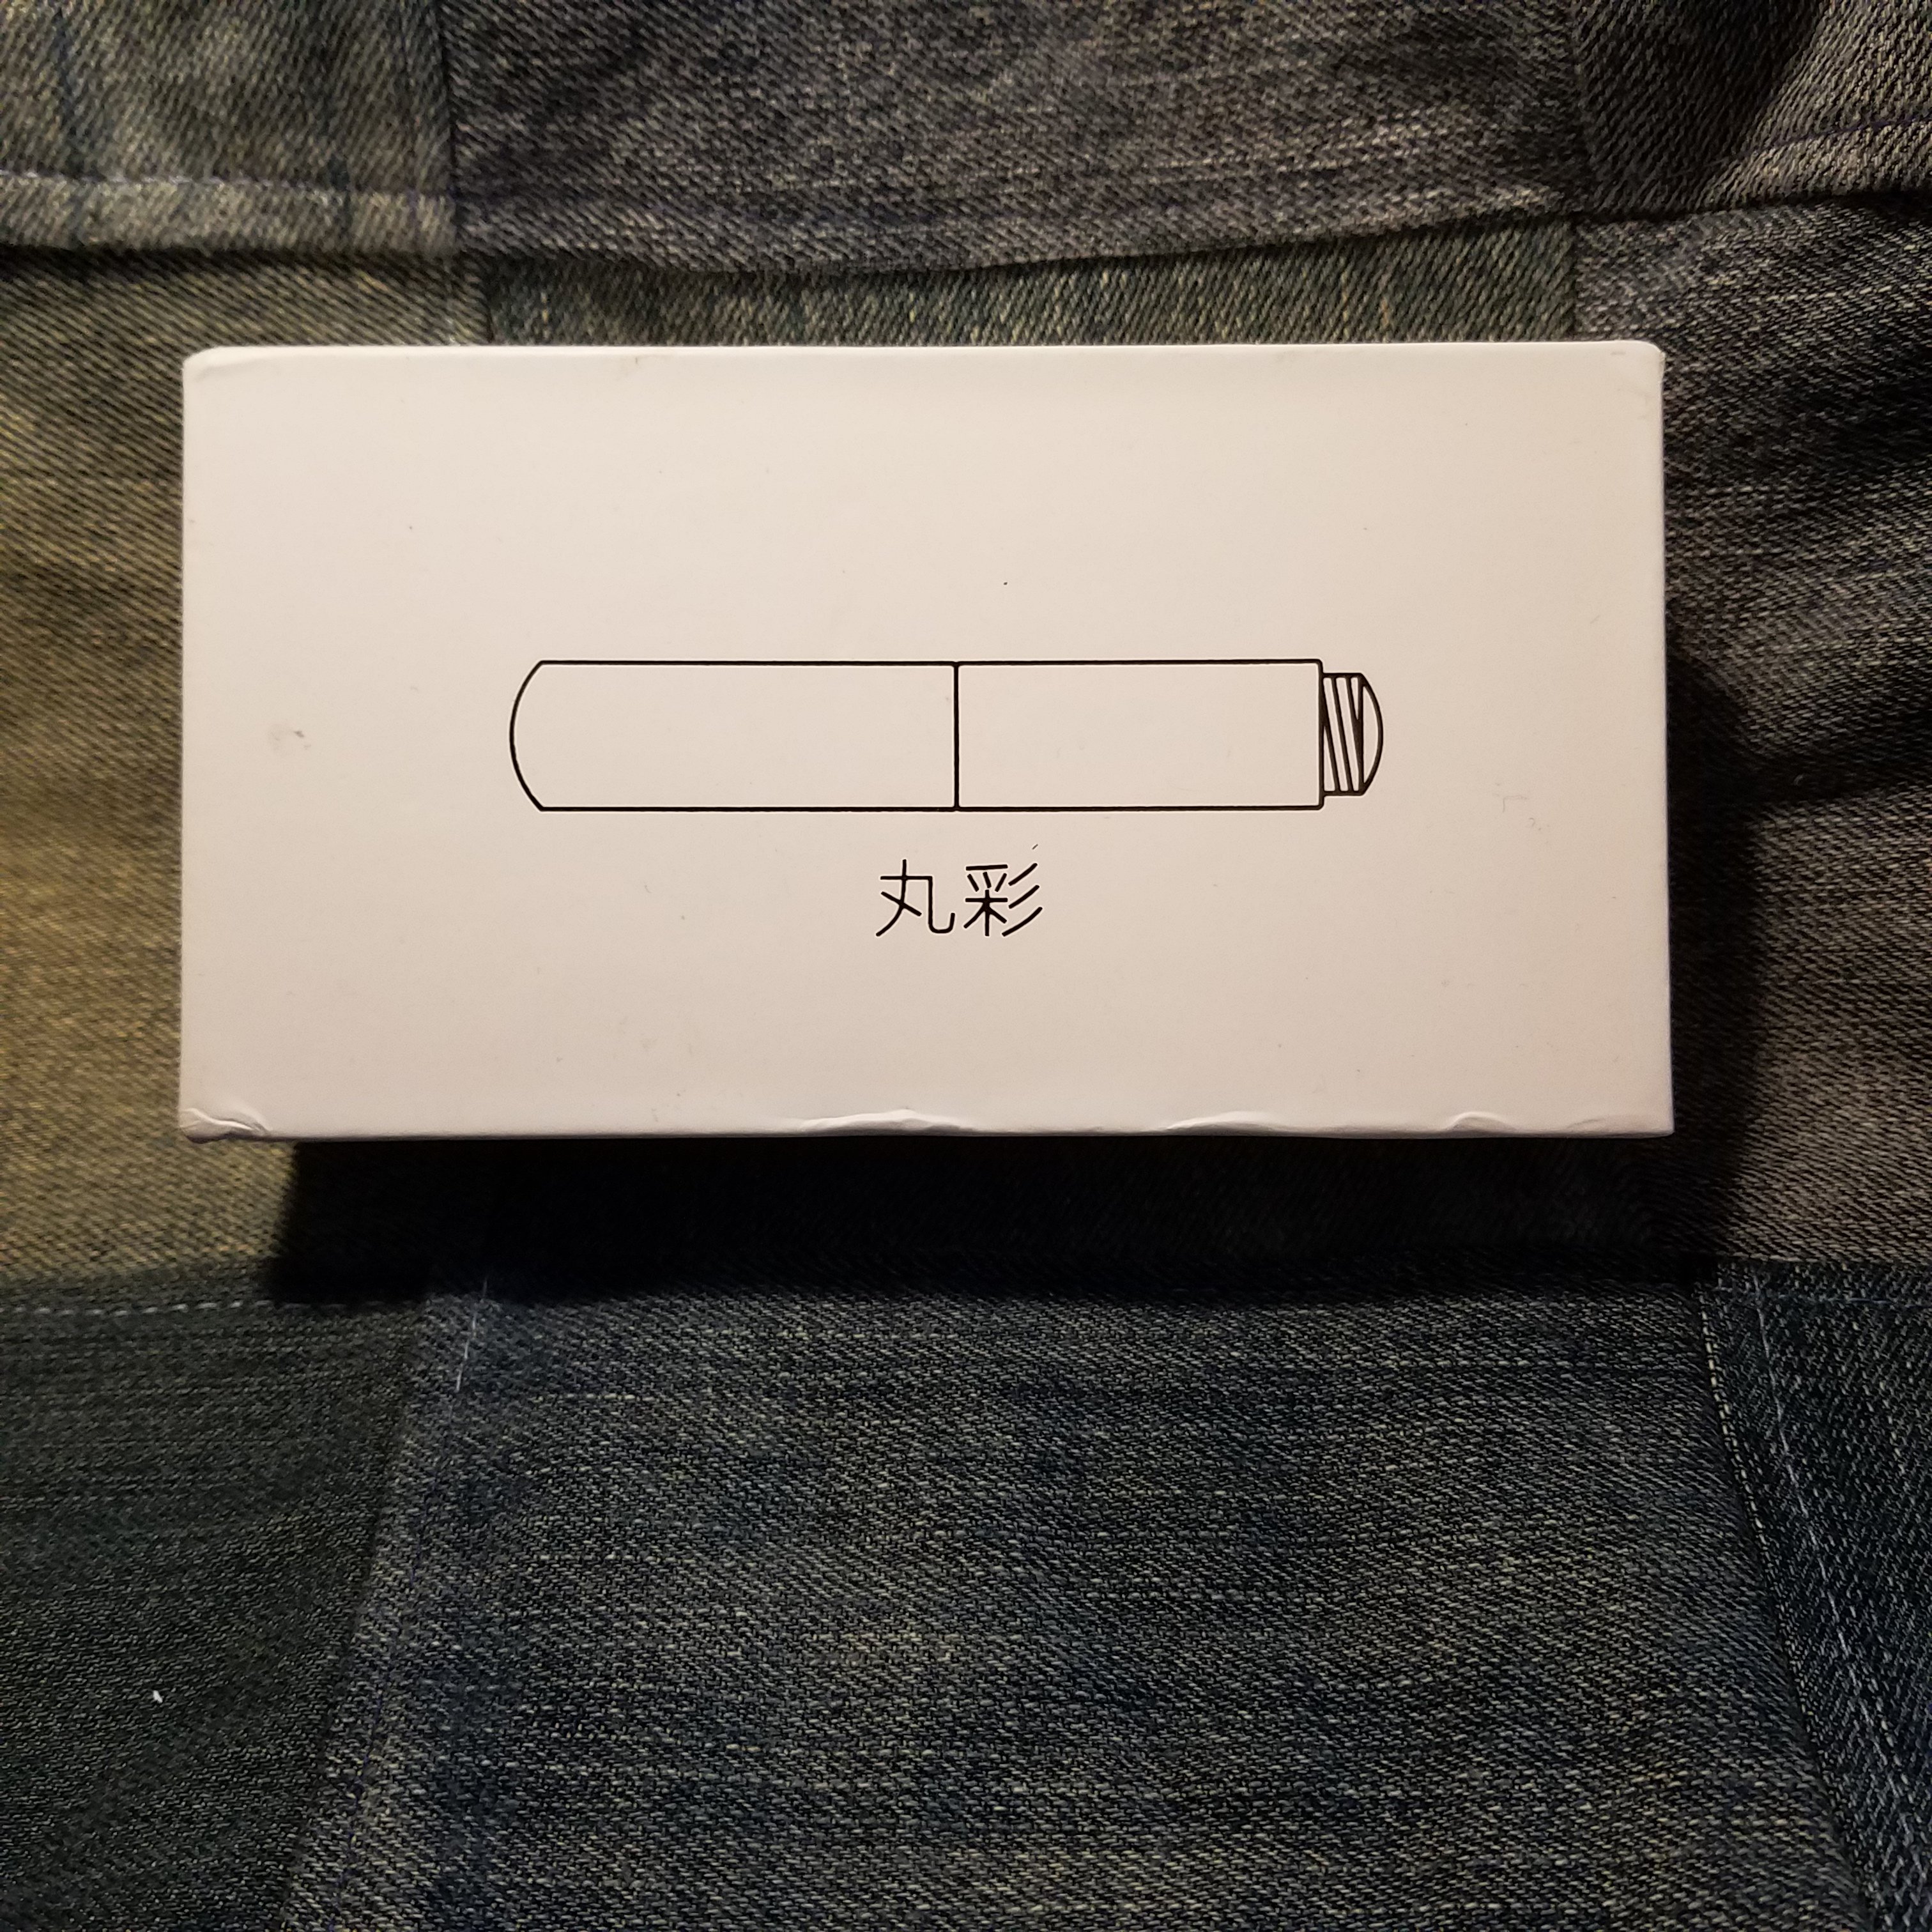
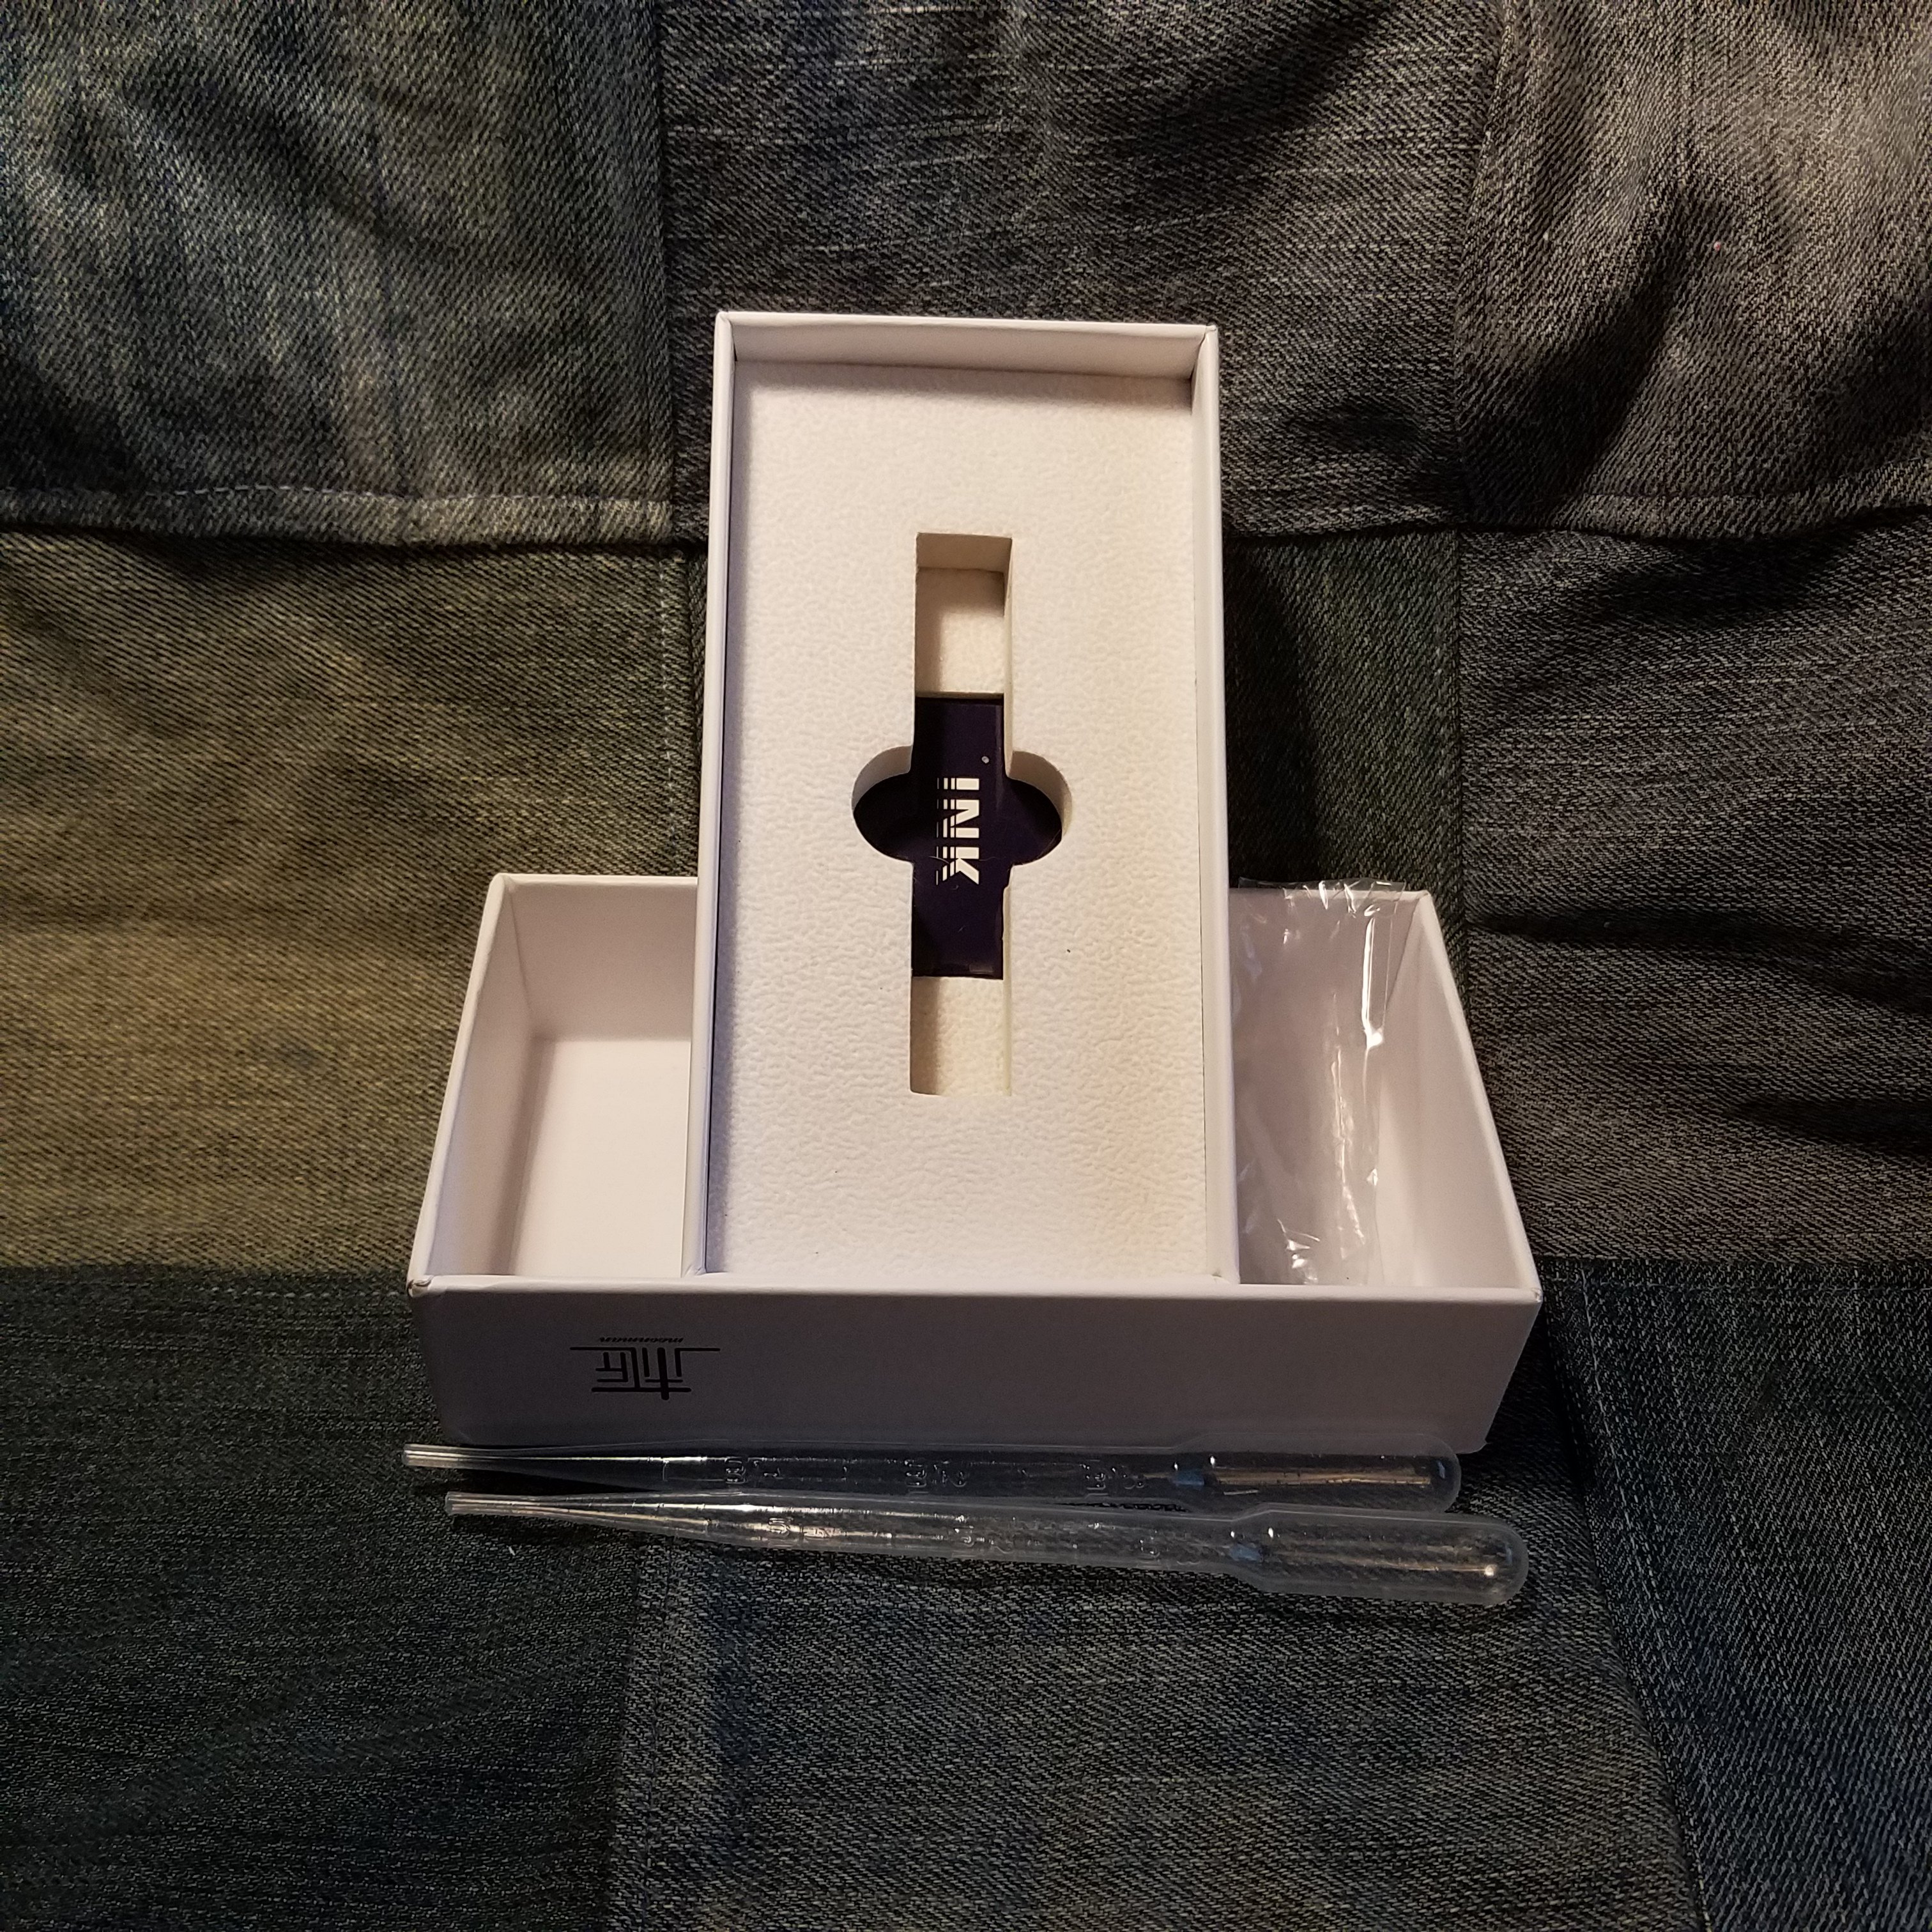
The packaging is a simple white box with a glossy embossed image of the closed pen. Inside, the tiny pen is sheathed in a tight plastic sleeve and set into die cut foam. In the box are 2 pipettes and a package of 6 international short ink carts. The most difficult part of the packaging is getting the pen out of the snug plastic sleeve.

I always wash my new pens with some plain water to clean out any machining gunk left behind from the manufacturing process. I disassembled the pen to its bits and bobs- body, section, nib, feed and the screw in bit that holds the nib and feed into the section. Each of the parts that screws into the other has a small white o-ring for sealing. I added some silicone grease to further seal the pen as I intended to use it eyedropper.

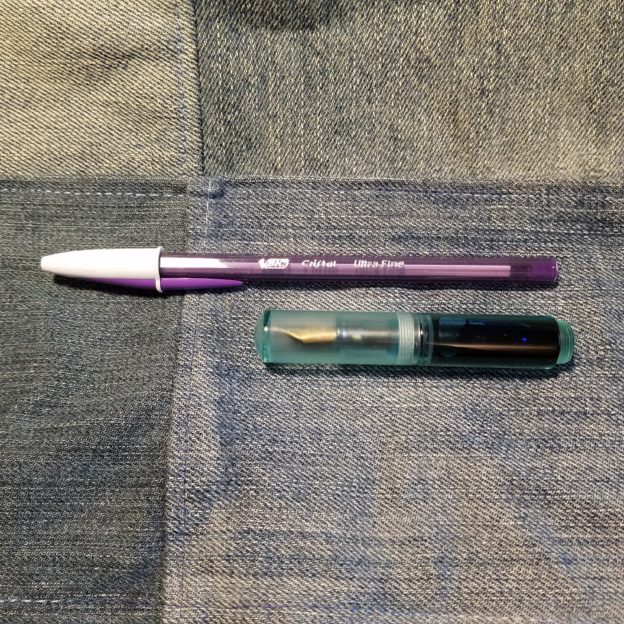
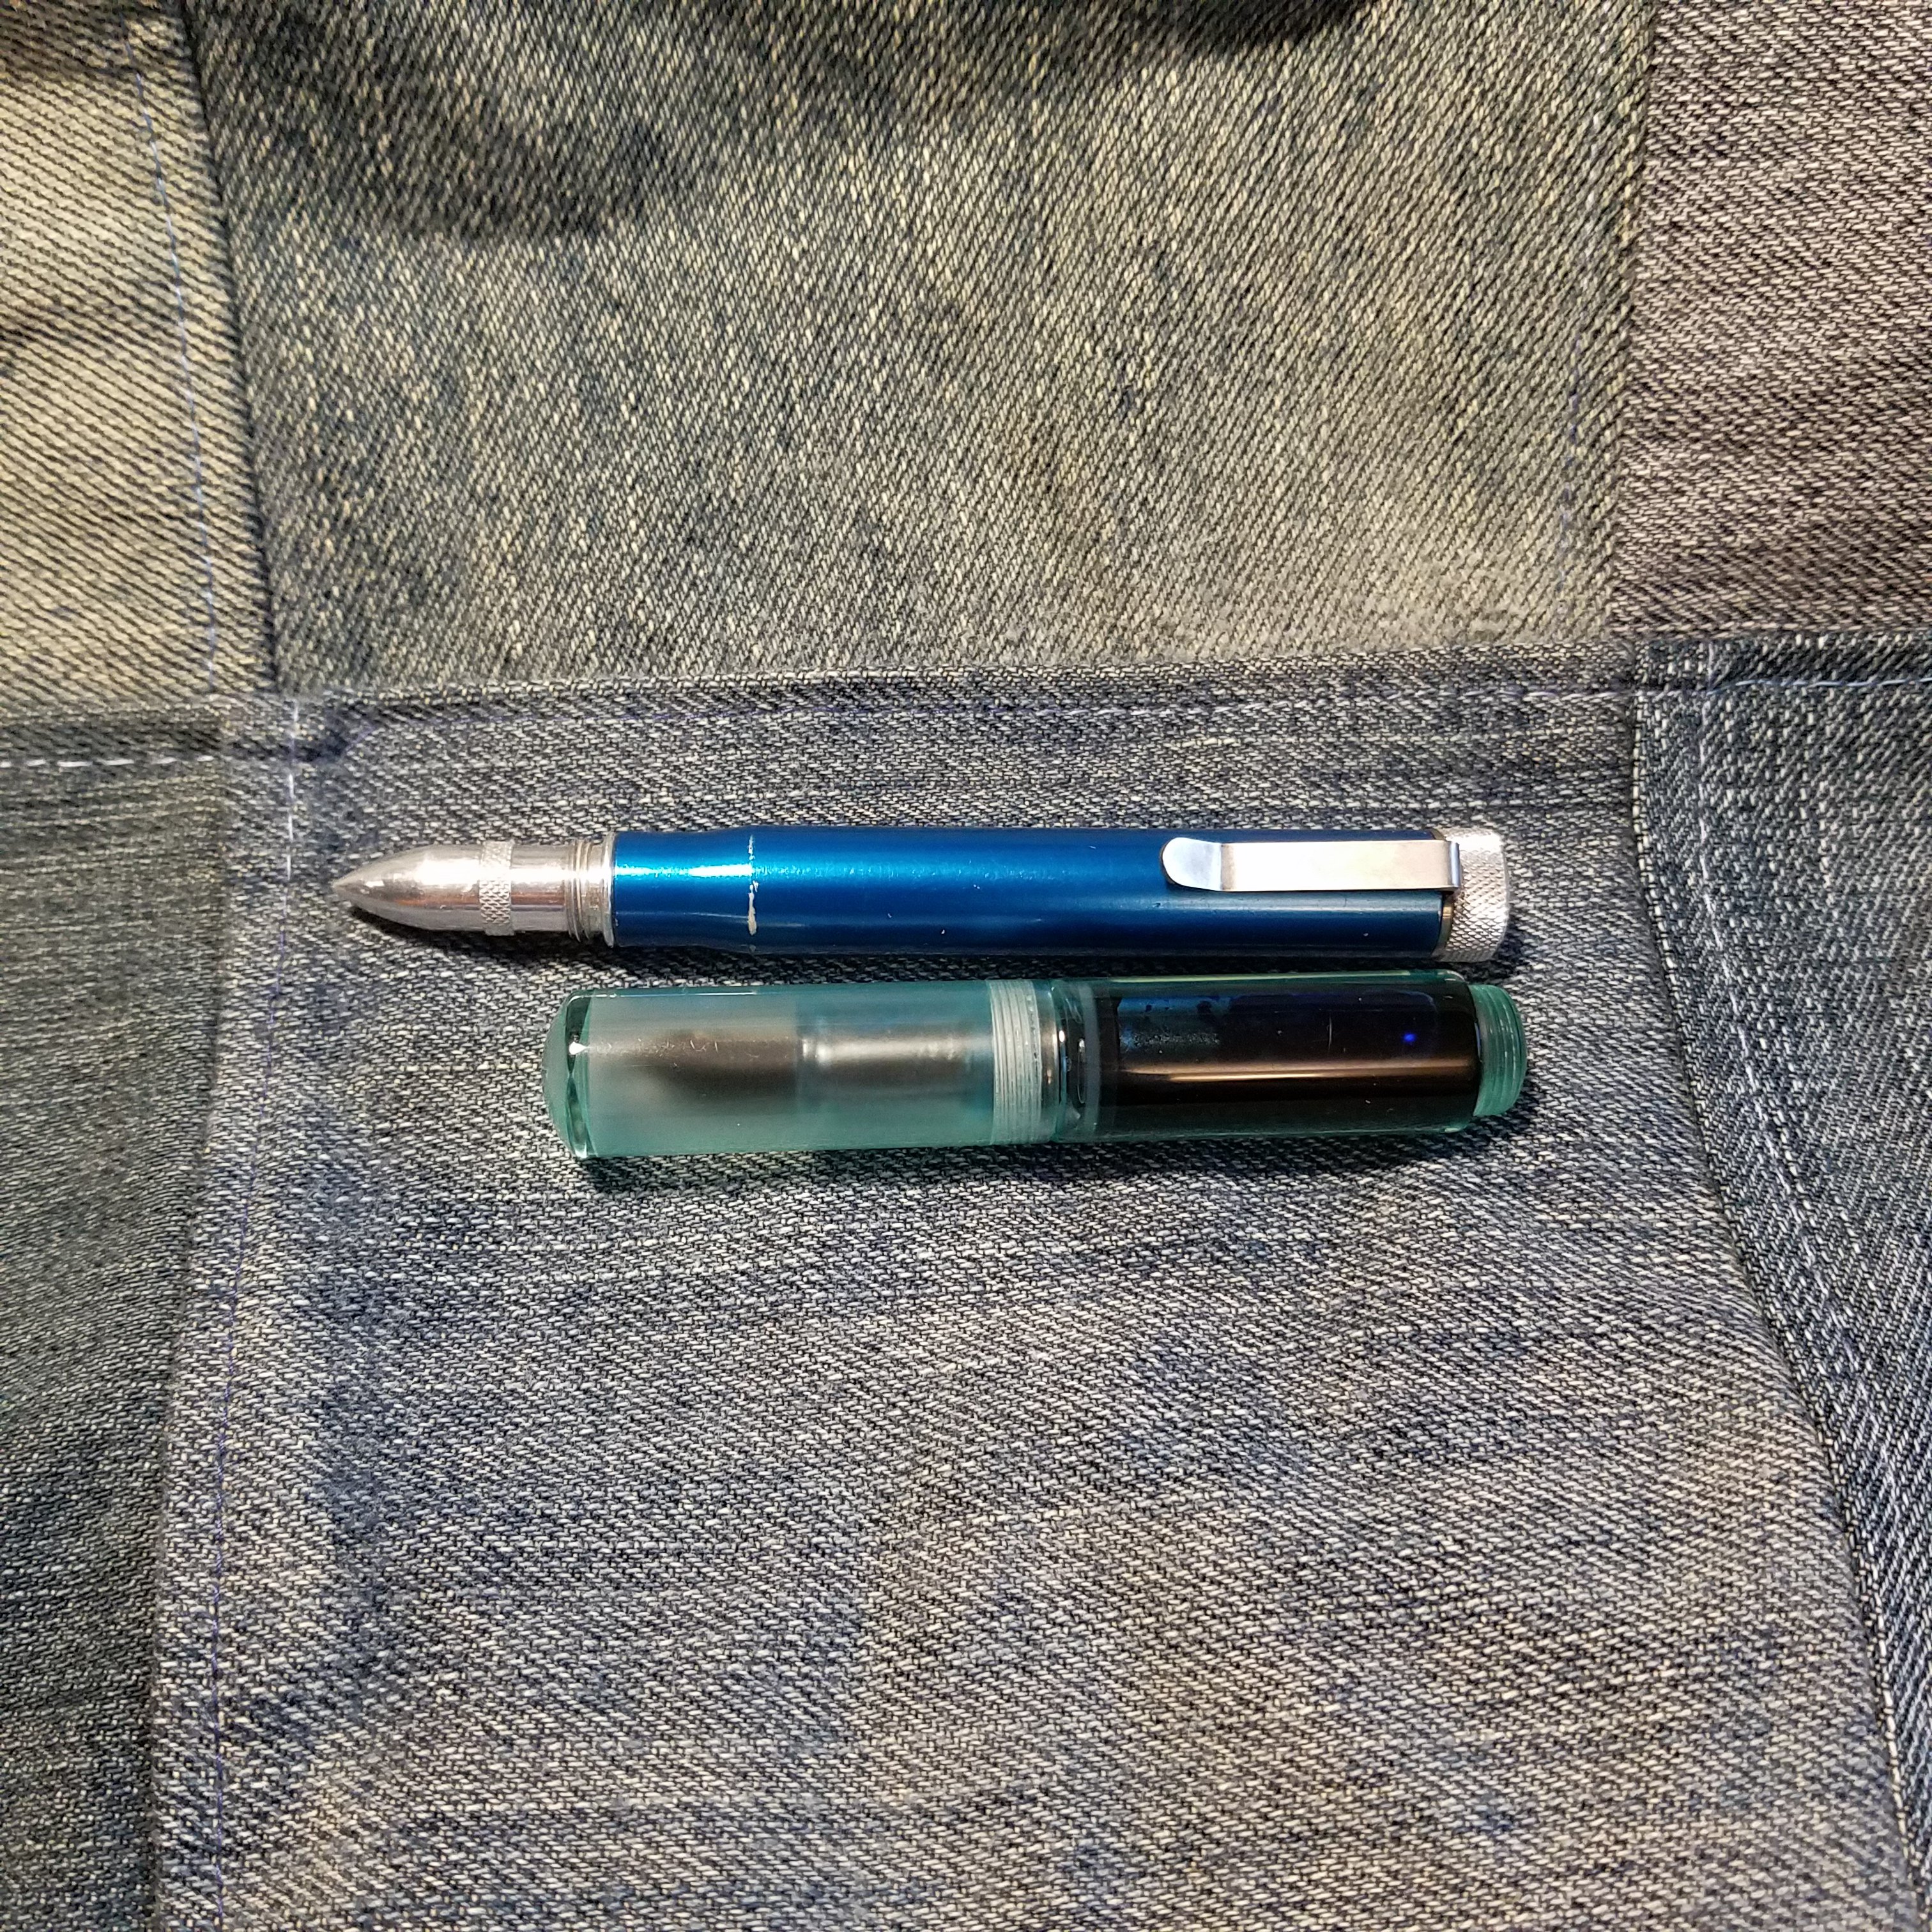
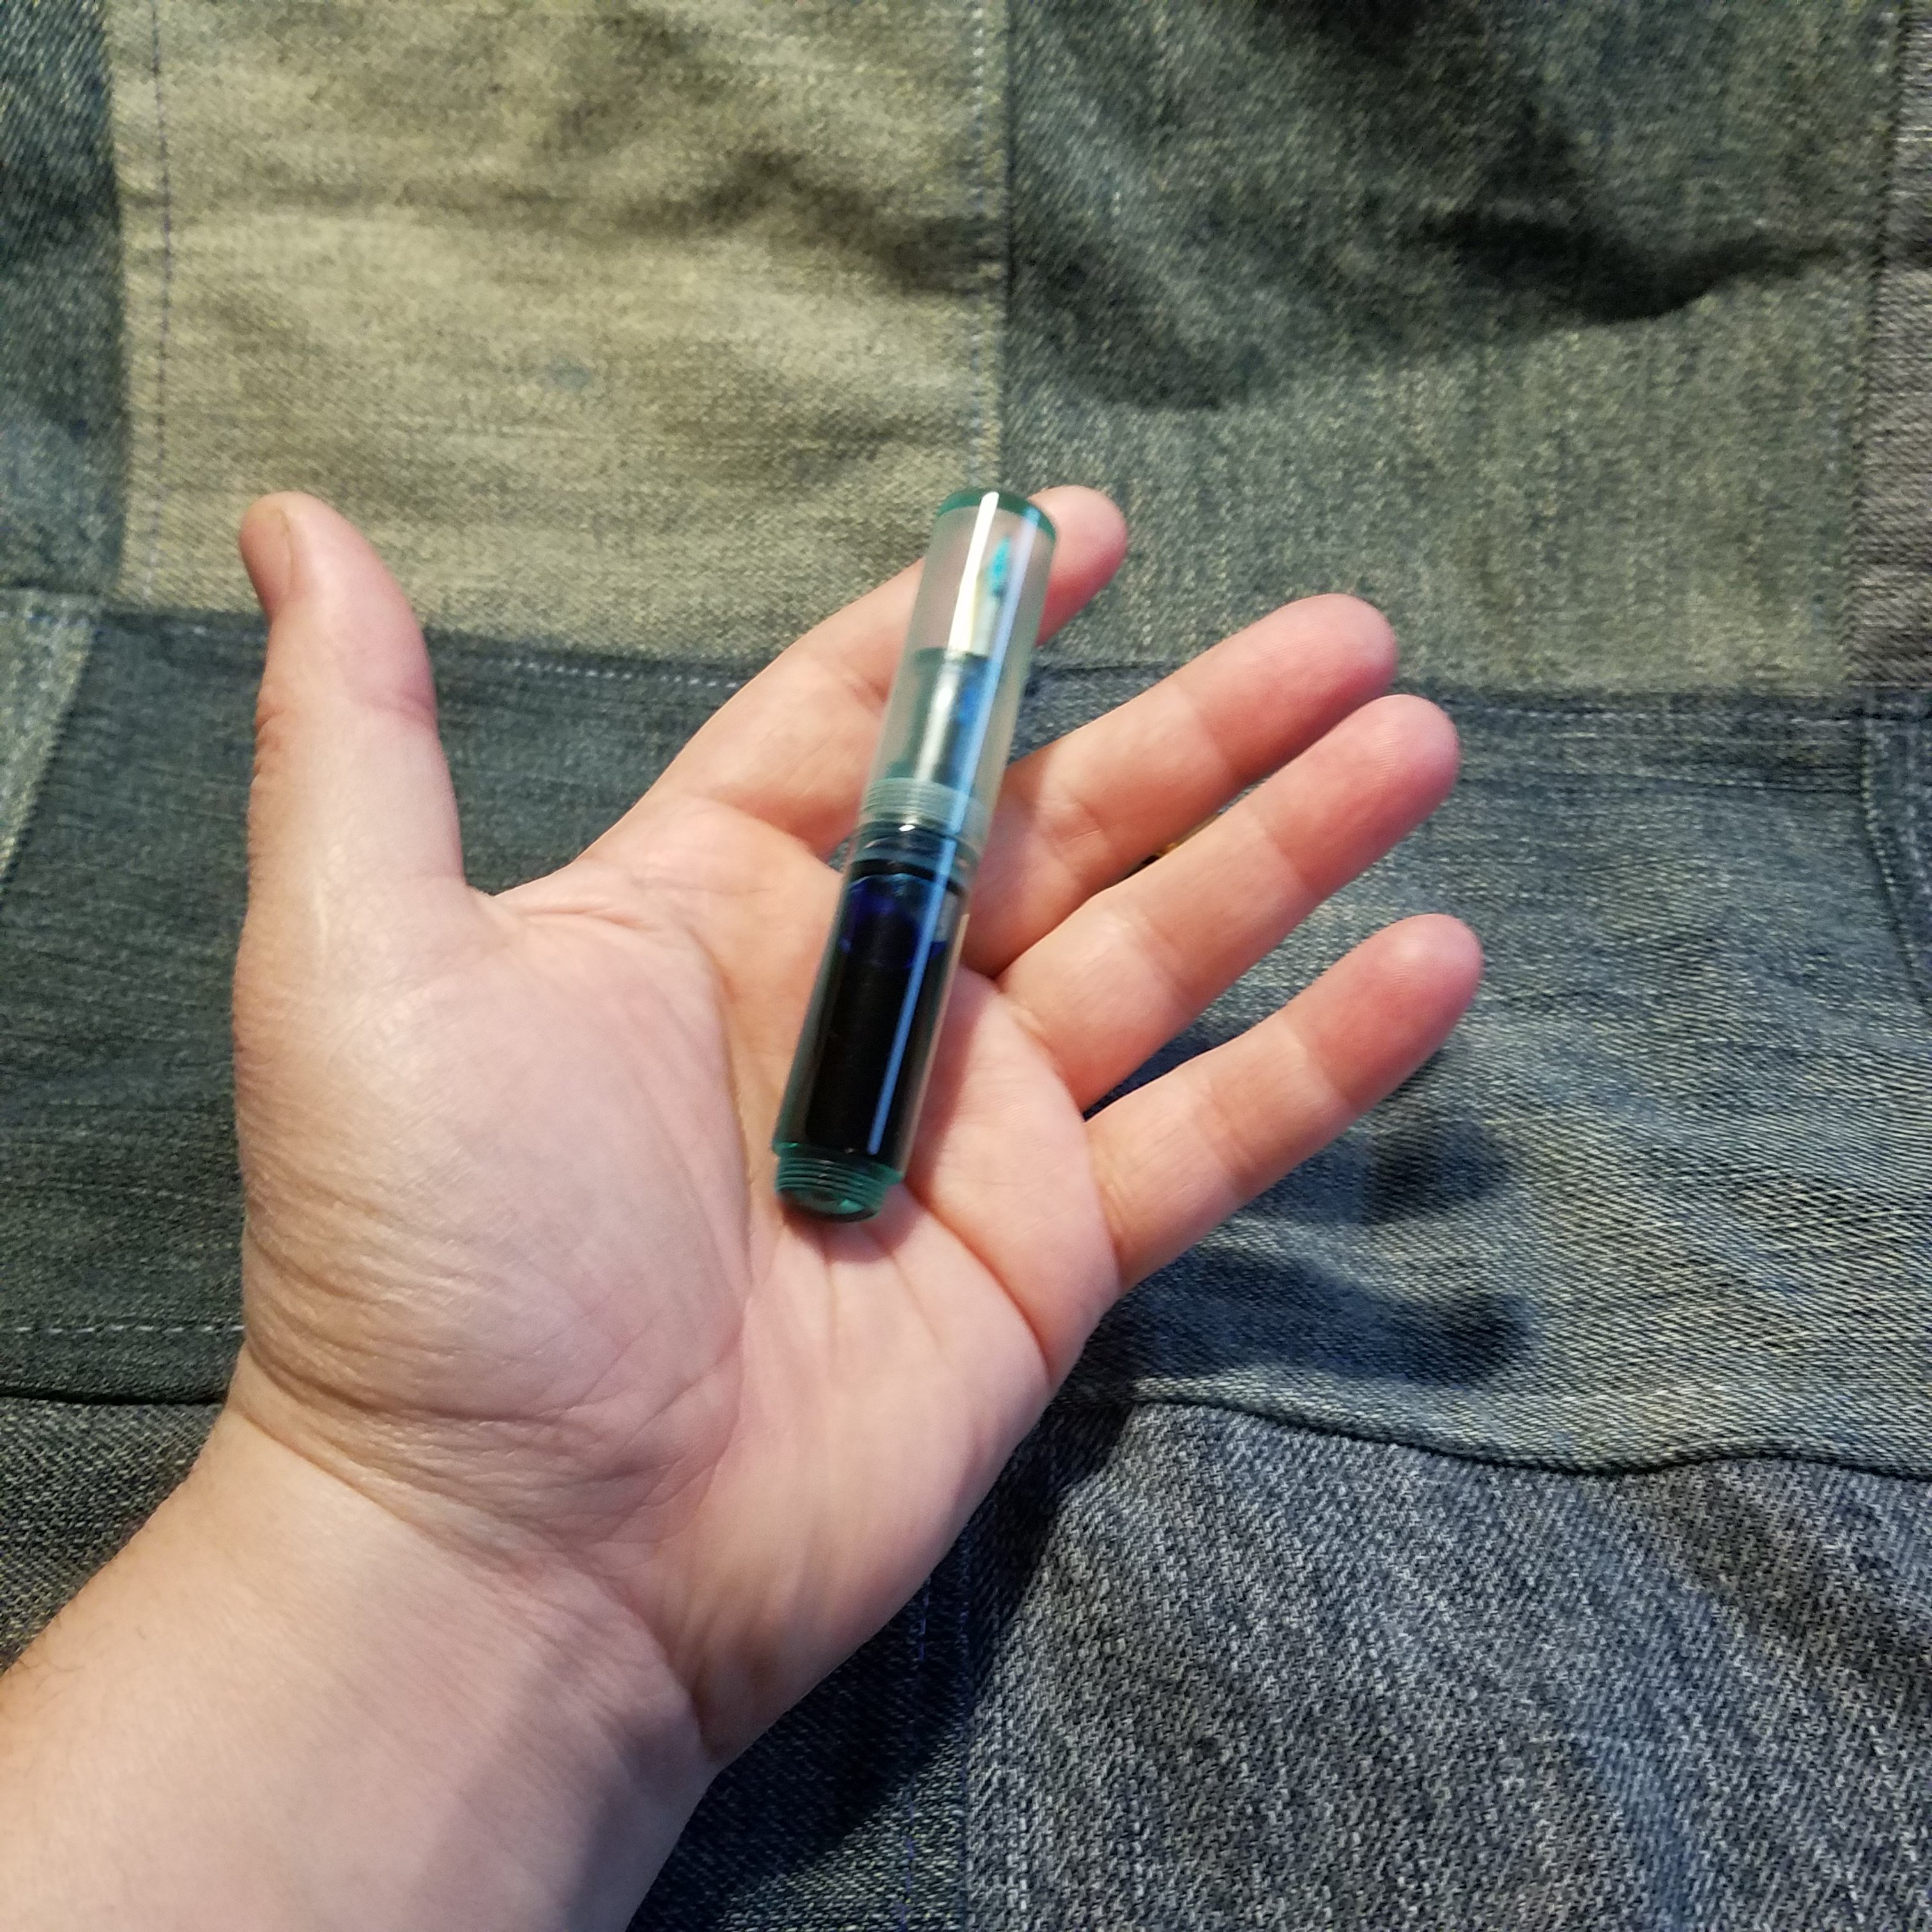
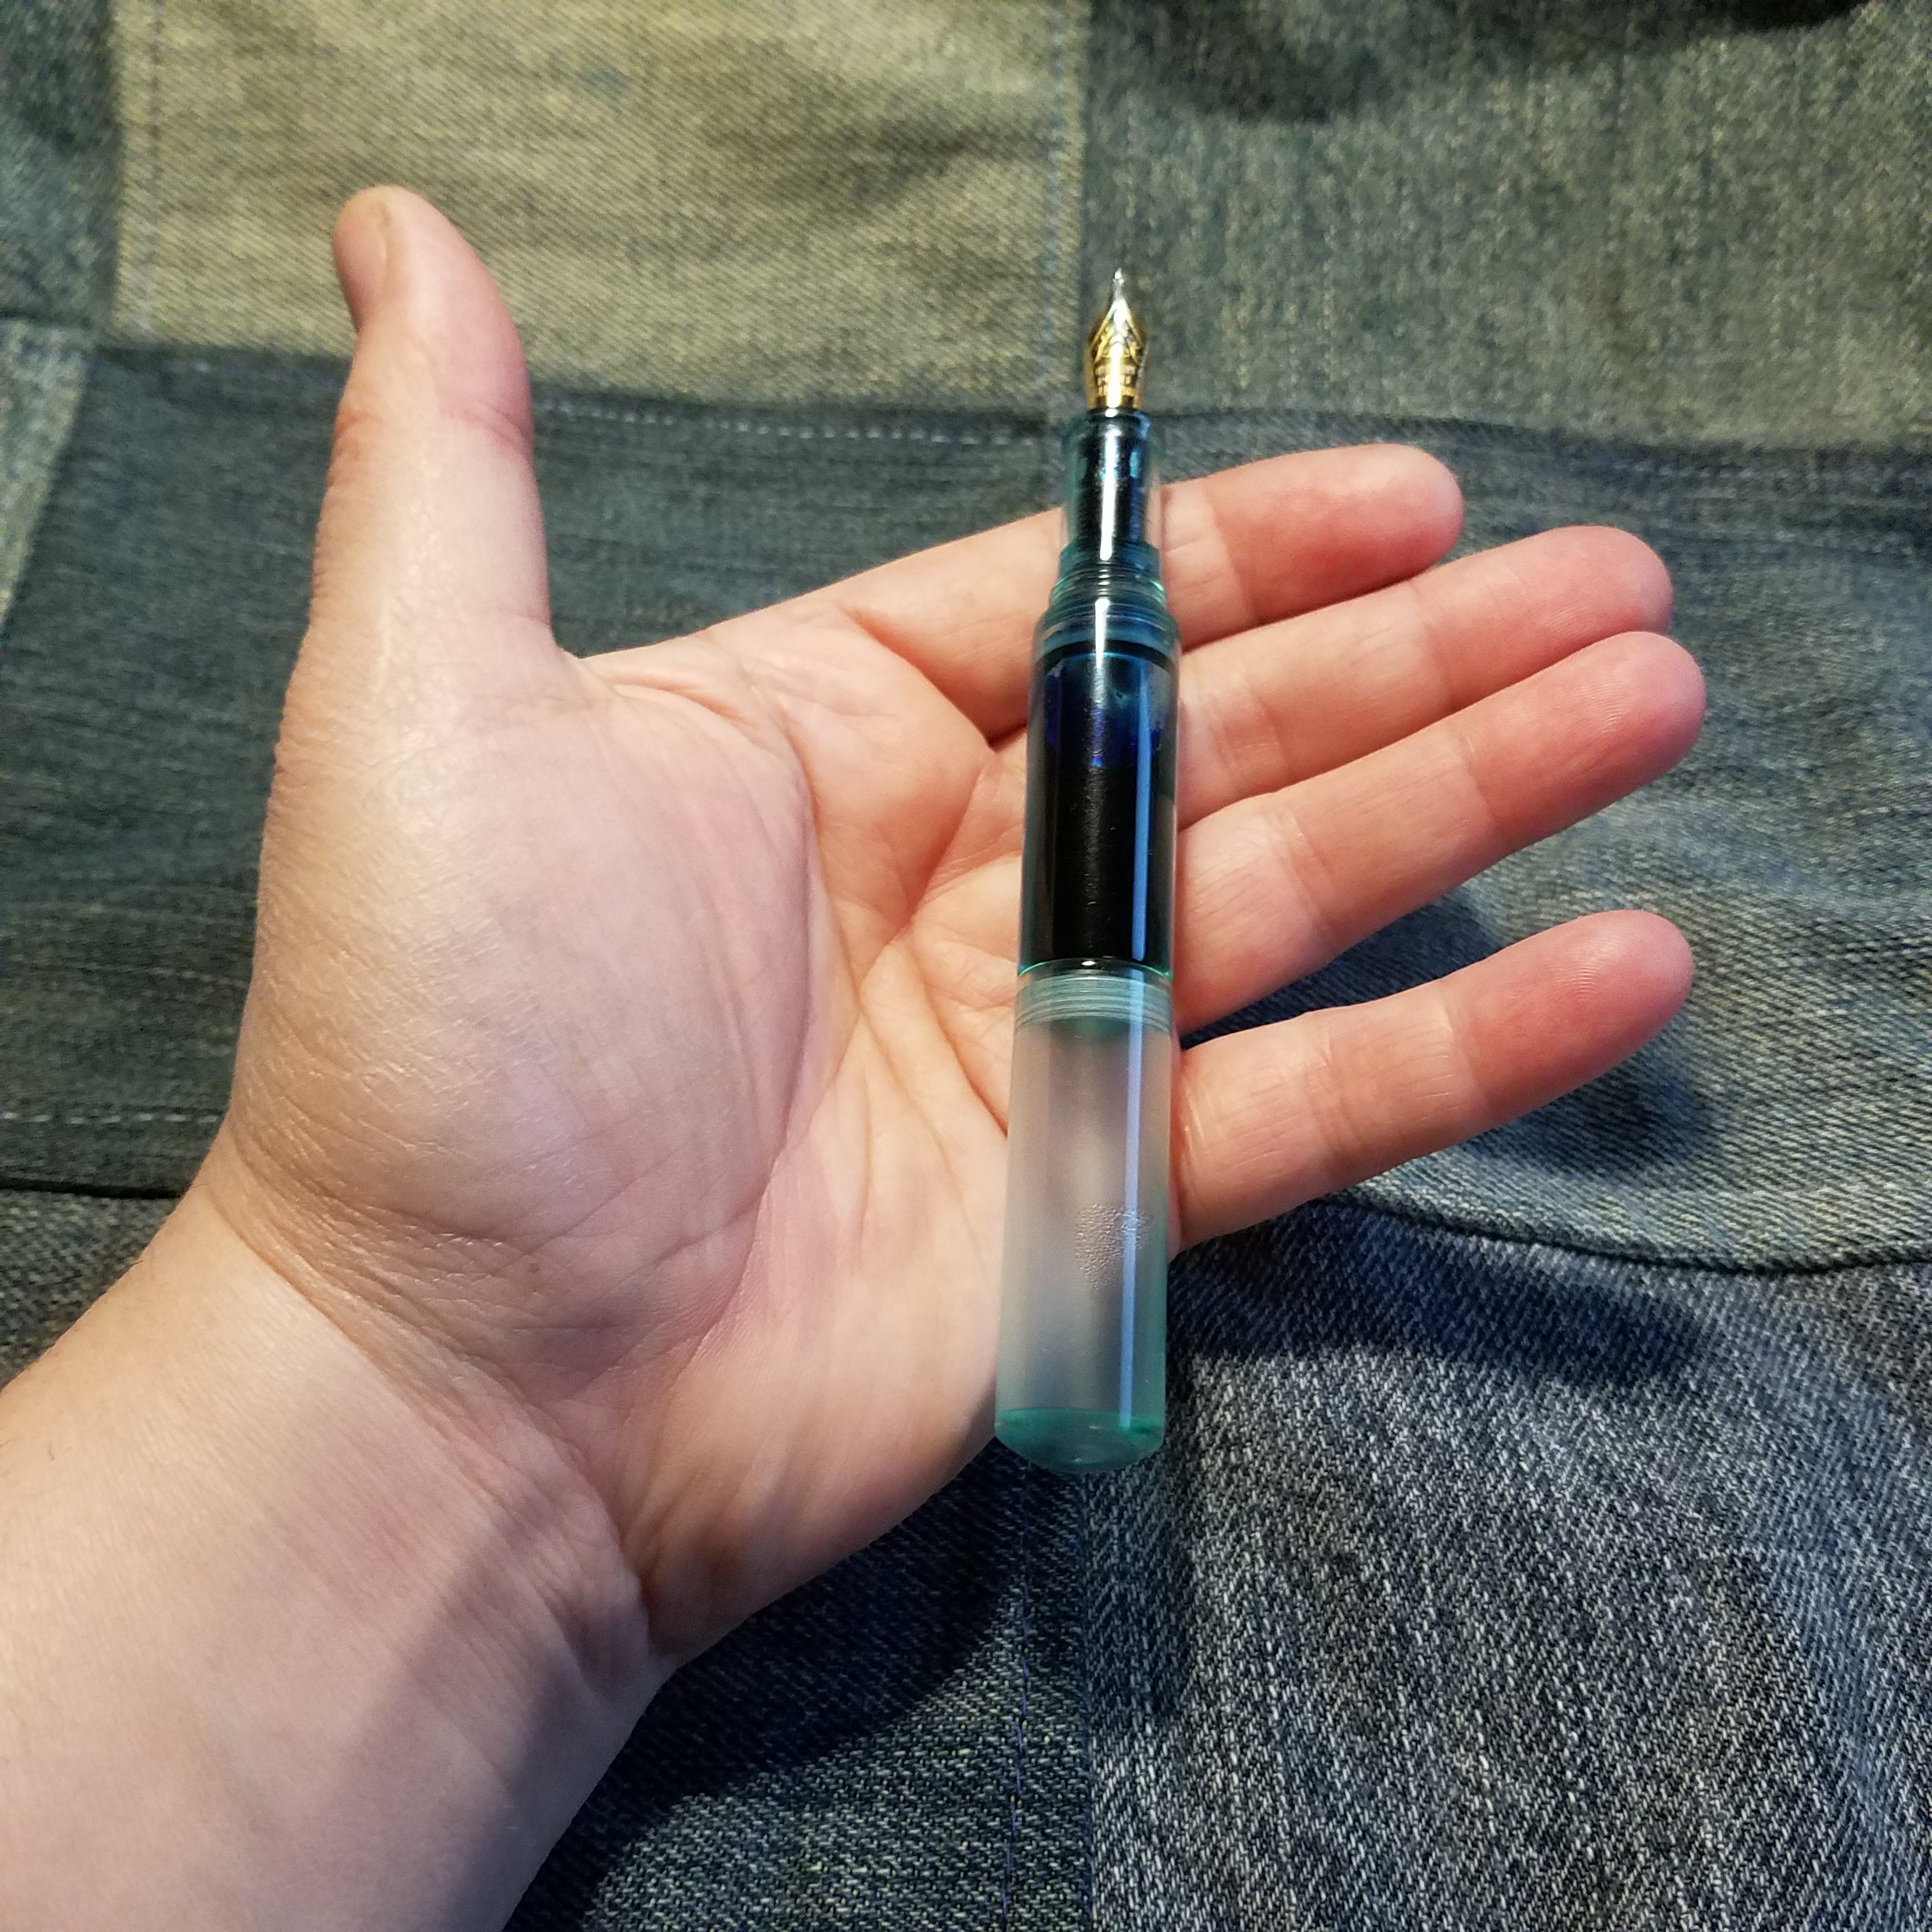
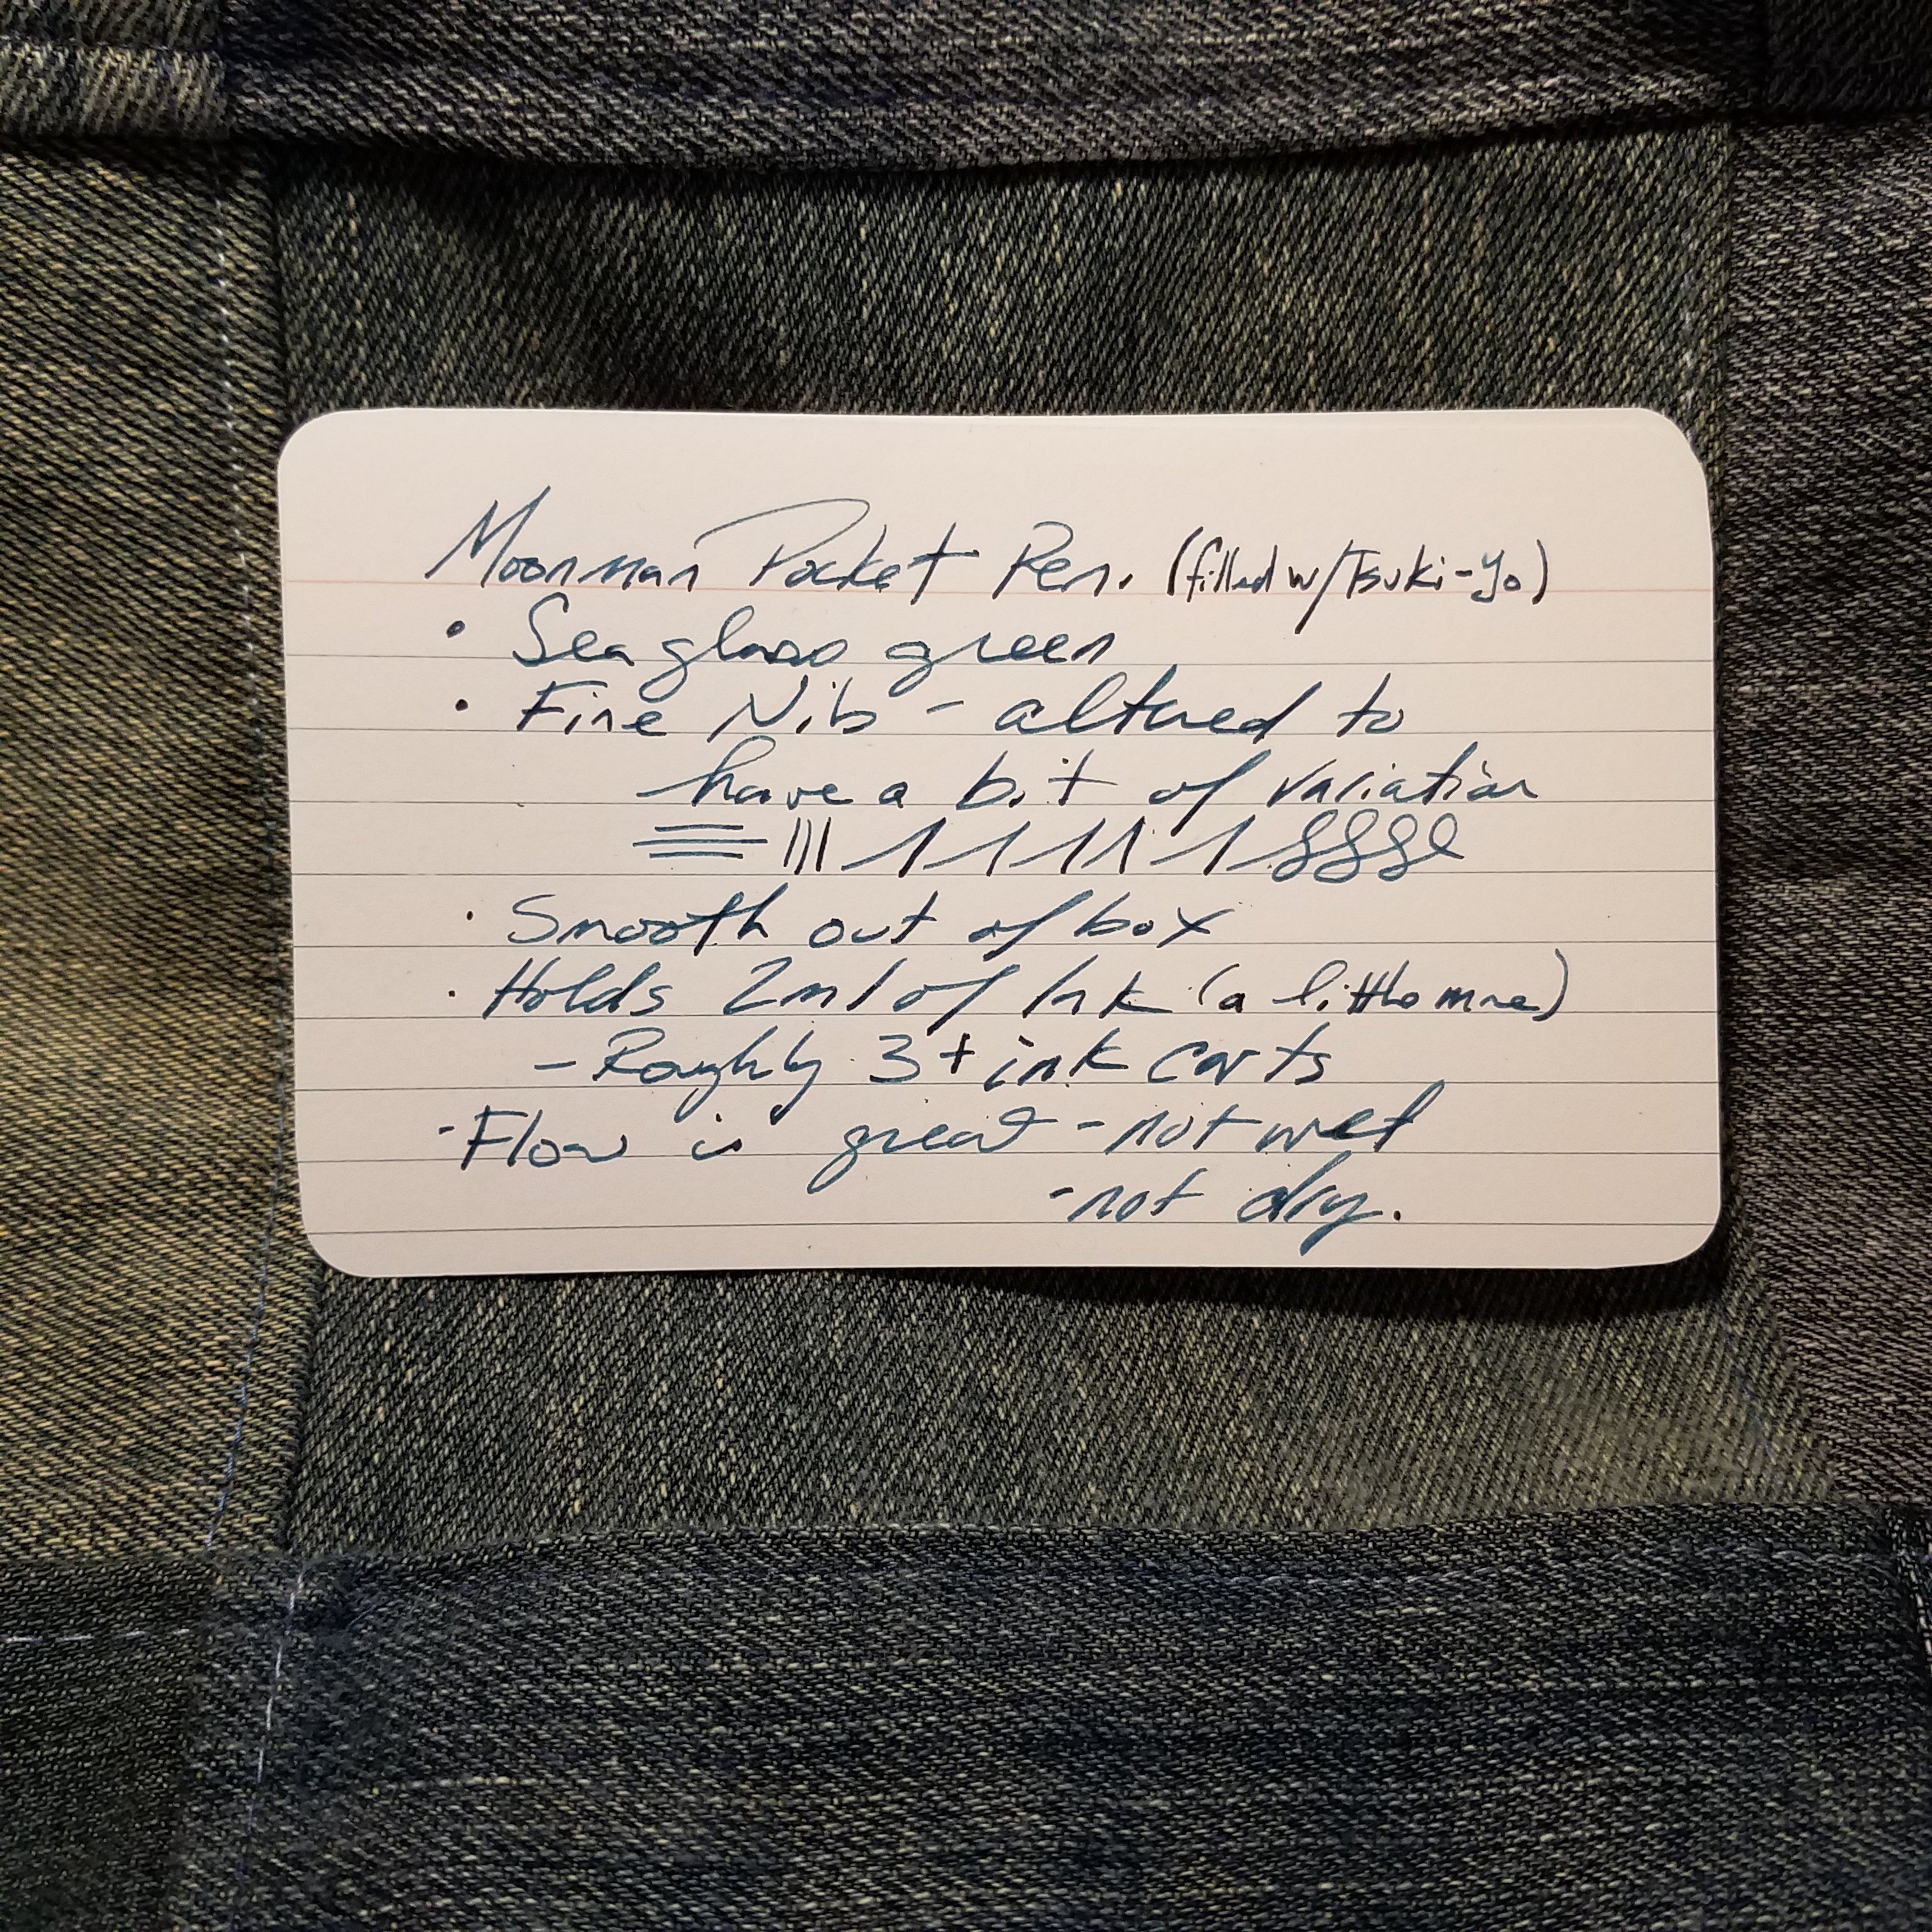
Closed the pen is tiny. Smaller than a Kaweco Sport. It disappears into my pocket. Even filled with ink it is incredibly lightweight. The pen holds just over 2 ml  of ink when eyedroppered. Which is a ton of those short international short carts or 3 international long carts. The pen will only hold international short carts. I immediately inked my pen up with Iroshizuku Tsuki-yo.

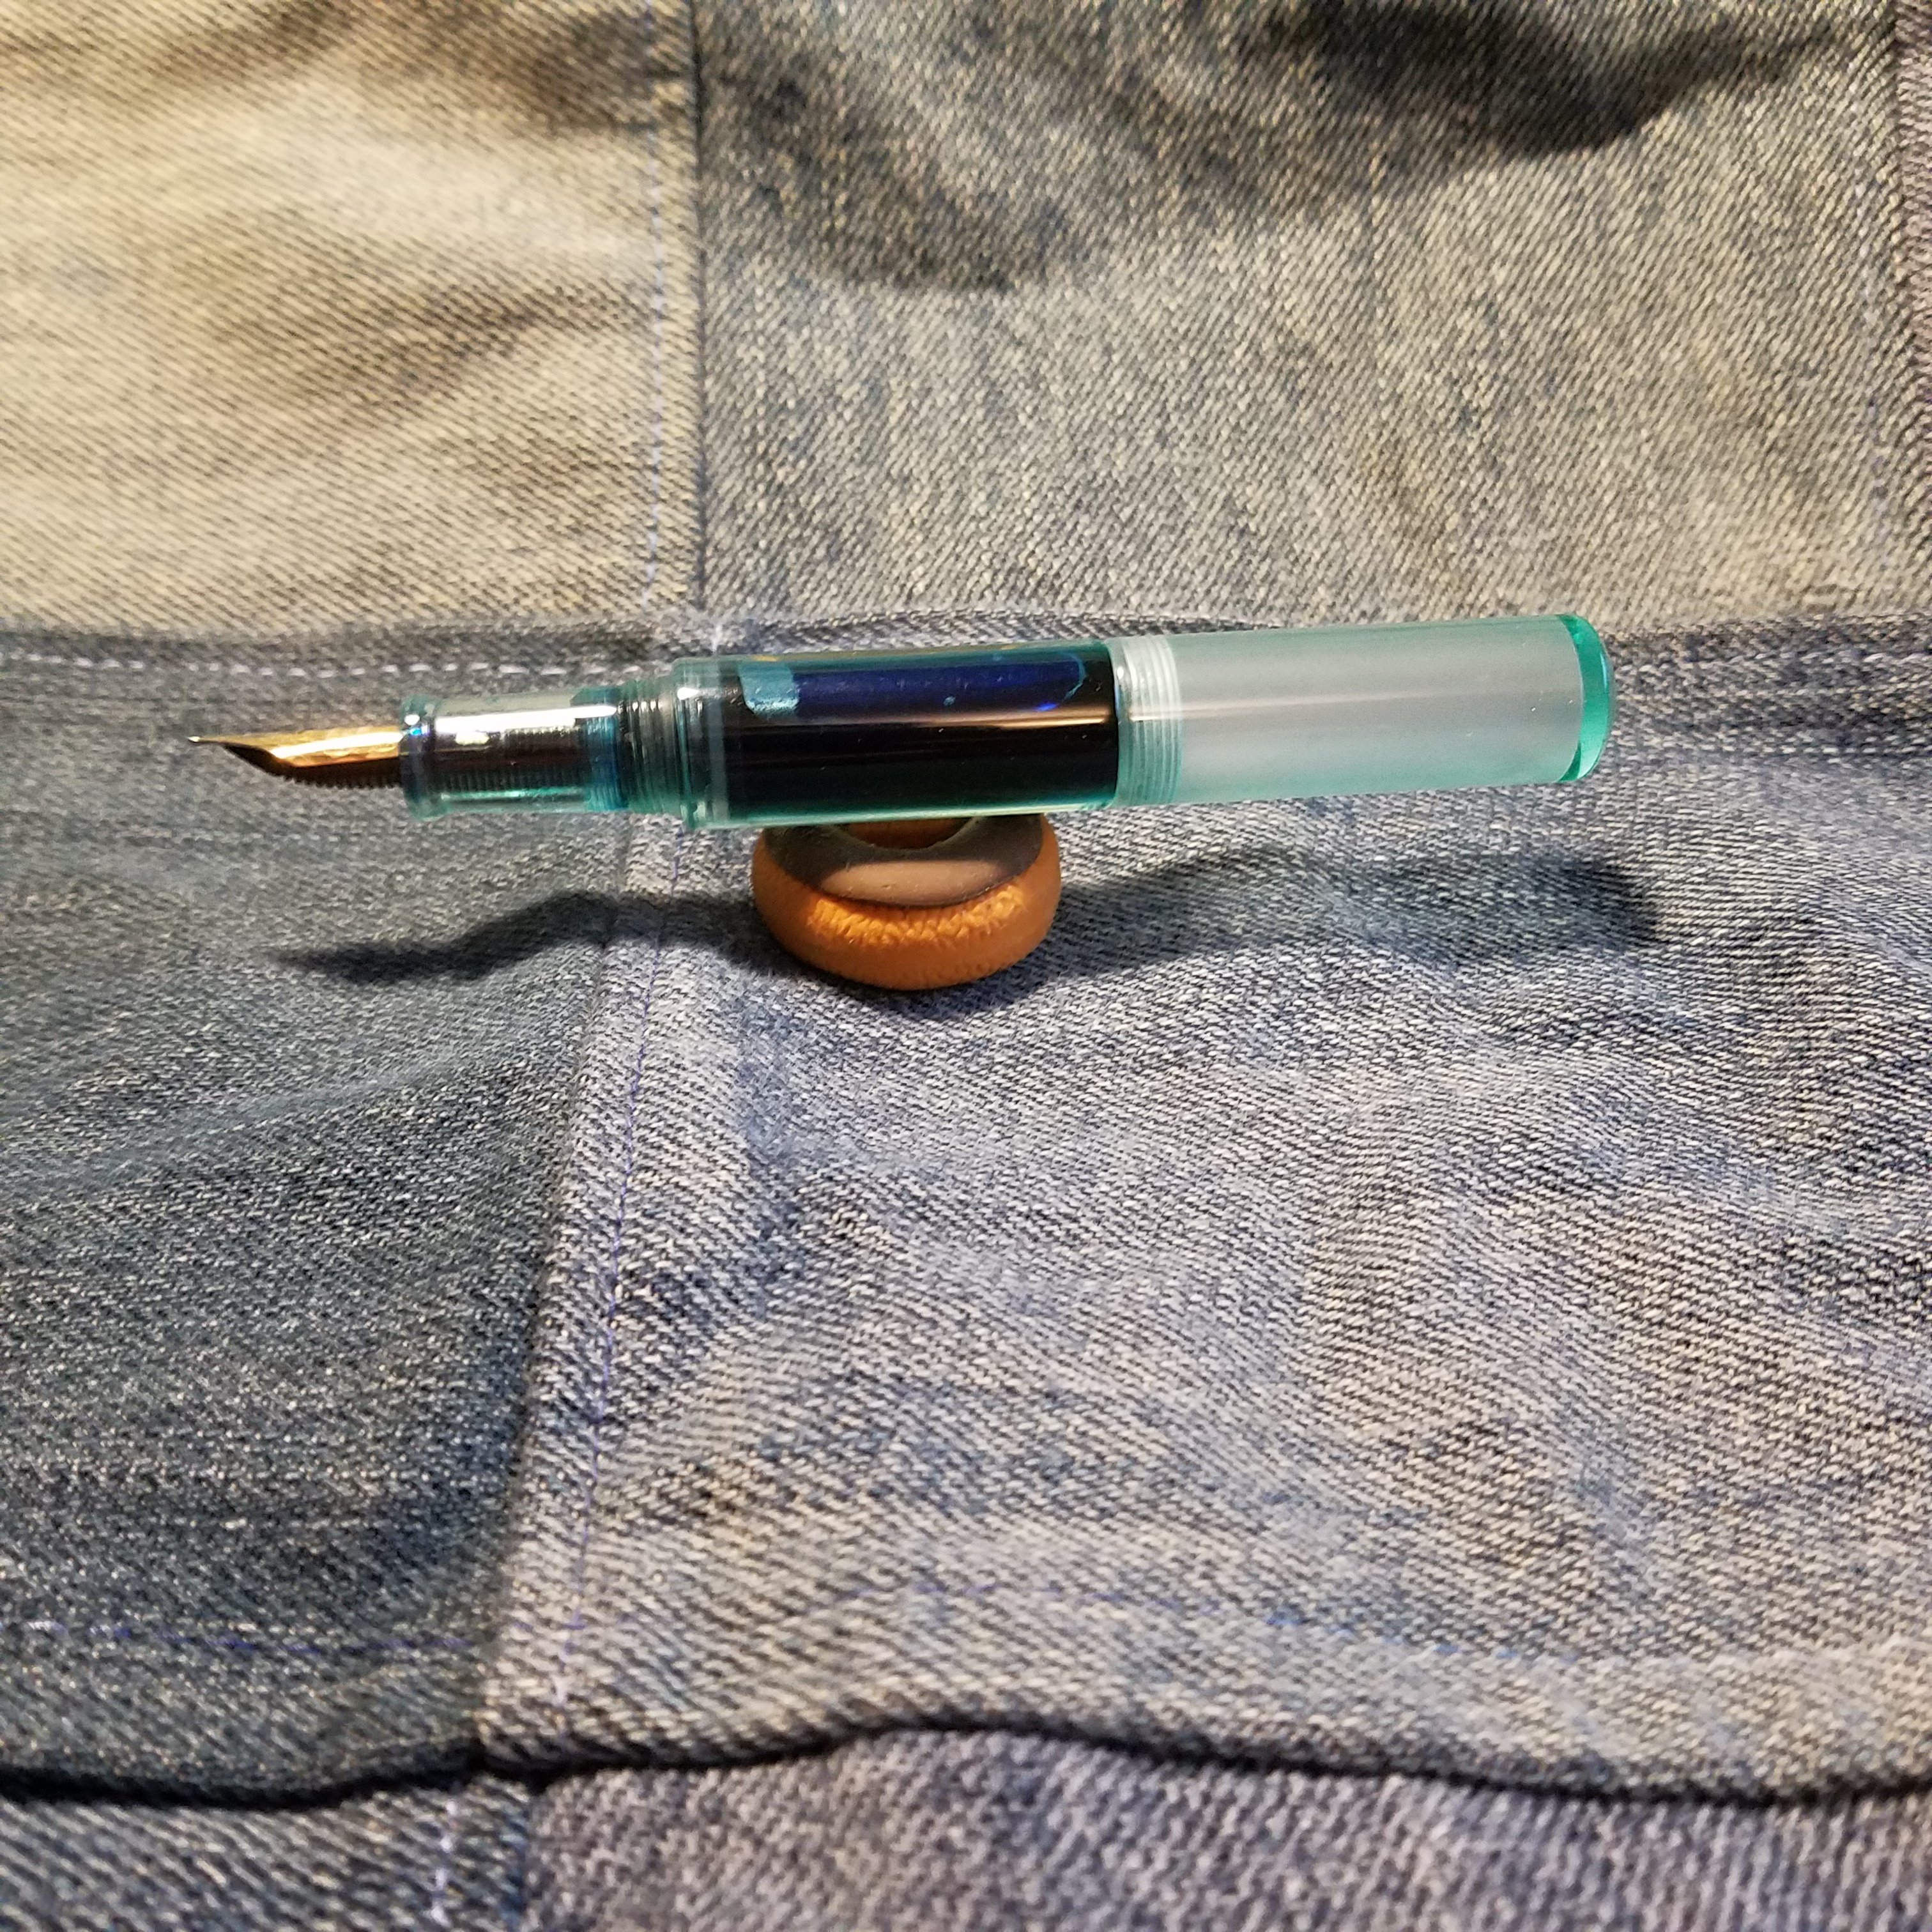
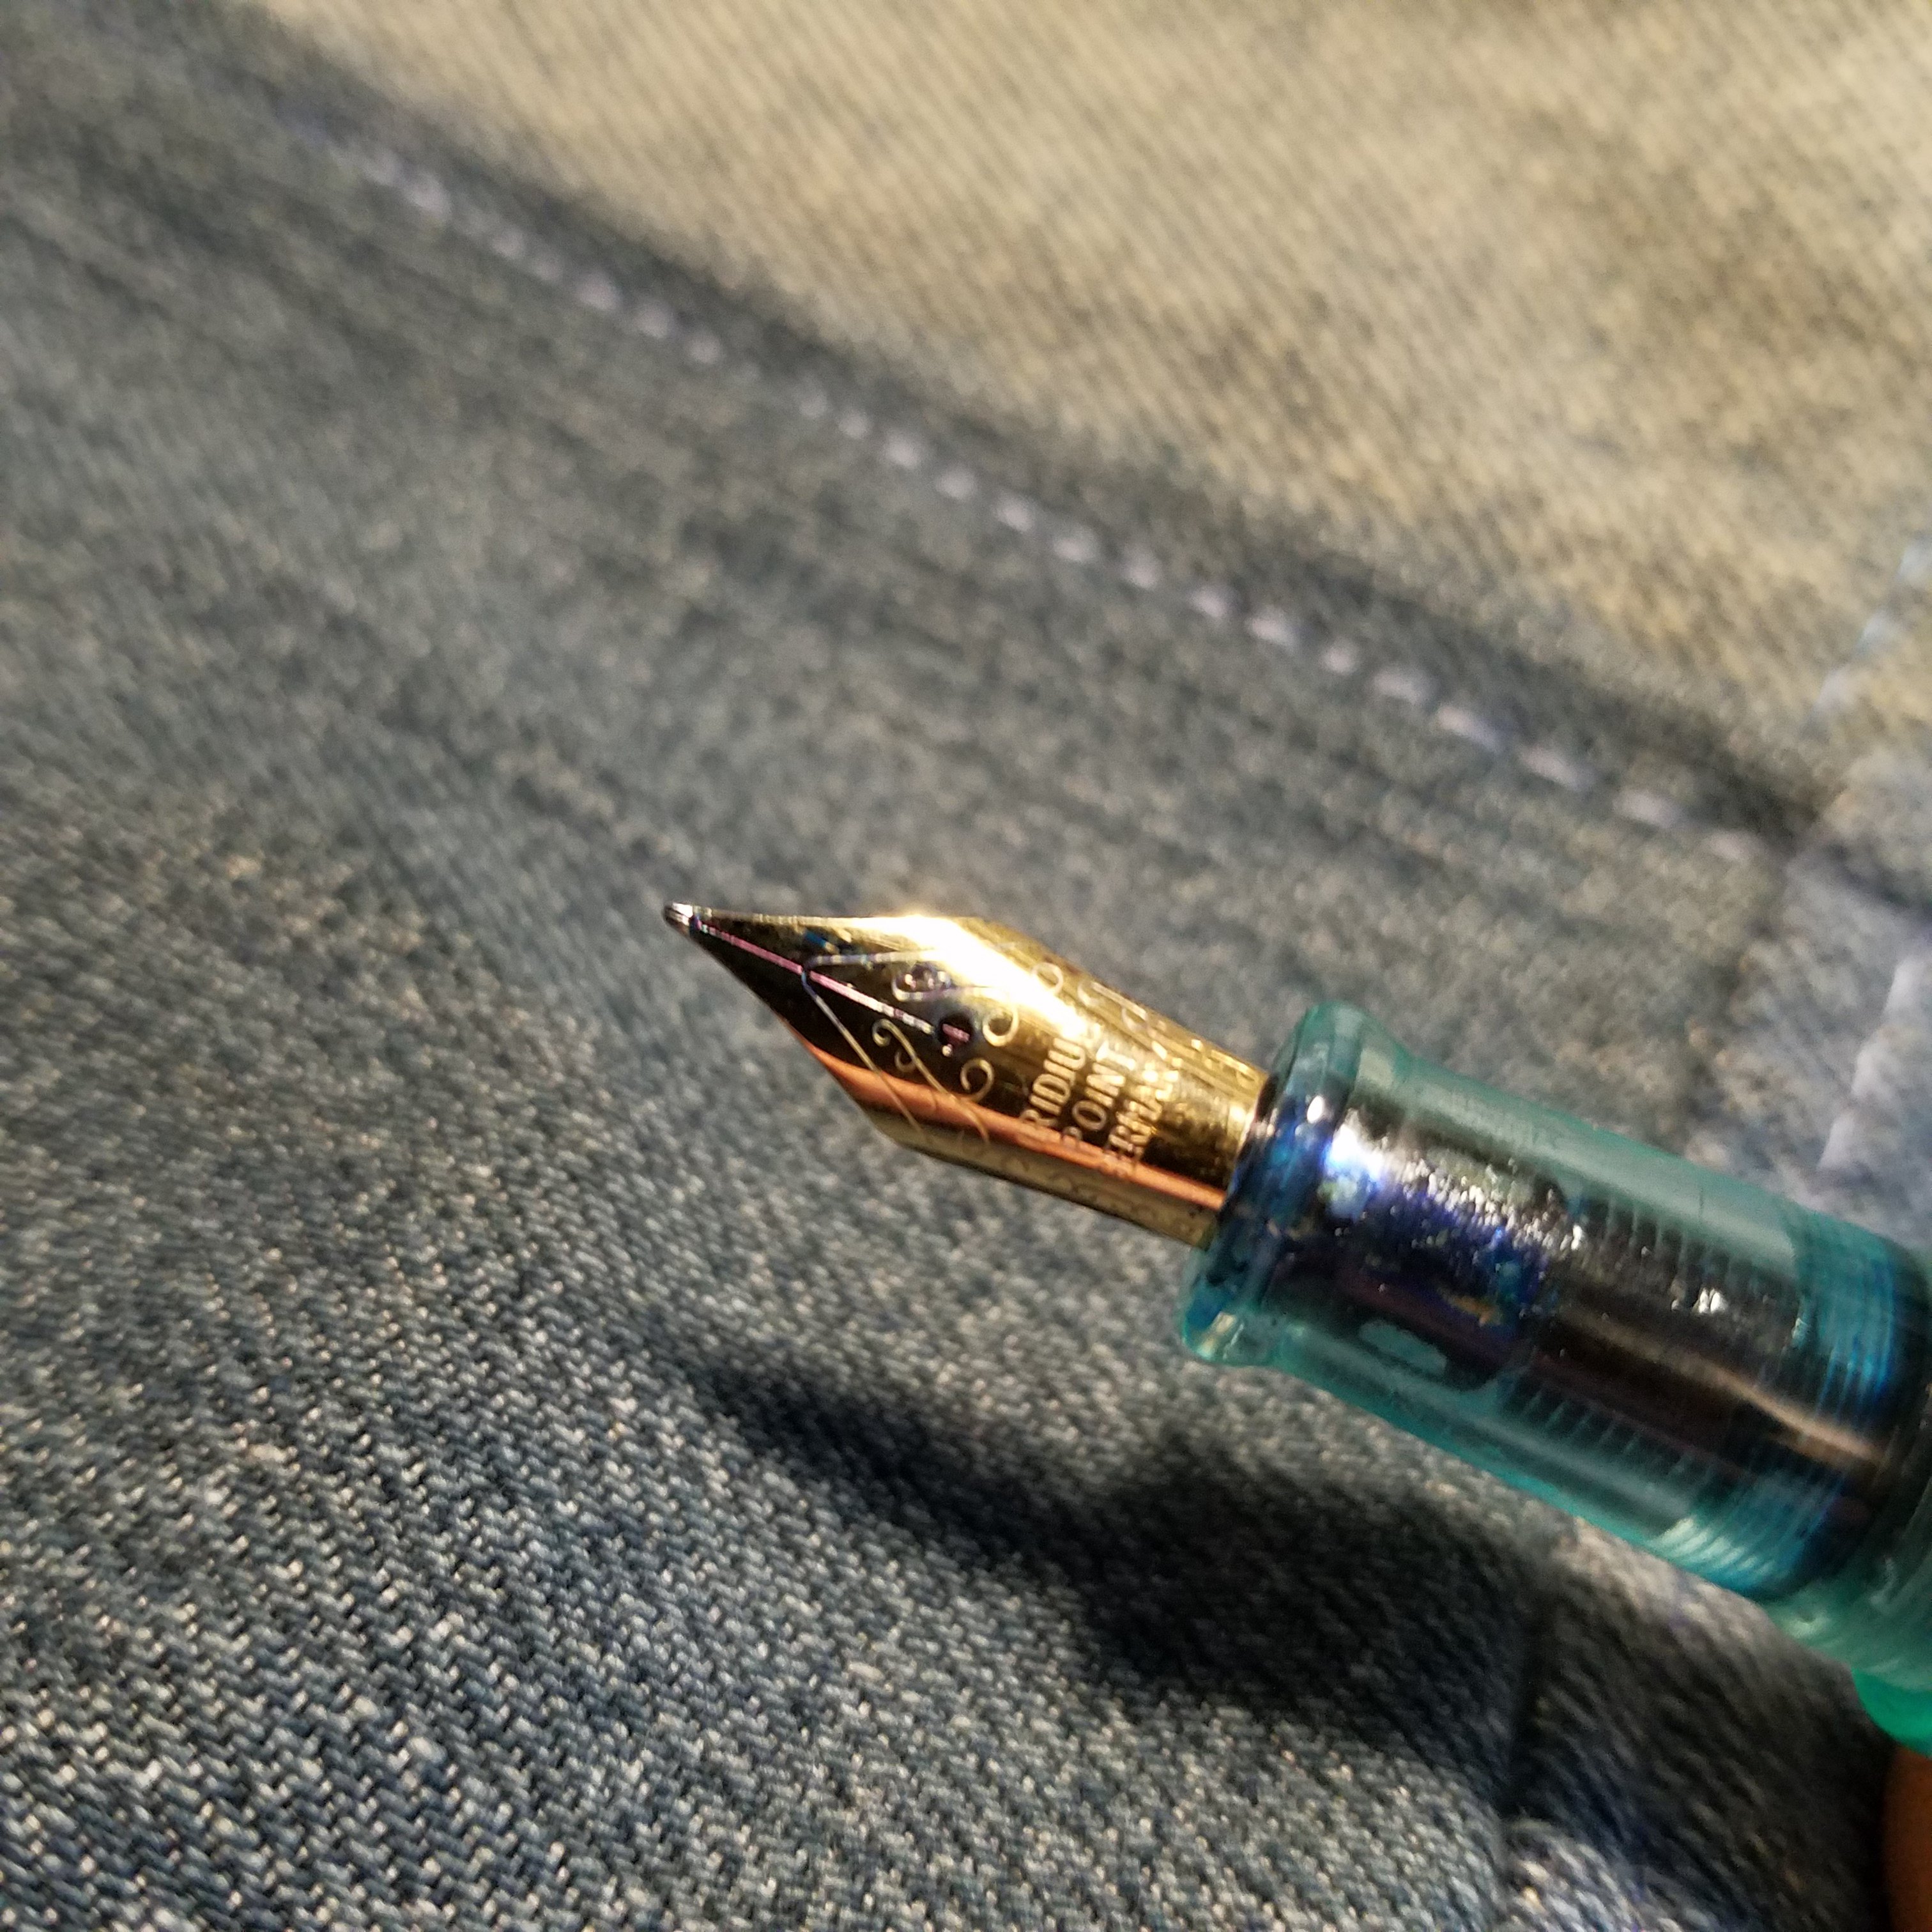
Ink flow is good. It’s not wet nor is it dry. My nib out of the box was smooth, but not silky smooth. I ran it over a buffing stick to get it to the smoothness I prefer. I then manipulated it a bit to get some line variation, it’s not quite an architect grind but similar. The nib can be replaced with a (I think) number 5 nib from any of the standard sellers of nibs.

I really enjoy the seaglass green color with the slight frosted look inside the cap. It combines with blue inks to look really lovely. The overly thick body size is nice. I find that it feels pretty good when I write. The section is small enough that the pen doesn’t feel overly fat. The drop from body to section is steep and a tad sharp. Because it is a $13 pen I won’t feel bad if I file and sand this down to something that works better for my hand. As it is the step doesn’t sit on an awkward place in my hand.

This is not going to be a pen for everyone. If you have large hands you will probably not like this pen. If you don’t like the Kaweco Sport you probably will find this too small. It is a stubby tiny pen with a decent nib and feed.  We’ll see how it holds up over time I’ve only had it for a couple of weeks. I’ve certainly let it bang around in my pocket over these few weeks and it’s done okay. I’ve noticed a few small scratches in the plastic after keeping in a pocket with my work keys. Oops.

Technique-I-can’t-wait-until Tuesday: Mini Polaroids with the Pogo

I was over here reading Crafty Moira’s site and I stumbled upon her tutorials, this one caught my eye– pogo printer yes, making it look like an old school mini Polaroid, why yes thank you very much.

After checking it out, I realized it would be cool to have the pogo print the square image and then simply trim off the excess. (read, I'm too lazy to go get my white cardstock.) After some trial and error I figured some stuff out.

First. Don’t work the actual 2×3 inches of the print, you’ll get a grainy print. You need to work larger than the print size so the pogo can compress it down, or something like that. I chose to work in GIMP (a free photoshop clone that kicks butt) with a “canvas” size of 4×6 inches, which is the same aspect ratio as the pogo print, which is 2×3 inches.

Then I opened a photo, I cropped it square and then cut and pasted it to my 4×6 blank “canvas.” It was over sized, I then selected “resize layer” and resized the image to 3.375 inches square. This will give you a 1/8th of an inch border around the sides of your image, and about 1 inch at the bottom. After this you have to flatten the image and then save it as a jpeg. Now send it to your pogo.

When it prints you’ll notice several things. First the pogo has a hard time with square edges, the top edge of my images are all just a hair off square. I don't mind this, but if you do you may wish to go with Moira's original instructions. The second thing you’ll notice is that the bottom part of the image is really long. You’ll need to trim the bottom so that it is ½ an inch high or so that the whole thing is 2 3/8ths tall. Trim with a ruler and an exacto and voila! You have a mini Polaroid, from a Polaroid Pogo. Sawweet.

In Journal Revolution there are instructions on how to make a Polaroid mat from cardstock for a perfect polaroid full sized image. It looks awesome too.

Some tips for printing you want the image to be at 300dpi, if you let the program autoselect 75 or 150 dpi the resulting print will be pretty grainy. I’m pretty sure it has to do with how the pogo processes the images to its format. In any case the higher the DPI the better the pogo print will be. Also be sure that you save it as a jpeg, if you don’t the pogo will not print it at all, its little lights will blink at you, you might get frustrated because you don't understand it's blinking light, unplug it and then turn it on and off*.

So as I was doing this I realized that I could really add any color to the back ground. I remember Polaroid did some neutral gray and black bordered polaroids at one point, but what’s to stop me from making the background any color I want? Or what if I wanted to add some text to that little area below the photo? Or what if I tweak the image in GIMP to create a pinhole effect?

There are so many alternatives to this that it’s crazy.

Here are a few of the images I made, ready to go for anyone's pogo.
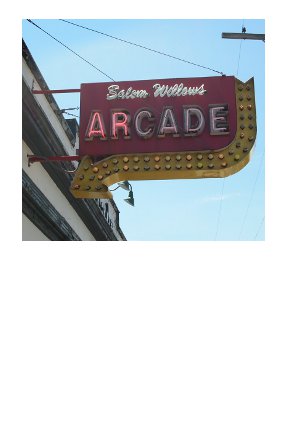
Arcadepogo
Arcadepogo
Arcadepogo
Arcadepogo
If you don't have a pogo you could create your blank canvas as 4×5 inches and then scale it to the "correct" Polaroid size of 3.5×4.25 inches. Then you can print it on any printer or load it to a thumb drive and take it to CVS/Walgreens/Walmart/or anyother store with photo printing. (Walgreens has a service where you can load a bunch of photos to a website, place them on an 8×10 sheet of photo paper, and then print the whole thing for a couple of dollars. All you have to do is pick them up at the store in a few hours, they will ship to you for a few dollars.)

Continue reading

Mini Moleskine

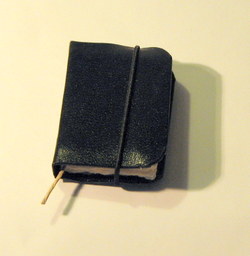
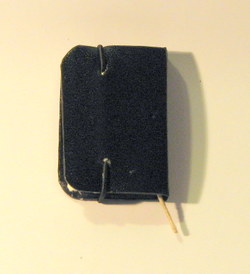
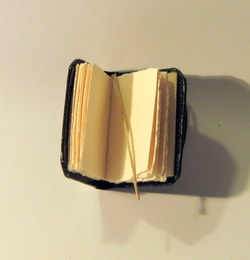
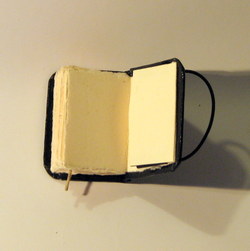
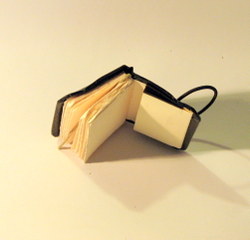
So this little beauty is a miniature moleskine. It’s stitched with hand waxed cotton thread. The spine was clamped and glued by hand with acid free flexible glue. The cover is a vinyl plastic coating just like a real moleskine. Inside are 32 pages of cream colored heavy paper. The bookmark is naturally colored hemp and in the back is a pocket. Holding the whole thing shut is an elastic.

Img_5017   

Img_5019

Img_5021

Img_5022

Img_5023