Category Archives: Review

Review: Baron Fig Stone for Squire Pens

The BF Stone is a small machined cylinder of aluminum with a rounded over top. In the center is a round hole that perfectly fits the Squire pen. It is completely solid. The base is indented and the only place the Baron Fig name is laser etched. Otherwise, the Stone is completely unmarked.It is available in one color- Baron Fig light gray. This shade matches most of their pens really well. I think it clashes ever so slightly with the bright green of the Experiment. My Spectre looks fabulous in it though. The Stone is a fabulously minimalistic way to stash your Squire while also keeping it at the ready. It fits into the stone even with the point extended. I’m not sure if that is how you are intended to use it, but I find myself stashing the pen with the point out and only retracting the point at the end of the day. I did test it out to see if I could fit other pens and the only pen that fit was the Paperhate Inkjoy gel. So this is a pen stand for one pen only.

My current writing set up is a little plastic desk that folds up and I find that the Stone slides around on it a bit. I may add a small circle of cork to the base but I also notice it doesn’t do this on my other desk so I might skip the cork. It does look fabulous sitting on my desk with a small cup of pencils nearby.

The Stone retails for $24.99 and is a good companion to any Squire. Continue reading

Review: Staples Arc System Notebooks and Refills

My partner was in the market for a planner but needed something that would also work as a notebook. The BF Planner didn’t fit her needs, she really needed more room for notes and the ability to take pages out of the planner as they needed to be discarded or filed. She also needed enough room to plan the day from morning to late afternoon. Bonus points for a planner that didn’t include times, as many of her tasks are fluid. We looked at Target found nothing and then headed to Staples. I’d mentioned the disc binding system to her in passing, this let me show it to her in depth as well as show her how pages could easily be moved around. Even better, Staples had them on sale for 40% off that week. She purchased a full sized calendar model and I picked  up a half size notebook.While they had a plethora of fun designs in a variety of color, I went with a relatively plain black and white patterned cover with shiny black disks. I’m likely to cover it with stickers so the pattern mattered less to me than getting something that wasn’t too, bright. It was filled with 60 pages of what seems to be the standard ruled ARC system paper. It should be noted here that after I got my notebook home I noticed that it had a copyright date of 2012, and that the paper has changed since then and is much better for fountain pens. The paper in mine was pretty terrible for any liquid ink, feathering and bleeding. The new paper is great. So check and make sure that your ARC system notebooks and refills have a recent copyright date.

The system itself uses mushroom shaped slots on the binding edge that wrap around a disc with a rounded edge. The slots fit around the disc and the shape keeps the page secure, while allowing you to easily remove the page by pulling up from either the top or bottom edge. The page can be easily reinserted into other parts of your notebook simply by fixing the slots around the discs again. It’s rather ingenious.I found that I could easily insert items of other sizes into my notebook by punching the holes and slotting the item in. I needed to have a fax number handy while I made phone calls the easiest thing was to use the punch and create 2 slots on the edge of the card and slot it into the notebook in the right spot. Eventually I’ll write the numbers into the work bible* but for now, it’s very easy to move the card in an out of the notebook as I’m working.I knew I wanted to have an assortment of lined and dot grid pages. I used gridzzly to print off some of each, which I chopped in half and then punched to fit into the notebook. According to the info insert, my discs can hold 150 pages. I’ve got 100 in there now and it feels decent. I’m not sure I’d want to cart around 150 pages though. The larger discs can hold 200 pages.The punch I was able to get at Staples can only do 2 sheets of paper at a time. Which is annoying. I’ve been told that the most of the disc binding punches work for the Staples discs too, but many of those punches will only do 3 sheets at a time, though they are easier to use than the mini punch we bought. I also made some quick dividers to separate my various types of paper from one another.

The poly cover I picked up is thick and sturdy. It’s slightly flexible and forms to the things in my backpack. When I have the notebook opened over onto itself I can write in hand, but It is not quite as stiff as I would like. The covers are about an inch wider than the pages, giving plenty of room for tabs and stick on pen and pencil holders.I didn’t buy any pockets or folders to add to my notebook, but I immediately wished I had when I started to use the book at work. I had a few self guided trainings I wanted to take home with me, but didn’t have anywhere to stow them easily. A pocket would have made that job easier.I’ve been carting my ARC around with me for a few weeks at this point and it’s really doing well being pulled in an out of my bag and being tossed onto a desk and leafed through as I make calls to insurance companies. I’ve moved pages from one section to another and around as I group information for insurance company calls. I’ve also been able to tear out individual pages and toss them without mess.

There are many advantages with the disc bindings over standard 3 ring binders- the mushroom shaped slots are less likely to tear, the pages don’t shift as much so if you use pencil your writing is less likely to blur. A decided down side of the system is that the punches are ridiculously expensive and the cheaper versions are still much more expensive than even a  decent 3-hole punch. If you plan on using this system at all you NEED a punch. It is the only way this system makes sense. You could go all in and buy all the various parts and pieces at Staples/Office Depot/Levenger/ online and never print your own paper or inserts but at some point you may want to corral work info or a print out  into your system and you’ll need a punch. The punch we purchased, the only one available at our local Staples is only capable of punching through 2 sheets of 20lb paper or 1 sheet of cardstock at a time. Let me tell you, the 40 pages of paper I printed? That went really slow at 2 sheets at a time. Very annoying. In sharp contrast the $20 3-hole punch I own can punch 20, 20lb sheets at time. It’s a beast.

In short the disc bound system is awesome. It works great. The pages don’t shift or rub against one another. It was cheap at 40% off to get into, but if I were looking to start out at full price the entrance fee can be VERY intimidating, especially if you are looking at using the leather or fancier covers. The purchase of a punch is also a big investment and like I detailed above, completely necessary if you plan on going all in on the system. Frankly I like the system, but I have been a huge fan of 3-ring binders for years. If you are someone who likes to move info around or need to the disc systems will appeal to you. If you can find a coupon you can get a setup of the Happy Planner at Michael’s for 40 to 50% off. I like the system a lot and it is very functional and useful for planning out projects and gathering research. So worth it but pricey. Continue reading

Review: Baron Fig Strategist aka 3×5 Notecard

The Strategist is a heavyweight white colored 3×5 card with pale gray dot grid ruling on one side with a blank reverse side. Each $9 package has 100 cards with rounded corners.

My package arrived at the right moment for me to write down the beats of my Nano novel in preparation for the second round of edits. In this I wrote with a variety of materials from my BWV No1 to the Mitsuboshi Uni*Star 2B to my Namisu Nova inked with Robert Oster FIre and Ice and my TWSBI 540 inked with RO Walden. The cards handled each ink and graphite with ease. I noted that the card is smoother and less toothy than the paper in the Confidant and Vanguards. Despite lacking the tooth of BF’s other paper it handled the pencils with ease and graphite erased easily. Even better, the cards accepted fountain pens with ease. I noted no feathering or bleeding. My pens stayed true to their nib size. The blank backside of each card was usable too. There wasn’t any show through.  

I love dot grid and I like notecards. These notecards perform as well as any other premium card out there and are priced in the premium tier. At $9 a pack they are 9 cents per card. You can get other brands for less but they won’t work well with a fountain pen or liquid ink. I’ve found that many brands now use thinner cardstock, so even brands that worked well enough in the past are less useful now because the thin cardstock allows for bleed and show through. For $9 you get cards that will work with anything you use to write. Continue reading

Review : Pilot Kakuno Fountain Pen

The Pilot Kakuno is a student’s or beginner’s fountain pen, with a focus on children. As such it is available in a wide variety of colors with standard fine and medium nibs generally available here in the US. Along with that, Pilot has chosen to only import some of the colors available to the US market. My Kakuno is an import clear version and has an extra fine nib. The shiny steel nib has a cute smiley face with tongue out on the top.

The EF nib is made of steel and with a small amount of smoothing is silky smooth on good paper. It skates across my Baron Fig Confidant as I create my Work Bible* I also find it quite nice in my pocket notebooks from Field Notes to Write to Lodestone. It also feels pretty decent on the crappy paper at work. Despite the nice feeling of the nib on the various paper, the papers all respond to the ink as one would expect for that brand. The EF nib is needle thin with a hint of bounce which is nice. It doesn’t create much variation in the line but it feels good as I’m writing.

The grip section is subtly triangular shaped while the rest of the pen is hex shaped. The clear plastic is extremely light weight. Empty it comes in at 11.3g. With a cart it comes in at 12.5g. It’s not a big pen but it isn’t tiny either. The body of the pen is roughly the same size as a Lamy Safari but the cap is slightly smaller. It can be used unposted comfortably or posted without the weight being thrown off. I really like the weight and size of the pen- I can write for long periods without hand fatigue that I get from heavier pens. The Kakuno is great for long writing periods.

Because the pen is hexagonal and roughly the same diameter as a Kaweco Sport I wondered if the Kaweco clip would fit. I ordered one of the older style, plain clips rather than one that has the Kaweco logo emblazoned on the clip. I chose silver so it would match the steel nib. The facets don’t match perfectly but it is snug on the cap. It is a functional addition to the pen, as I need a clip for my DayJob.

IN the several week’s I’ve been using this pen it has survived being clipped to the plackets of my work shirts and being tossed into the pockets of my work pants. The snap on cap stays put and has yet to fall off. The plastic of the pen body has not yet cracks or shown any wear. Despite banging around in my pocket with my wallet, pencil sharpeners and can tabs (don’t ask) the pen hasn’t developed any scratches as of yet.

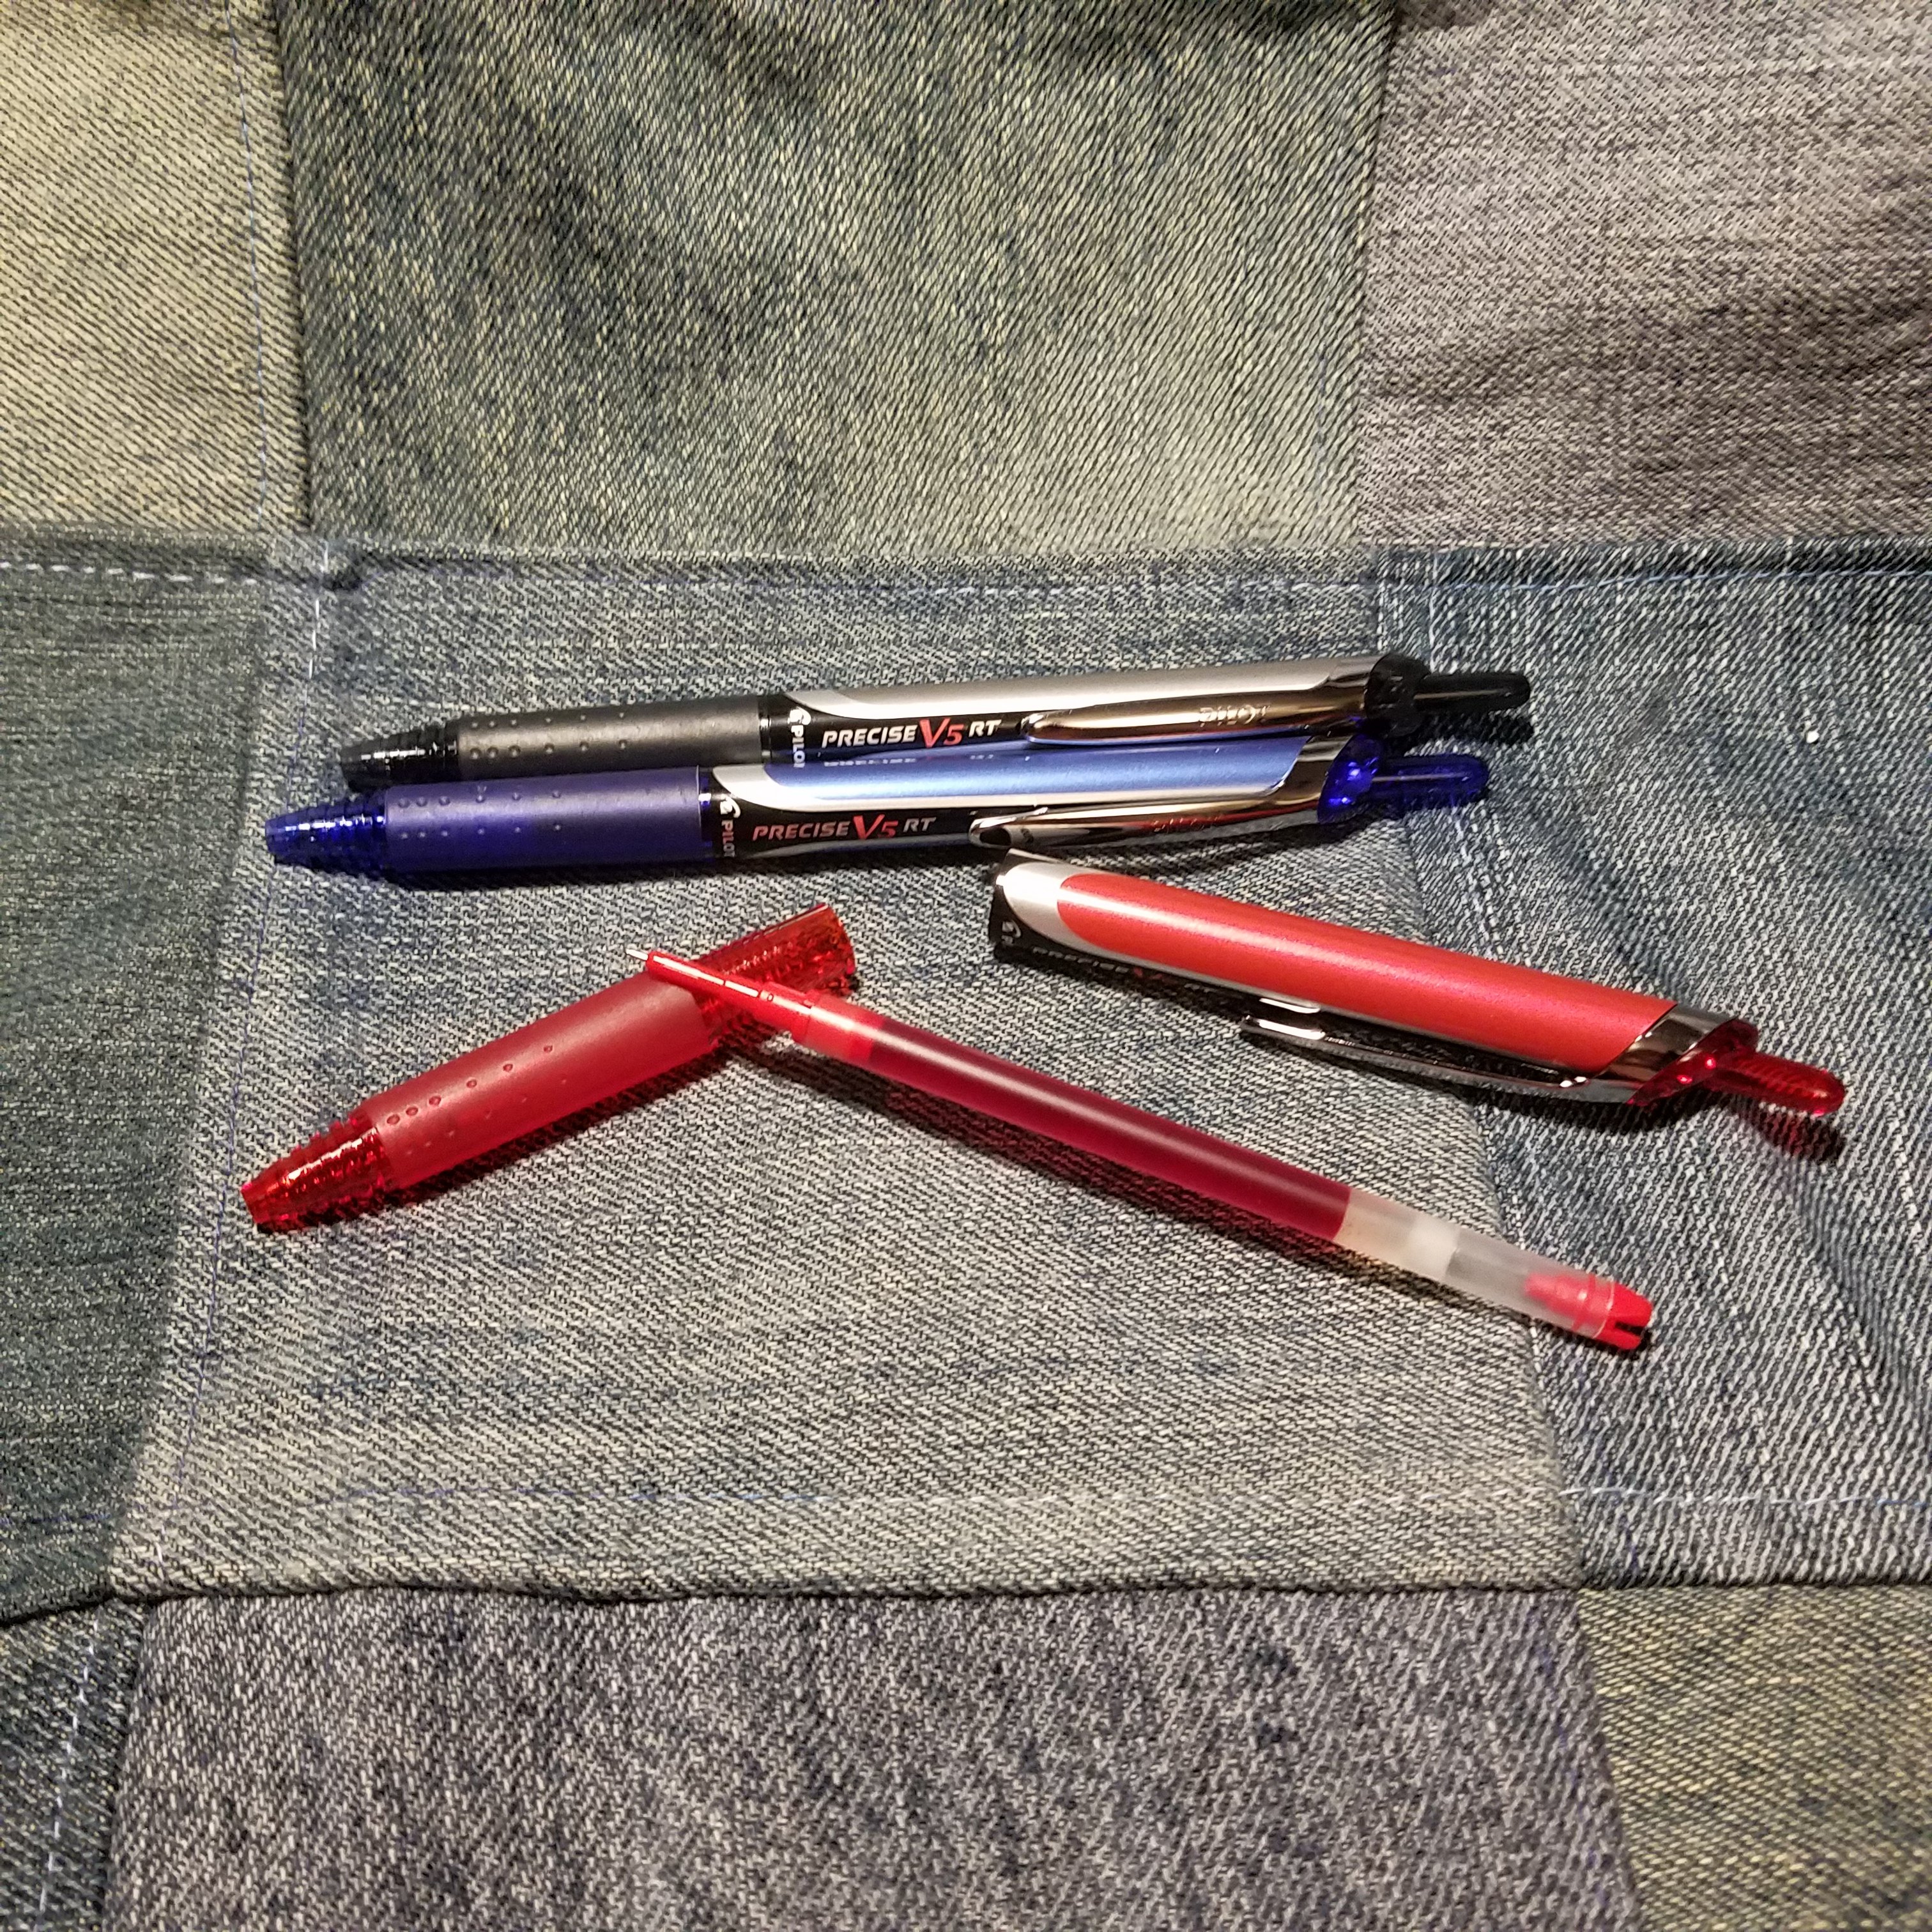
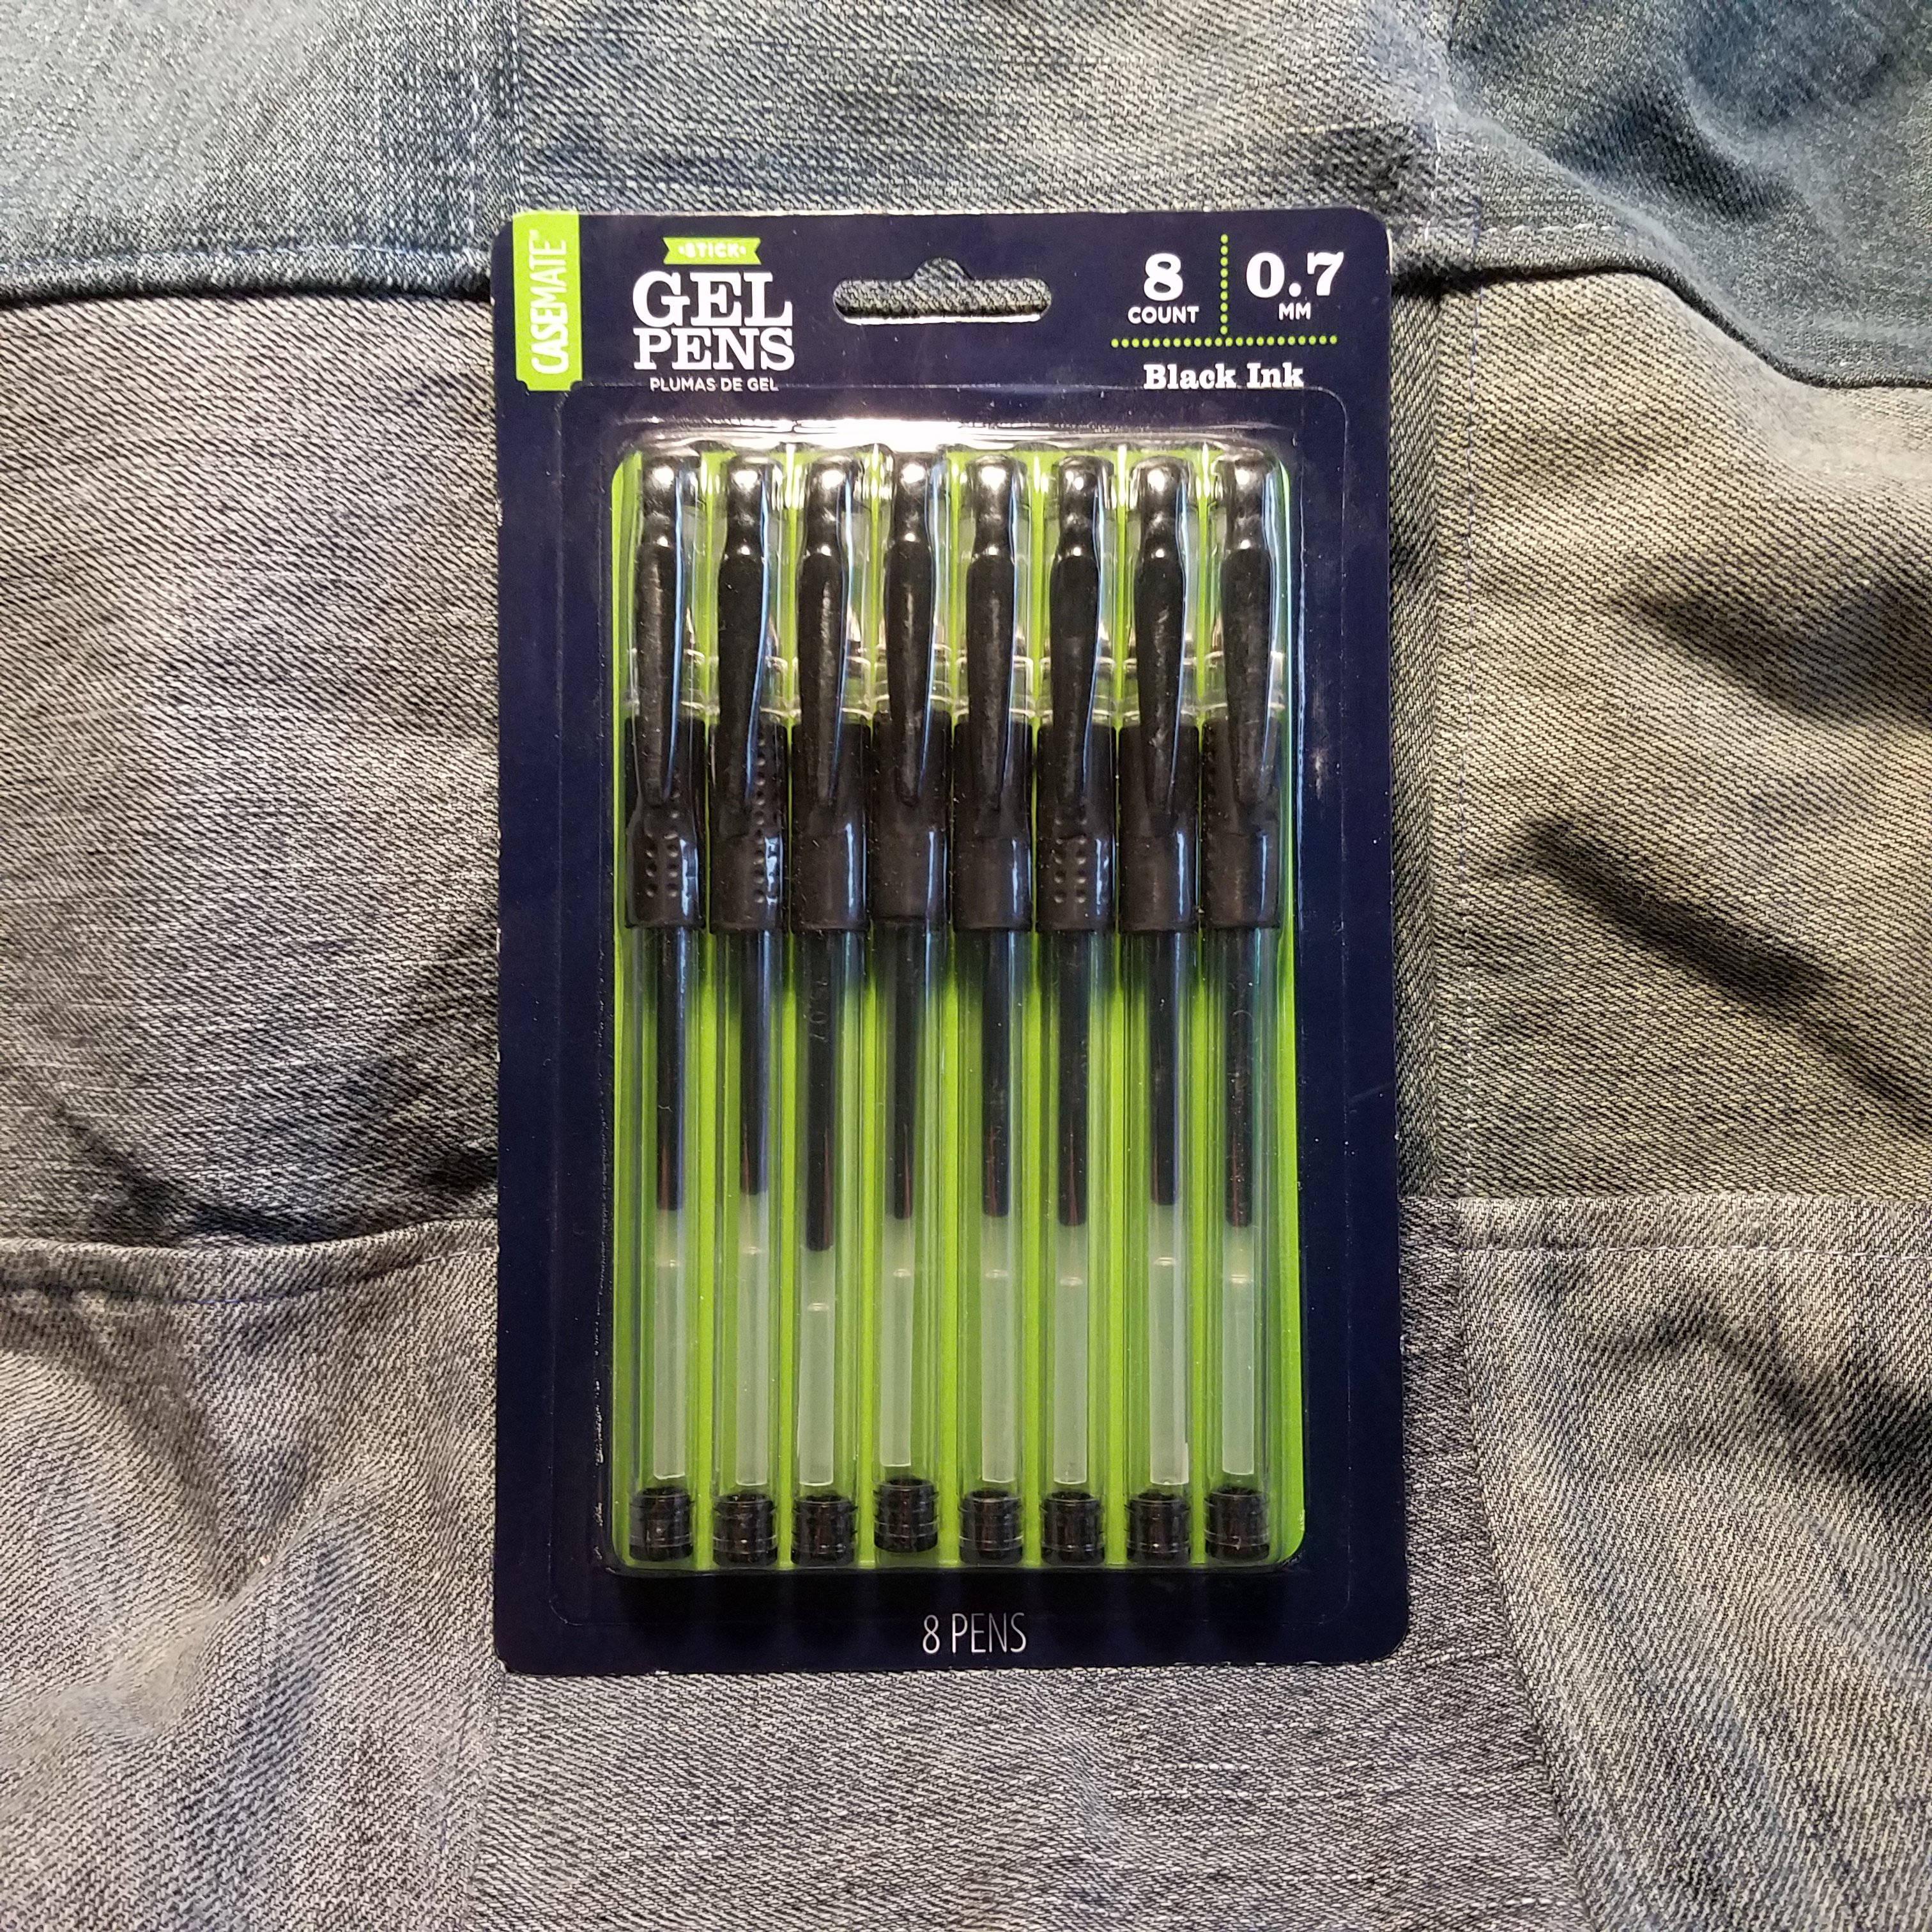
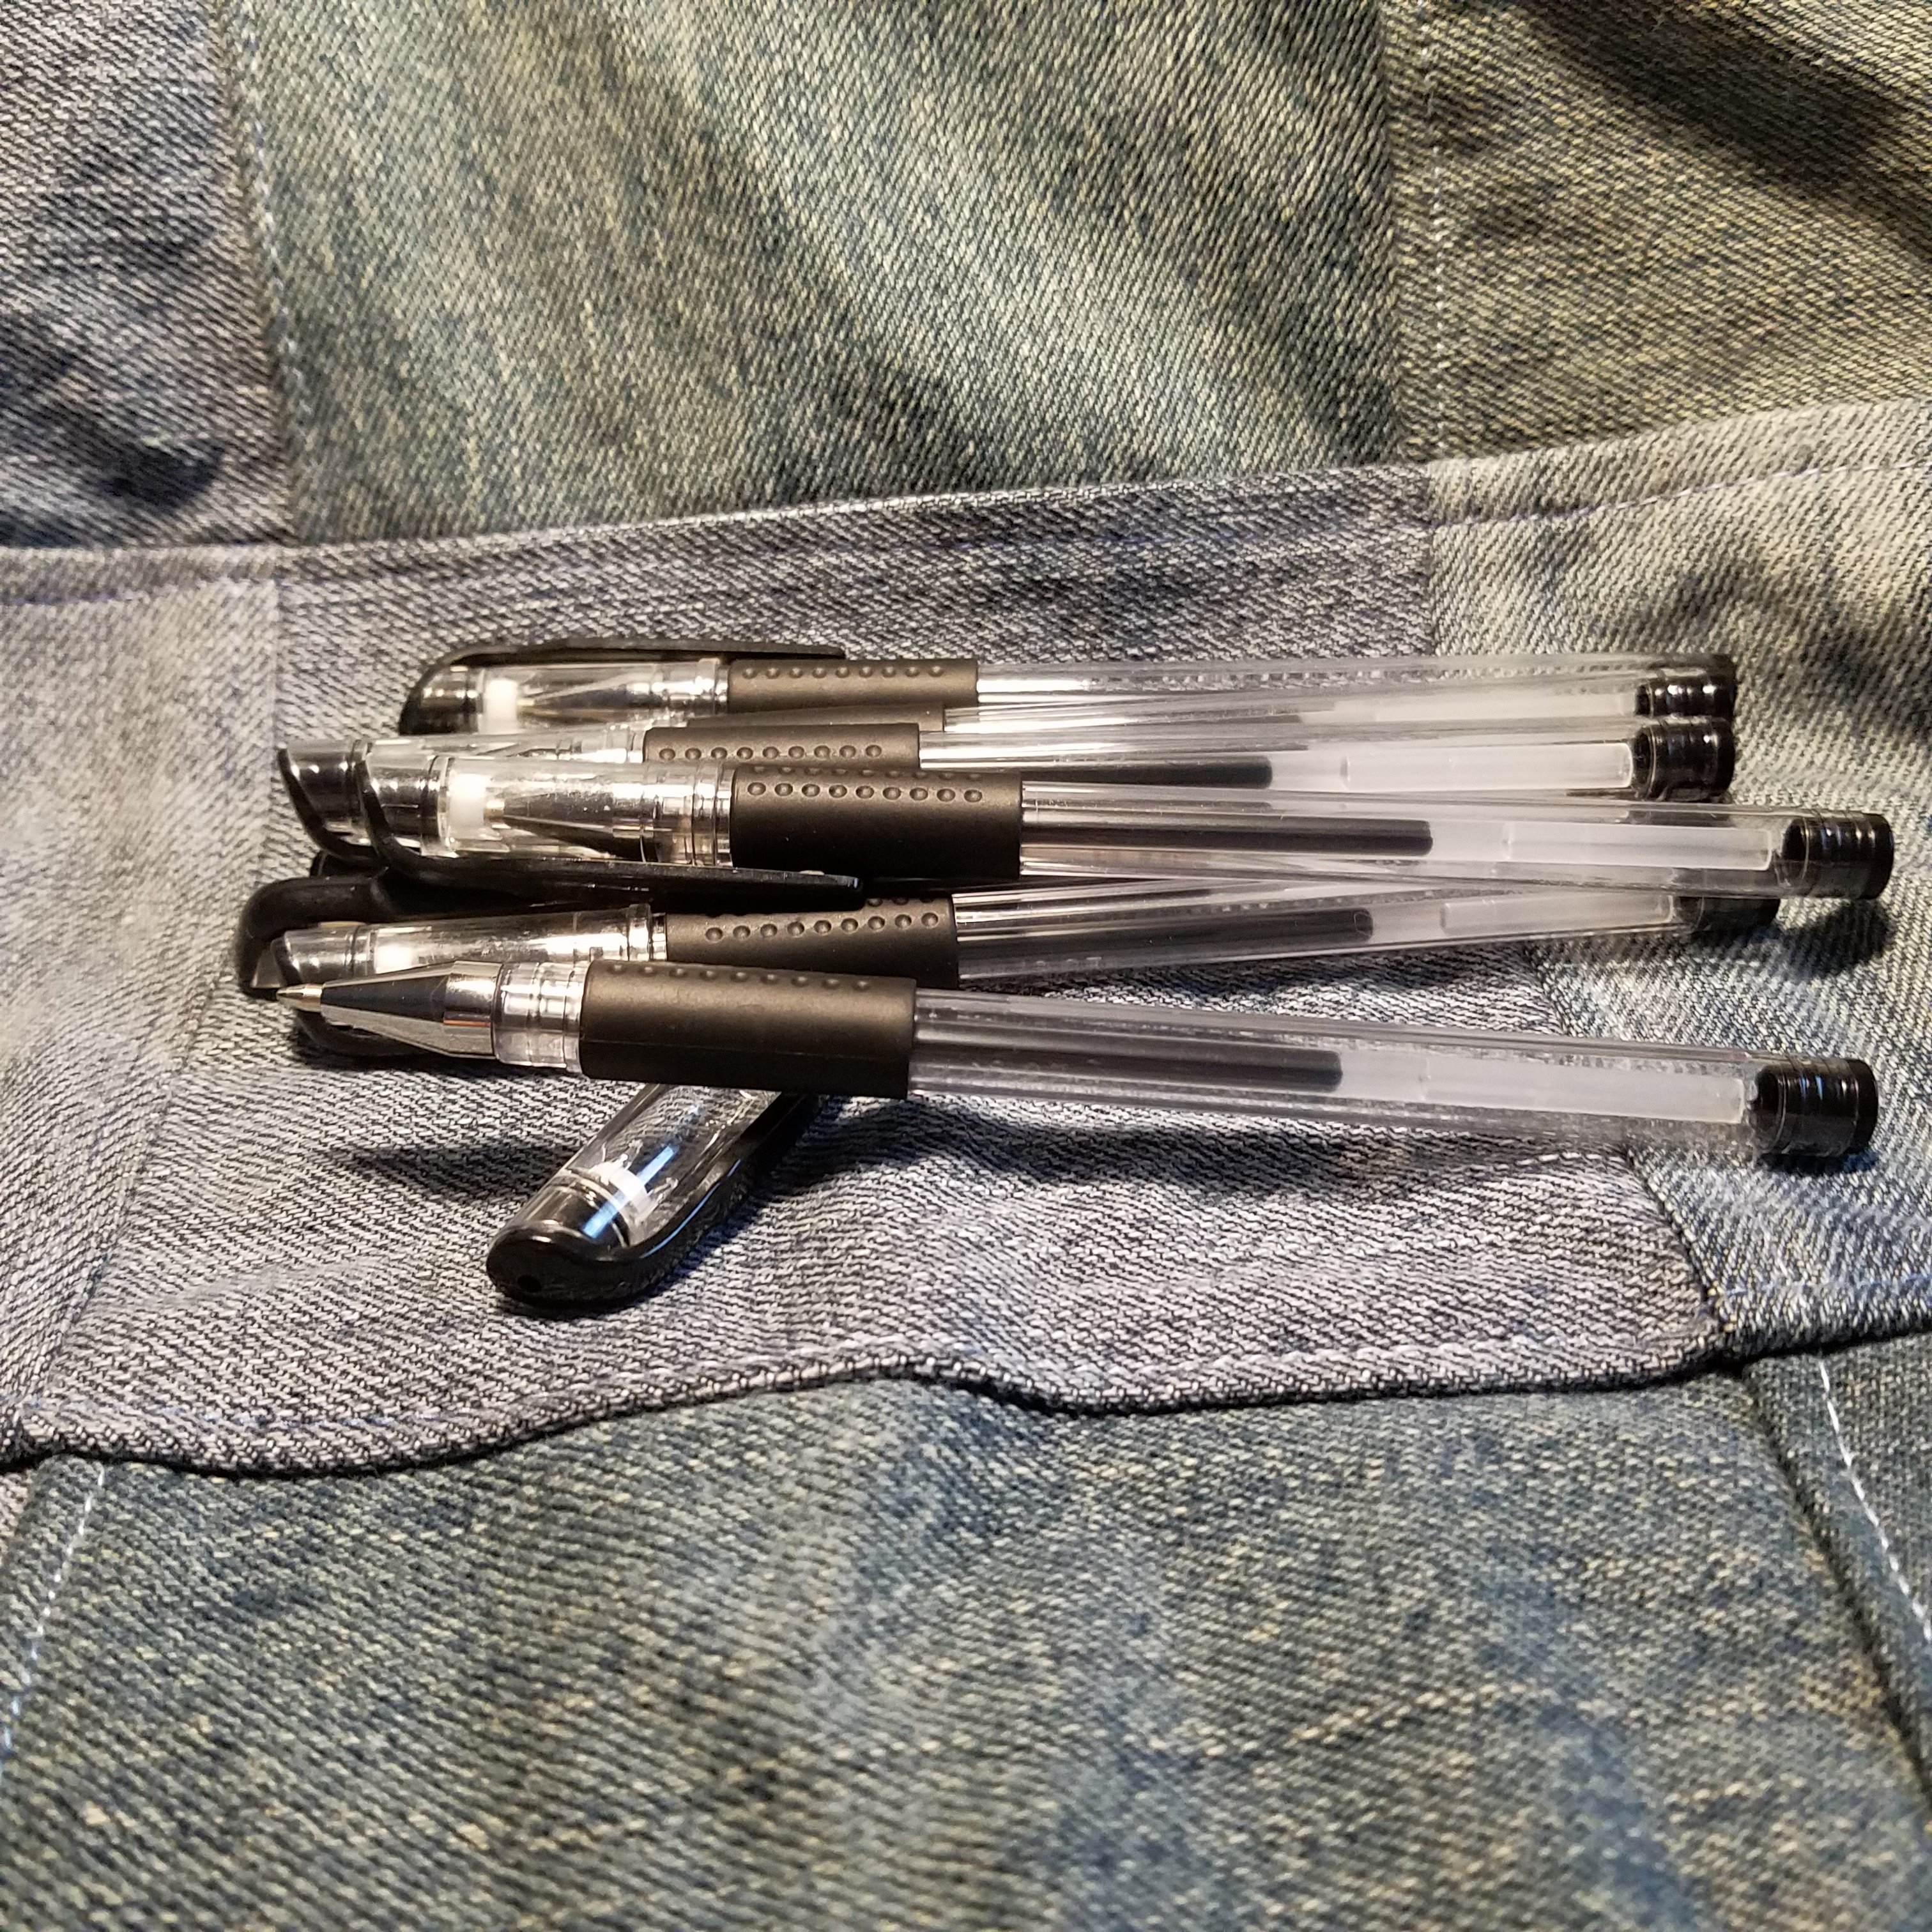
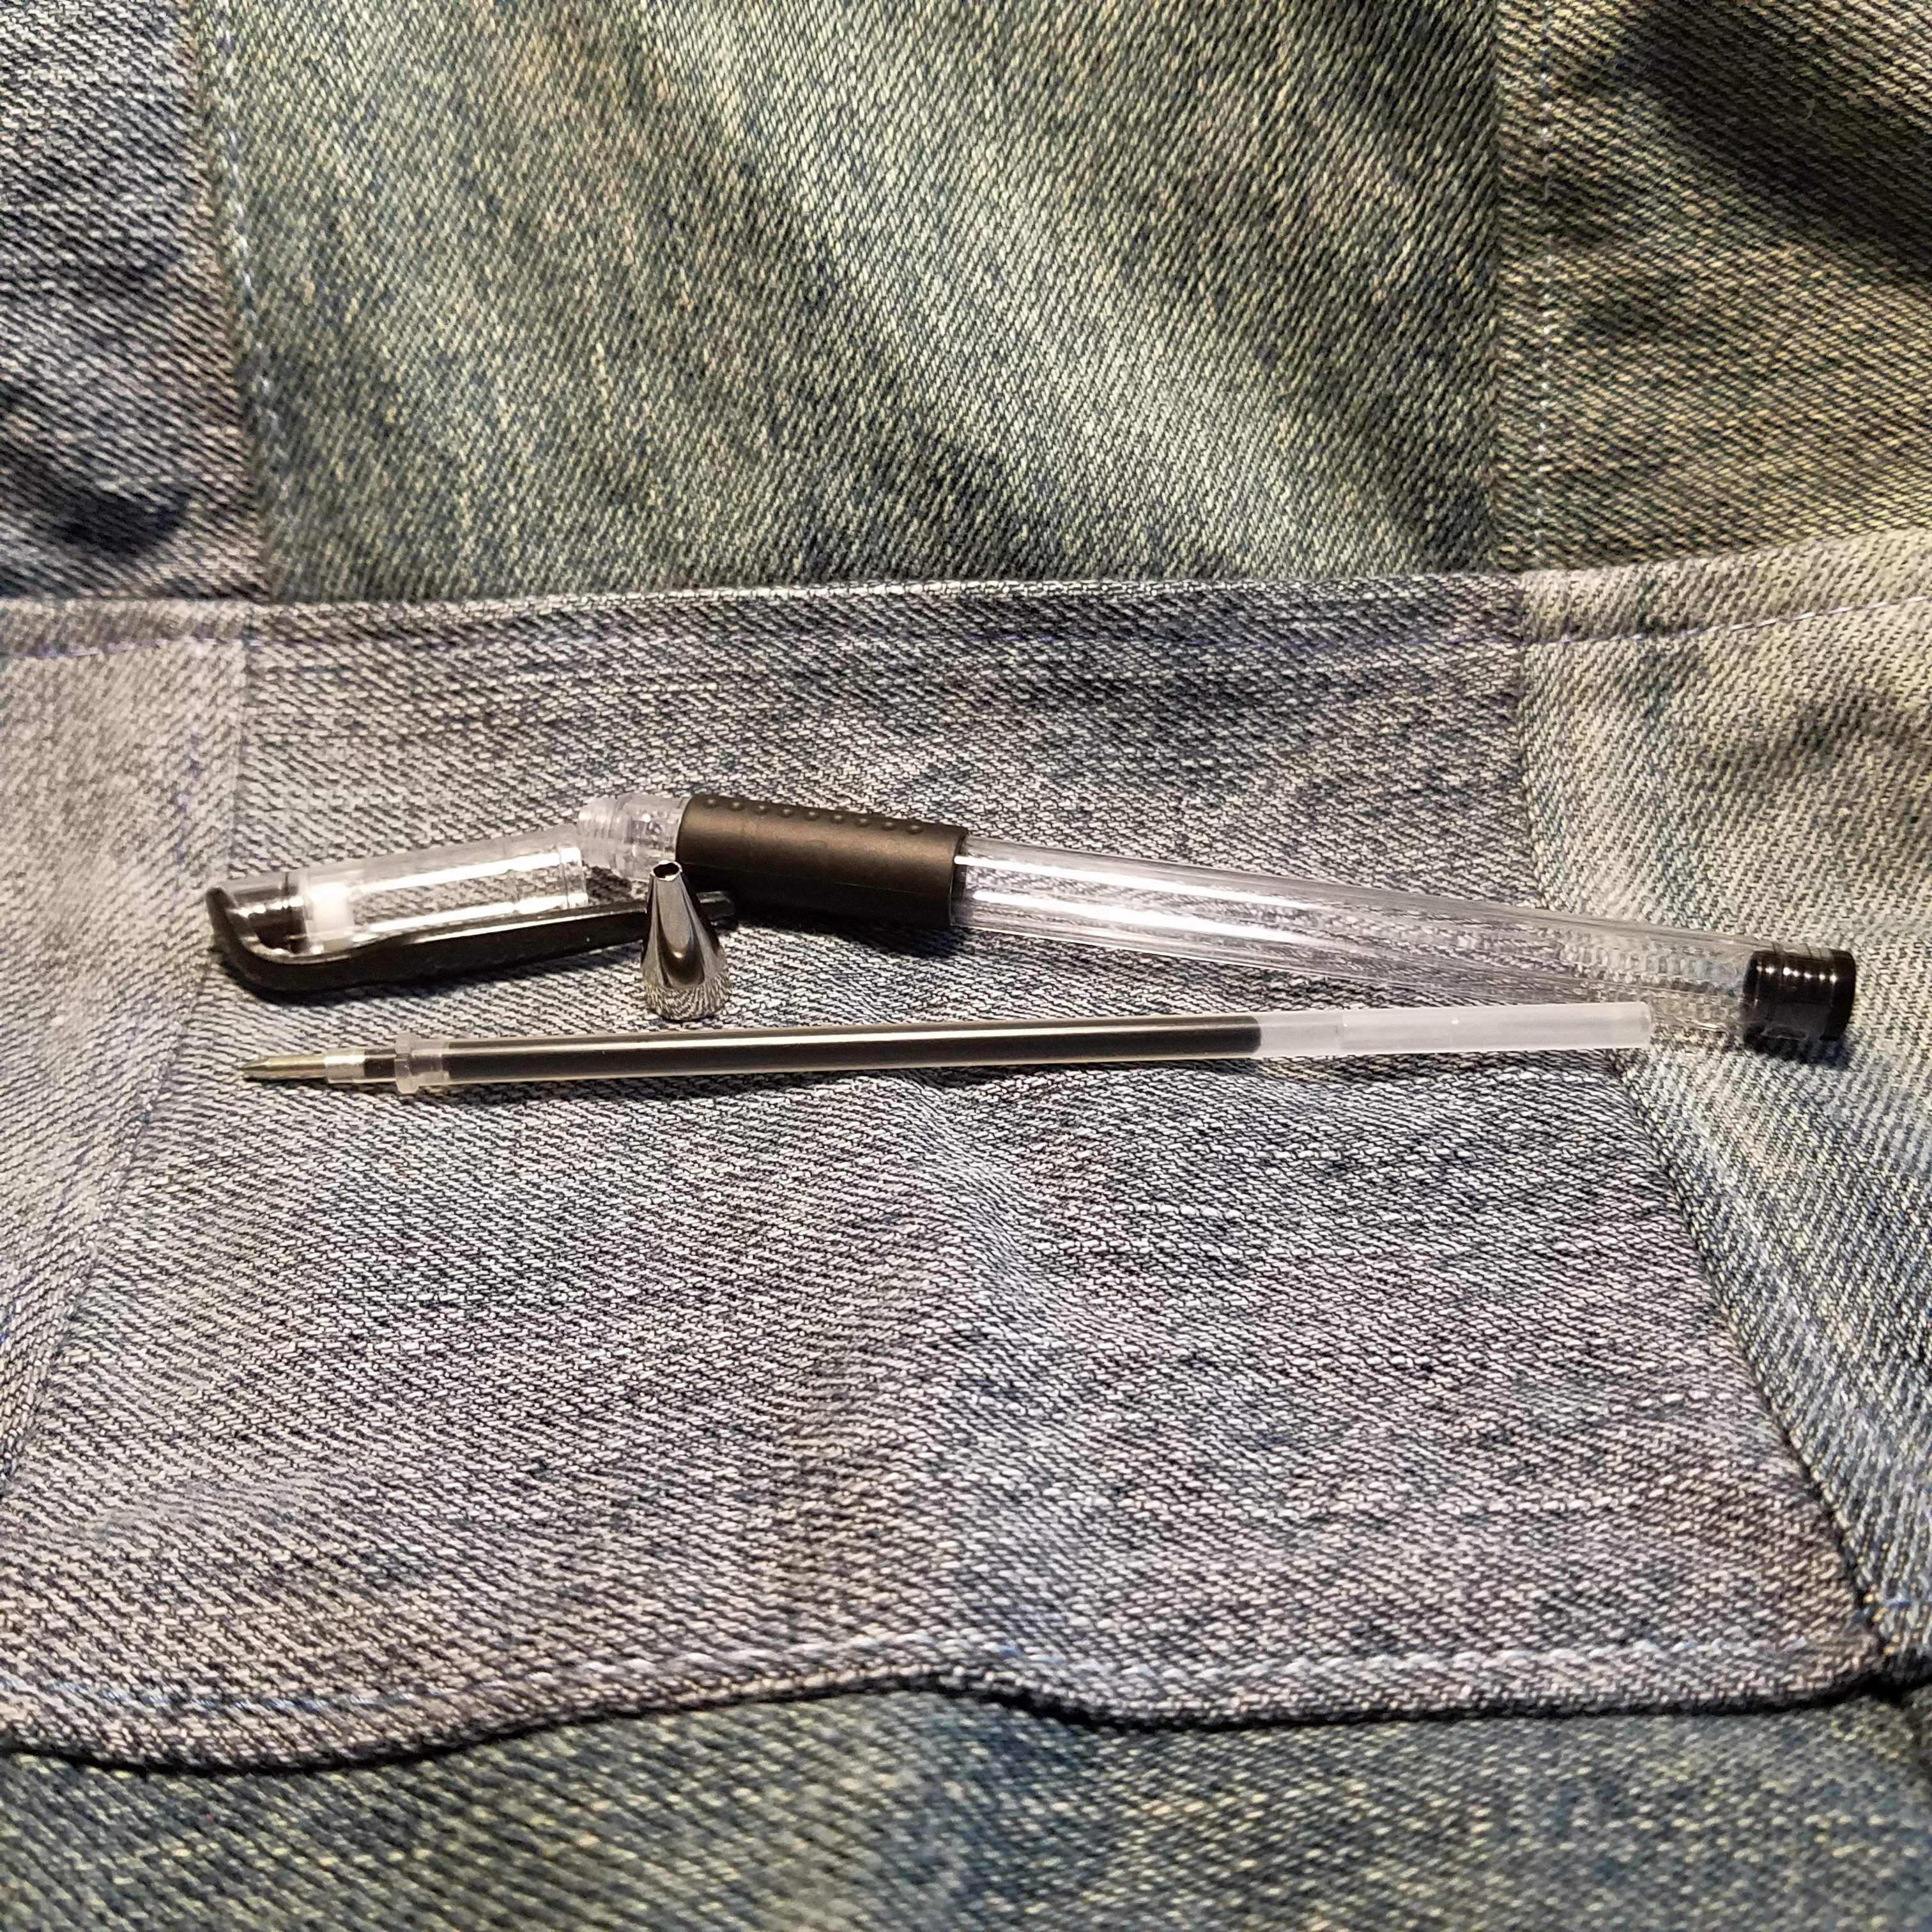
Despite it being an EF pen the ink flow is good and you get a decent amount of ink on the page. This is both good and bad. Like with the gel pens I’ve written about this means I’m blowing through ink carts very quickly. I’ve been using at least one a week, more often nearly 2. Certainly this can add up in cost it accumulates more frustration for me in terms of plastic waste. I prefer to use a converter but it is not realistic that I refill from a bottle at work. A cartridge I can swap on the fly as I work. I’ve taken to refilling my carts. I’m also looking at filling the holes on the back of the pen body so I can convert to eyedropper.**

Anyway, the Kakuno with an EF nib is great for crappy paper and even better on nice paper. The price for the opaque colors is about $11.75 while the clear is around $12.50 on JetPen. I really like it for my workplace The smiley face puts a smile on some of my client’s faces and can insert some levity into an otherwise difficult situation. It works great on crappy paper and feels good in hand. For the $12.50, the Kakuno is a great little pen.

Continue reading

Review: KUM Masterpiece

I mention the KUM Masterpiece pretty often in my pencil reviews. With good reason too, it’s a fantastic sharpener. Compared to the dramatic teasing of the Pollux from M+R, KUM did the roll out for the Masterpiece juuuust right. Initially it was only available in Germany then someone was able to do a group buy for a decent price. Finally, CWPE was able to get them in stock.The Masterpiece is machined from a solid block of aluminum, possibly an alloy. With a sliding blue plastic stop for your lead. The stop also has a slot on the underside to hold 2 replacement blade, and arrives with 2 in the slot. The blades are standard sharpener blades. I use M+R blades that are available in 10-packs all over the place. The Masterpiece arrives swaddled in neoprene and in a hard plastic case. I’ve ditched my plastic and neoprene for a mini mint tin, but that matters not. It comes with a neat neoprene case for carting around in your bag in cushioned safety. To use the Masterpiece you first sharpen the wood away in hole 1, which is on the left side of the sharpener. On a pencil with a well centered core it sharpens only the wood away. After you’ve shaved off the wood you slide the exposed lead into hole number 2 to the right, using a light touch it shaves off the graphite to a perfectly pointy long point. With practice you can learn to stop before you get a needlepoint hat snaps when you touch it to paper. I’ve found that I can usually touch up my point 2 or 3 times without sharpening the wood again.

If the blade in hole 2 is dull it will take forever to get a point and occasionally the lead will snap off. I rotate my blades. So I’ll recycled blade 1, moving the dull blade 2 to hole 1 and putting a fresh blade onto hole2. Generally the Masterpiece will sharpen any pencil any time without issue. It just works 99% of the time, unlike the Pollux. Replacement blades are cheap.

The Masterpiece is available for $18 plus shipping at CWPE and $15 at Pencil(dot)com plus rather high shipping. You can also get it at JetPens for $22, and free shipping at $25.

Pricing aside, the Masterpiece is ready to go the moment you get it and it just works and works. This thing is a workhorse of a sharpener. Sharpening everything from the cheapest Dixon no name to the priciest Blackwing volumes. I love it. Continue reading

Review: California Typewriter

This post is written by Harry Marks, the mind behind one of my favorite podcasts, Covered. you should check it out Harry’s interview style is excellent.

I was unable to catch California Typewriter, a documentary from Doug Nichol, in theaters during its limited run, so instead I purchased it from iTunes a few days before Thanksgiving. I’m not sure what I expected. Certainly a heavy dose of hipsters nostalgic for an era they never lived so as to set themselves apart from the iPad crowd. However, this movie, unlike others centered around the tools of creators, didn’t give me what I expected and in fact, delivered something more.Looking at the poster, with its flaming sheet of paper sticking out the top of a vague, blue 1970s machine, one might think the movie was about the men in the four boxes at the top. Tom Hanks is arguably the most famous typewriter collector in the world, but he doesn’t feature that heavily in the film; John Mayer, David McCullough, and Sam Shepard are far more prominent, perhaps because the typewriter plays a bigger role in their creative endeavors. But these celebrities are not the focus of the film. They are more akin to hype men, expounding on the typewriter’s beauty and longevity while the rest of the movie focuses on its namesake: a tiny shop in Berkley, California that repairs, restores, and resells vintage typewriters. Herb Permillion, the store’s owner, his daughters, and repairman Kenneth Alexander keep things running four days a week. It’s almost enough to validate the “small businesses are the backbone of the American economy” platitude politicians spout right before they vote to tax the hell out of them.  I found myself pausing and searching eBay throughout the film because of the way Ken talked about a particular bell sound or how his fingers danced over a machine as though he’d built it himself. This family of do-or-die typewriter aficionados lives and breathes the clicks and clacks of yesteryear and it is impossible to not get swept up in their genuine love for these objects.Some might say a documentary about people repairing typewriters wouldn’t be very entertaining (I beg to differ), so when the cameras aren’t inside the shop, they’re pointed at the men and women who collect or make their living from typewriters. When Tom Hanks talks about one of the over 200 typewriters in his collection, it’s like watching Jay Leno discuss a rare car in his garage. You can’t help but smile and feel the warmth of his admiration for them. 1776 author David McCullough writes all his books on an old Royal in his backyard writing shed. Silvi Alcivar is a “poet on demand” who composes short verse on her red Royal Custom III in subway stations and at street fairs.Not all featured are writers and poets, though. Jeremy Mayer creates amazing sculptures of animals and humans out of old typewriter parts. I couldn’t help but cringe at his prying apart old Selectrics and Coronas to construct fingers and cheek bones for his skeletal people. When a film is dedicated to the preservation of such beautiful machines, seeing someone mangle them to feed their Frankenstein-like need to create feels like watching a person make wallpaper from torn-out Bible pages. Mayer’s work is fascinating in a macabre kind of way. Regardless of how each individual uses (or abuses) typewriters, every single person in California Typewriter has a different and unique reason for why he or she enjoys them, be it the sound, or the joy of an analog lifestyle, or the satisfaction of putting actual words on an actual page. This is what’s most inspiring about the documentary: everyone in it is different, just like every typewriter is different. The bells chime in different tones. An Olympia has a crispier “chunk” than a Smith-Corona. Keys are spaced and shaped differently, and each of those characteristics is something to either entice or repel a potential owner. One person makes sculptures with parts while another makes music. One types non-fiction in a shed while another types poetry in public. The typewriter can be a symphony and a work of art, and while different people may use it in different ways, its purpose is clear: to create.After watching the film, I felt compelled to drop a fresh sheet of paper into my own Smith-Corona and start a new short story. My words hit the page like gunfire. Sure, it was nice to slow down and get away from the notifications and dings of new email, but more than that it was fun. Typewriters are fun. Typing on a typewriter is fun. Fun is something not talked about when writing on a computer or even by hand. One is mundane, the other a chore (I’m failing NaNoWriMo by hand and it is less than amusing). The people of California Typewriter, both the shop and the film, embrace the fun side of the tools we take for granted. Their enjoyment is almost better than the footage of all the beautiful typewriters they surround themselves with. Almost.For me, California Typewriter has the potential to be the On Writing of movies, a well to revisit and quench one’s thirst when the words run dry. One viewing and I had already slipped a sheet of paper through the platen. No operating systems to update, no Internet required, no interruptions, just me and the words. You may call us hipsters or contrarians. You may look down on our love of the old ways, but our machines are 60, 70, 80 years old or more. They have lasted through numerous presidents, World Wars, the dot com bubble, and they may even outlast us.

California Typewriter avoids the common traps found in similar documentaries. It is more than a celebration of an enduring creative tool. It is proof that obsolescence is not inevitable, but a suggestion as long as these machines can enchant new audiences and skillful hands continue to keep them running. We’ve embraced analog because despite the time it takes to complete a task, it is more satisfying. Tactile. Personal. I cannot think of a better representation of these principles than California Typewriter.

California Typewriter is available now for rent or purchase on iTunes.

Harry Marks is the host of the literary podcast COVERED where he interviews authors about their books and the writing process. His fiction can be read at HelloHorror and in Plumbago Magazine.

Review: Mobius + Rupert Pollux

Who knew that a pencil sharpener could be so divisive? Well, I suppose pencil nerds who like the chewy look a Classroom Friendly sharpener gives fancy pencils might suspect that the Pollux could upset and excite folks.Let me start with the basics. The Pollux is a hand held sharpener that creates an concave point in much like the vintage Janus sharpener or a modern crank sharpener. Good luck finding a Janus with a working blade. The Pollux is machined from a solid block of brass and the design is reminiscent of M+R’s Grenade or Brass Bullet sharpener, but longer. The Pollux was teased for months and months before it finally became available, when it was finally available it wasn’t offered with replacement blades. Replacement blades weren’t available until at least a month. Many of the initial run of sharpeners had dull blades that caused issues with sharpening.Once you got a sharpener with a working blade, the point the produced is long and concave. It is very similar to the Classroom Friendly point and slightly longer than that produced by the KUM Masterpiece. This is where the Pollux incites heated pencil nerdy debate. Unlike the Classroom Friendly and Masterpiece, which will sharpen any standard sized pencil to delightfully long points, the Pollux won’t. The Pollux is finicky and hates certain pencils. The Tombow 2558, my Nataraj Metallics, and harder graded pencils shatter and are devoured by the Pollux. The same pencil in the Classroom Friendly will sharpen perfectly. You could sharpen the same pencil to a nub in the Pollux and never get a point. The Pollux can be frustrating.

Another thing is, the Pollux requires a sharp blade for it to work well. Once the blade gets dull it will snap the point off every time. It also requires a light touch. If you jam your pencil into the Pollux, oh hey, snapped point. If you wiggle the pencil around, look a snapped point. Annoying.

If you stick to premium pencils- Uni NanoDia, Blackwings, and Helvetica you’ll never have a problem. Or if you stick to pencils with a silky smooth core that lacks grit you’ll be happy. The Tombow 2558 seems to be an odd duck when it comes to sharpening. My favorite budget pencils- Staedtler Norica and Pen+Gear/ Casemates Clown Car and Patterned pencil all do well in the Pollux.

Another factor to consider is the expense. The cheapest price available is $28 from CWPE. Replacement blade are $8, for a 3-pack. To get properly set up the Pollux will cost $36. Which is a ridiculously expensive price for a pencil sharpener. Compare that to the Masterpiece, which now retails for $18 and is bundled with 2 replacement blades and produces a point that is nearly as long.

I’m torn about the Pollux, and I do love it, but the fact that it will just DEVOUR some of my pencils irritates the crap out of me. Because of this I keep my KUM masterpiece handy and forces me to alternate my sharpener carry based off the pencils I’m using that day. This tempers my love. That said, I reach for it over and over again. I’m more likely to put my Blackwings and nicer soft core pencils through it for that long lasting concave point. When it works, it is perfect when it doesn’t you want to lob it across a field and then set the field on fire.

Continue reading

A Different Kind of SABLE

This post is written by Paula Binsol, the med student behind the Insta account @outofpost and the blog Out of Post. She gives us a fresh take on SABLE.

In the past few months or so, SABLE or Stash Acquired Beyond Life Expectancy, has been a term thrown around in pen and pencil collector communities. I have always been more of a user than a collector, with even the rarest among my collection being sharpened up and put to good use, but in terms of SABLE, my stash is small and practical because SABLE for me means Student Acquisitions Budgeted for Length of Education.

Just a little background: for the past two and a half years, I have been studying in the Philippines. Here, my daily allowance is equivalent to about $10 a day, depending on the exchange rate of the US Dollar that morning. It may not seem like much but there are some people in this country who don’t make that as their salary, let alone as a daily allowance and while it is more than enough to live on here while I’m studying, it is not enough to acquire a collection of rare or vintage items, which is why I tend to use everything that is in my stash. As a stationery lover for years, mostly of pens and paper, I started my whole pencil journey in January 2017 and was shocked and surprised when many of the veteran members of my pencil-loving Facebook family offered to send me packages of pencils and notebooks to try. Their gifts make up the bulk of my collection and while it was not feasible to transport everything back to school with me, I have almost one of everything and they are being put to great use each day.

Now, being on a student’s budget does not mean that I cannot collect or acquire pencils! It just means that I must be more creative in the way that I acquire them. To do this in the smartest and most cost-effective way possible, I begin with making a list of all the pencils that I wish to acquire, basically, a pencil wish list. Then, in another notebook (for me, a Field Notes Lunacy), I keep an inventory of all the pencils currently in my possession, which gives me a bird’s-eye-view of my collection, at-a-glance. To make sure that I have the opportunity I try everything, I use a system taught to me by a friend – I have three plastic boxes, two of which house pencils that are newly sharpened and the last that houses ones I have tried. If I love the pencil, it goes into my daily line-up on a pencil cup in my desk, but most of them go into the green “have tried” box. Practically speaking, I try to get the most out of what I do have by using it, using it and using it some more! There are a few things that I carry around with me on a regular basis that get a lot of use. First, is my little Klimt tin, which houses my most-used erasers and a traveling sharpener. Then, my most used pencils remain on my desk in a pencil cup. I use three each day in my daily journaling and rotate through them so that I can get a feel for what I like and don’t like; it helps me pare down my collection to the bare necessities. I don’t let myself buy anything for my collection, which limits my acquisitions to just what comes to me in trades, which allows me to cut costs substantially, but does allow me to explore the pencil and stationery world in a budget-friendly way!  And as a student on-the-go, I have a pencil case that is ready and waiting for me at all times. My pencil case of choice for this academic year is a Yoobi case that I bought at Target. I love it because it opens up into a tray, which makes grabbing what I need when I’m studying so much easier. Because I very rarely have time hand-sharpen when I’m at school or during exams, I bring mostly mechanical pencils with me – my current favorites are the P200 series and I have one of each, a P205, a P207 and a P209, mostly for taking written exams (because on our exams if you alter your answers after writing in pen, it’s considered wrong—the perfect excuse to start out with pencil). You can also see my all-time favorite pencil for writing and journaling, Apsara Absolute with its Ippo Pencil Cap. My two trust erasers, the Sakura Foam and Tombow Mono were chosen because of how well they erase both on paper and on Scantrons; they don’t leave a trace and that’s just the way I like it. While as a medical student, we aren’t able to use pencil very often (we are required to use pen or submit typewritten work for the most part), my favorite use of pencil lies in my quiet daily life, in journaling, making grocery lists or my bullet journal. I have a special pencil case that I use when I travel along with my notebooks that can fit even an unsharpened Blackwing and has extra pockets where I can keep a Ziploc and a sharpener, for long point sharpening while traveling! My favorite notebooks are my A5 bullet journal (no brand traveler’s notebook), the Olive Edition by the Traveler’s Company used for journaling and my September Leather Field Notes size bought off Amazon for my notebooks that carry lists, brain dumps and speaker’s notes for the debate team that I train. All in all, when asked to describe my process and collection and myself, as a lover of stationery, I label myself as an appreciator—both a user and a collector. I find my collection to be large for someone who didn’t have to spend too much and I love, love, love trades because they not only allow me to get to know others within the pencil and stationery community, but they expose me to pencils and other paraphernalia that I would otherwise not have known without the kindness and knowledge of others. So maybe I can’t yet afford the renowned Pollux or snag a vintage Eberhard Faber Blackwing, but with my kind of SABLE, I find that I get to go on an adventure every single day.

  • Instagram/Twitter: @outofpost
  • Blog: https://outofpost.wordpress.com

Biography: Born and raised on bagels and lox and challah French toast, Paula considers herself a Jersey girl through and through. She is a lover of stationery, the musty smell of a good, well-loved book and runs on hot tea and plain croissants. Currently pursuing her medical degree in the Philippines and in her third year, she is a self-proclaimed nerd and believes that quality tools bring quality work.

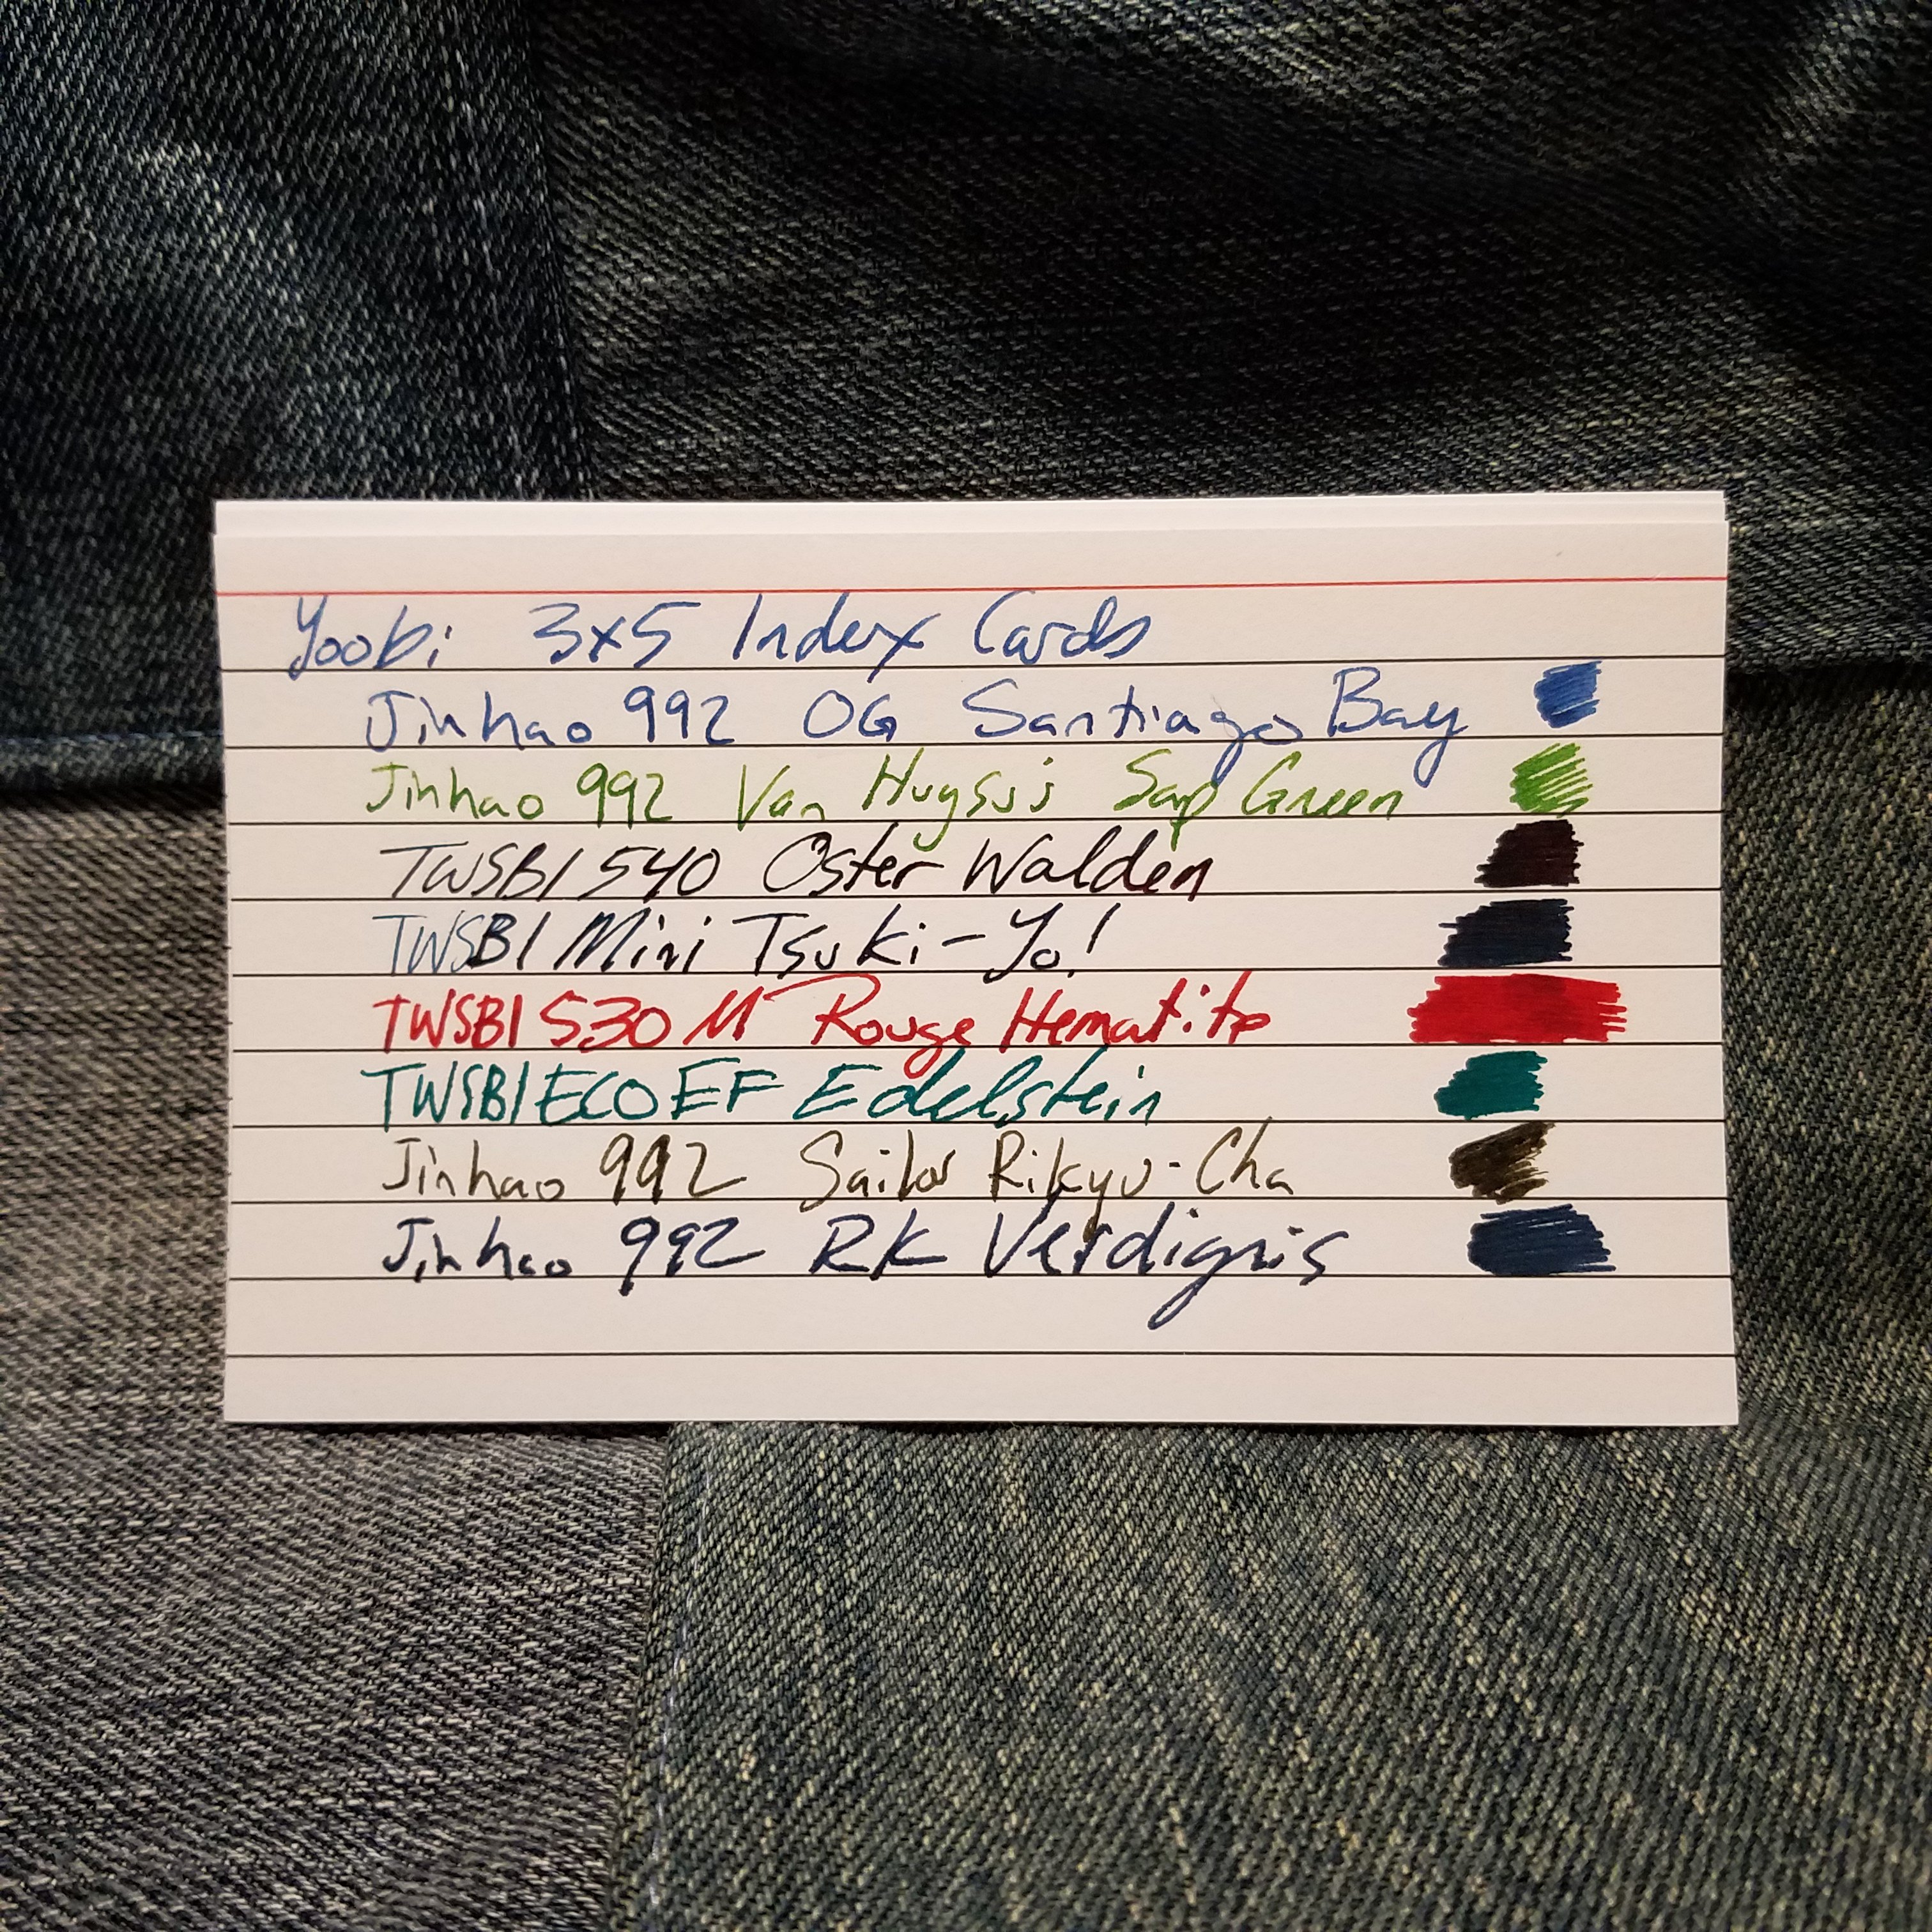
Review: Yoobi Gel Highlighters

I don’t know why I keep buying highlighters. Now that I’m out of school I’ve got enough left to last the rest of my life. I’ve got enough highlighter ink left to refill my Platinum Preppy highlighters forever.

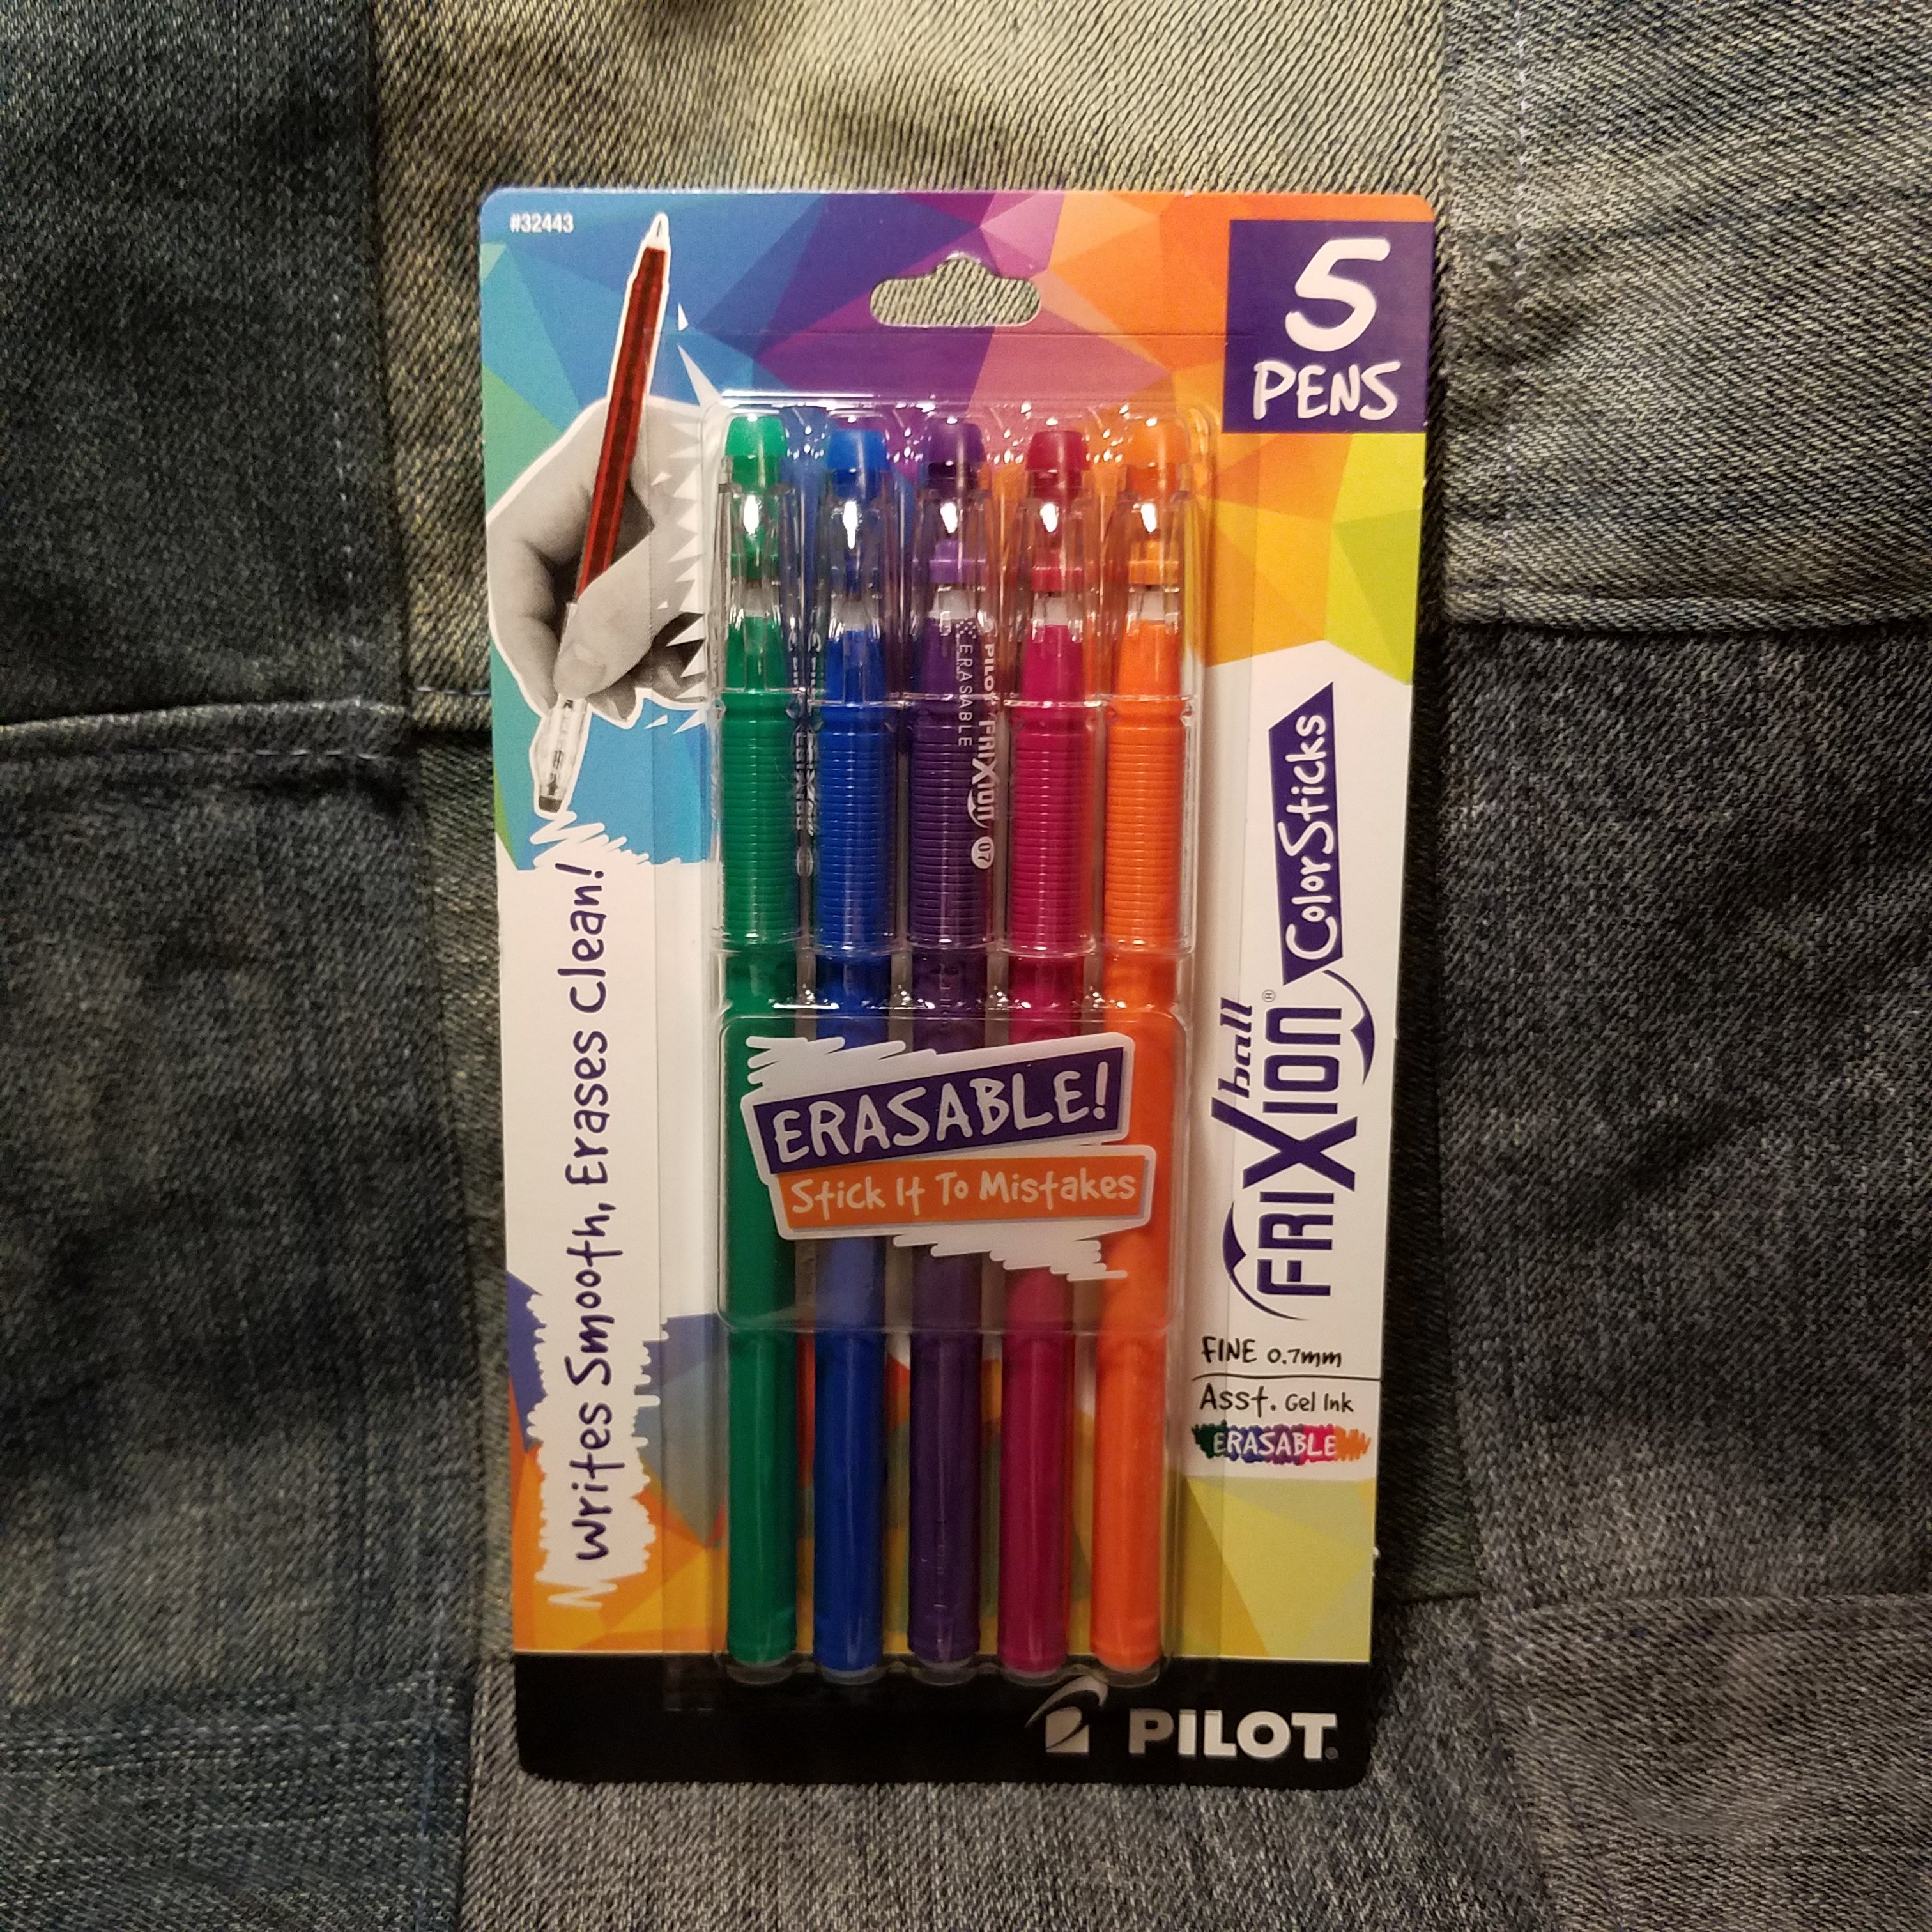
In my work life I use highlighters to cross names off a list after I’ve written progress notes for the day. I use a highlighter because I still need to get info off the list when I’m done and transfer that to the progress note after it’s been printed. It’s a convoluted process that has to do with time constraints and access, or rather, lack of access to a computer for my work. I prefer crossing the names off the list to a check mark for visibility. Even with this use, I’m SABLE on all my highlighters.I used the Sharpie gel highlighter, and like Dee I found it to be chunky and lackluster. I don’t know what possessed me to buy the 4-pack of Yoobi gel highlighters. Hope? Stupidity? I dunno. At $4.50 they aren’t cheap, but I tossed them into my cart anyway.

Each package contains green, yellow, orange, and pink neon highlighters. The highlighter is encased in a thick plastic roll up tube that reminds me of a glue stick and chapstick all in one. Each has a small clear cap with an integrated clip. The cap clips on and off securely and can be posted. When posted it’s only held on with friction but in my use it stays put. I tend to hold the cap in my hand anyway.The highlighter gel rolls up with ease, like any tube of chapstick, and each twist pushes up a decent amount of highlighter. When first uncapped and in use the gel has a very strong odor, it reminds me of marker, or some fountain pen inks. I suspect that what I’m smelling is something to keep mold from growing on the exposed gelatinous ink bar. I’ve noticed this with Faber Castell Gelato crayons, though to a much lesser degree. I don’t find the smell off putting but know that others might.The highlighters are smooth and soft. They require the user to find the right amount of pressure without going overboard. Too little pressure and the gel doesn’t lay down enough and with too much, chunks break off. At first I didn’t like the rounded tip, but once I wore down a portion of the highlighter to the right angle it covered a line of text pretty perfectly and without needing additional passes. Though once I did get it to the proper angle I was more likely to break off a chunk with too much pressure. The highlighter does take some time to dry. If you get chunks of it on your page it can sort of glue pages together.On the rough cheap paper at work the Yoobi highlighter shines it takes less time to dry and the rough paper seems to help it need less pressure to lay down an adequate line. On the silky smooth paper in my StudioC notebook it took days for it to dry. It also had a tendency to bleed through. It doesn’t do this on the cheap paper. The StudioC paper is thin but my fountain pens don’t soak through. I have to wonder if this is due to the amount of time the gel ink takes to dry. Either way, it’s worth noting that Yoobi gel highlighters work best on crappy paper. My final take on these? If you need to get a gel highlighter- because you forget to put the cap on your highlighter, or you don’t like ink getting everywhere, these are a better option than the Sharpie version. They are about the same price, are smoother and have cute sayings on the side of the body. If you can control the pressure you use when highlighting, these aren’t bad. Don’t expect to use them on thin nice paper though- that’s where they will let you down.
Continue reading

Review: CWPE Exclusive Bugle Pencil

The standard Musgrave Bugle is a glossy clear lacquered round pencil. It’s made of linden with a hard HB core, that I find scratchy. The imprint is gold and adequately applied. I won’t hide it, I dislike the standard Bugle. I find it to be a cheap scratchy mess.
I was pleasantly surprised to find that the CWPE exclusive version of the Bugle is significantly better. The core isn’t scratchy, rather it is a decently smooth HB core. It is a true HB that is not dark or light, it is right in the middle of the graphite darkness range. I like it on rough scratchy paper.

The core is inside round mismatched wood. One side is natural pale linden, the other is dyed black. Sharpening one of these is a great deal of fun- you get a neat black and white spiral. The 2 different colors are really just fun to look at as I write. It’s mentioned that it looks like the NYC Black and White cookie, and I’d agree. The clear lacquered finish on these is great. Now if they’d only made them raw…

The imprint is still kinda… adequate. Some of mine are missing letters or parts of words. Still gold foil though, so that’s nice. I wonder if the stamping issues are because the pencil is round? I have one with a fat knot in the middle of one side, I’m interested in seeing how well that one sharpens.

Speaking of sharpening, I prefer to get pointy with the Alvin/M+R Brass Bullet. The pencil is hard enough that the BB holds a point for a page or so. With a long point from the Classroom friendly pages and pages flow from the tip before needing to sharpen up.

The exclusive version of the pencil is 45 cents each. Not a bad deal for upgraded graphite and a fun exterior. 

Continue reading